
Bricking In The Bedroom
Hello Friends! Holy crap, this is going to be long. That’s what I said to myself before starting this project. Yep, I’m back at it again. Do you remember when I added a brick wall to my laundry room? Well, that was actually an afterthought. I had pinned a picture on Pinterest years ago of a bedroom with a beautiful brick wall. It was the perfect mix of rustic with feminine which is my all time favorite look. Anyhow, I knew that we wouldn’t be able to actually brick a wall but I wasn’t going to let that stop me from having my romantic bedroom.
Do you remember this?
This was how far we got on our wall when “we” dropped a brick panel board on my foot and ended up in the ER. Needless to say, I was correct in saying that this project was going to be long. Anyhow, fast forward to painting the laundry room wall.
Once I accomplished the laundry room wall, I felt more confident in the fact that I could pull this look off in our bedroom. (For the tutorial on the laundry room click here. https://linenandtwigs.com/hitting-the-bricks/Just like the laundry room, I started out with my paint colors of a soft white, cream and mossy green but this time I also added black. I feel like the black gave it more dimension.

I painstakingly climbed the ladder 753,000 times sponge painting each brick in random order using the different colors. I wanted this room to have more of a tumbled brick look and also to be a little lighter than the other wall since this room doesn’t get as much natural light. Every now and again, I would stand back to see where I needed more of the dark or lighter colors…also to let my toes uncurl from clinging to the ladder nine feet up in the air.
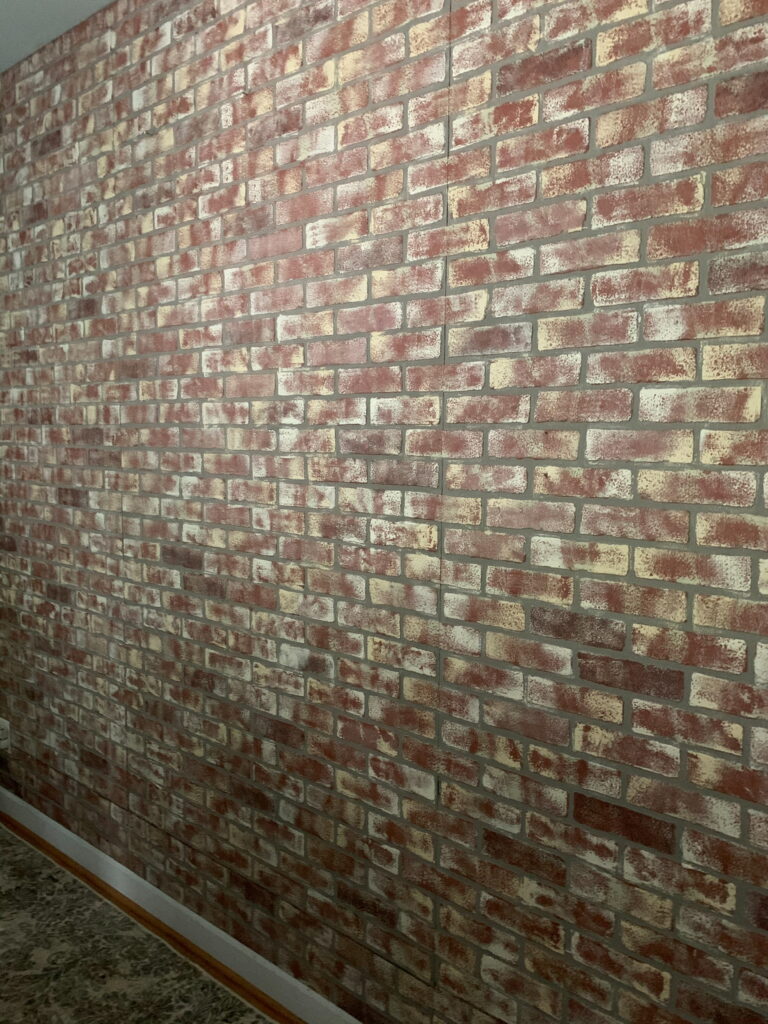
Once the painting part was done, then came the task of grouting each and every grout line.
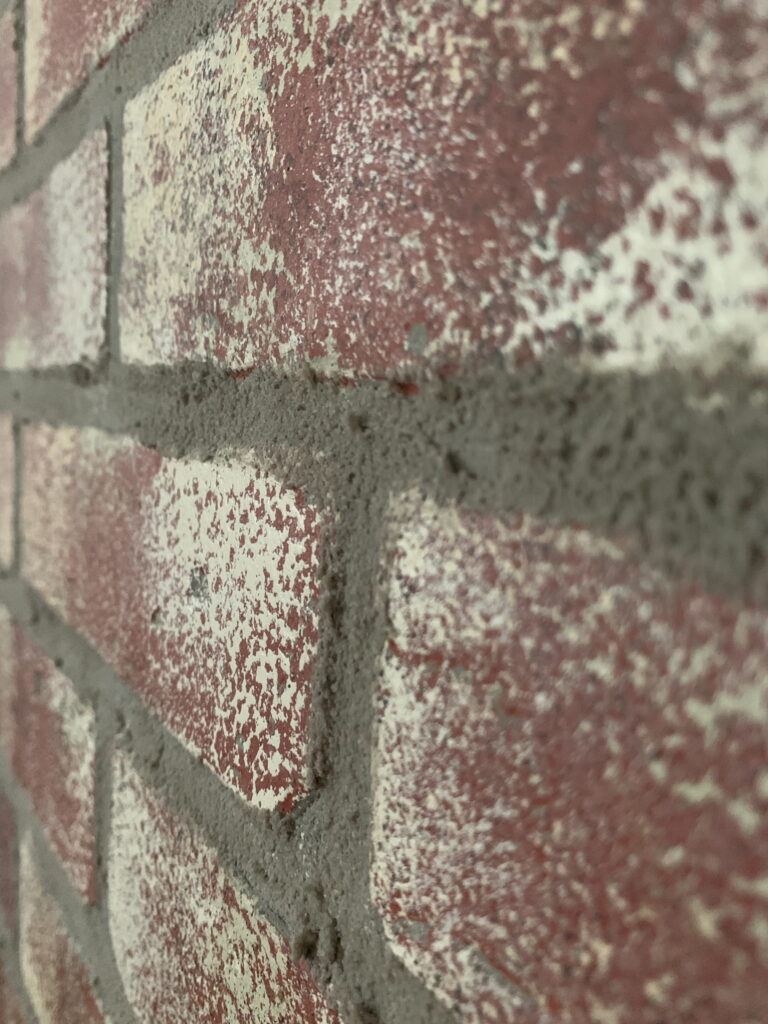
This helped in hiding the seams of the panels and it also gave it a more realistic look up close.
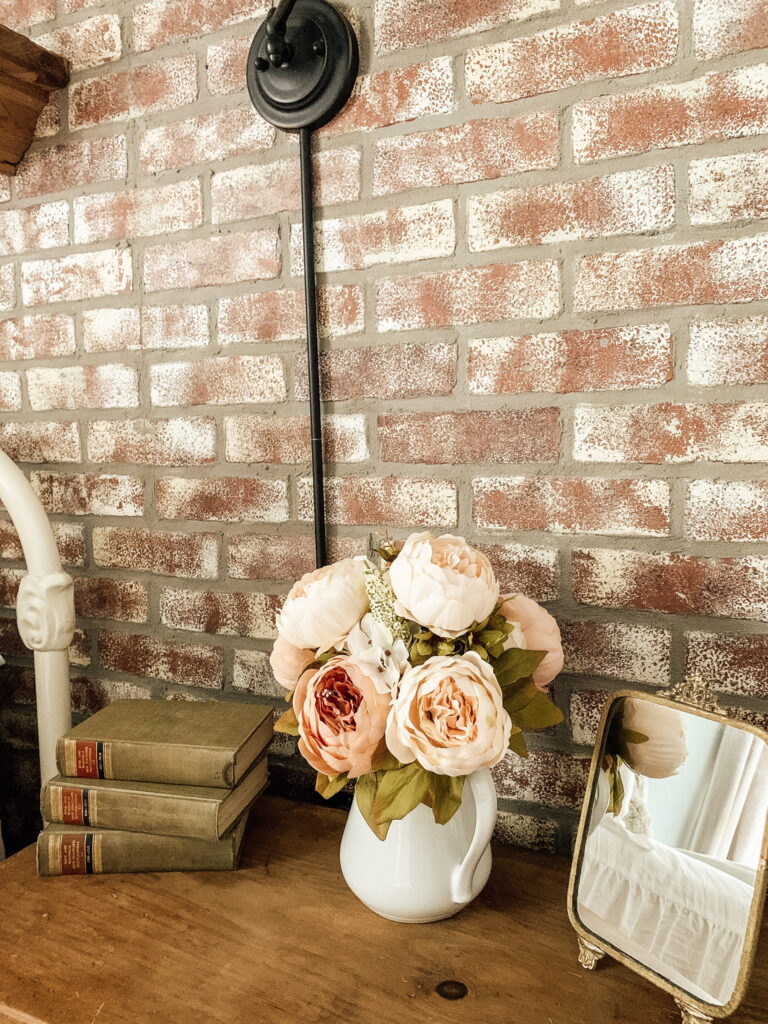
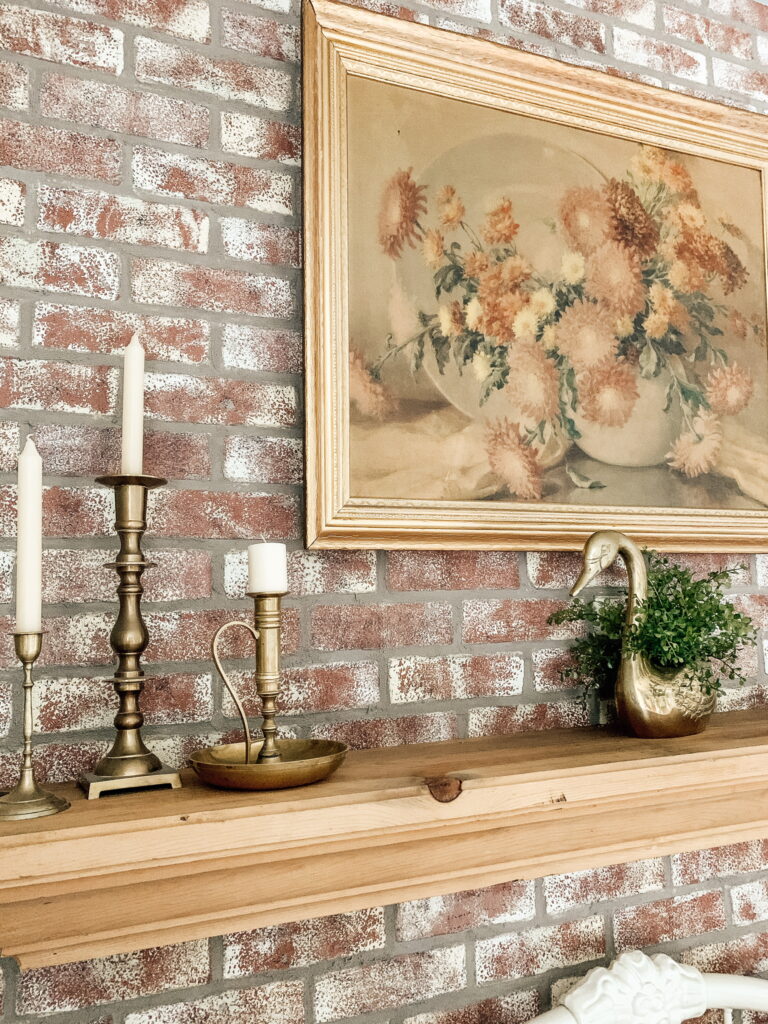
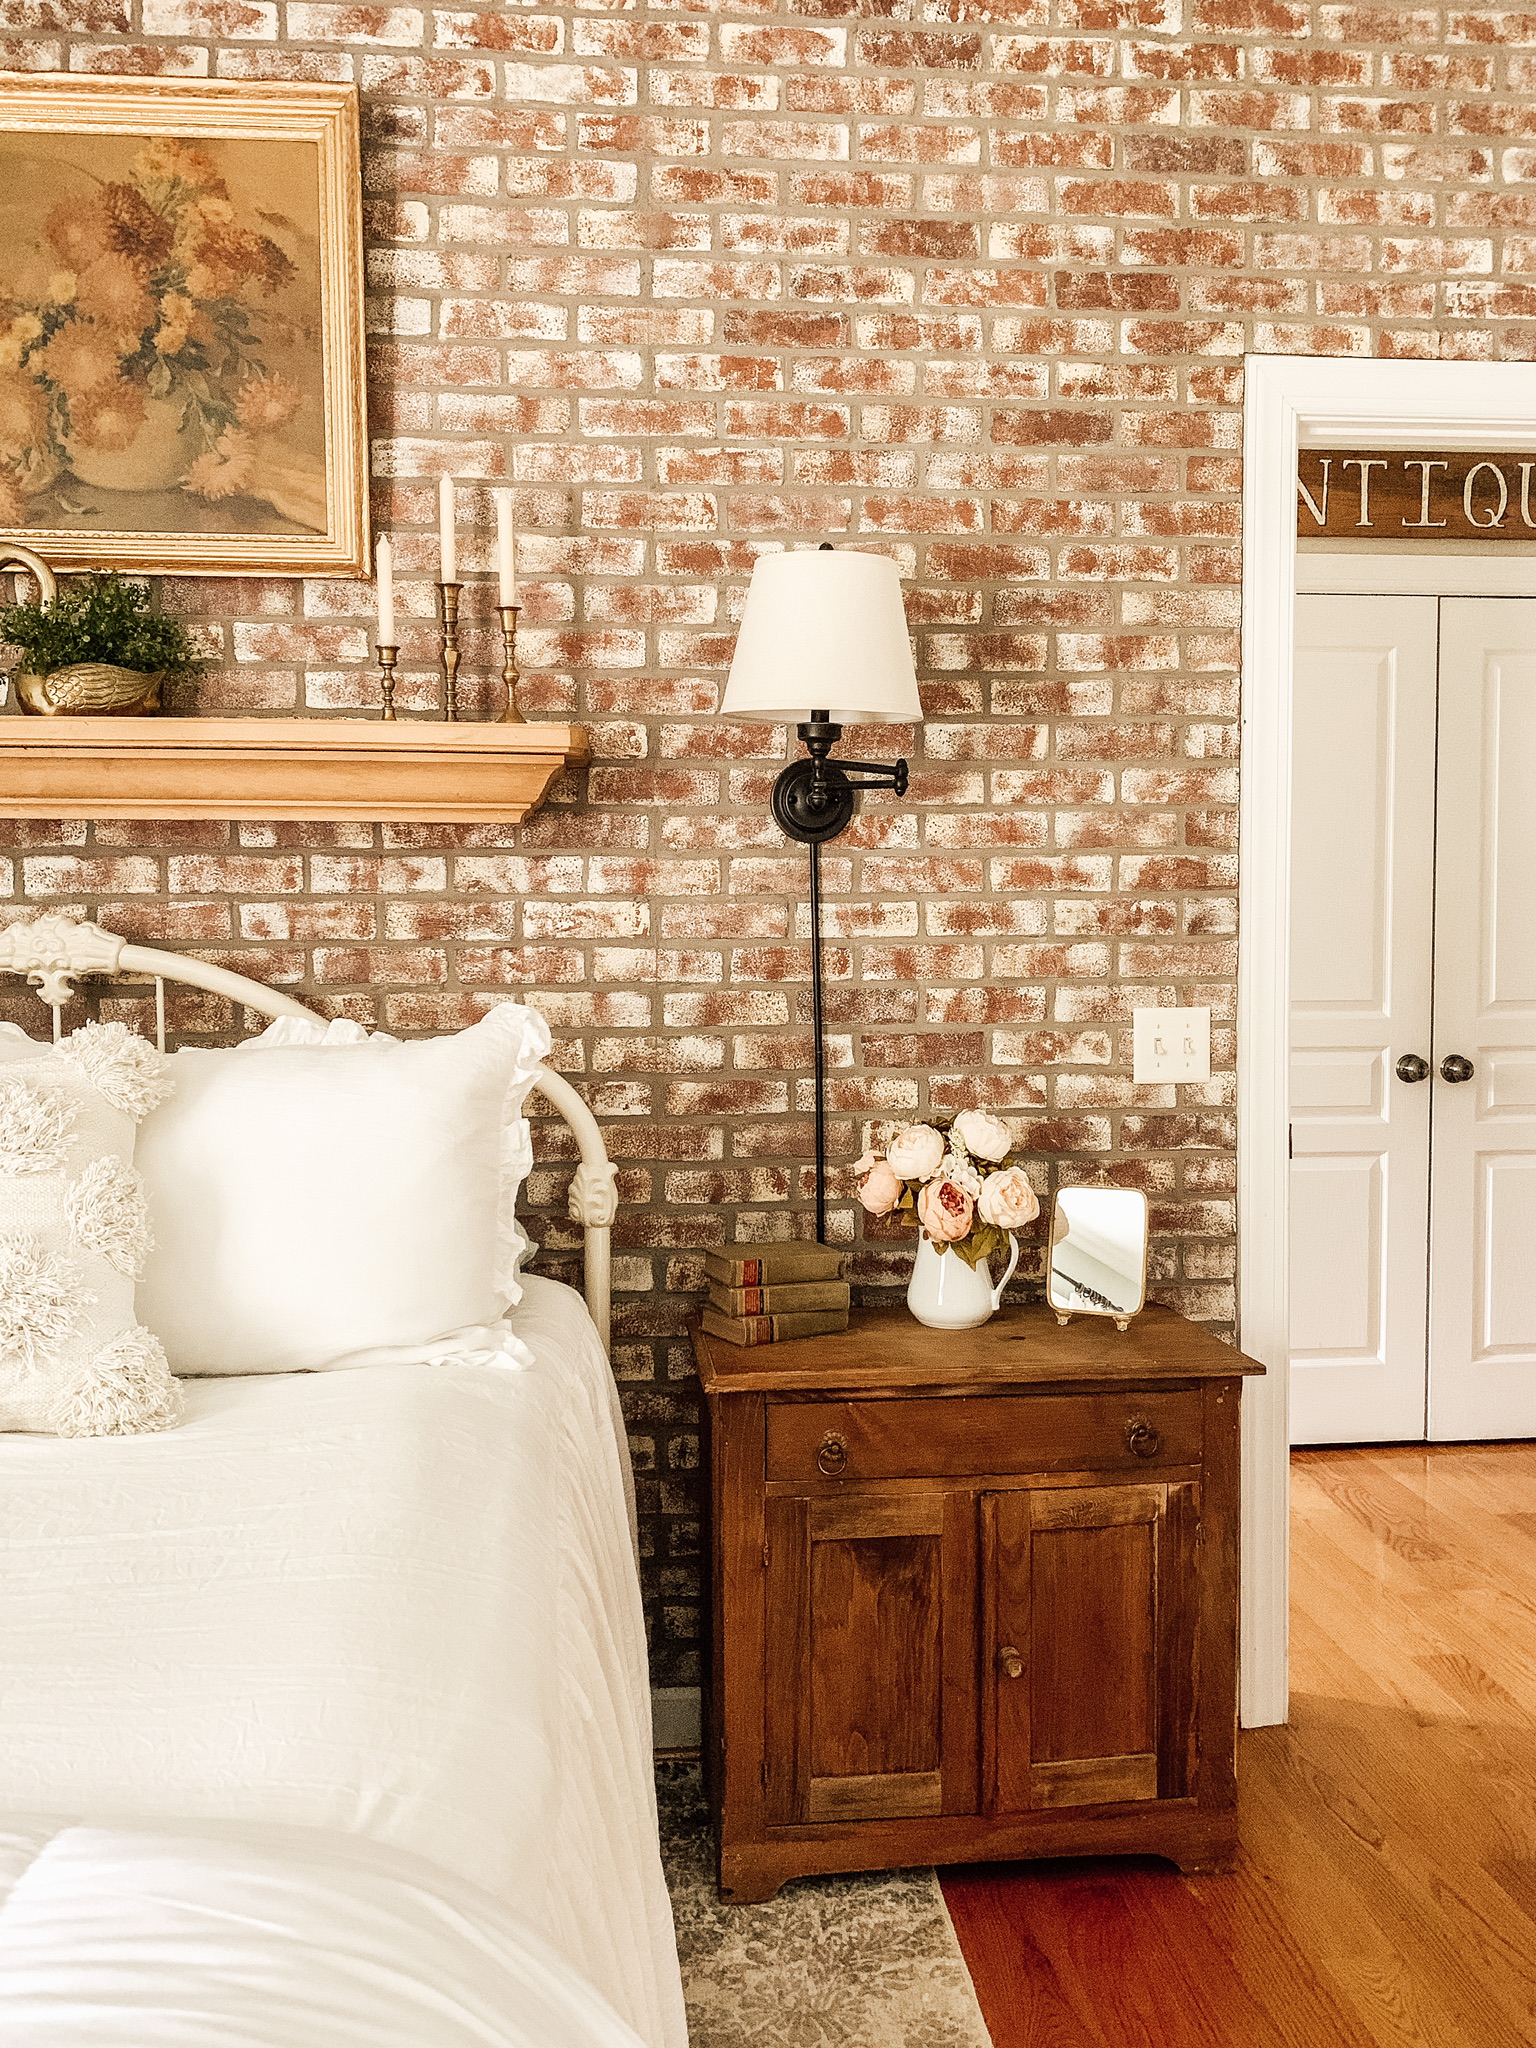
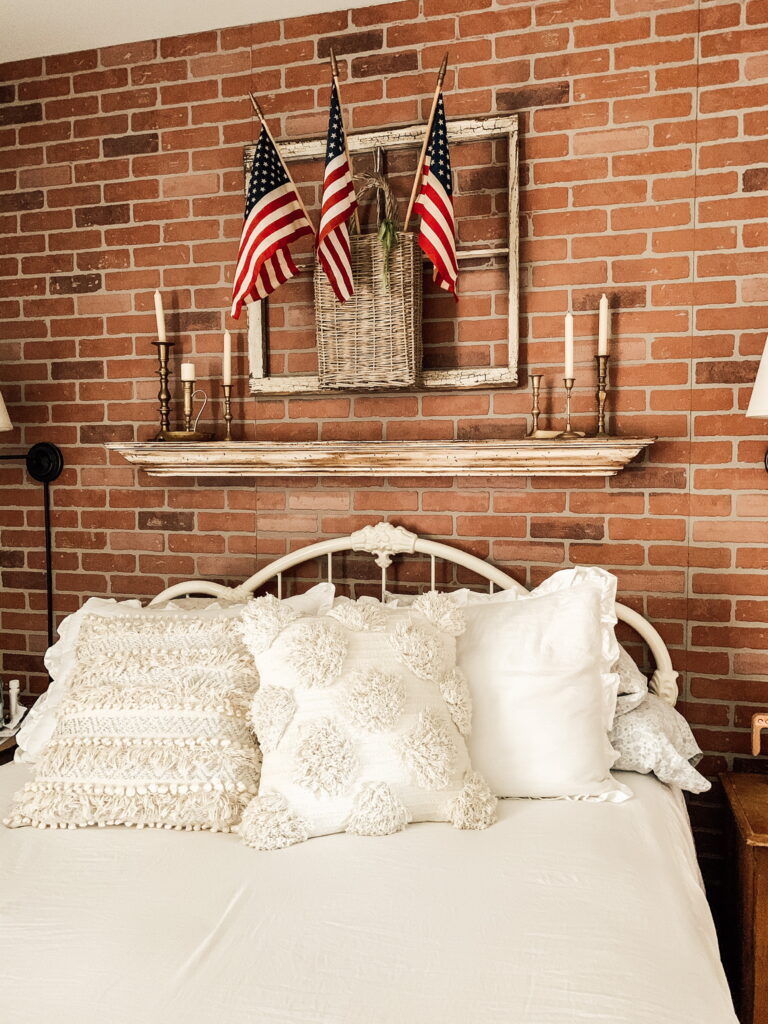
Once that part was finished, we put the bedroom back together and I couldn’t be any happier with the way it turned out. It has that rustic romantic look that I love so much.
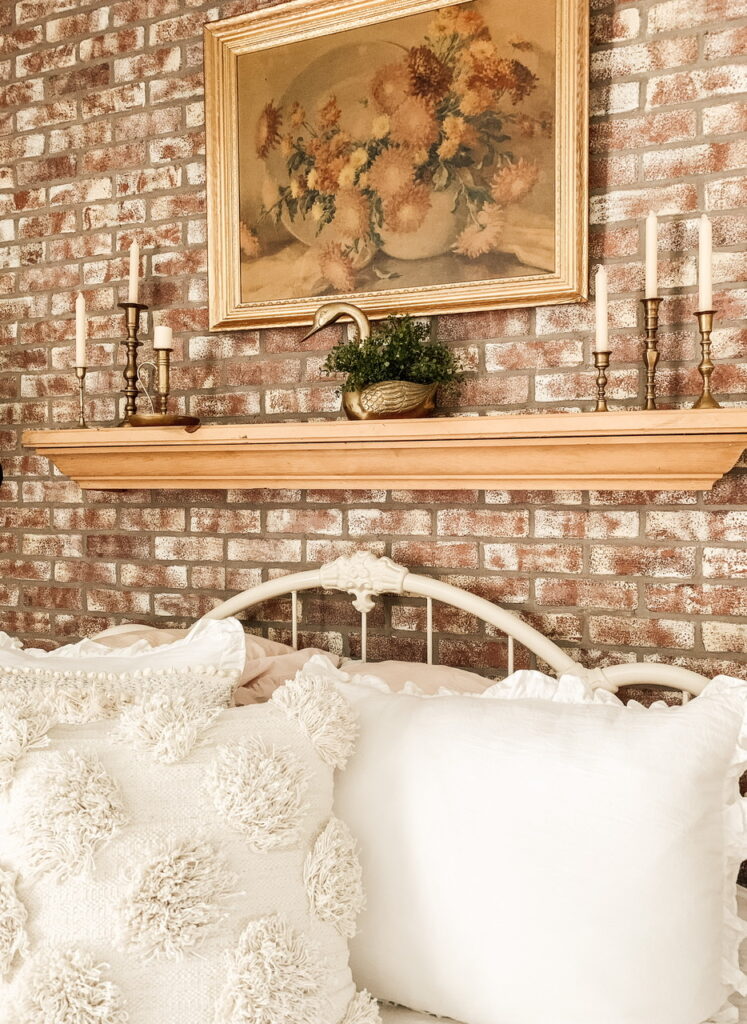
What do you think? Could you sleep in here?

Thanks so much for stopping by Friends. You know it means the world to me.
