
Back Porch Side Board
Hey Friends! I hope your week is going well. The weather has finally cooled off a bit and we’re getting a taste of some fall weather. That always gives me a little kick in the pants and motivates me to do some projects. Fall is my thing and puts my mind into overdrive dreaming up some fun things to put on my “To Do” list. (Of course if you ask My Guy, he might not think it’s as fun as I do.) He has been quite the trooper however and has been putting my dreams into action.
For quite some time, I have had a vision for our back patio. We have nice area that is begging for some sprucing up. We have some grand plans that include a pergola and maybe an outdoor fireplace (should we win the lottery). I would really like to set up a sweet grilling area for My Guy since he’s the world’s best griller, in my opinion. I’m fortunate that he enjoys grilling out and we pretty much do it year round so I would love to have an area that he would enjoy. I have so many plans and can’t wait to get started.
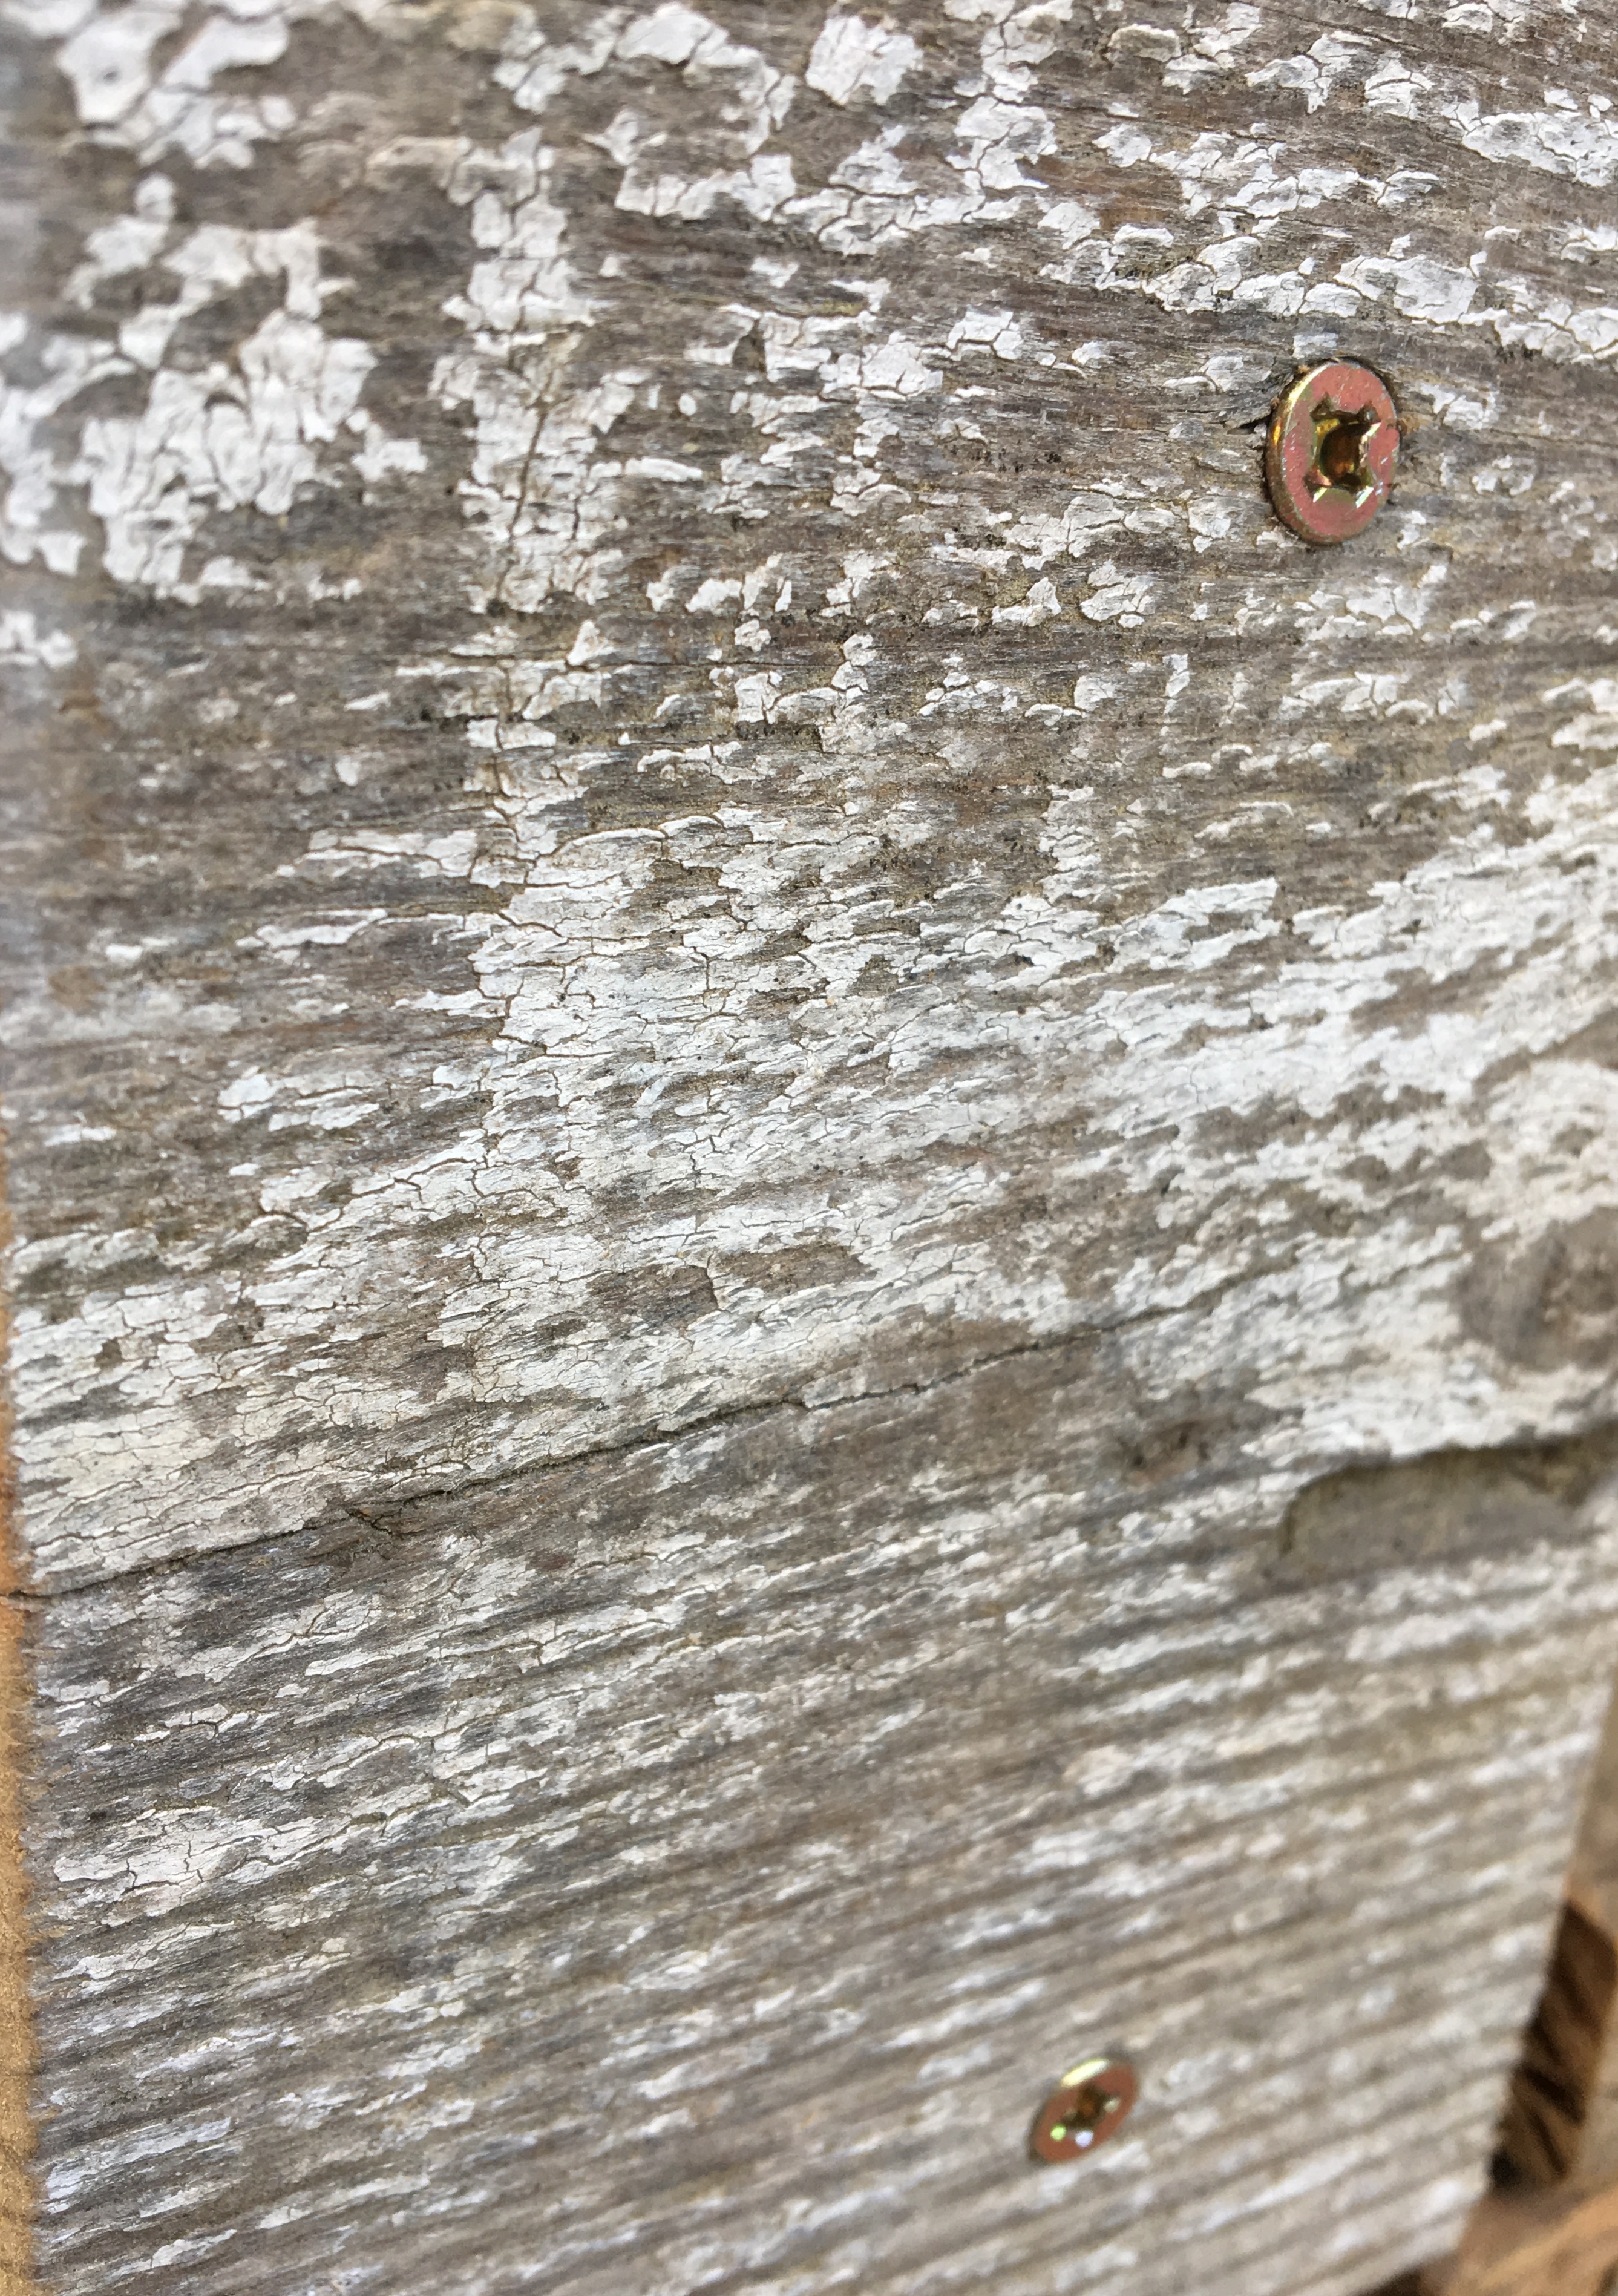
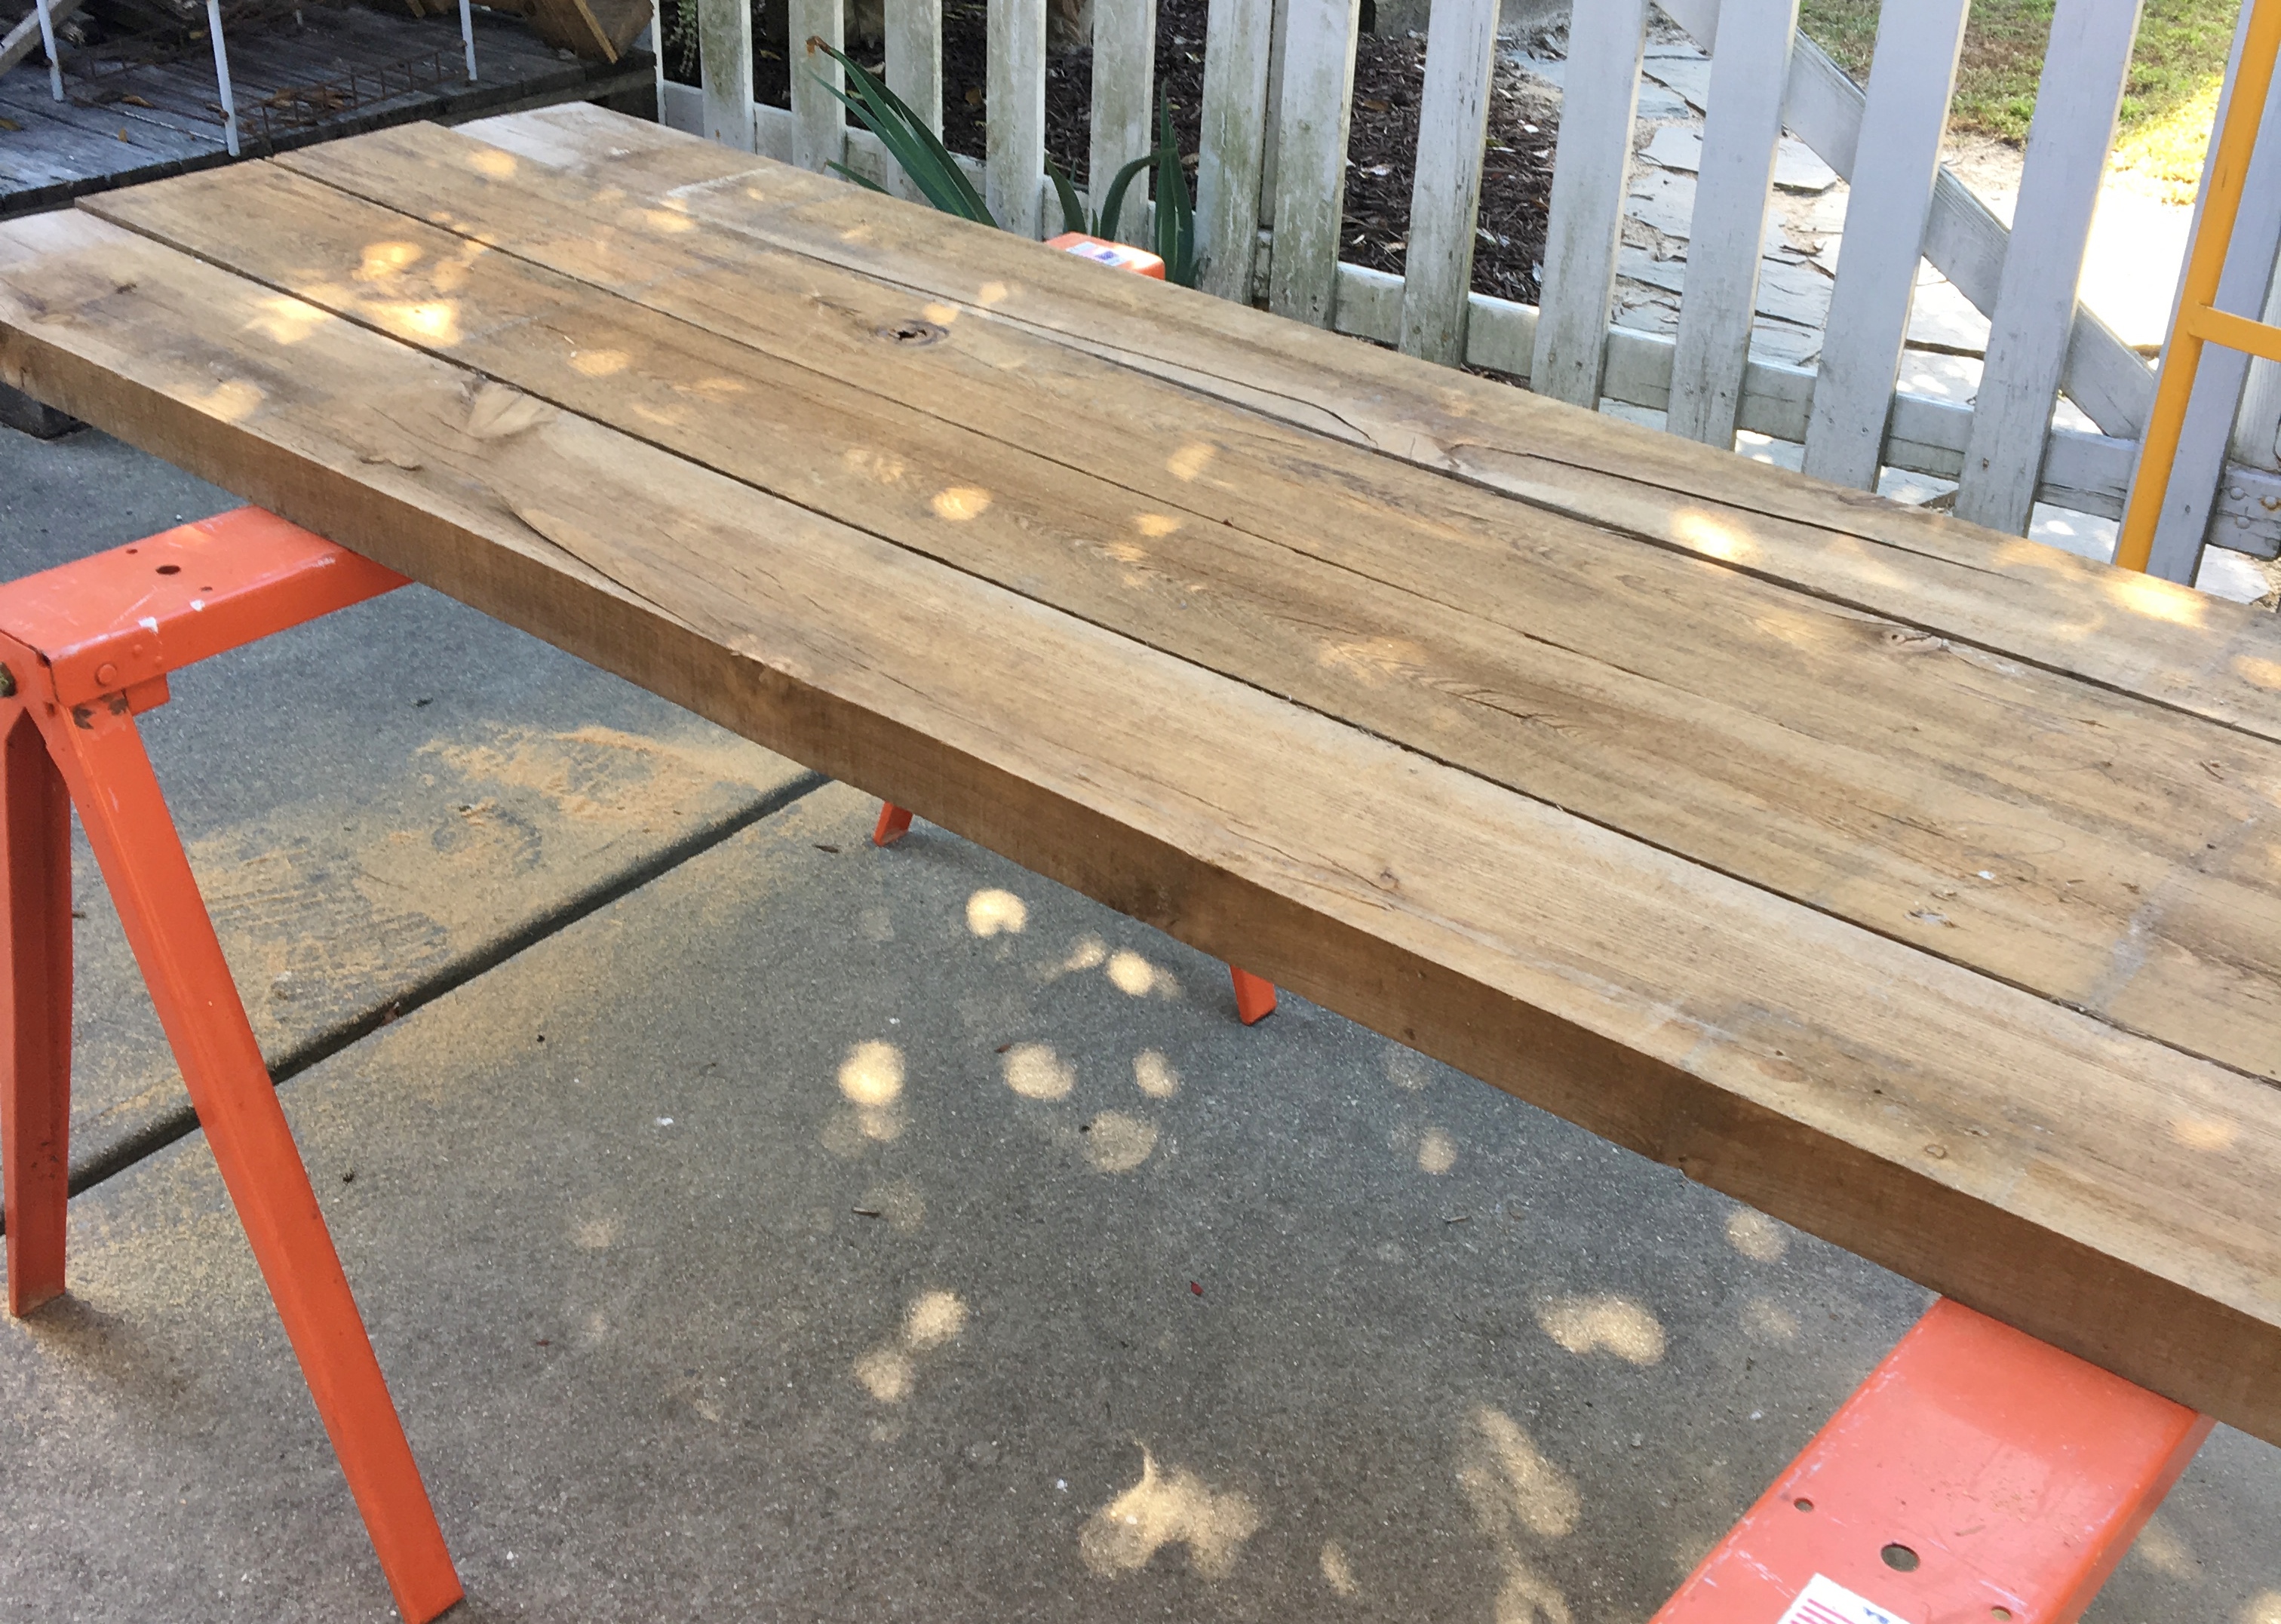
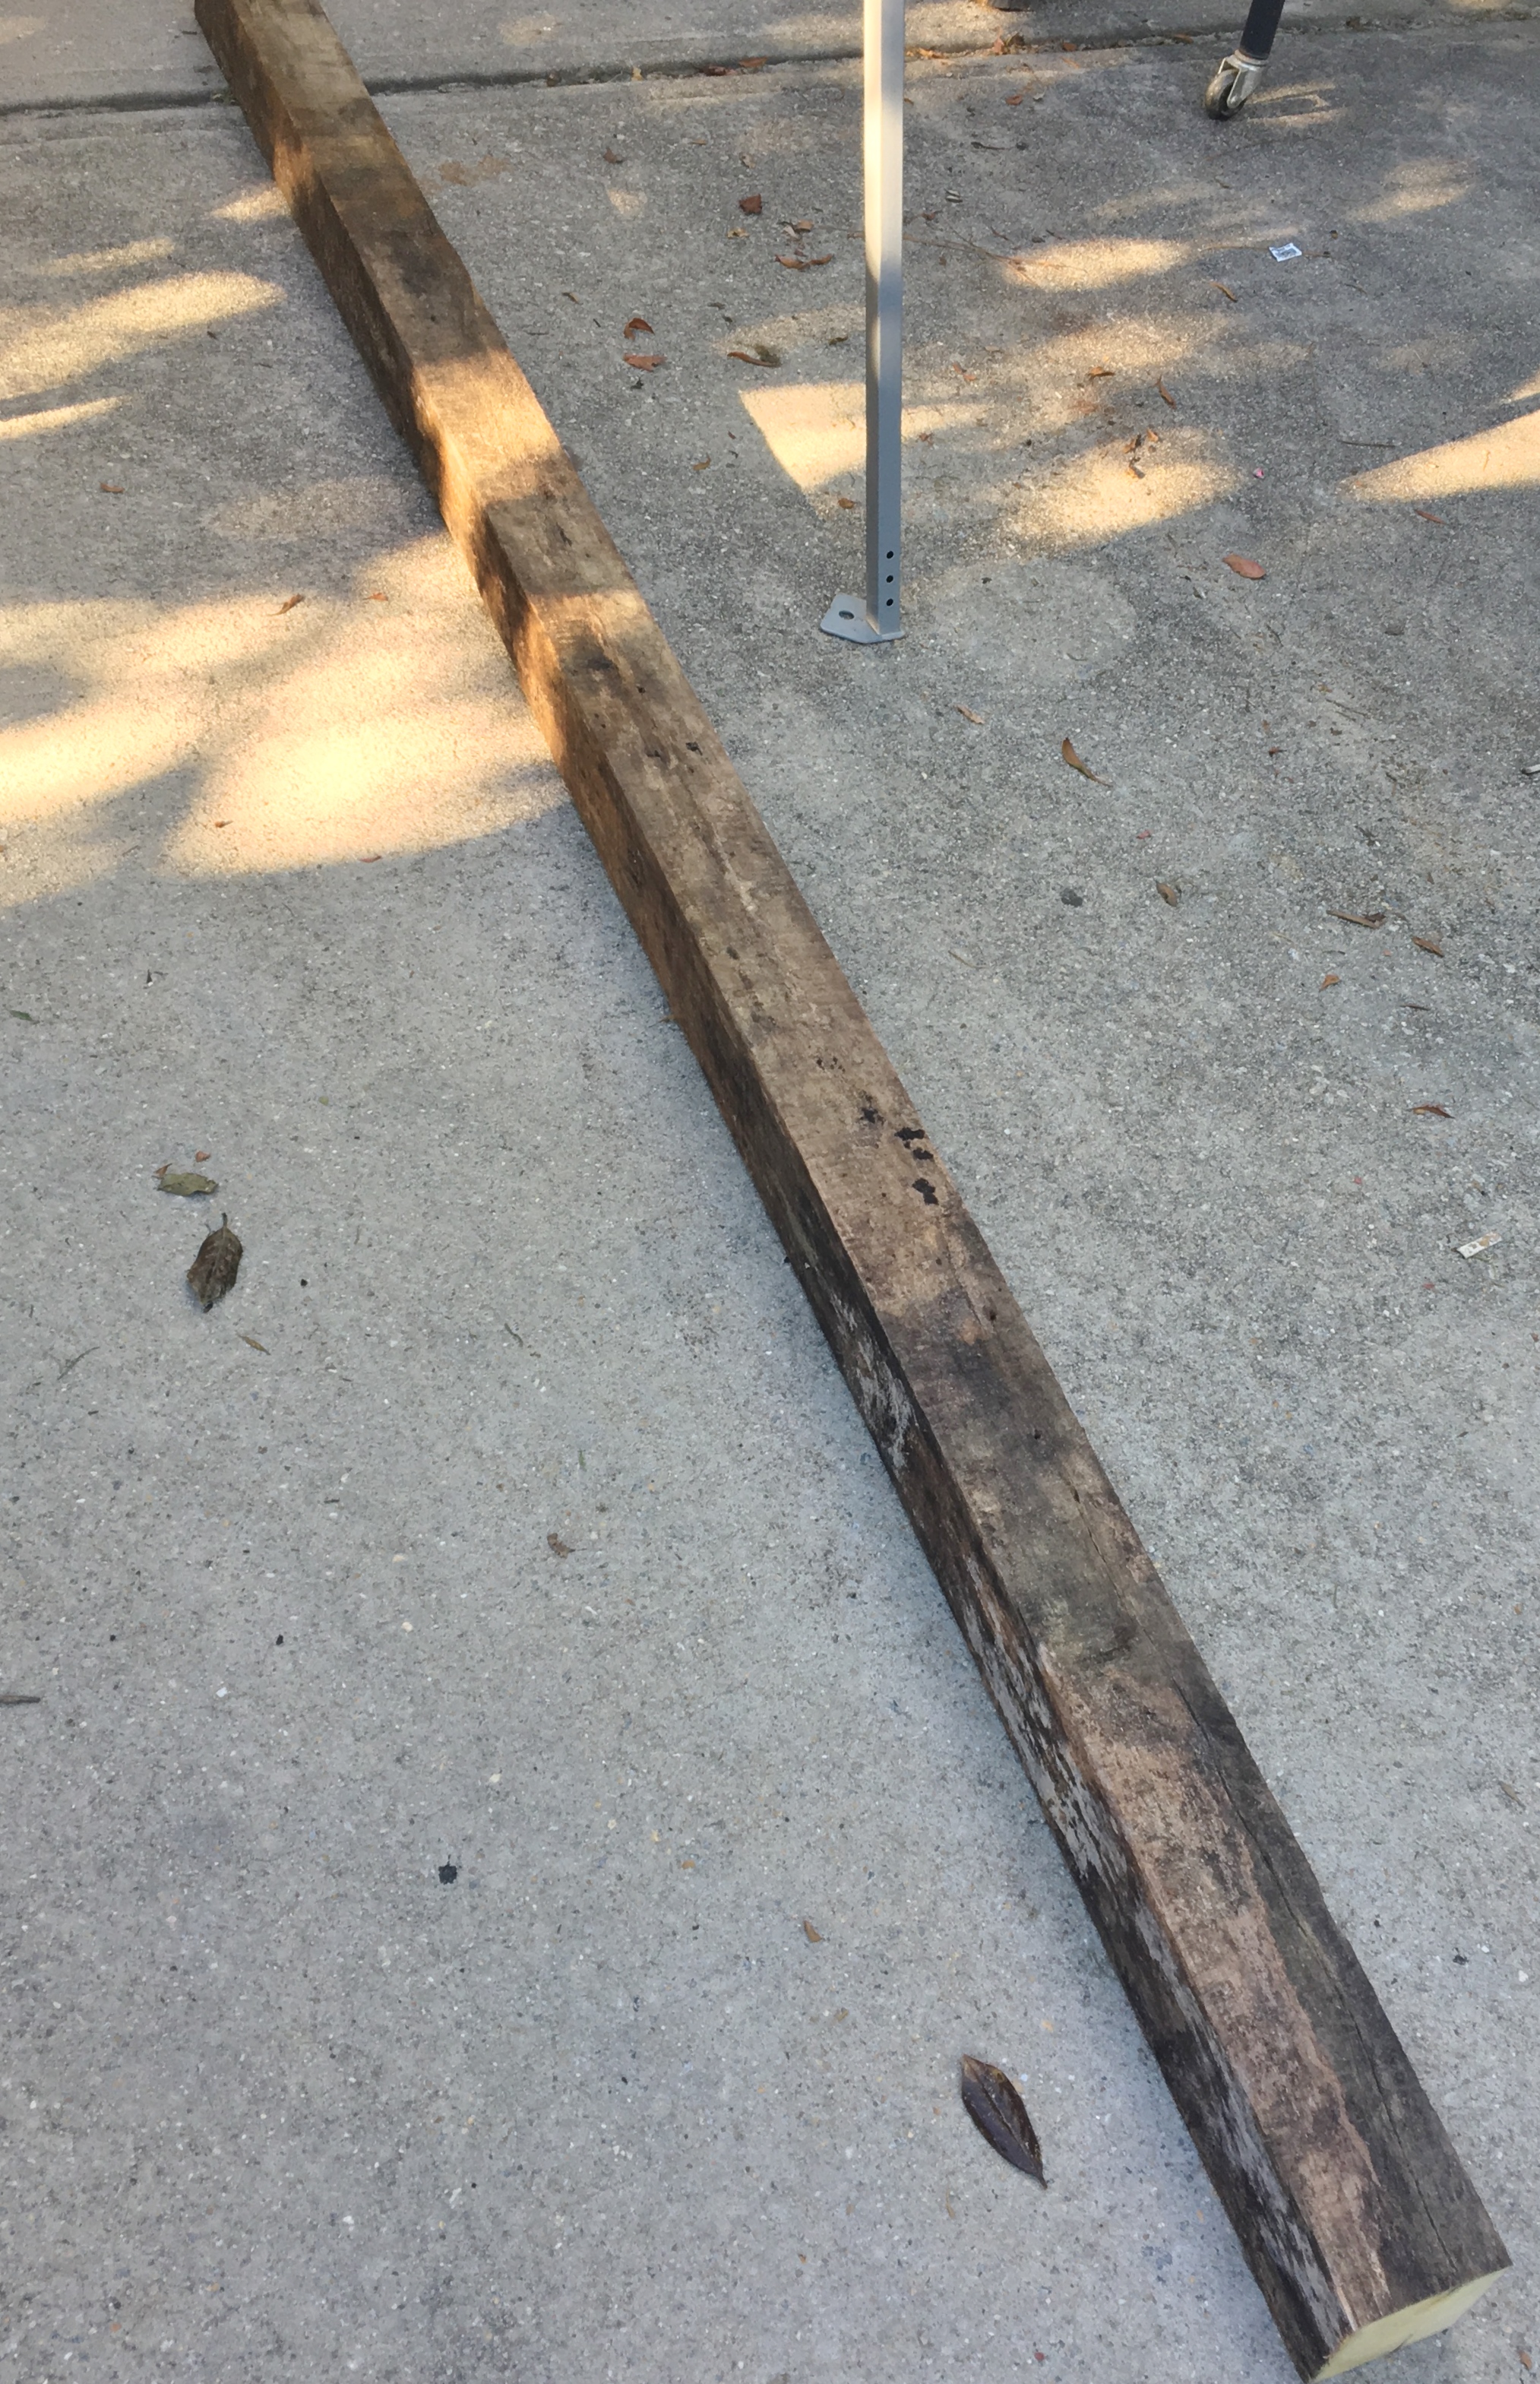
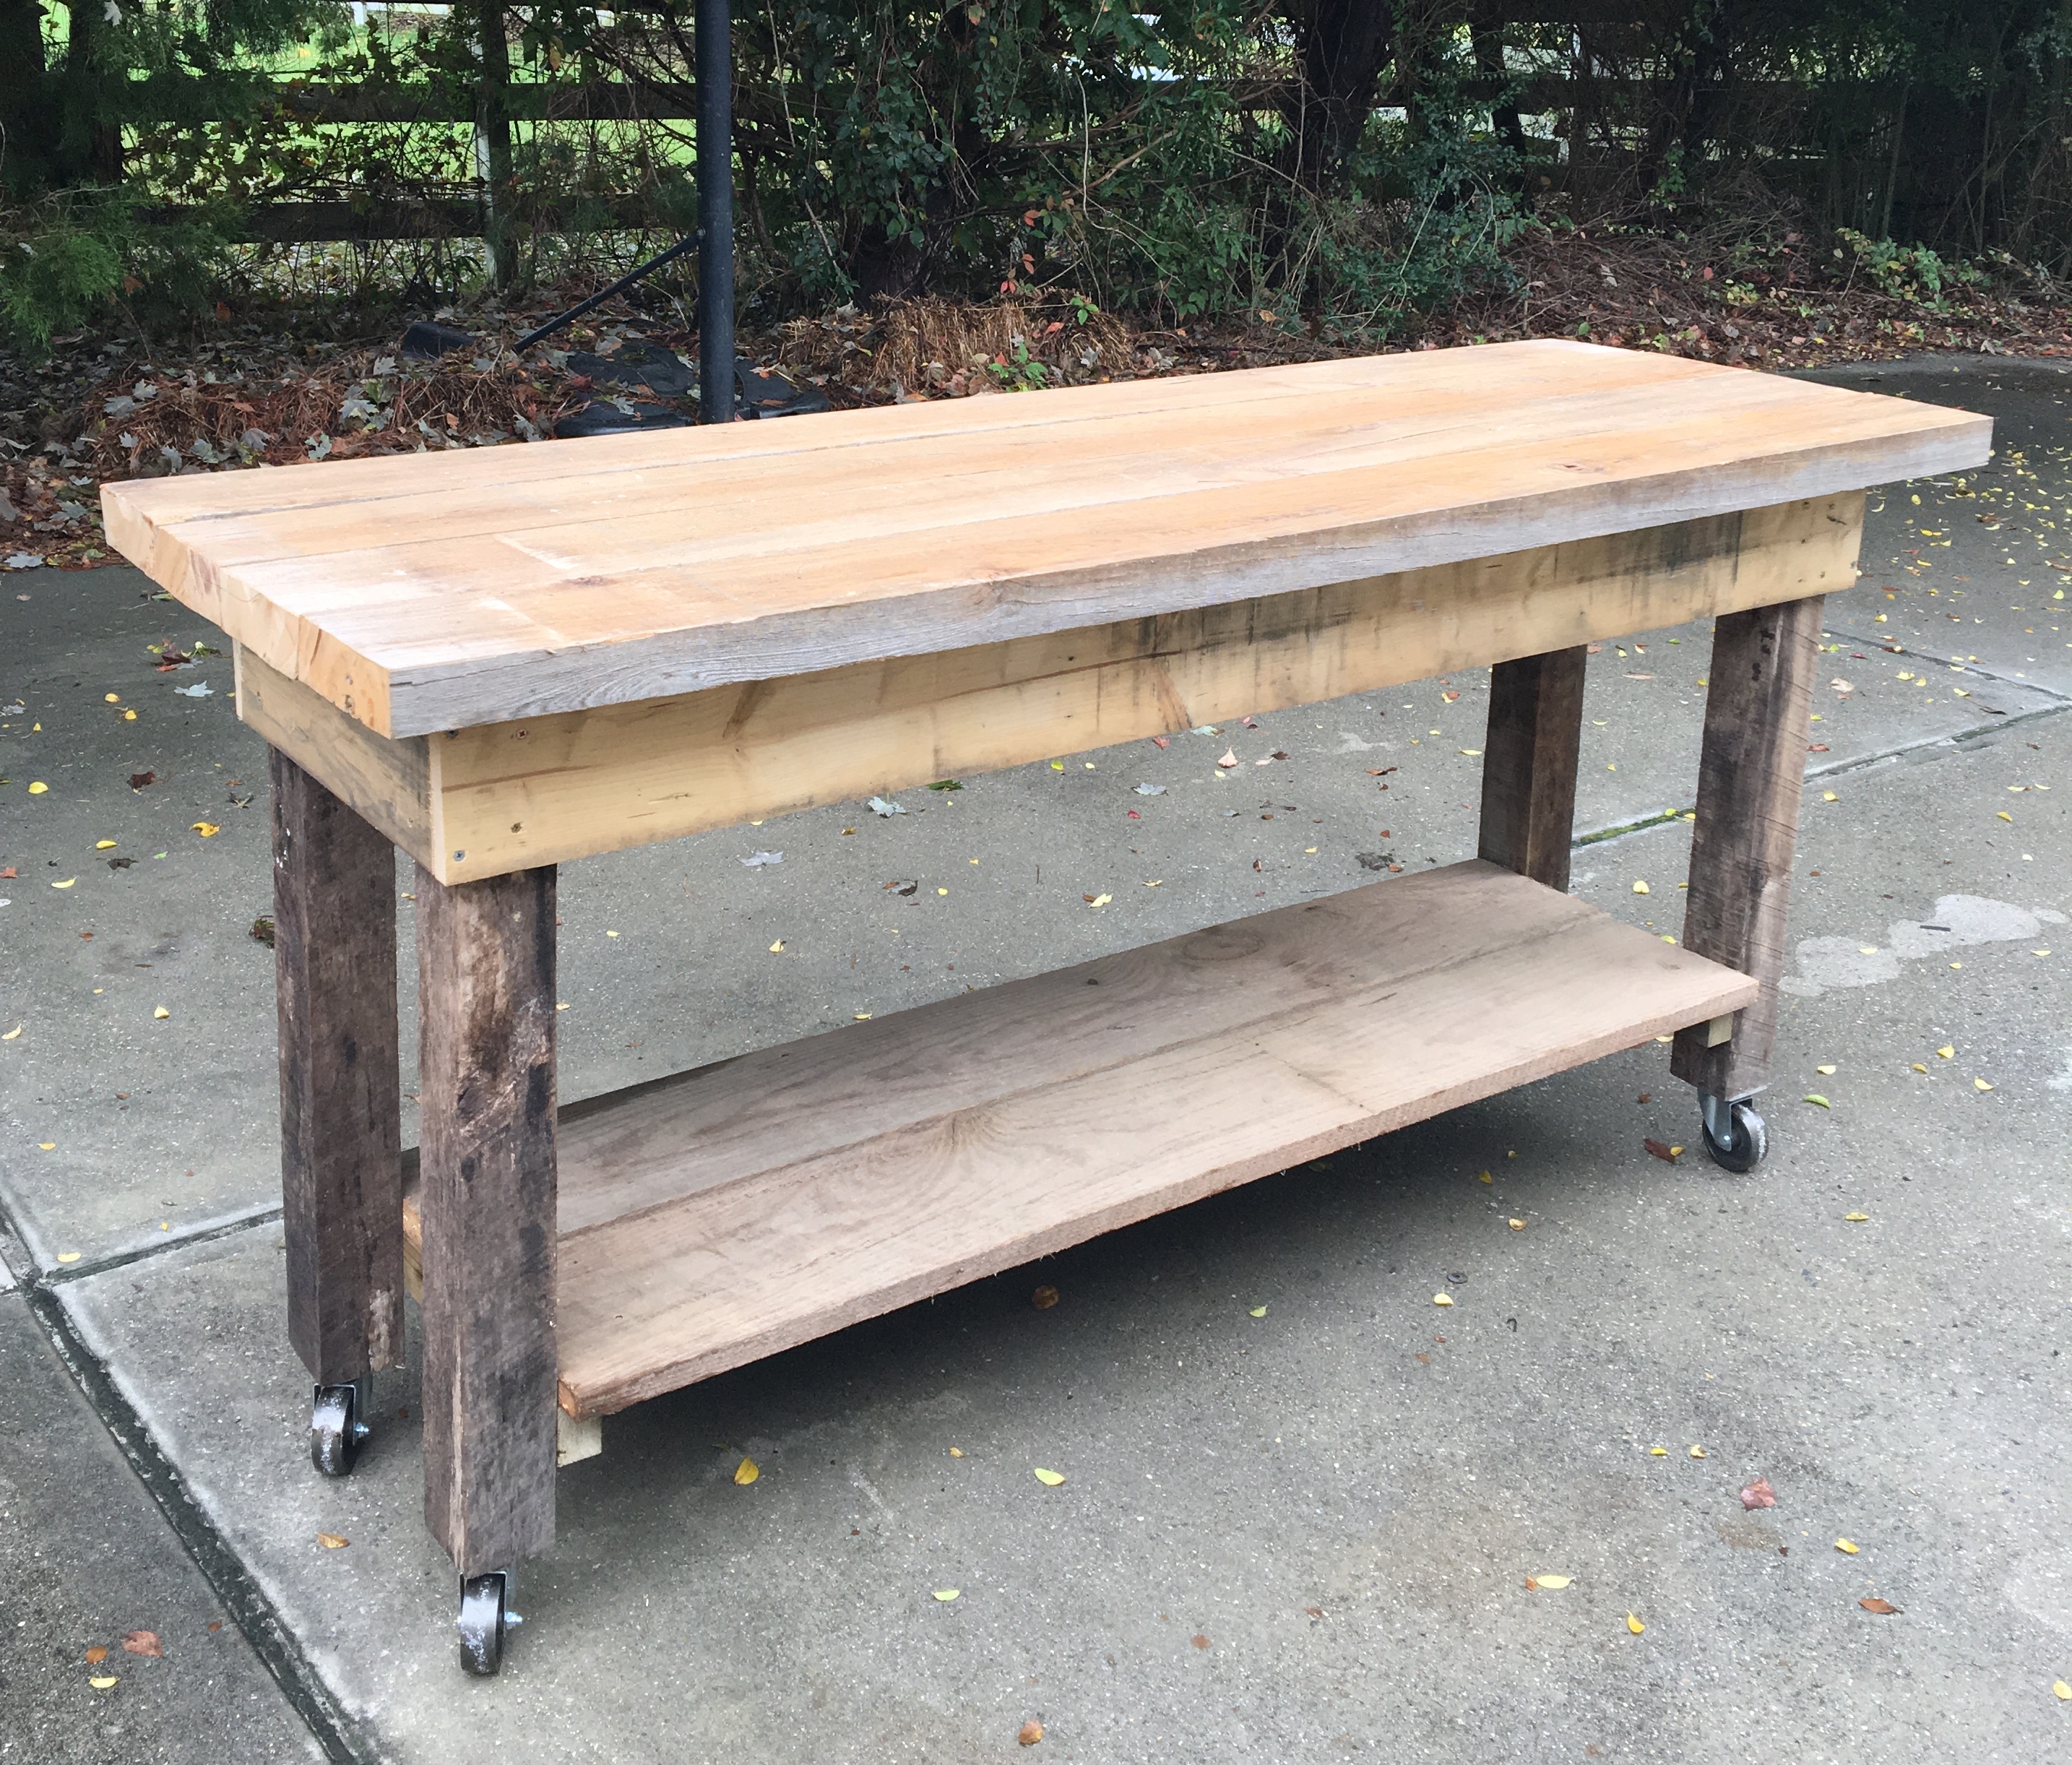
My Guy and I are a bit of lumber hoarders and rarely throw out wood that we come across since, you know, we could probably make something out of that. (Our Motto). Did I just narrow that down to lumber? For the case of this story, we’ll just stick with that. Anyhow, we were lucky enough to have been given some beautiful, old, authentic, 2 x 6 barn wood boards that were making their way to the burn pile. They were so chunky and gorgeous!!! You know my wheels were turning!
I’ve been wanting to build an outdoor sideboard for our patio. I wanted something farmhouse style that we could use to serve drinks or food from when entertaining outside. I think it would also be neat for it to double as a potting table.
We started with the table top using the 2 x 6 barn wood boards. My Guy braced them together using several cut off pieces of wood that he evenly spaced across the underside of the boards.

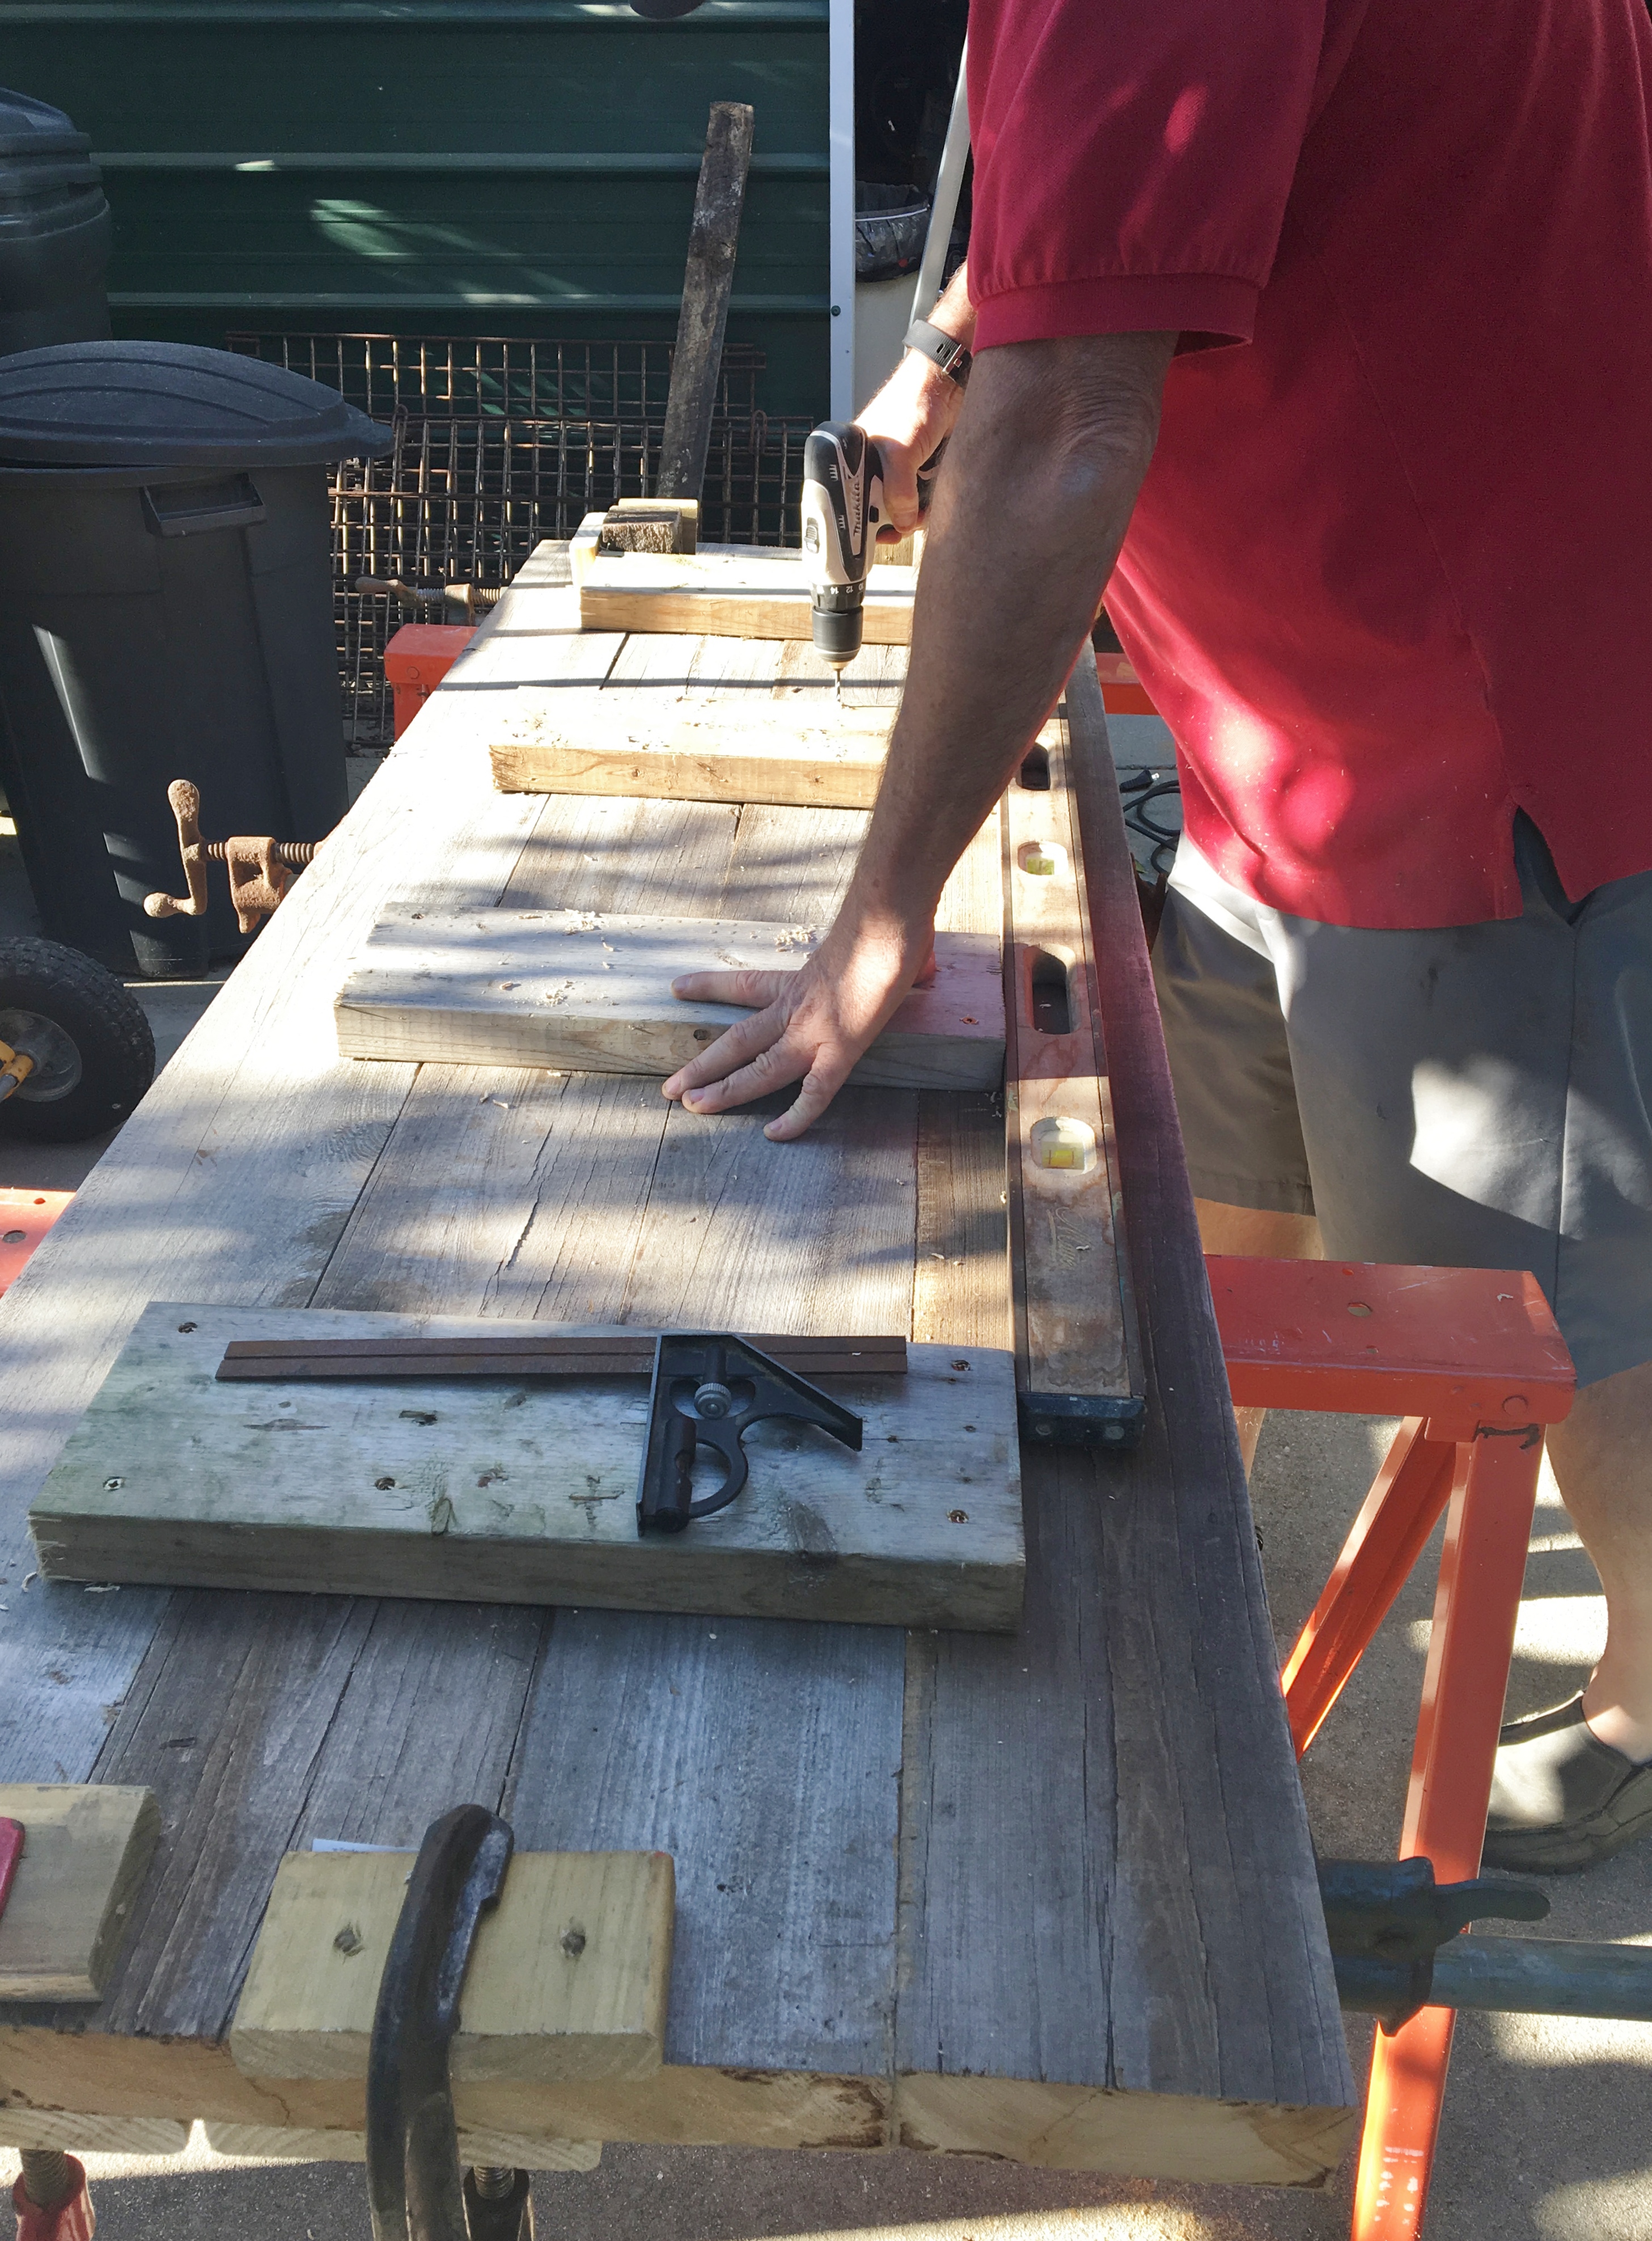
Then he attached a bib around the brace boards using some 1 x 6 boards.
(Okay, did you notice the scrap wood in the background? This proves my case of being lumber hoarders. lol It makes for great projects but not so great photos.)
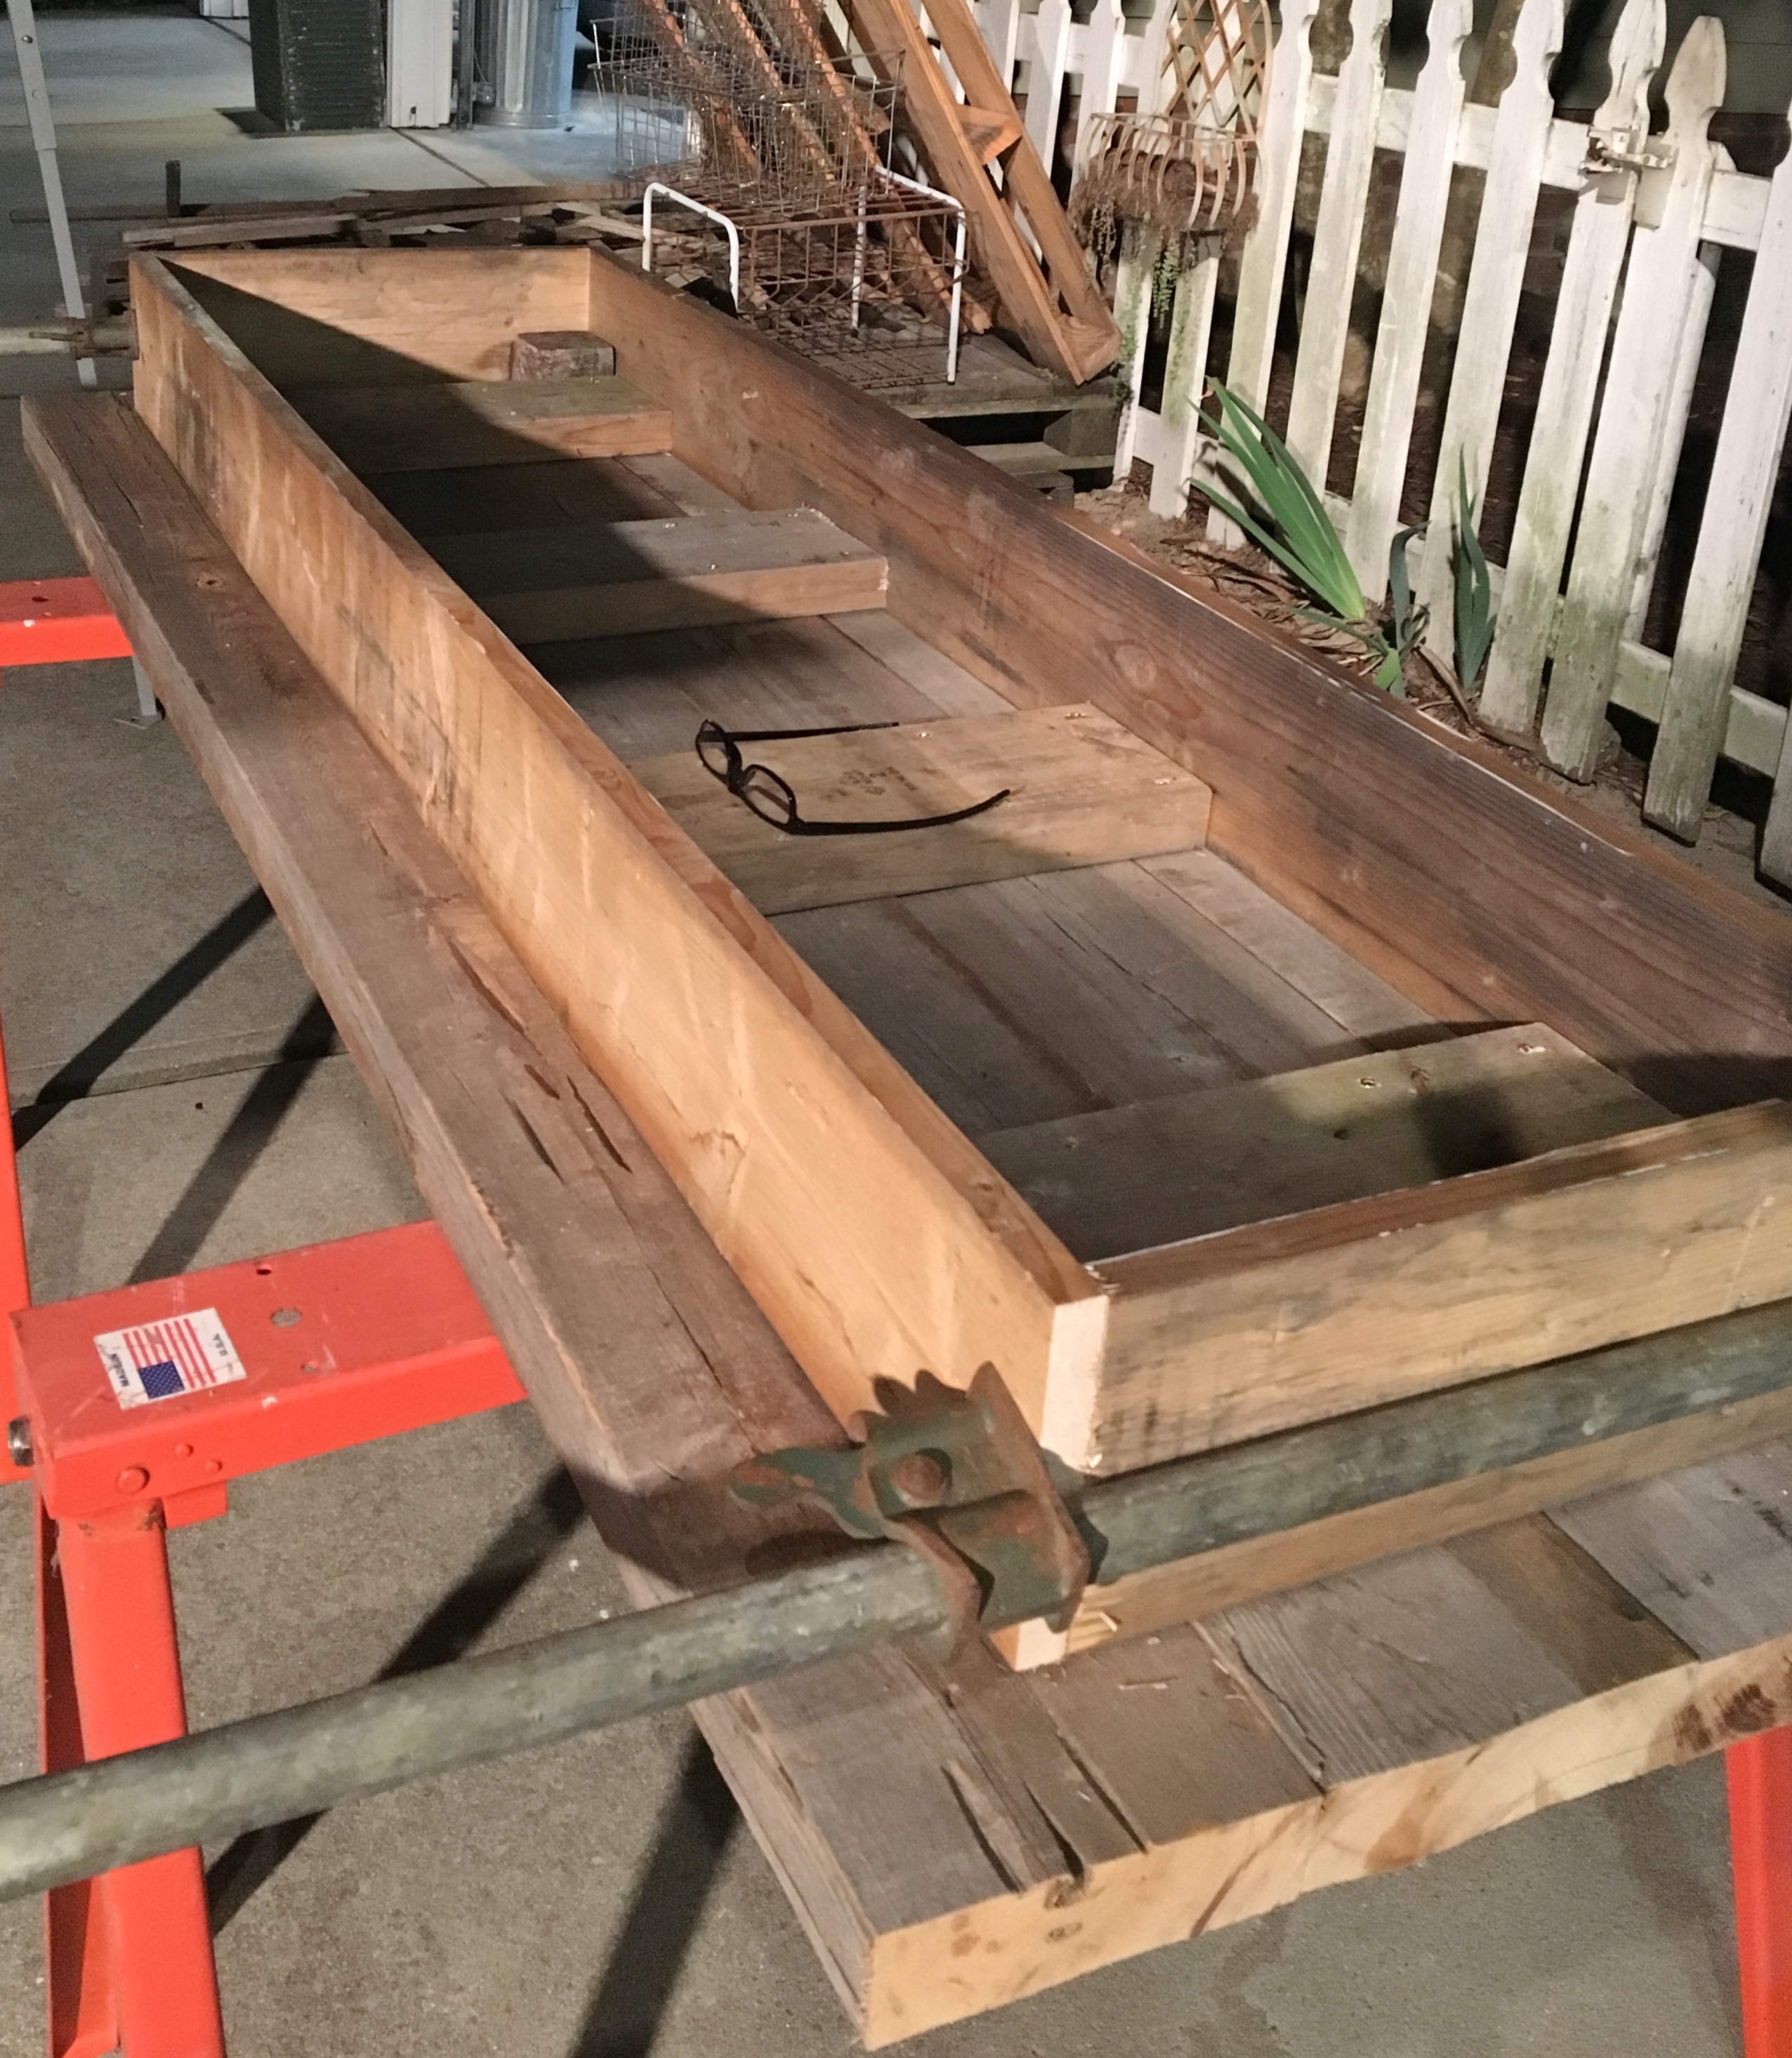
Next came the legs that we cut from some rough cut 4 x 4 boards.
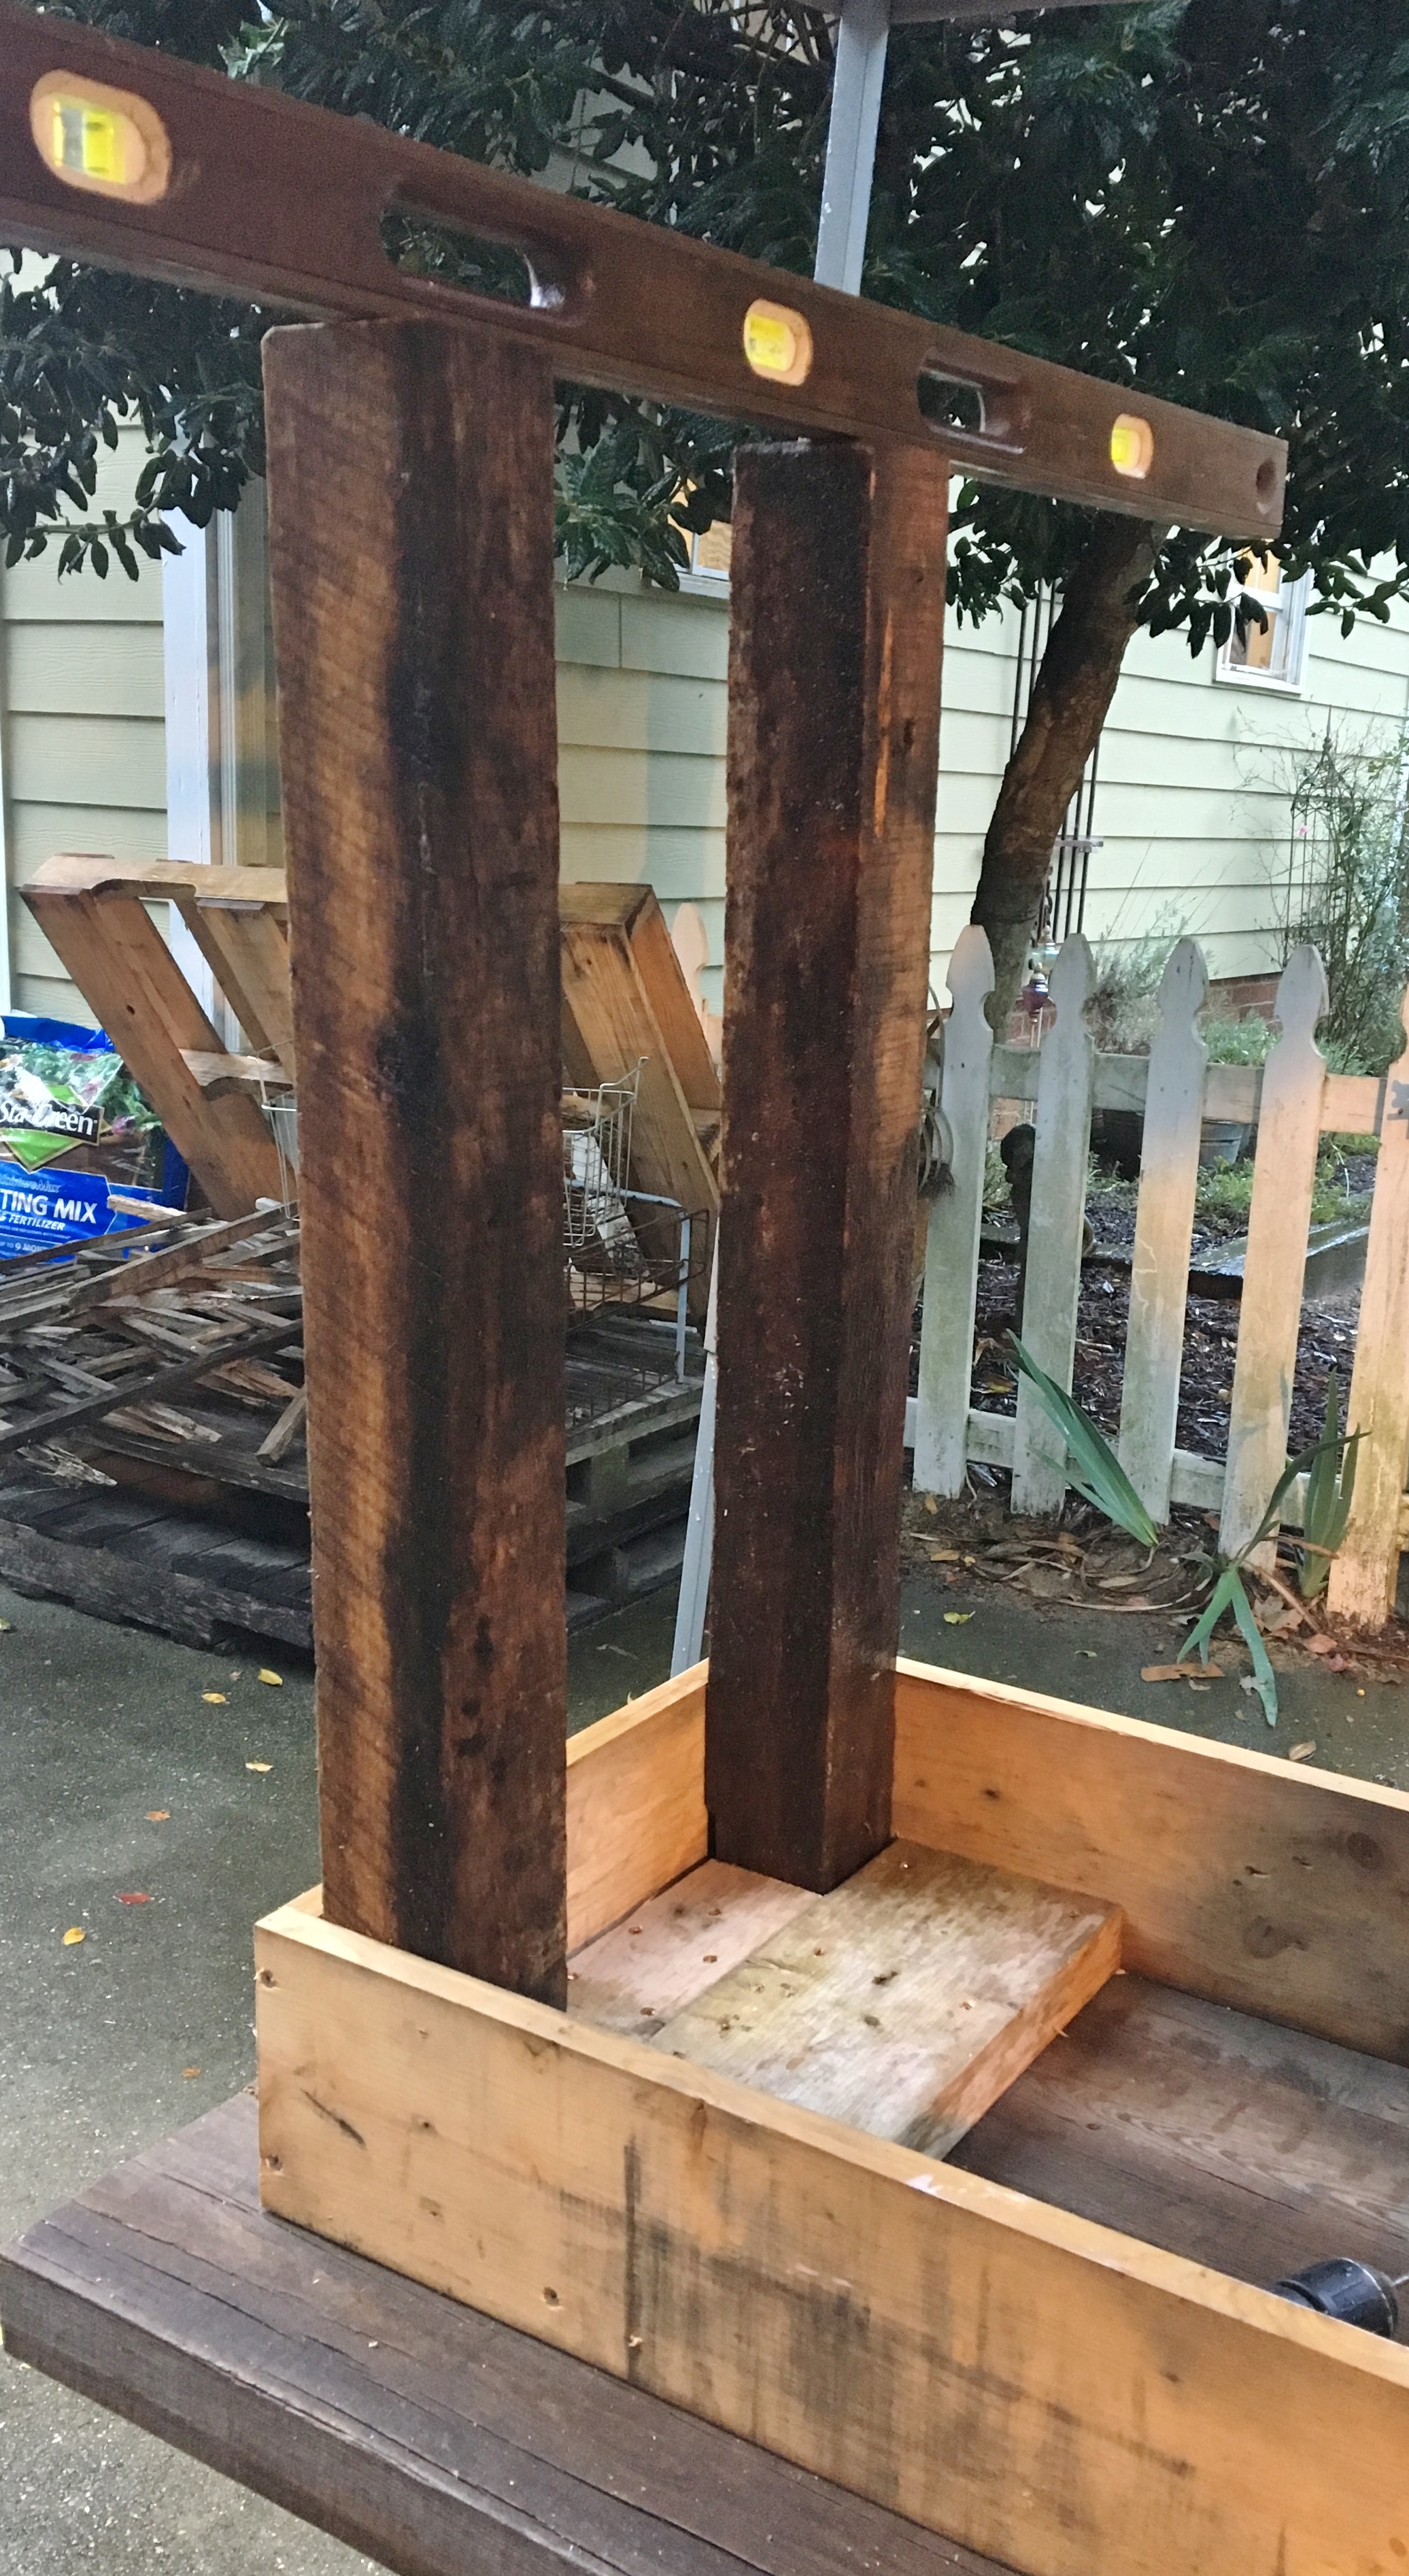
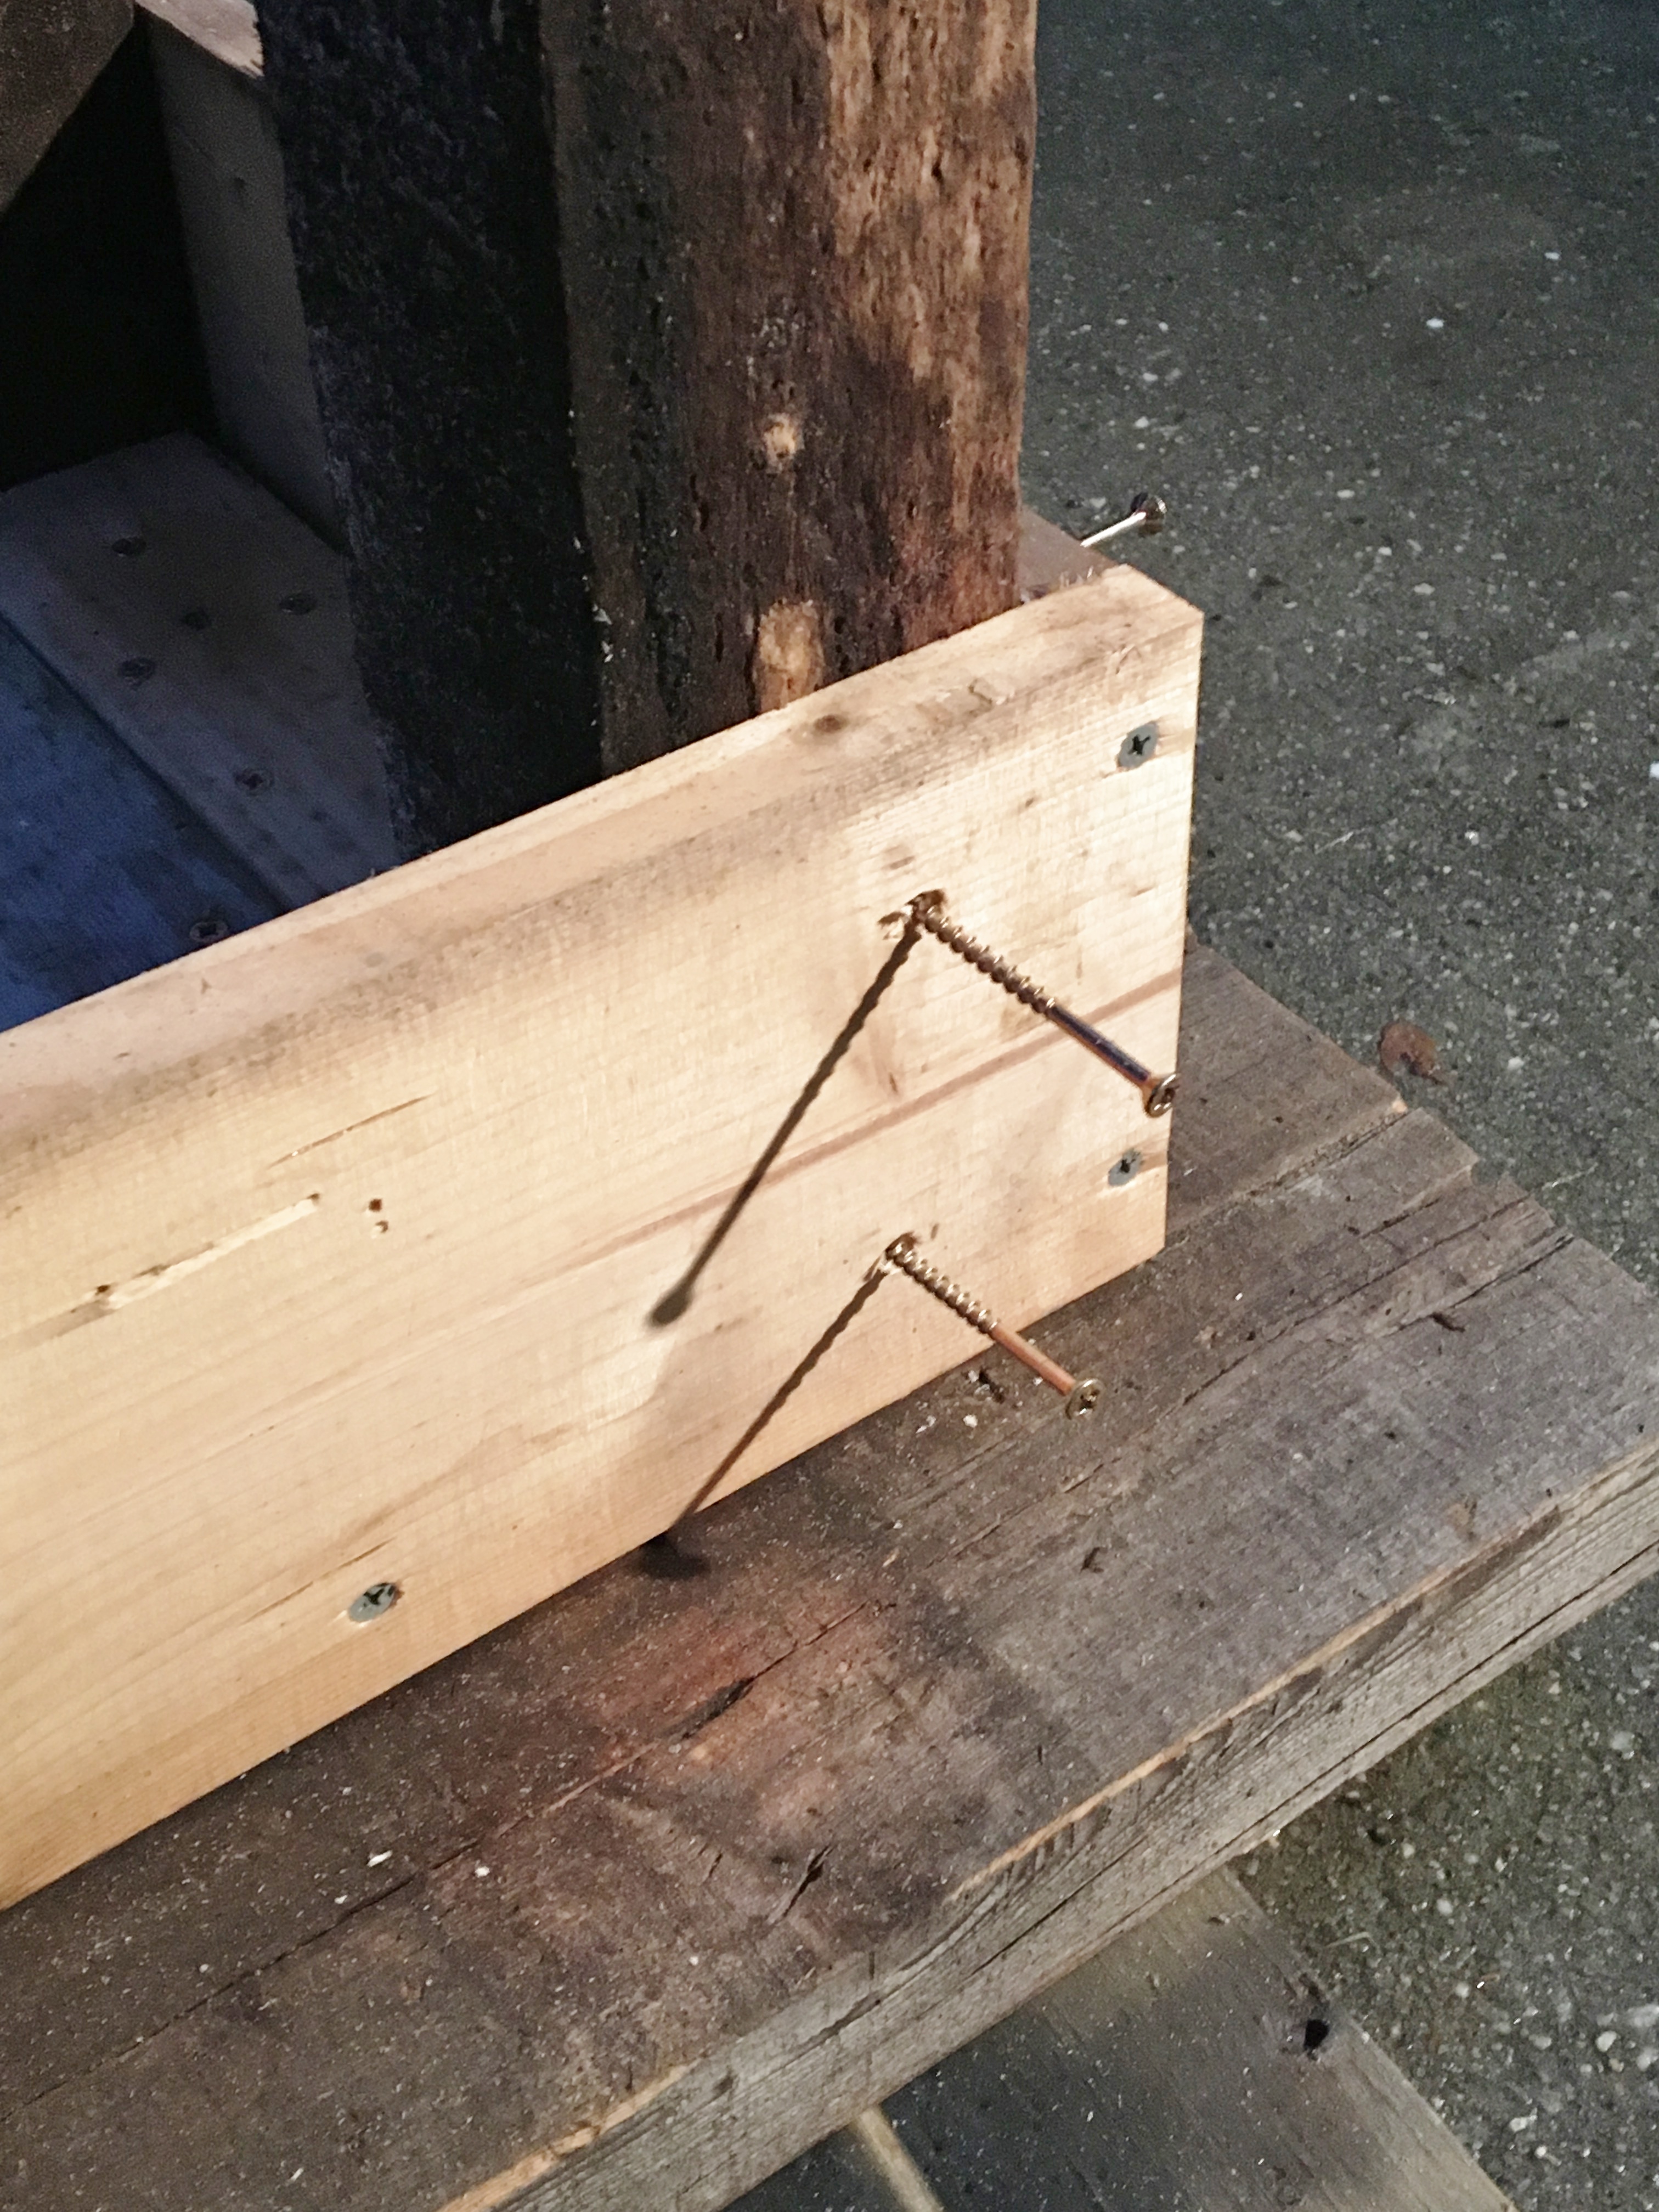
He attached them on both sides of the bib using long screws.
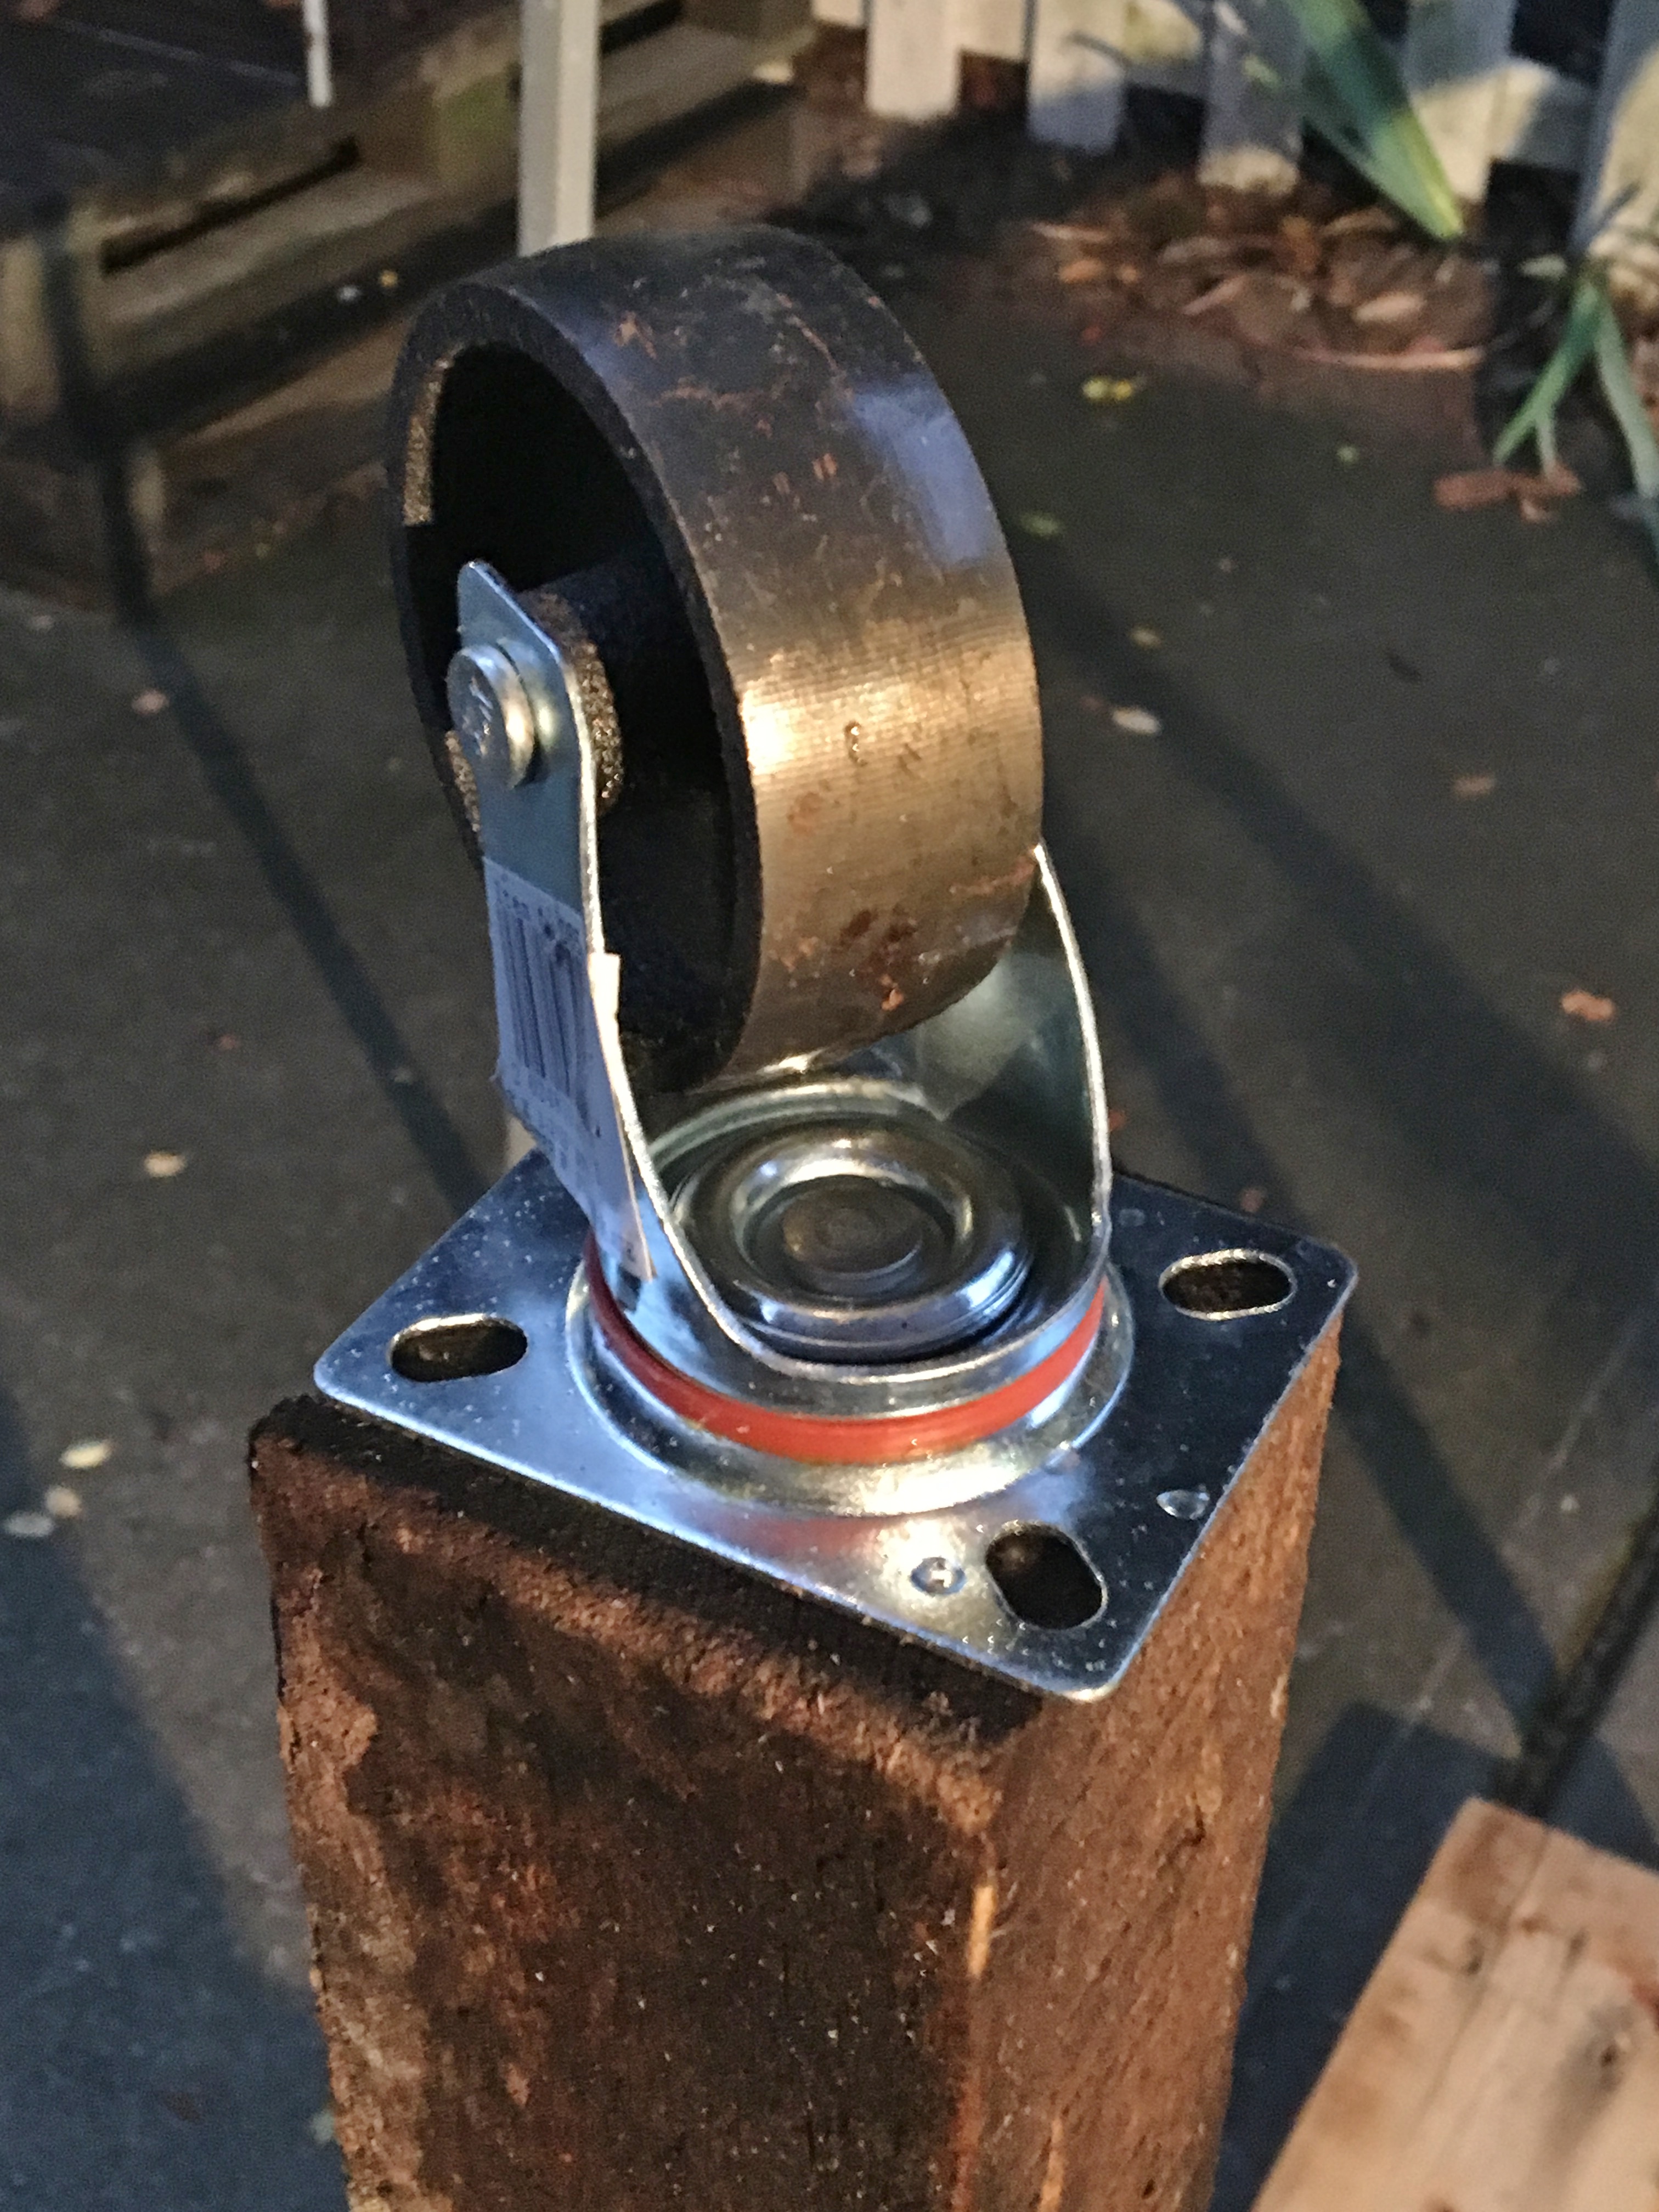
We attached four metal caster wheels to the bottom of the legs to make the table easier to move around if we needed to.
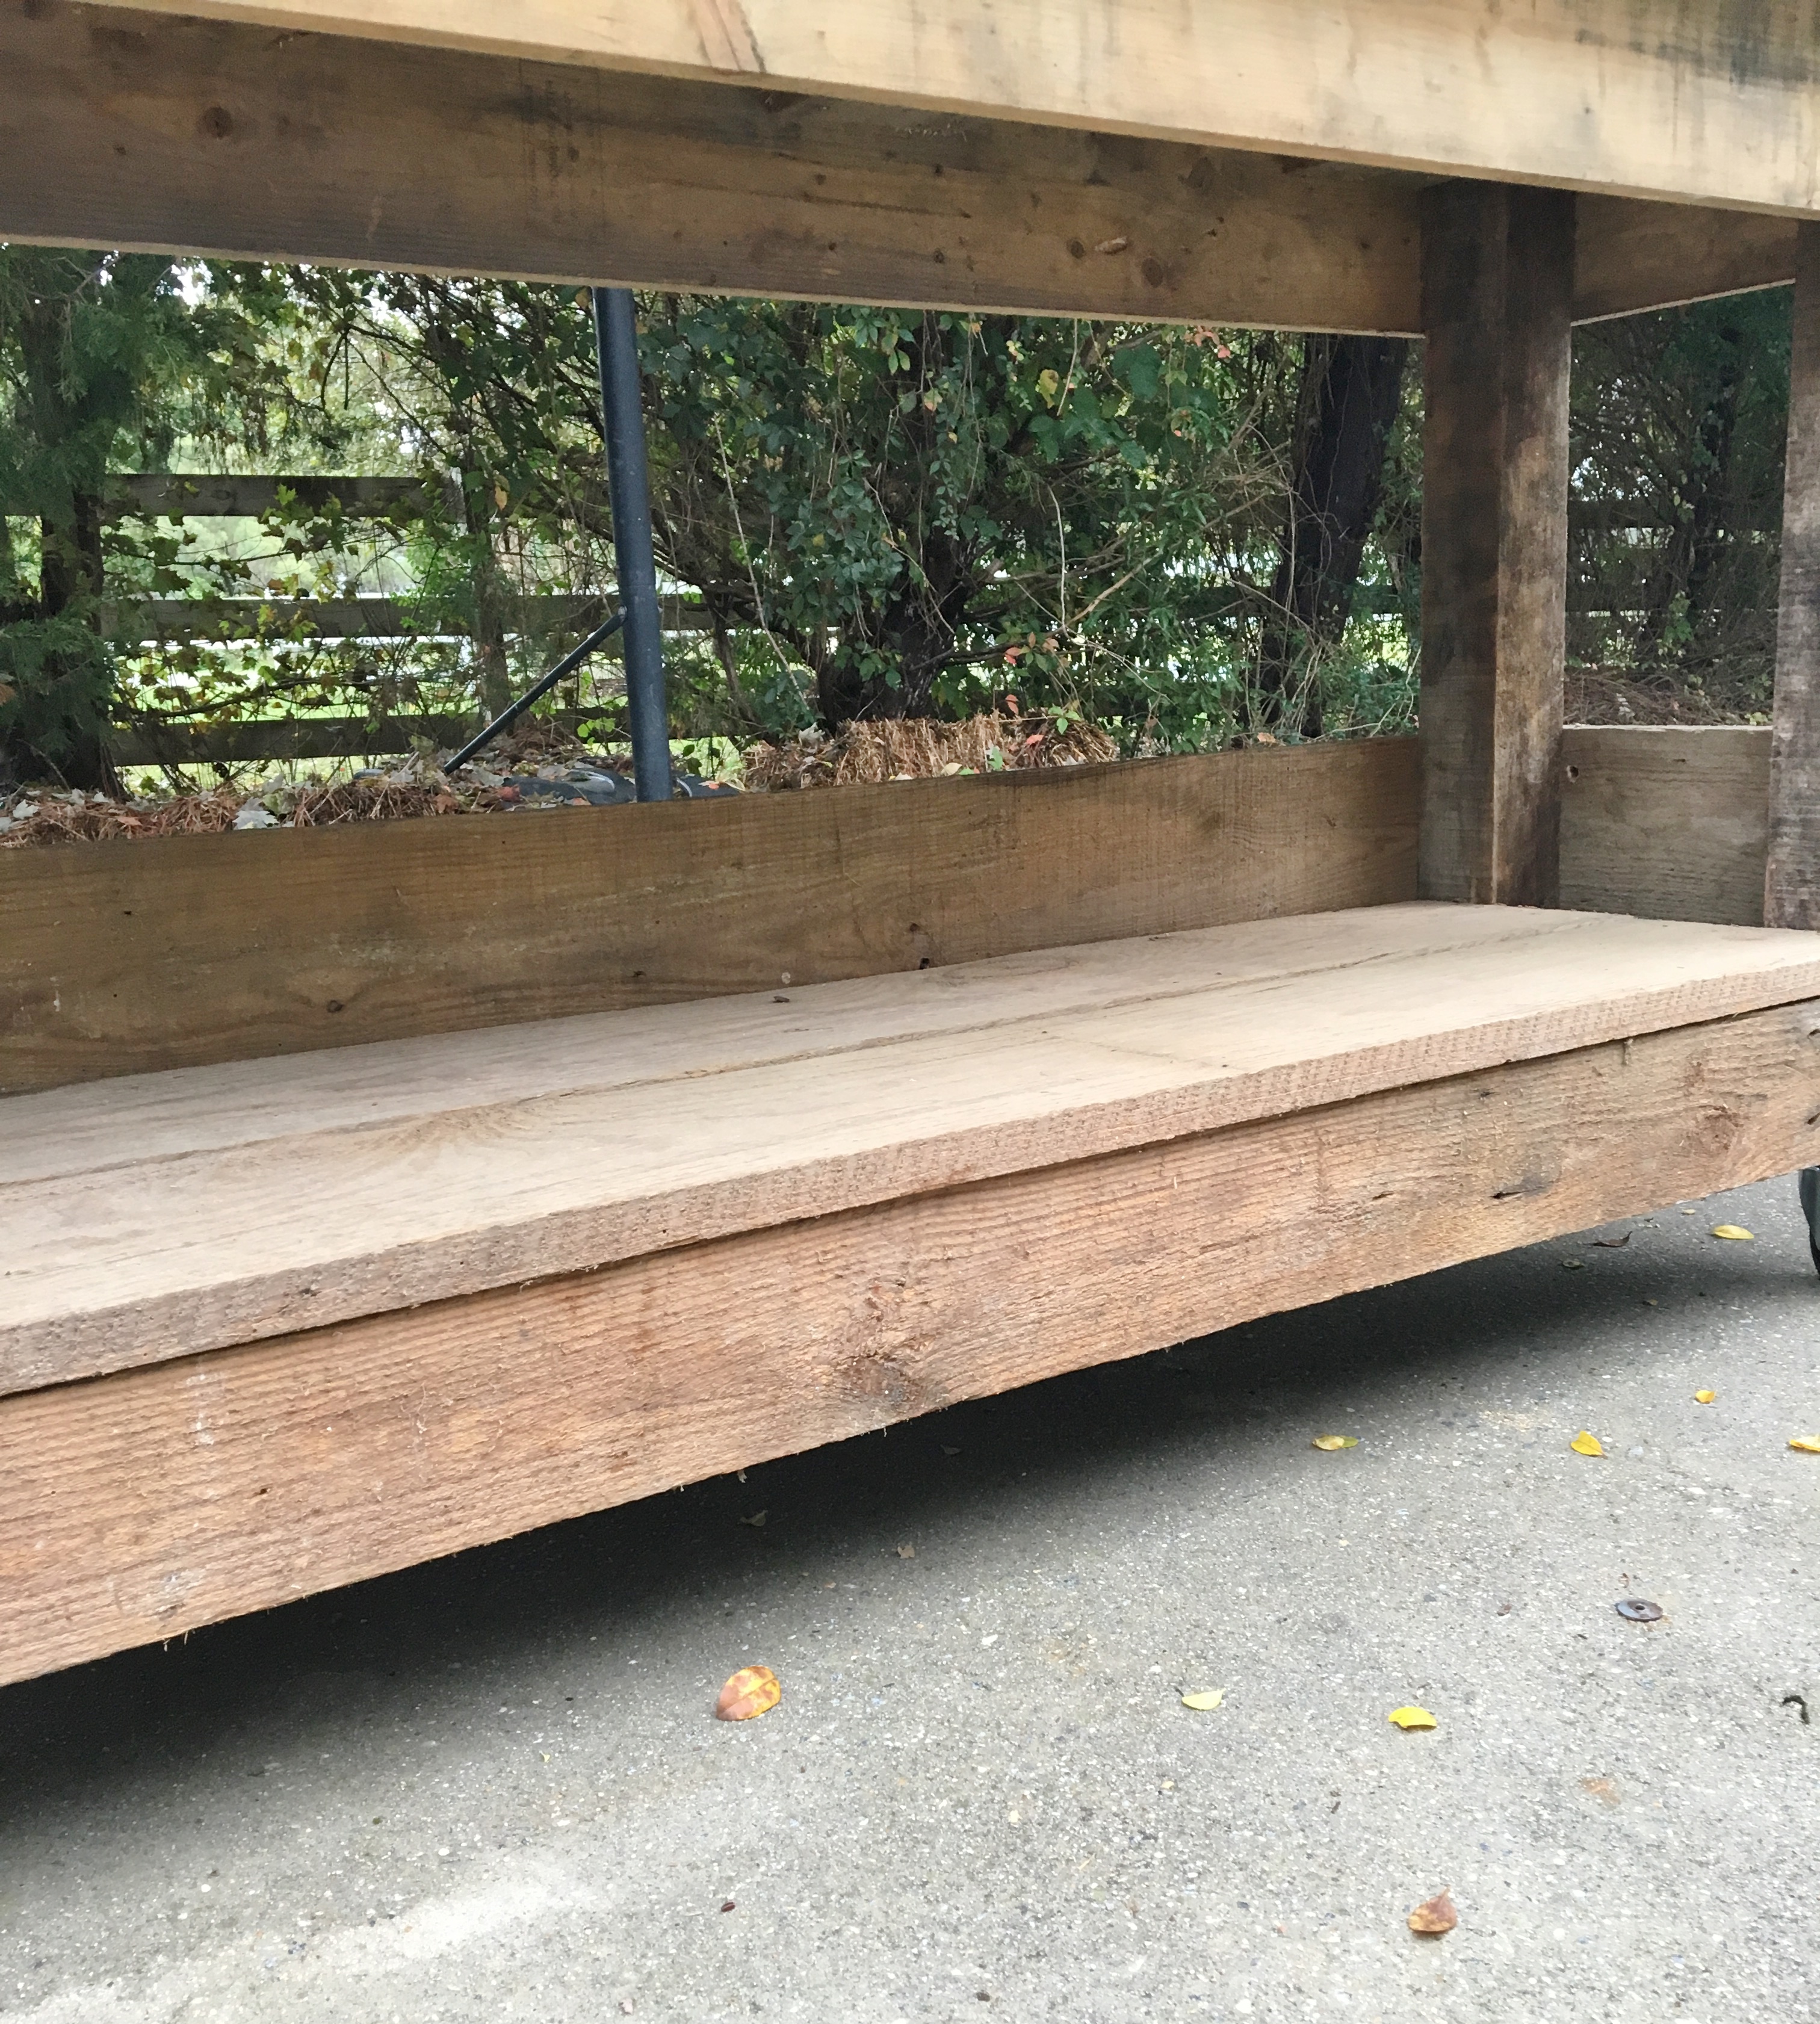
My Guy then attached a 1 x 1 board to the inside of each set of legs and cut a couple of old 1 x 6 boards to place on top for extra shelving.
Using some scrap wood, we framed out a ledge to run along the three sides of the bottom of the table.
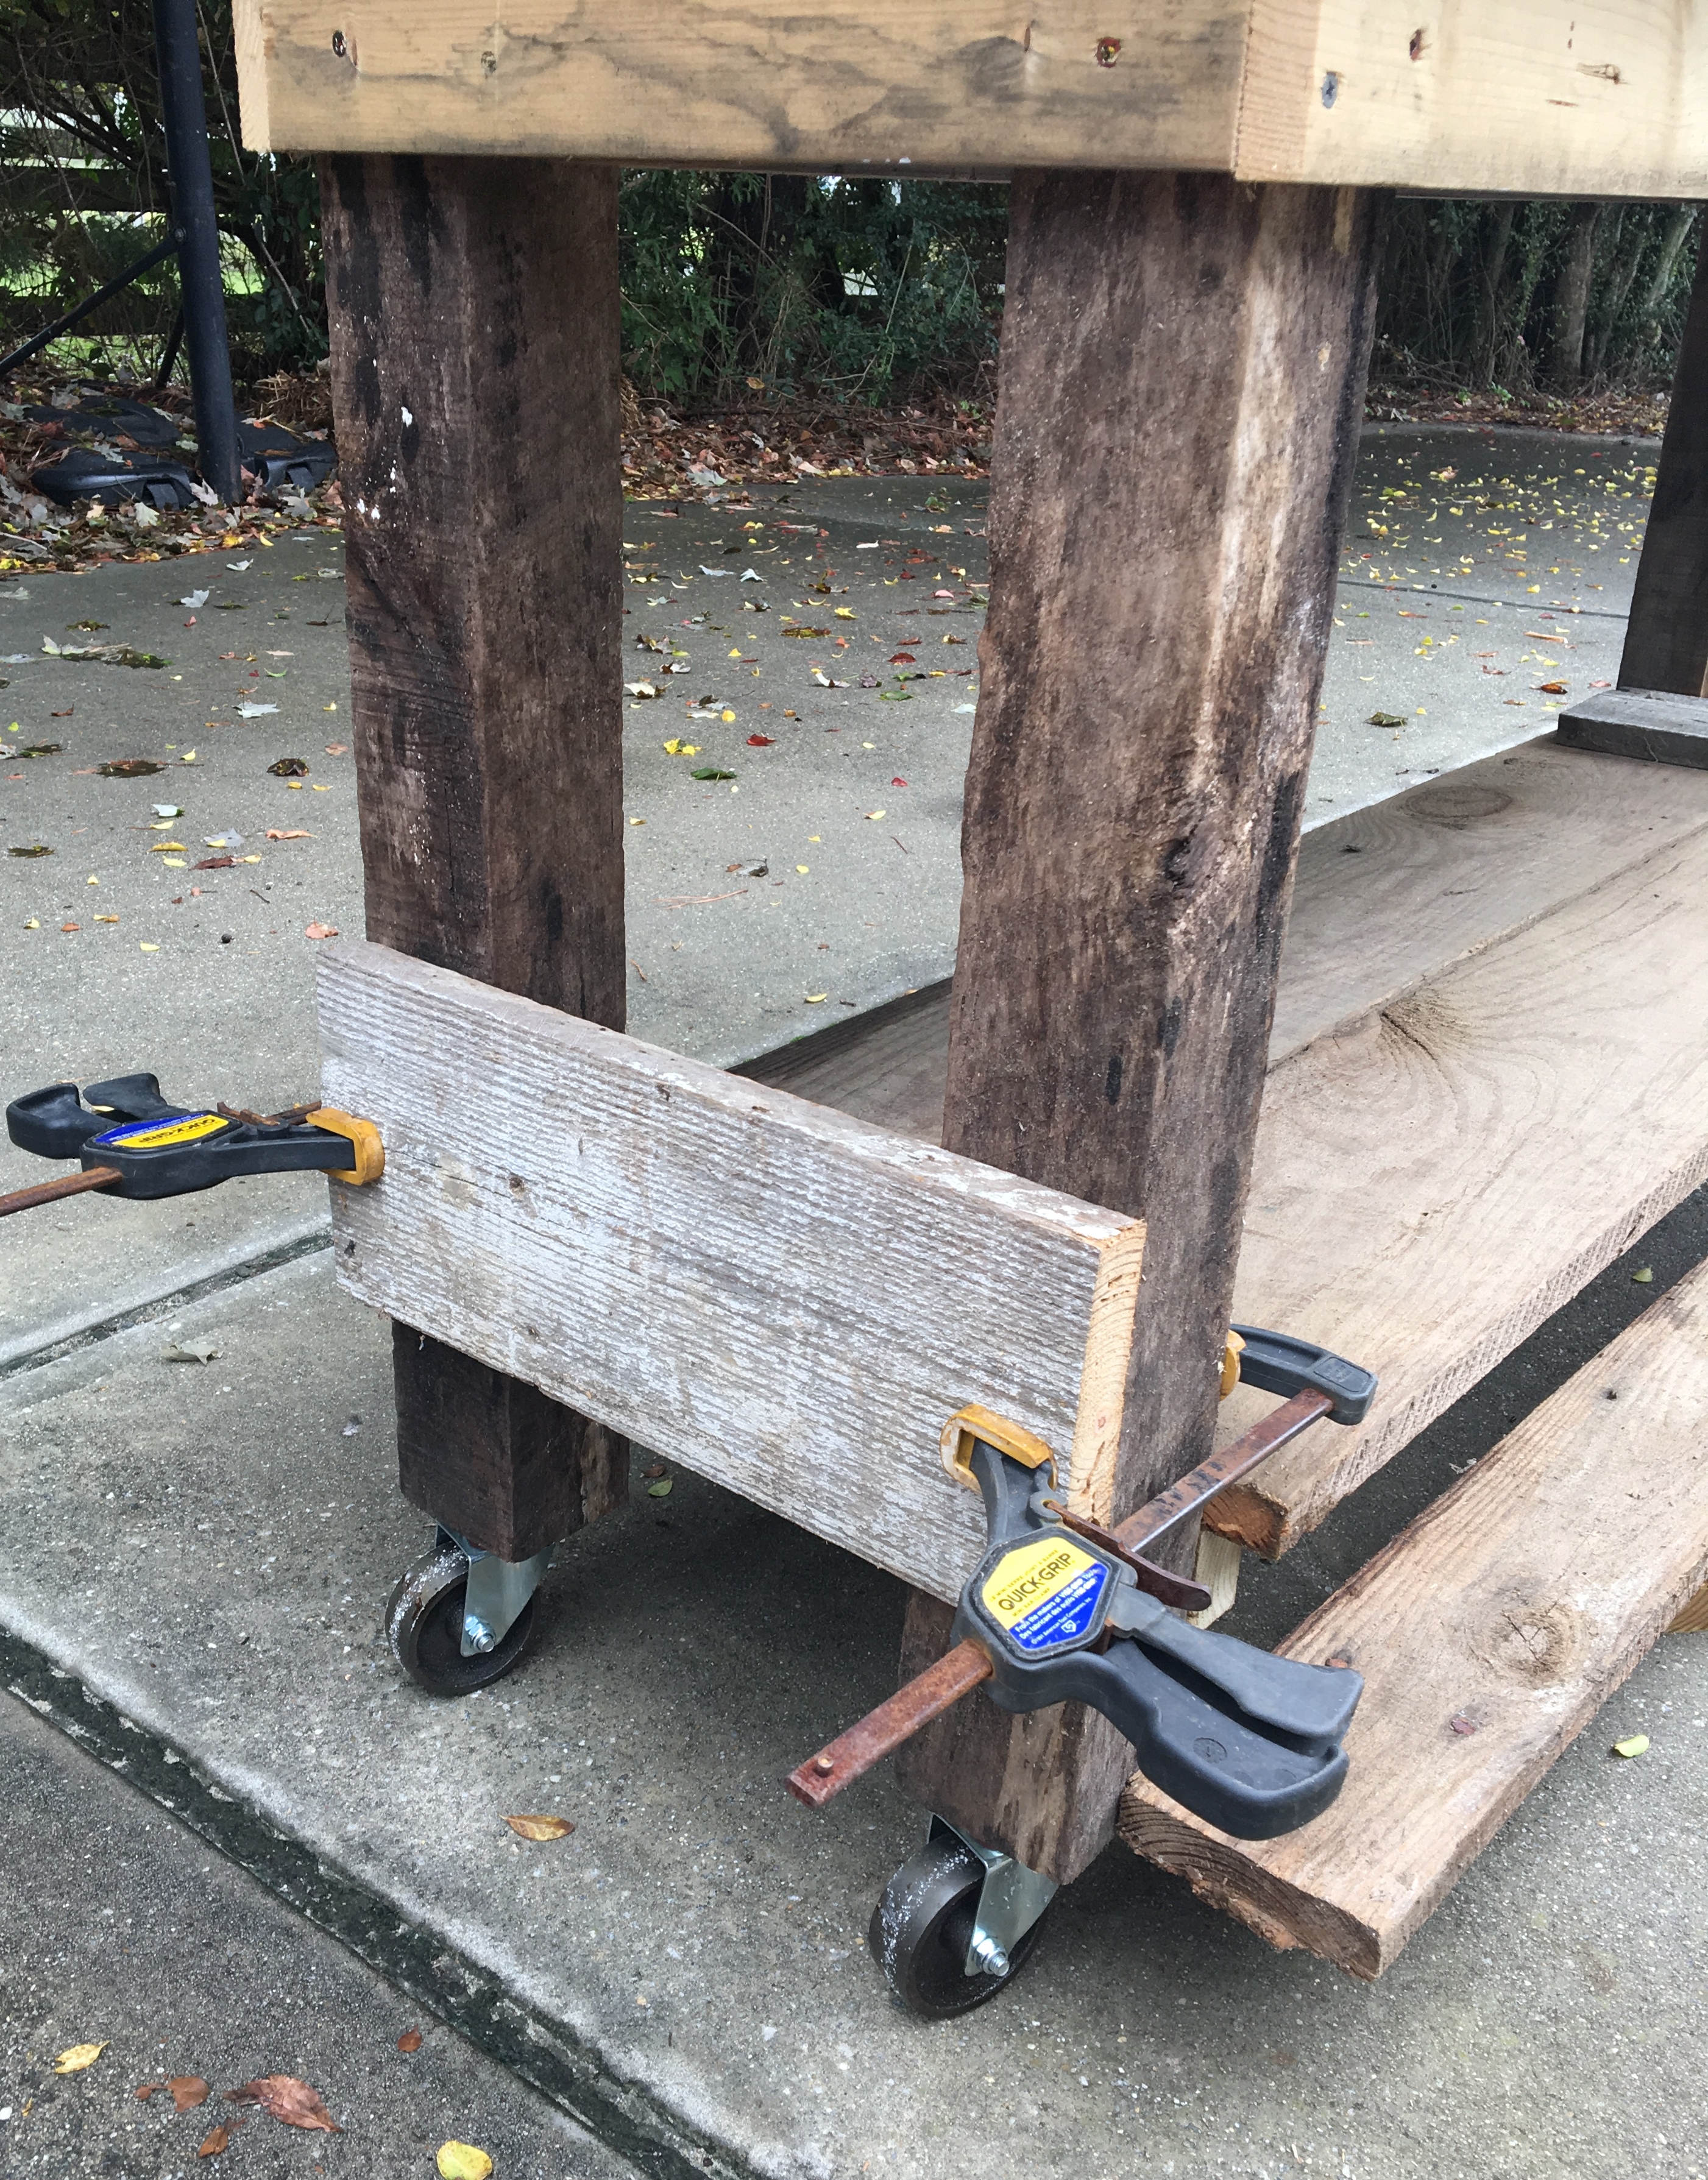

We attached another board along the bottom base to give it a more finished look.
Okay, this is turning into a long post so I will stop here since the construction part is done. I’ll share next week how we finished the look of the table should we actually get it done. You just can’t rush a good thing. Haha. We used only materials that we had on hand with the exception of the wheels and I couldn’t be more happy with how it’s turning out.
Thanks for stopping by and come back next week to see how it all turns out.
![]()