
Getting That Weathered Look
Hey Everyone! Today I’m back with a “How To” post. Let me start out by saying that most of what I do is really a matter of trial and error. This explains how many times I have painted different rooms in our home. I’m pretty sure I am down a few square inches since we’ve built our home but on the bright side, our walls are very sturdy and practically sound proof at this point.
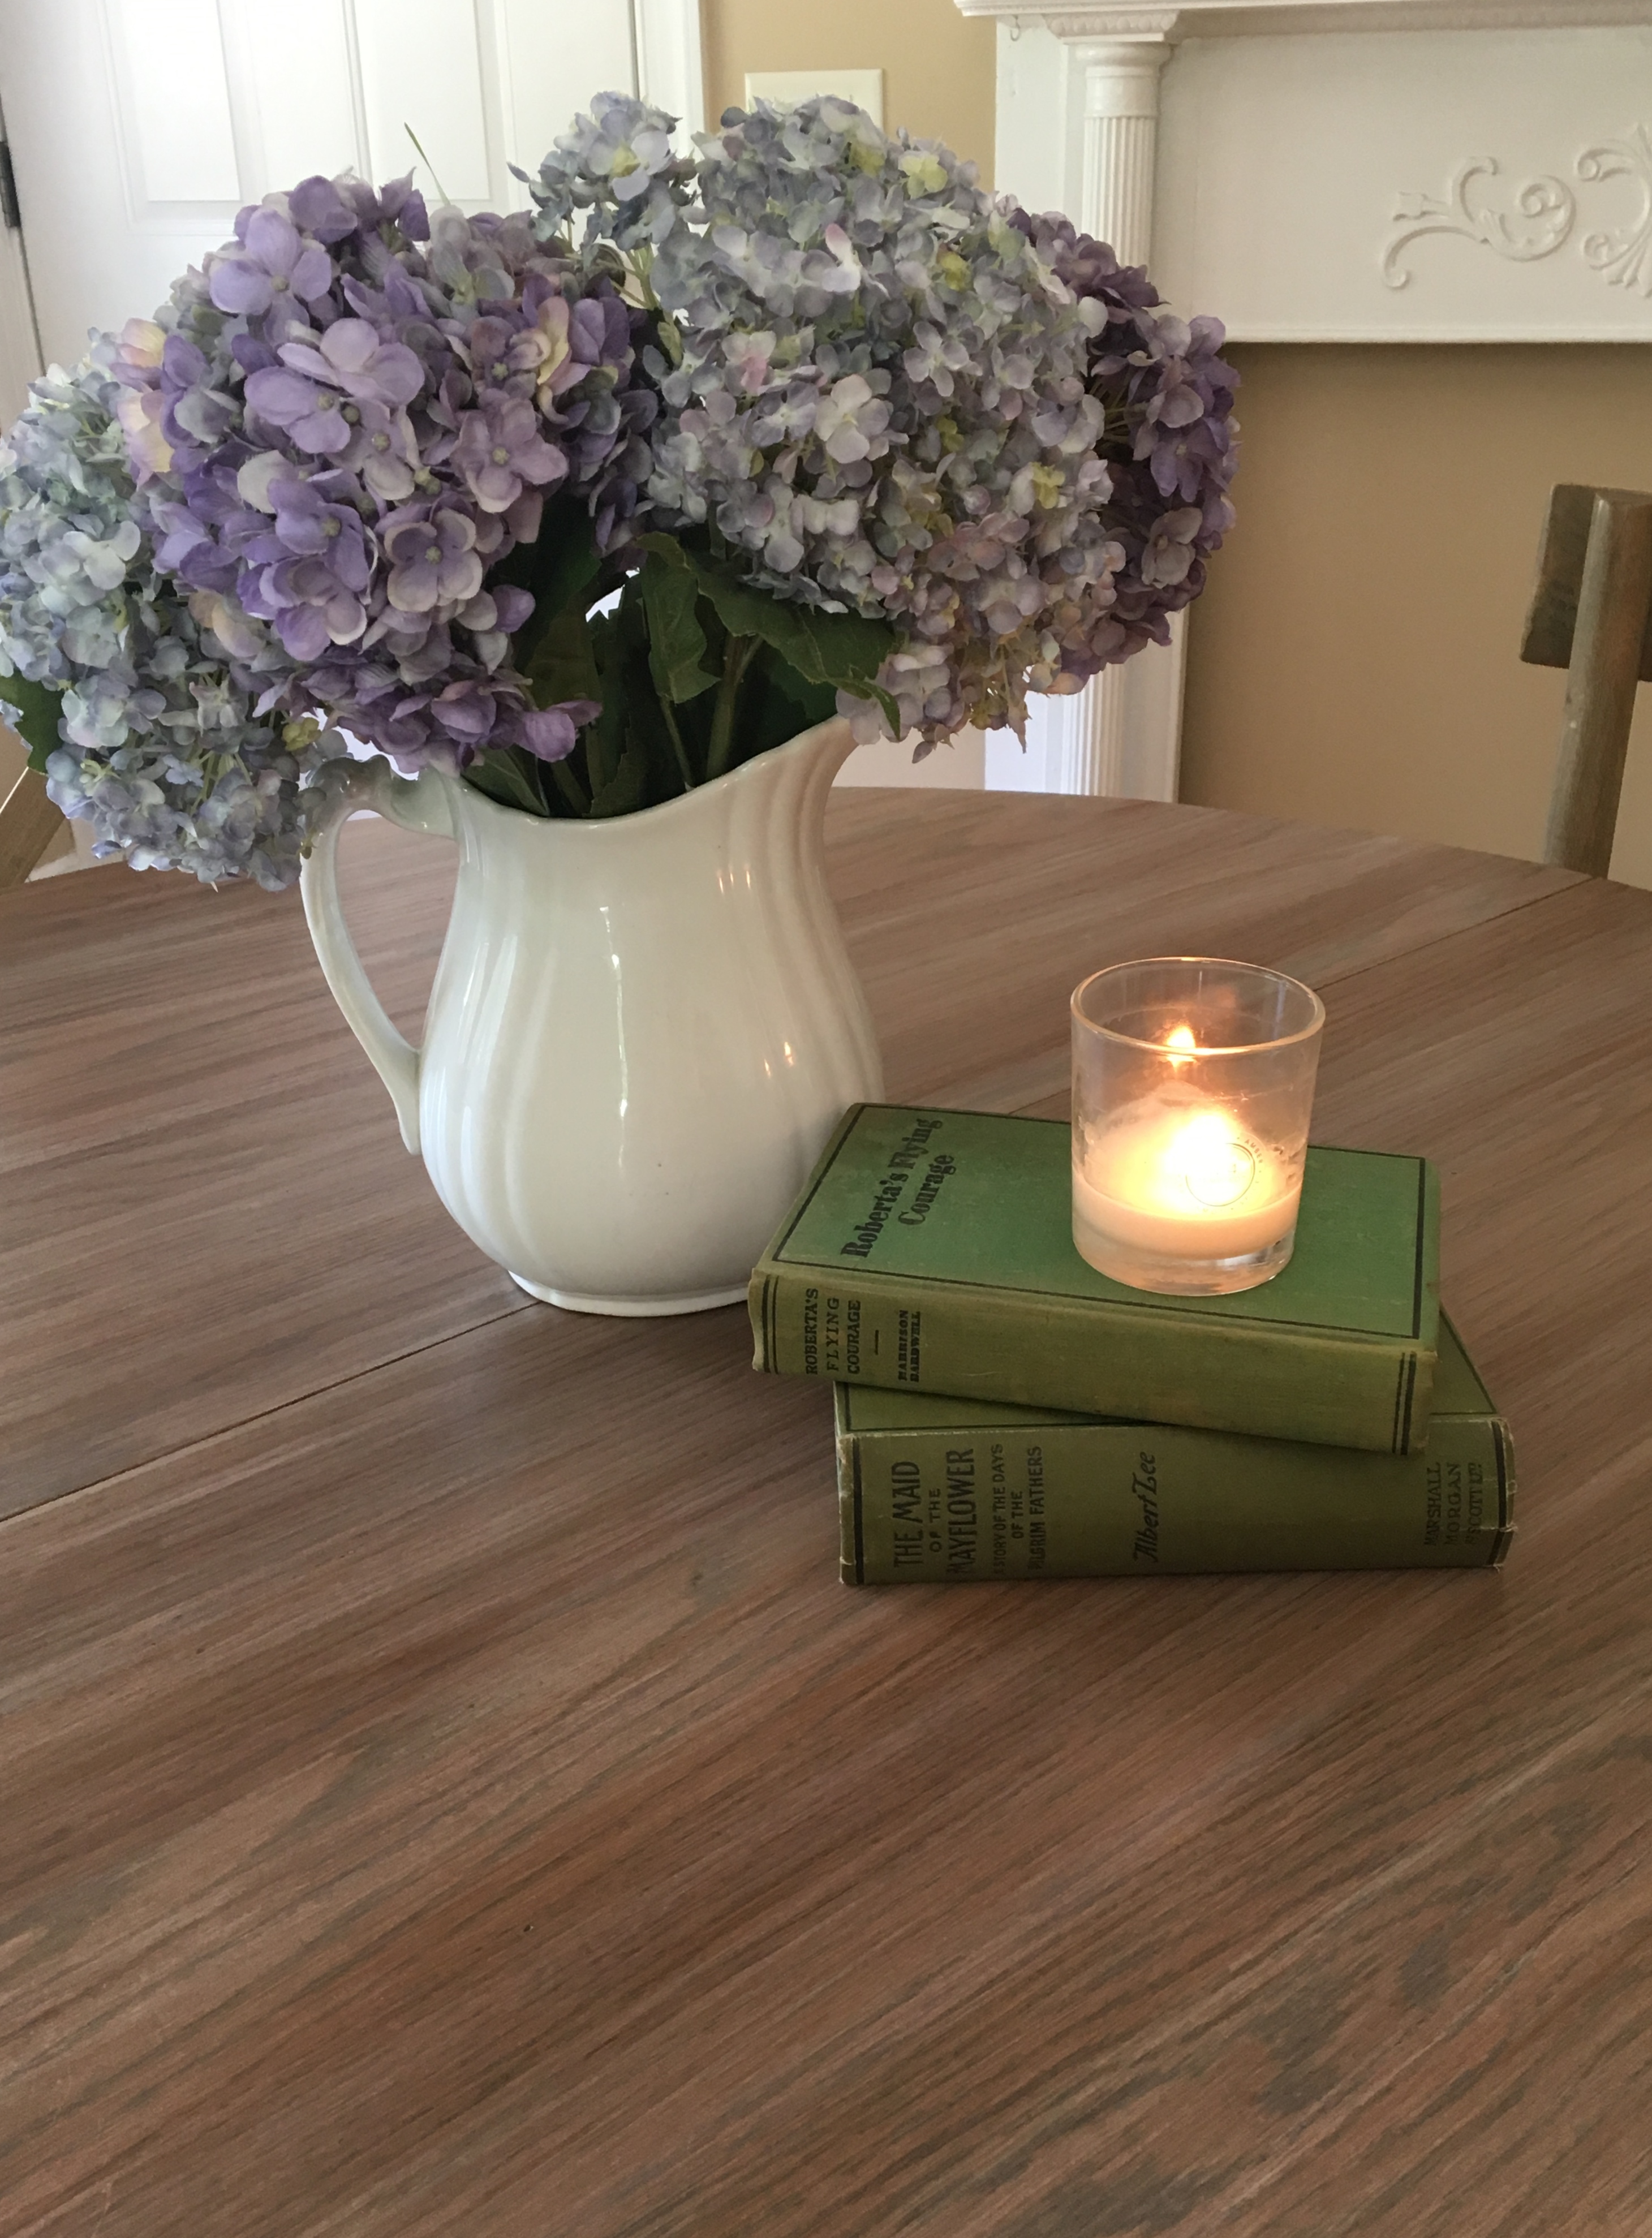
With that being said, on to the post. I love, love, love weathered wood. It has such a time worn look. The look of something that has been around for years and years and if it could talk, it would have a lot of stories to tell. It’s unpolished, relaxed and casual. Just the feel I want in our home.
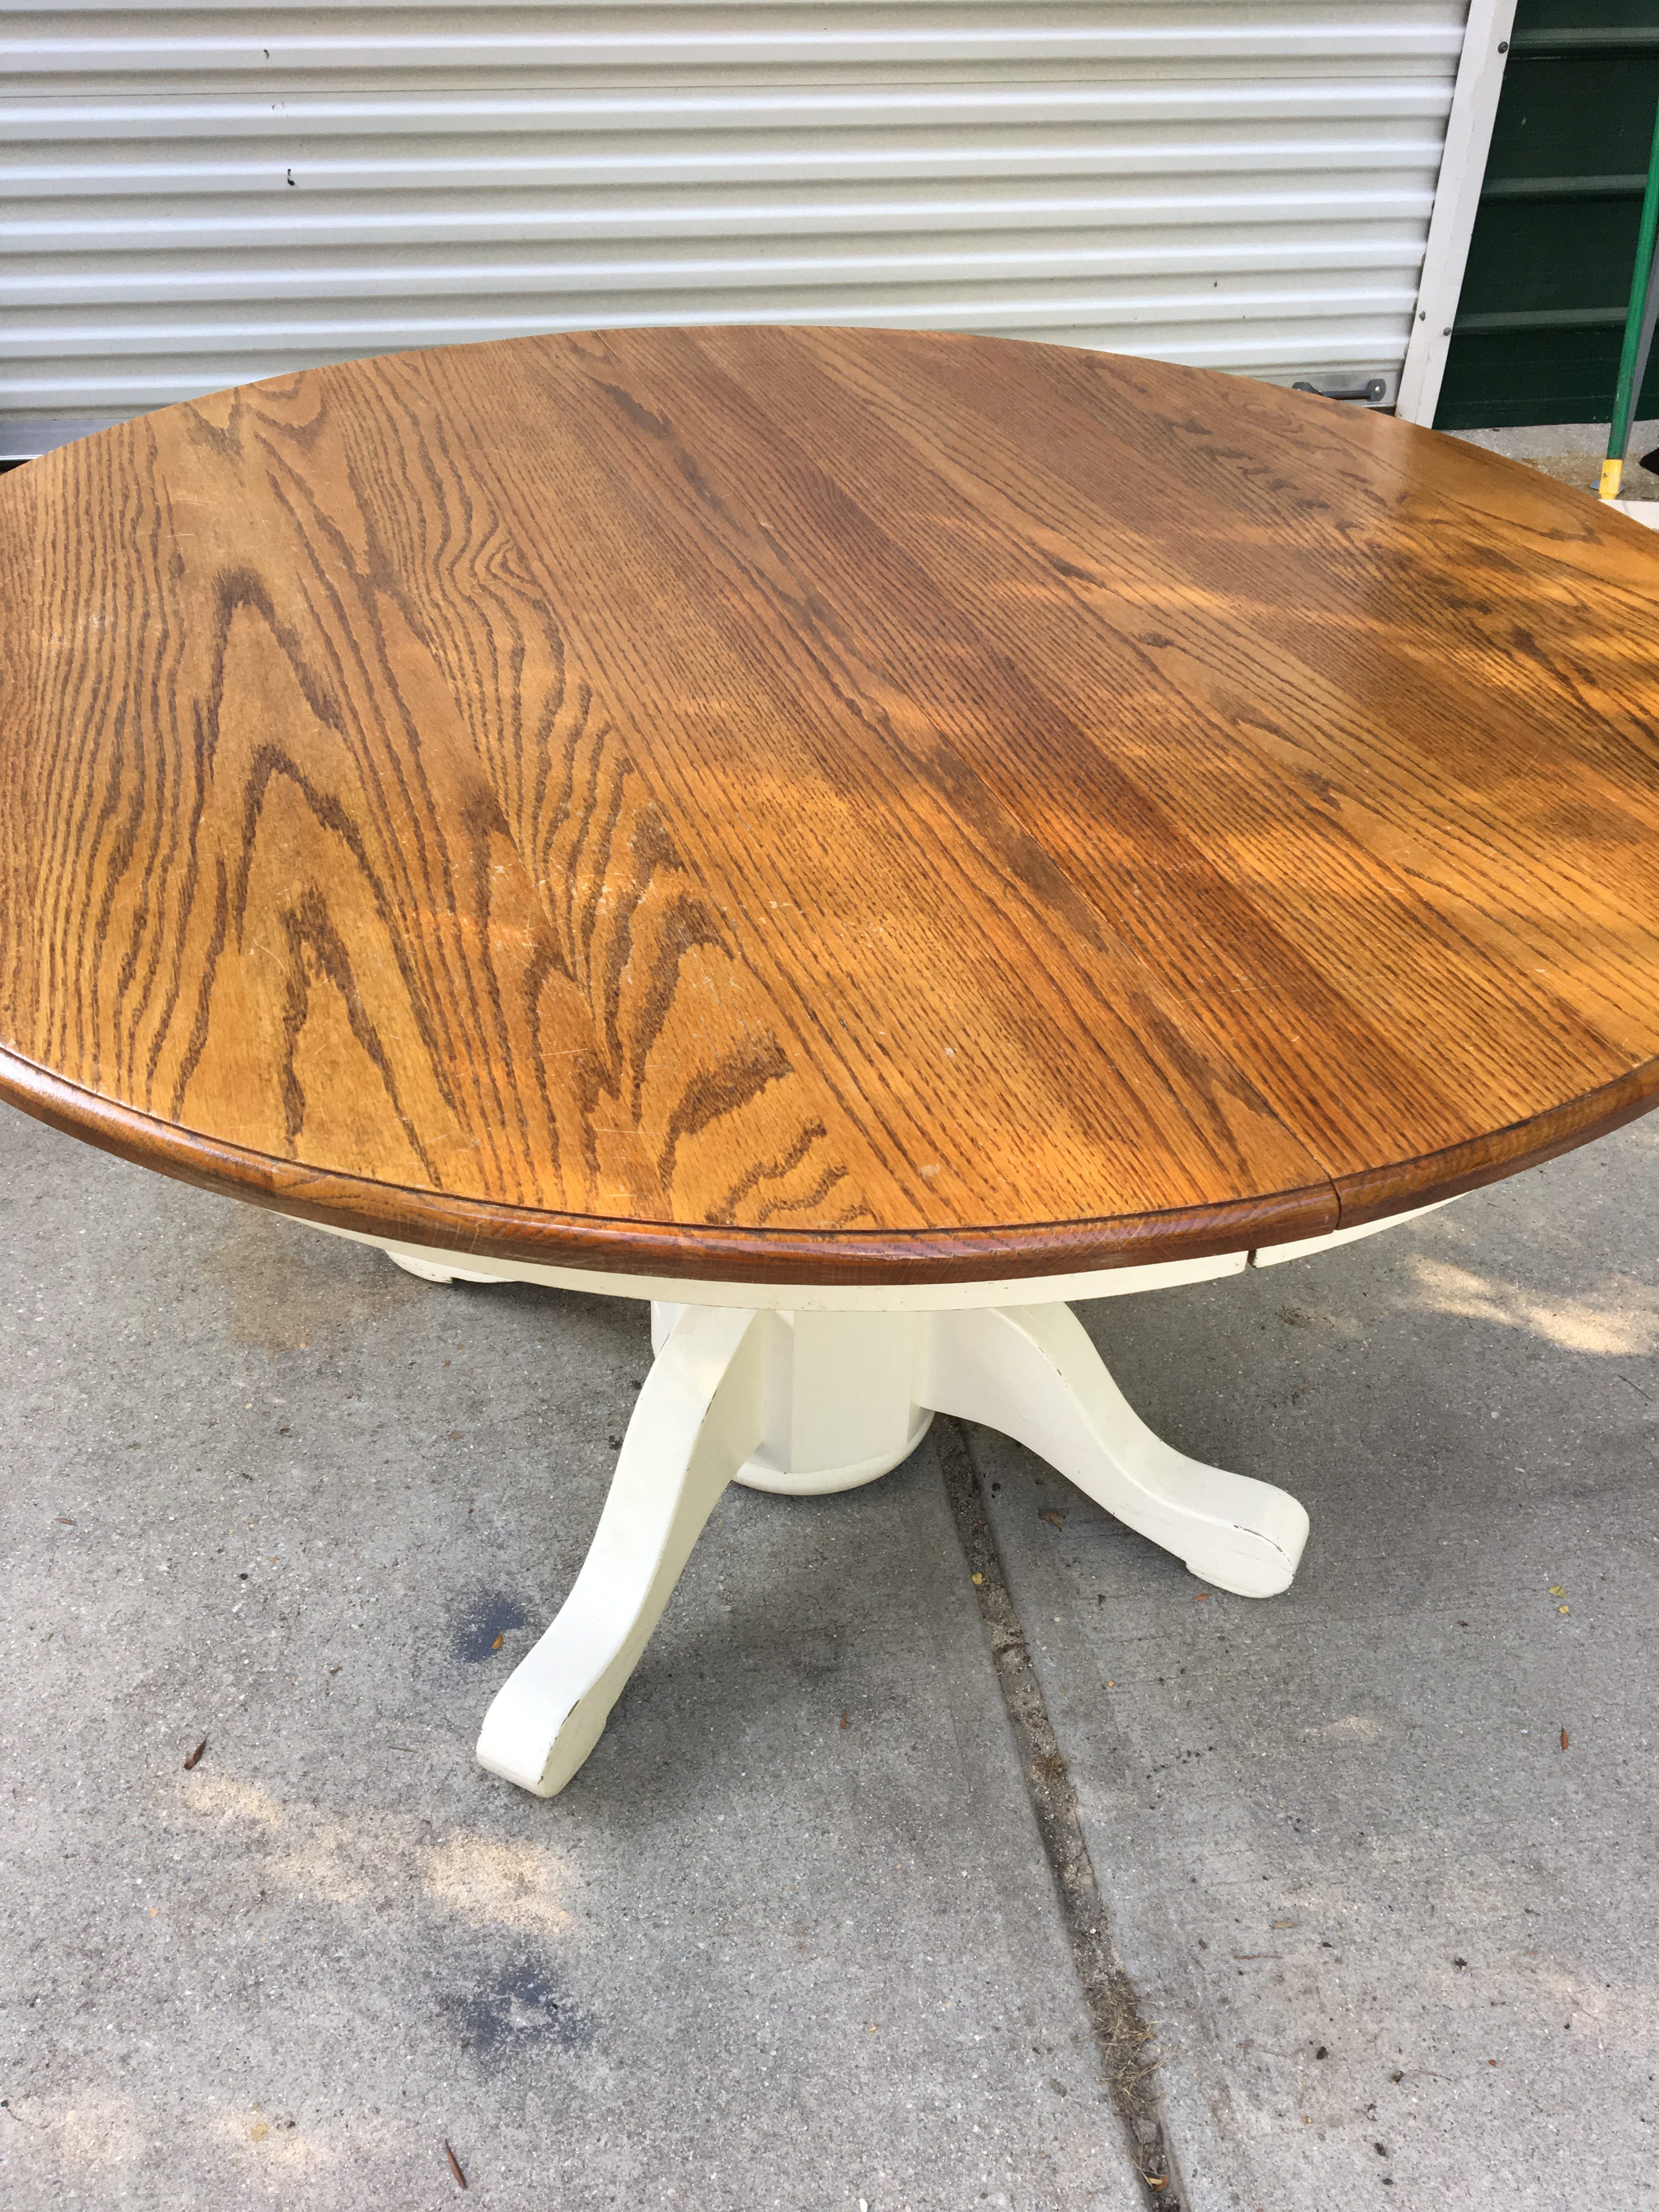
We have a pedestal table that was our very first kitchen table. ( if you don’t count the tablecloth covered drawing table that we used in our first year of marriage.) It is solid oak and has a beautiful shape. We had used it for years until we built a farmhouse table which seats a very crowded eight people although we have been known to squeeze ten around it. Our family is getting nothing but bigger so I wanted to keep our pedestal table to use on our back porch however it didn’t look good with our chairs. So after some trial and error, I am very pleased with how it turned out. Also, did I mention that it was super easy and pretty cheap too?
Step 1: Ask Super Handsome Son to help you carry the table outside then watch him sling it over his shoulder and walk outside like it’s nothing.

(This is my youngest son, Devon. He’s a beast and works very hard at it. If his career in the automotive business doesn’t work out, I’m pretty sure he would have a promising future in the furniture moving business. I just love his smile!)

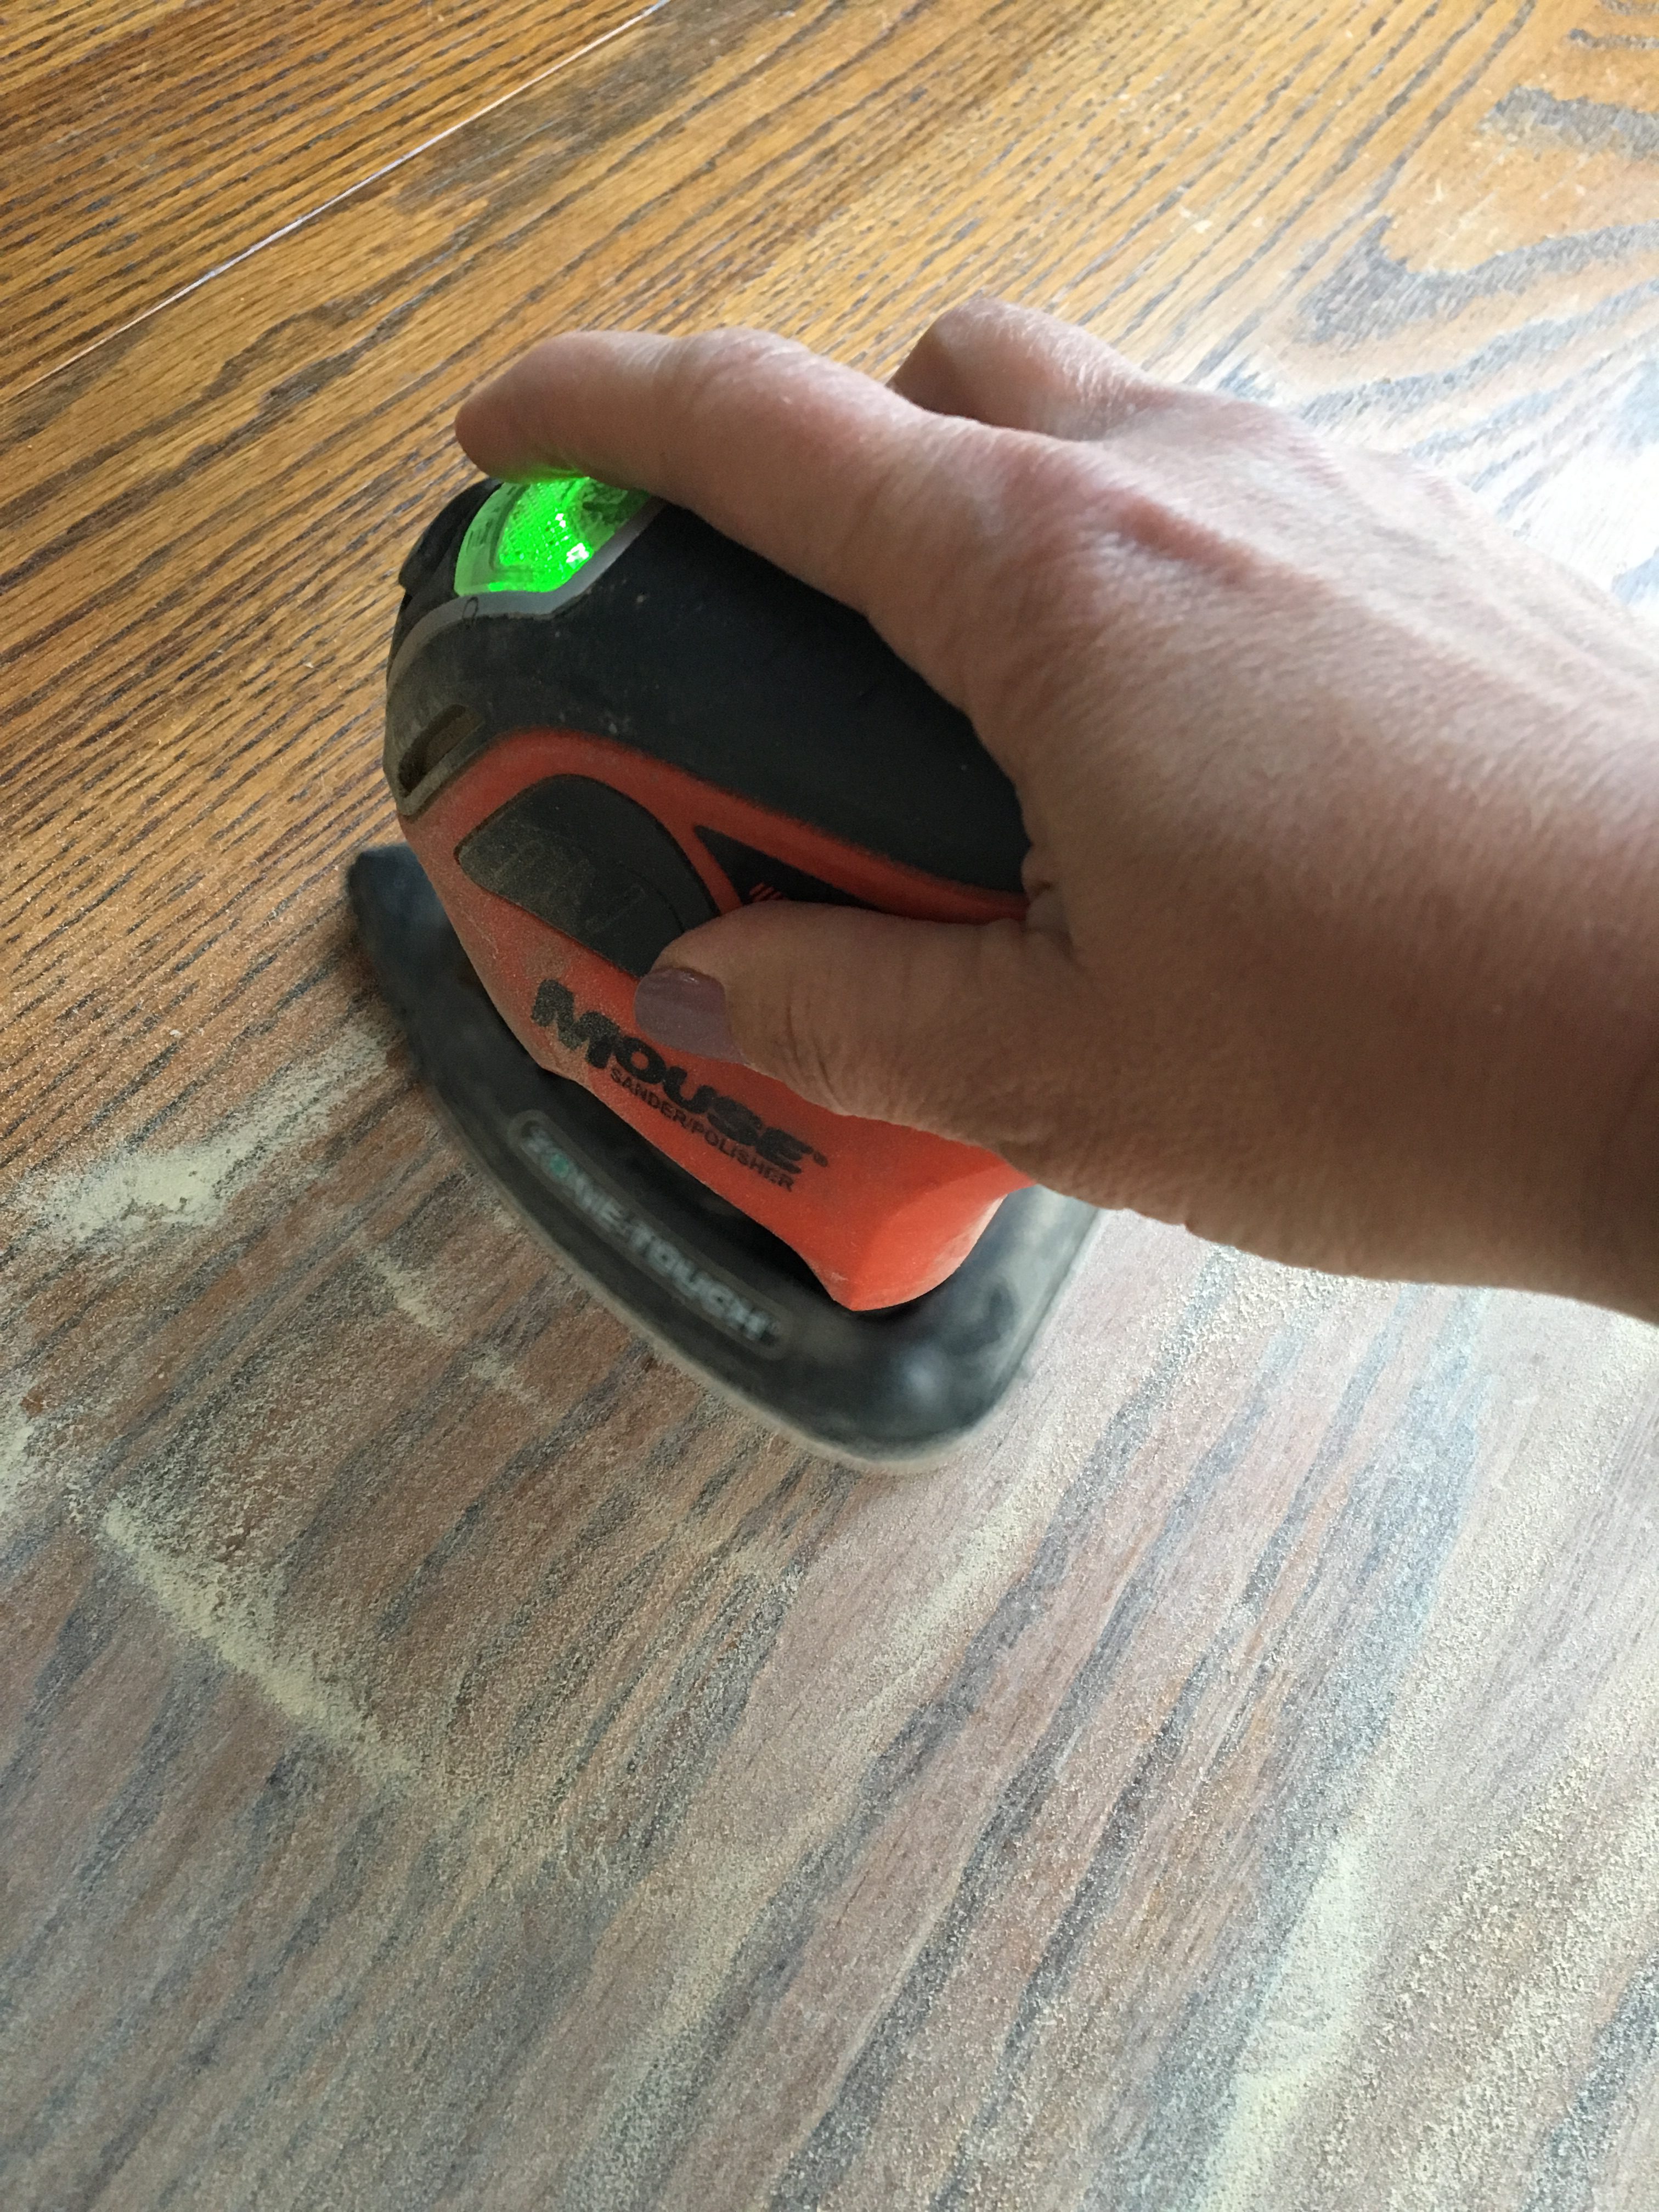
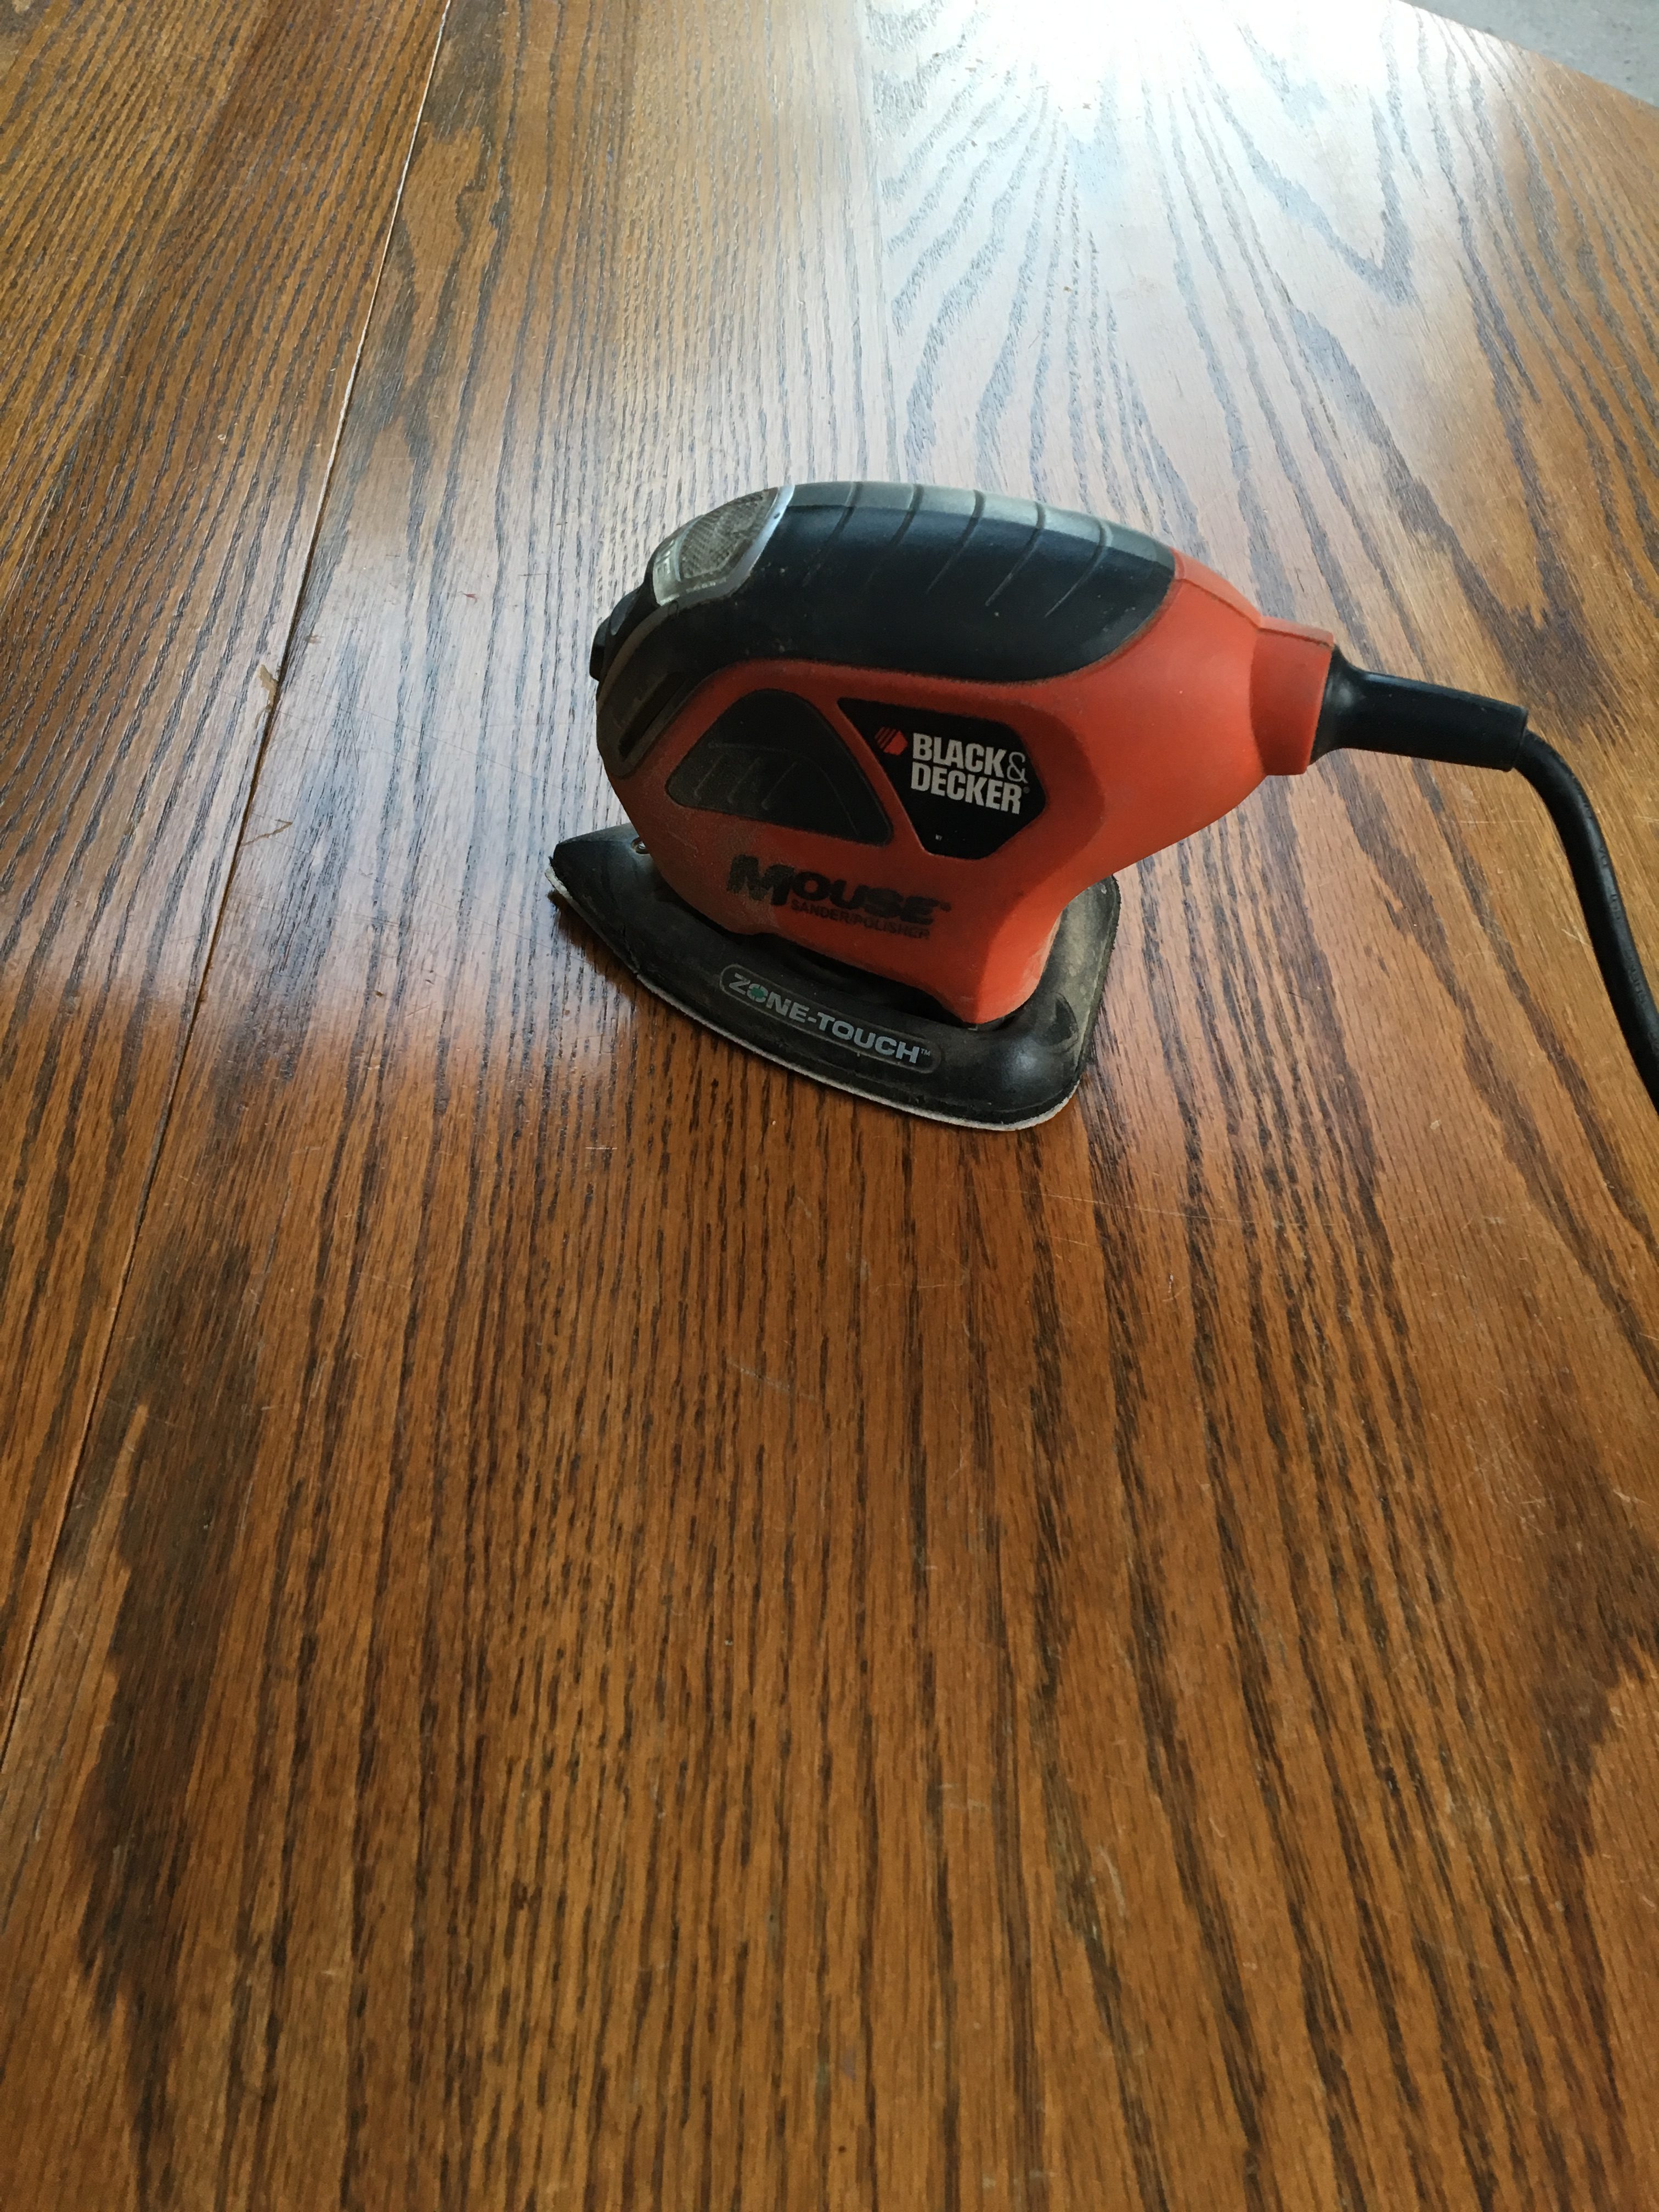
Step 2: Sand the surface you are wanting to refinish.
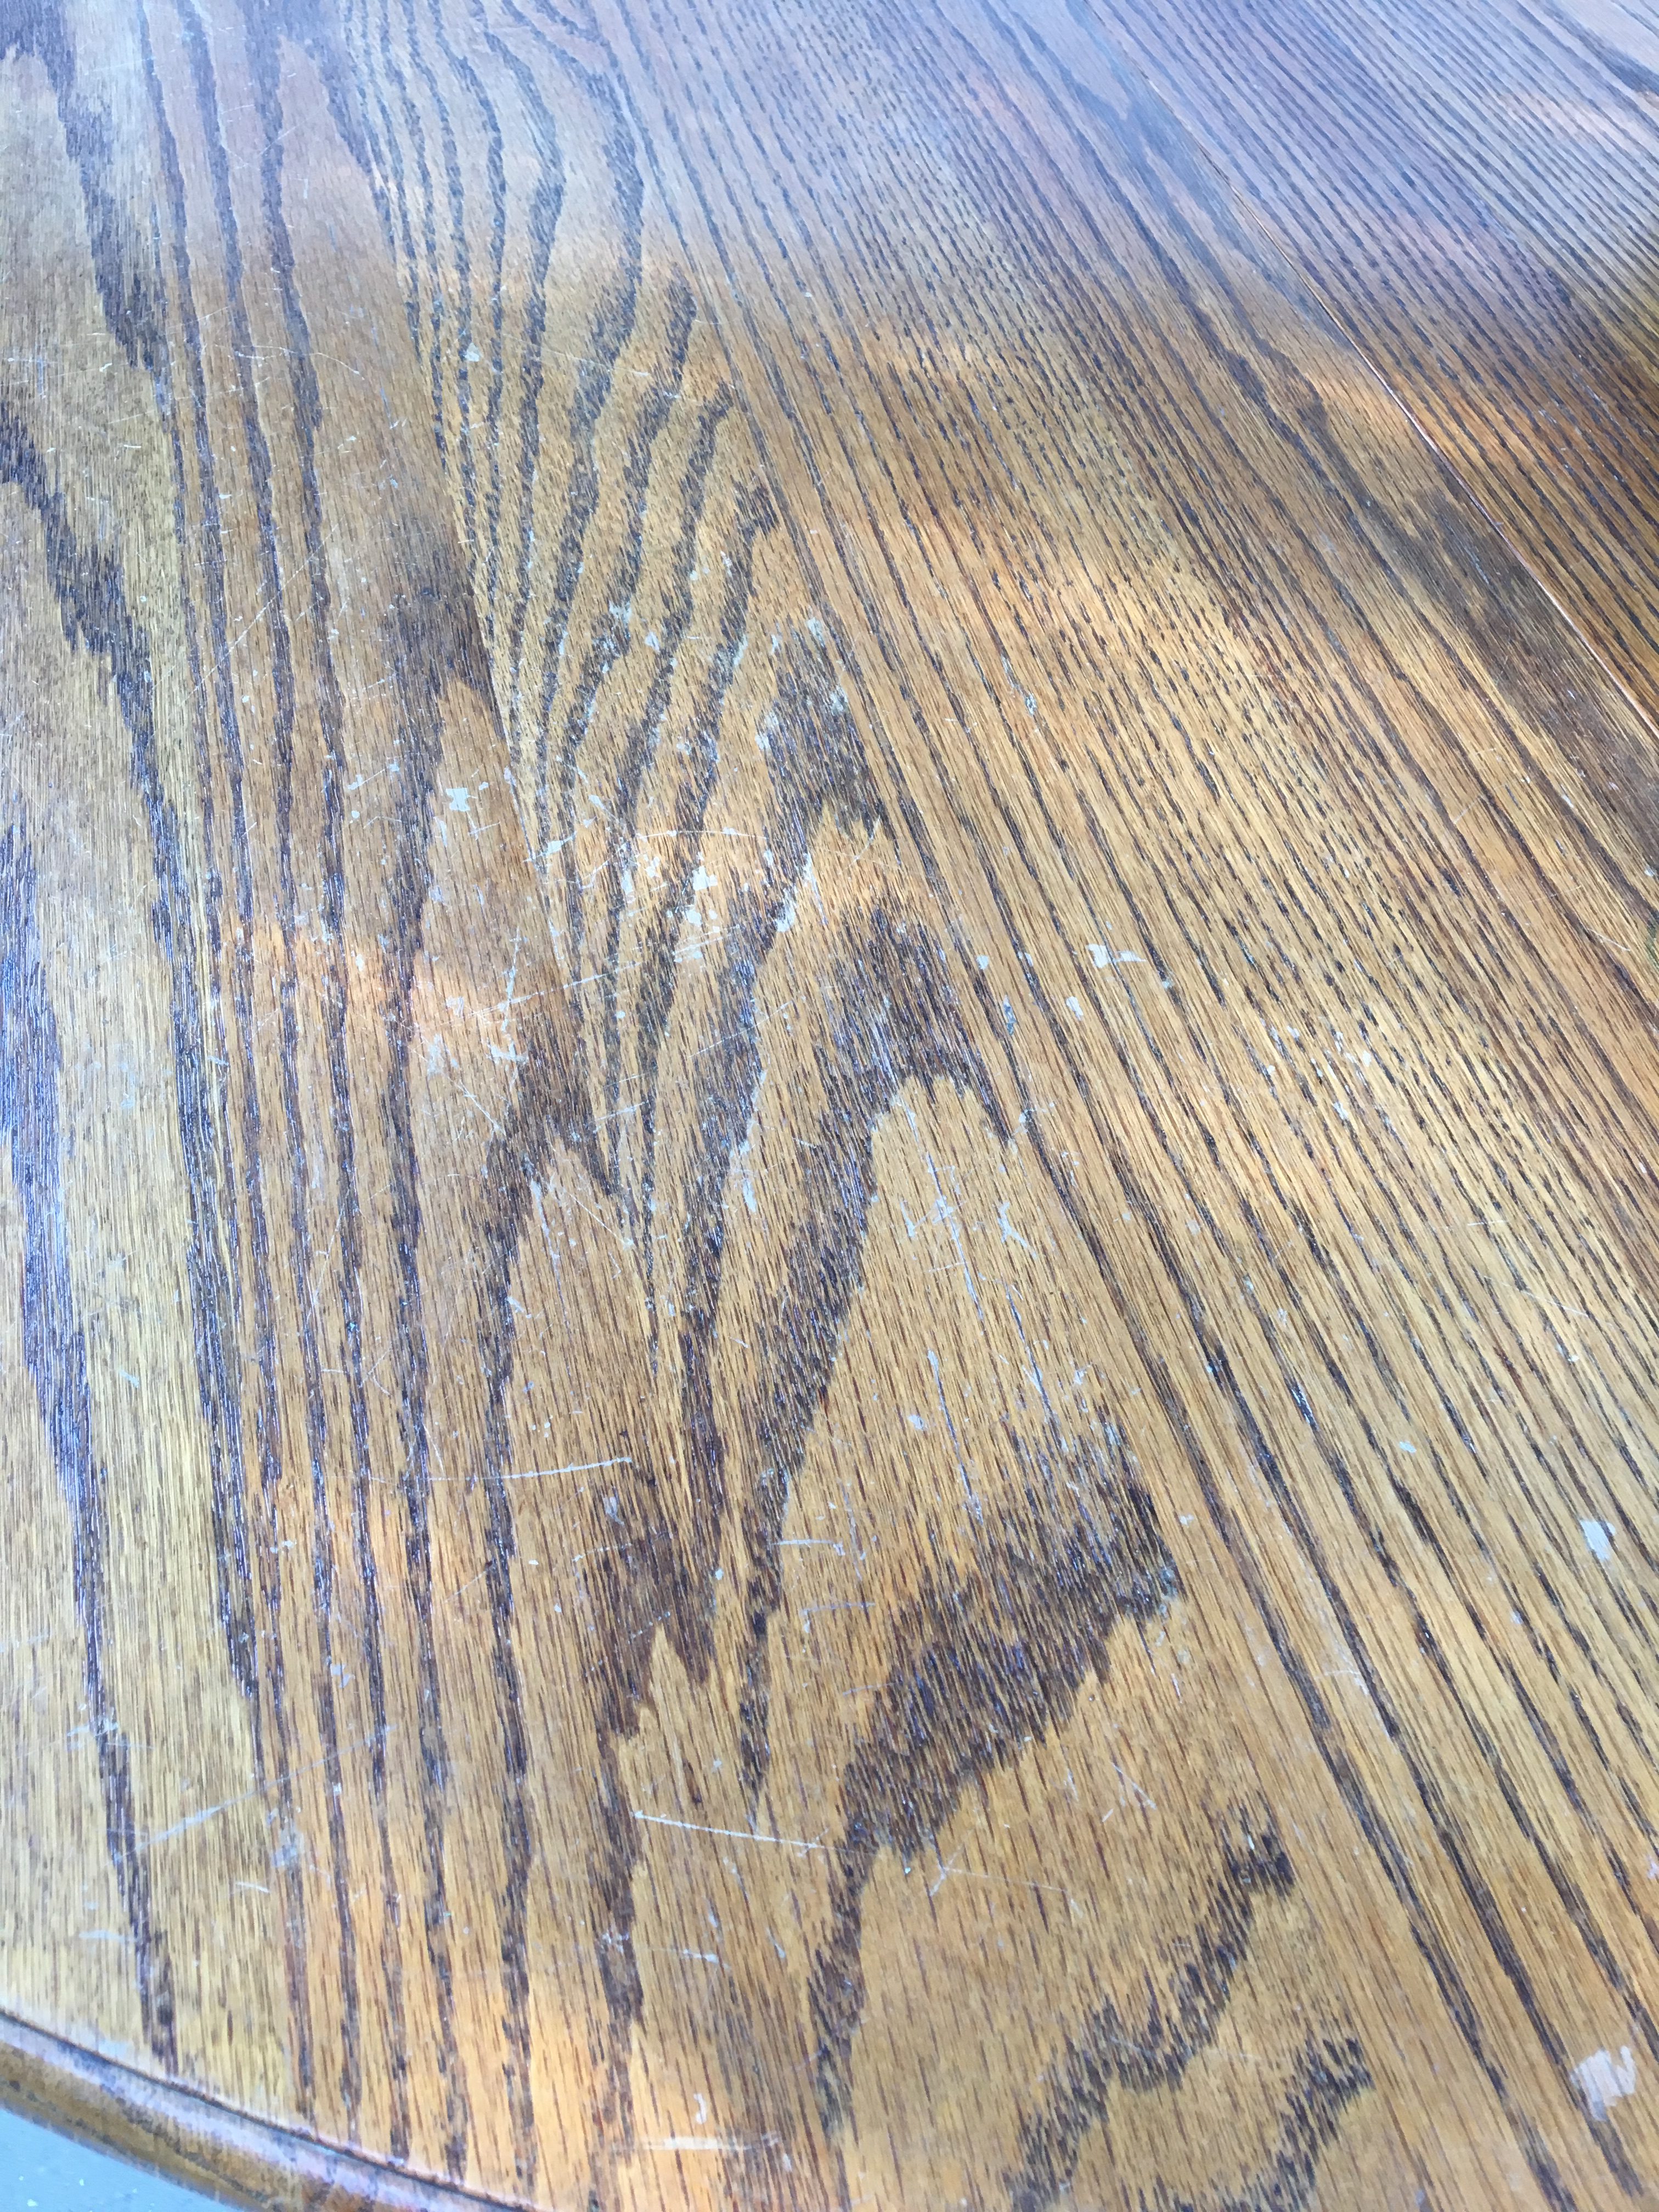
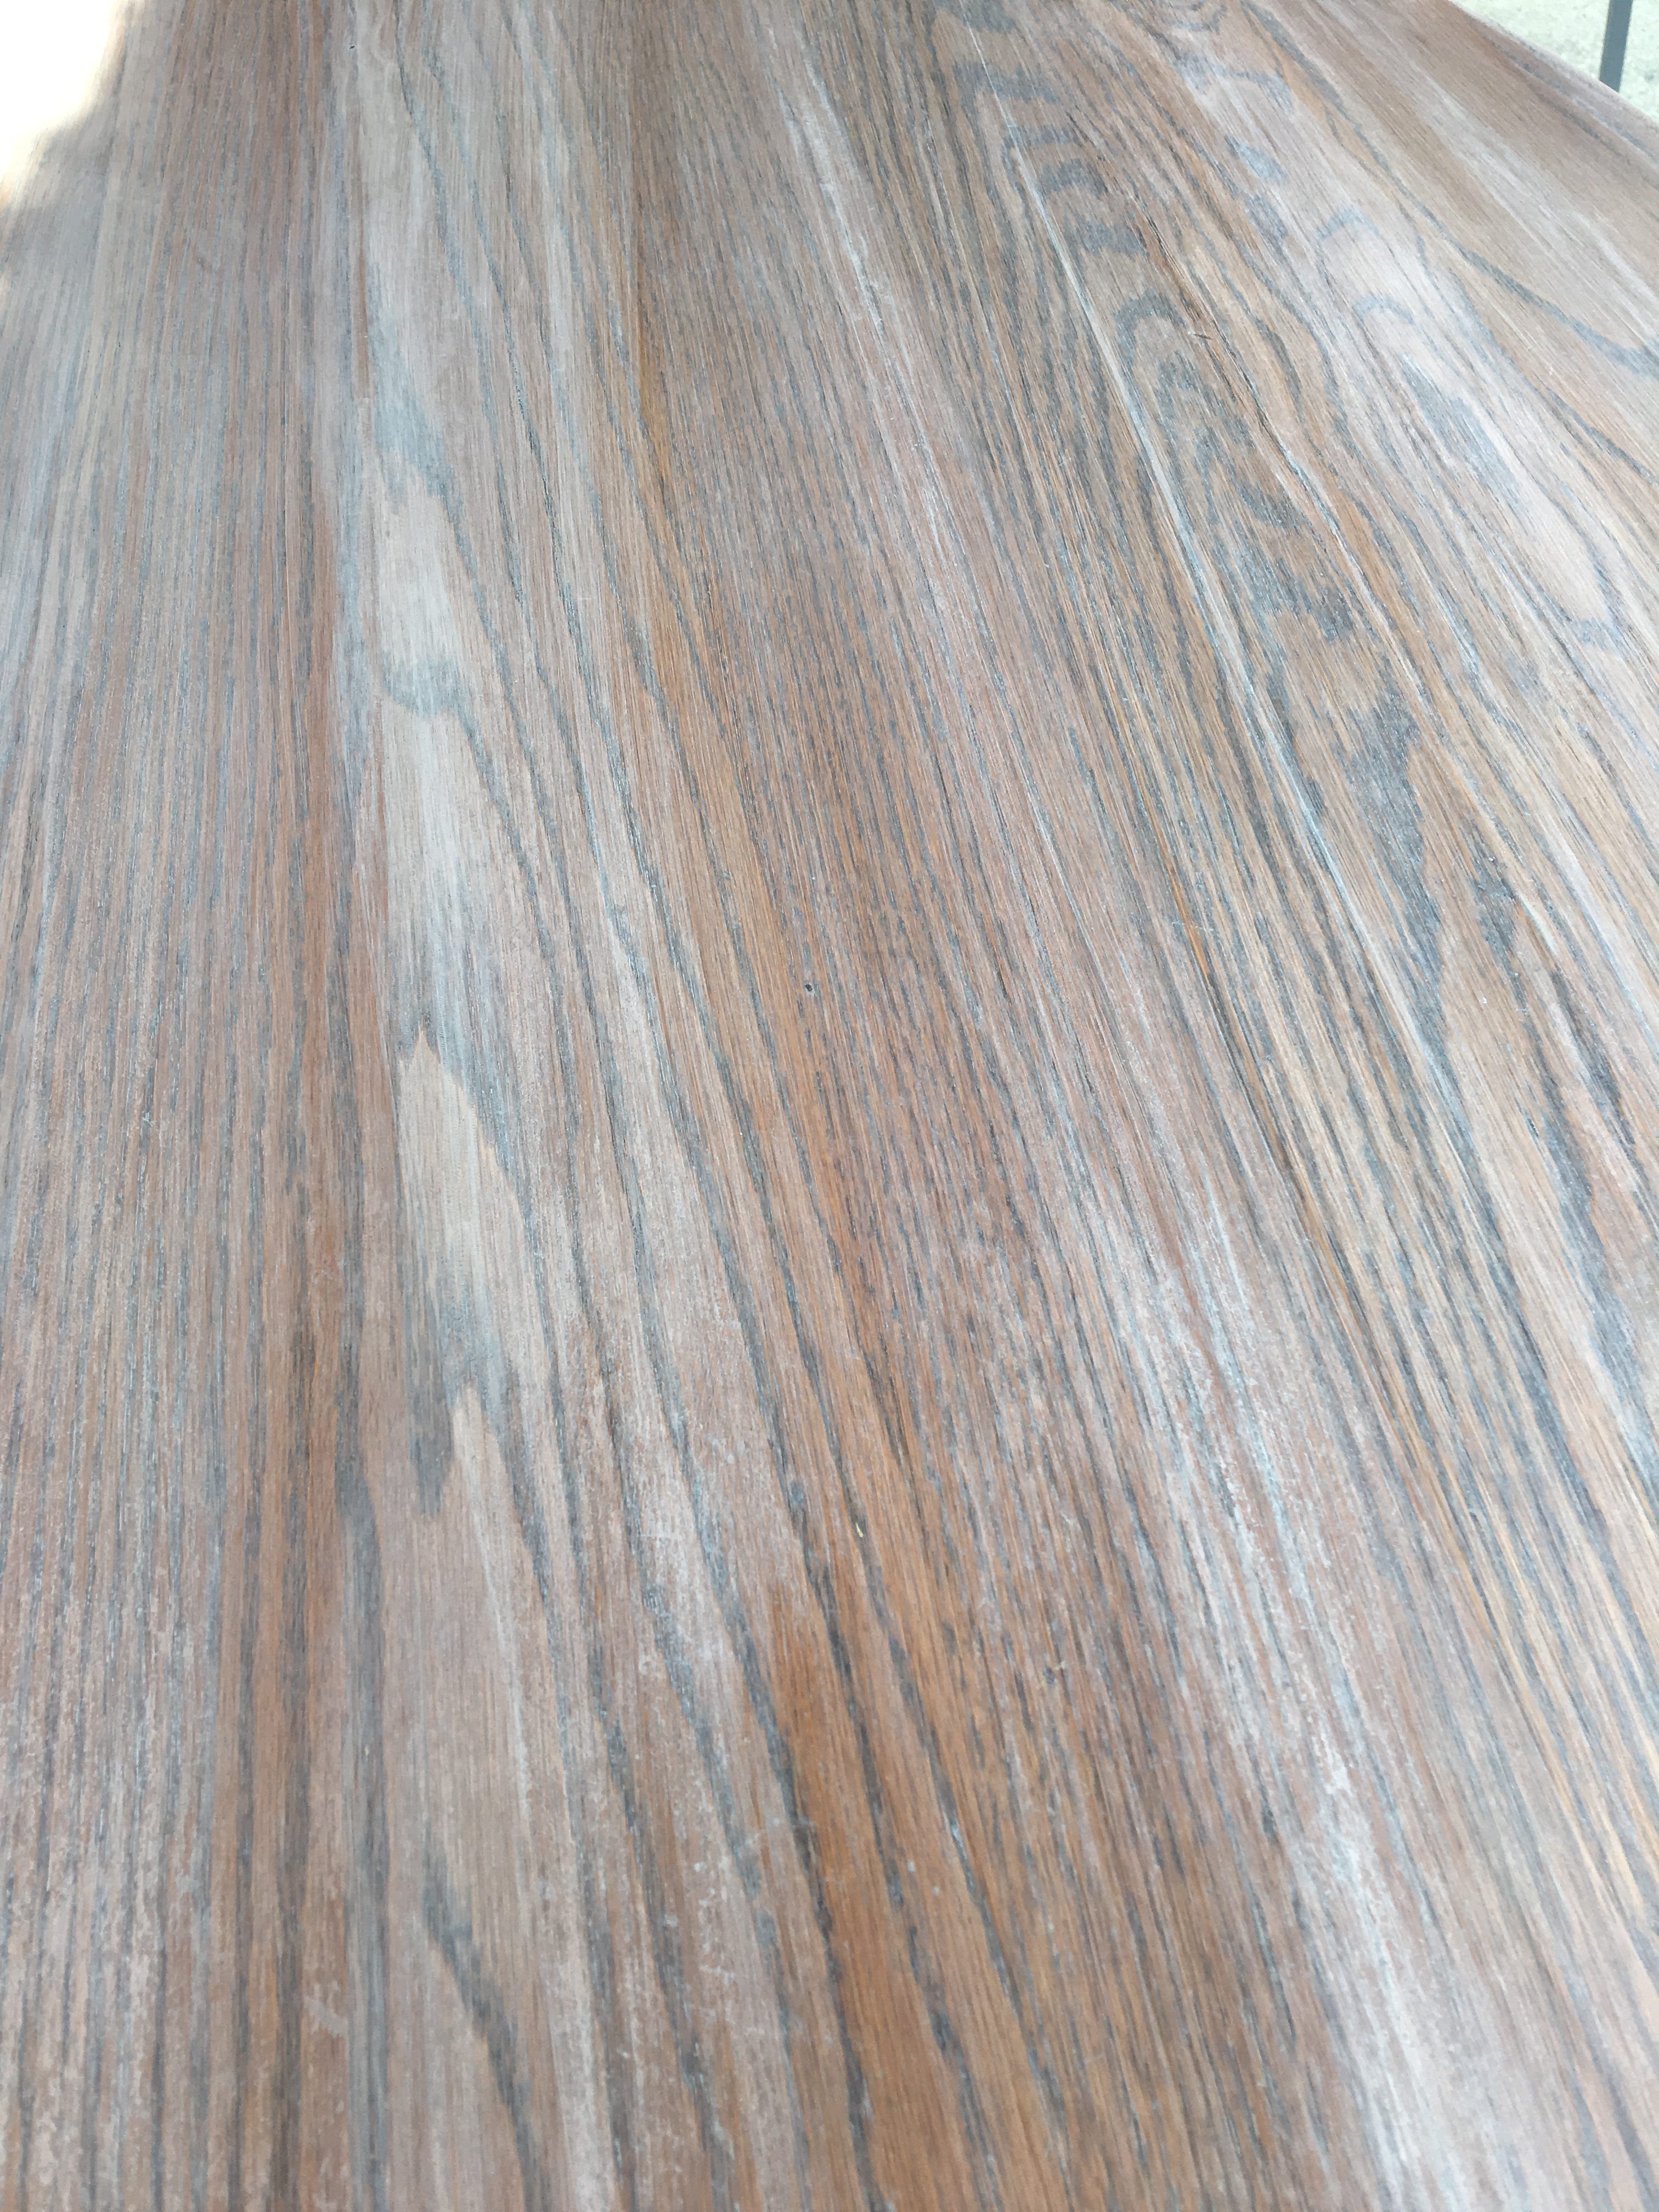
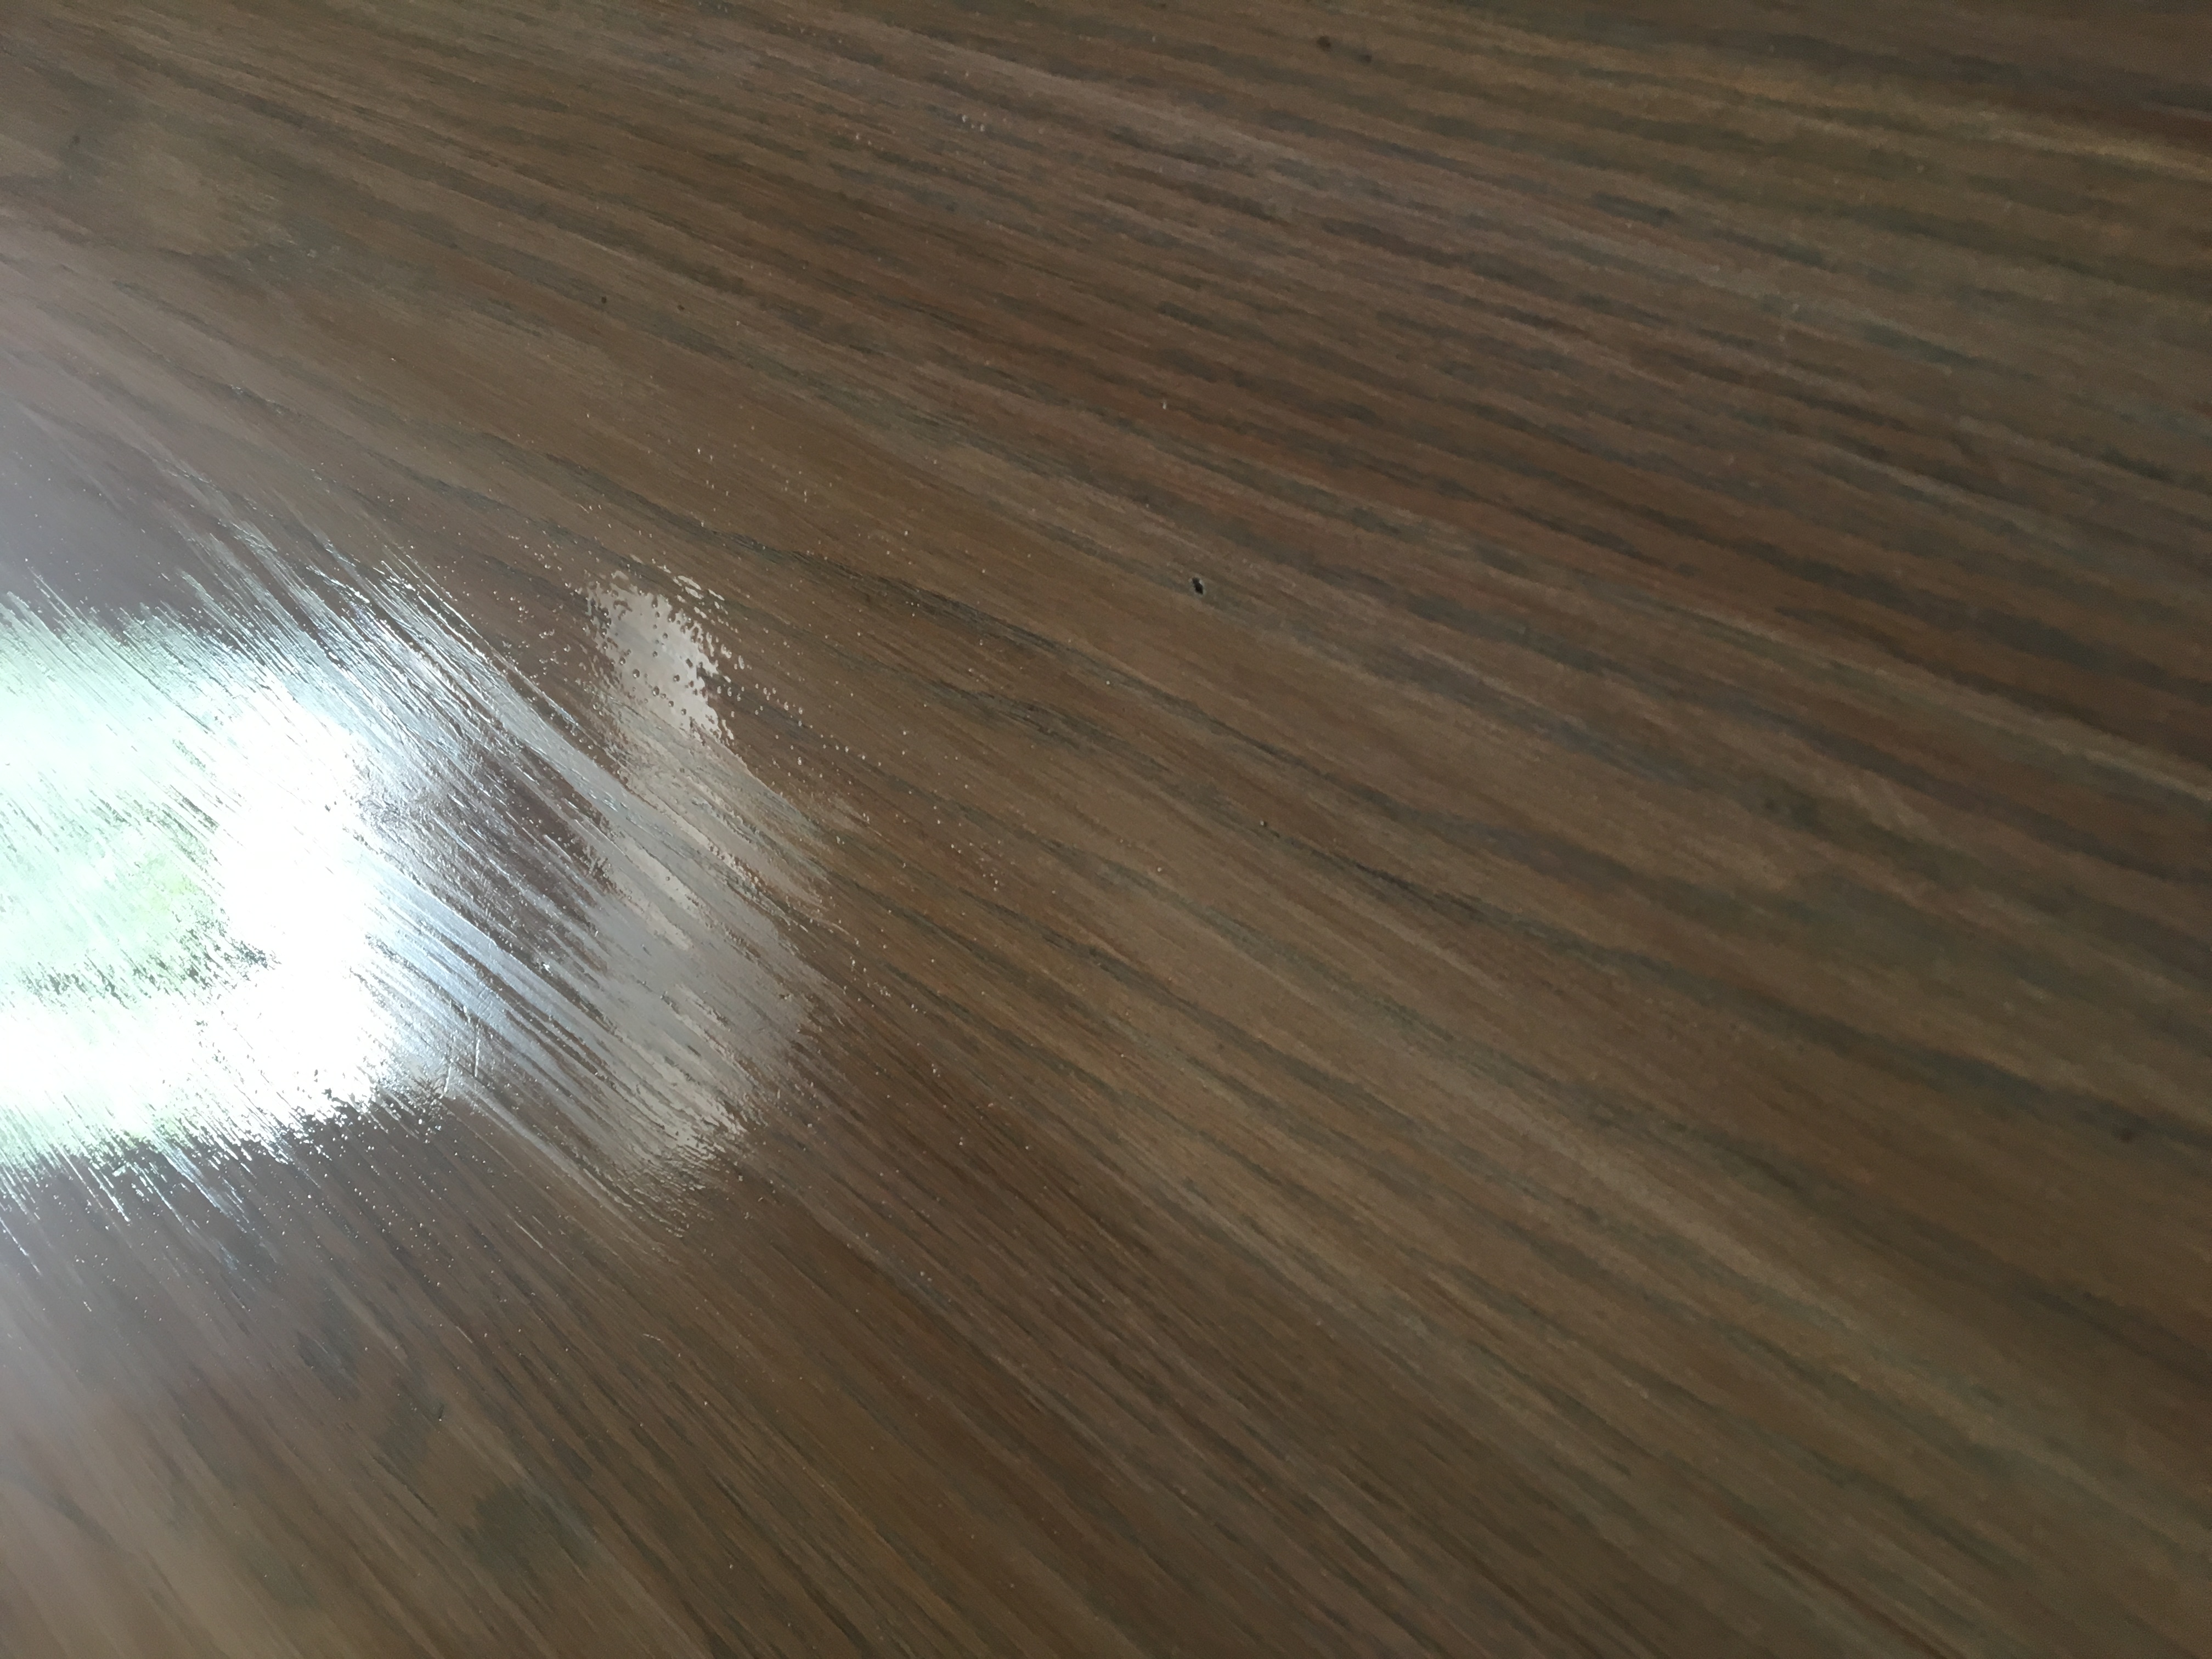
I had painted the base of the table years ago and liked the way that looked but the top of the table had started looking very orange over the years which oak furniture tends to do. It never bothered me before but when paired with weathered chairs, it really looked bad. Also, there was some wear and tear as well.
You don’t have to get crazy with the sanding, just enough to get the gloss off of it.
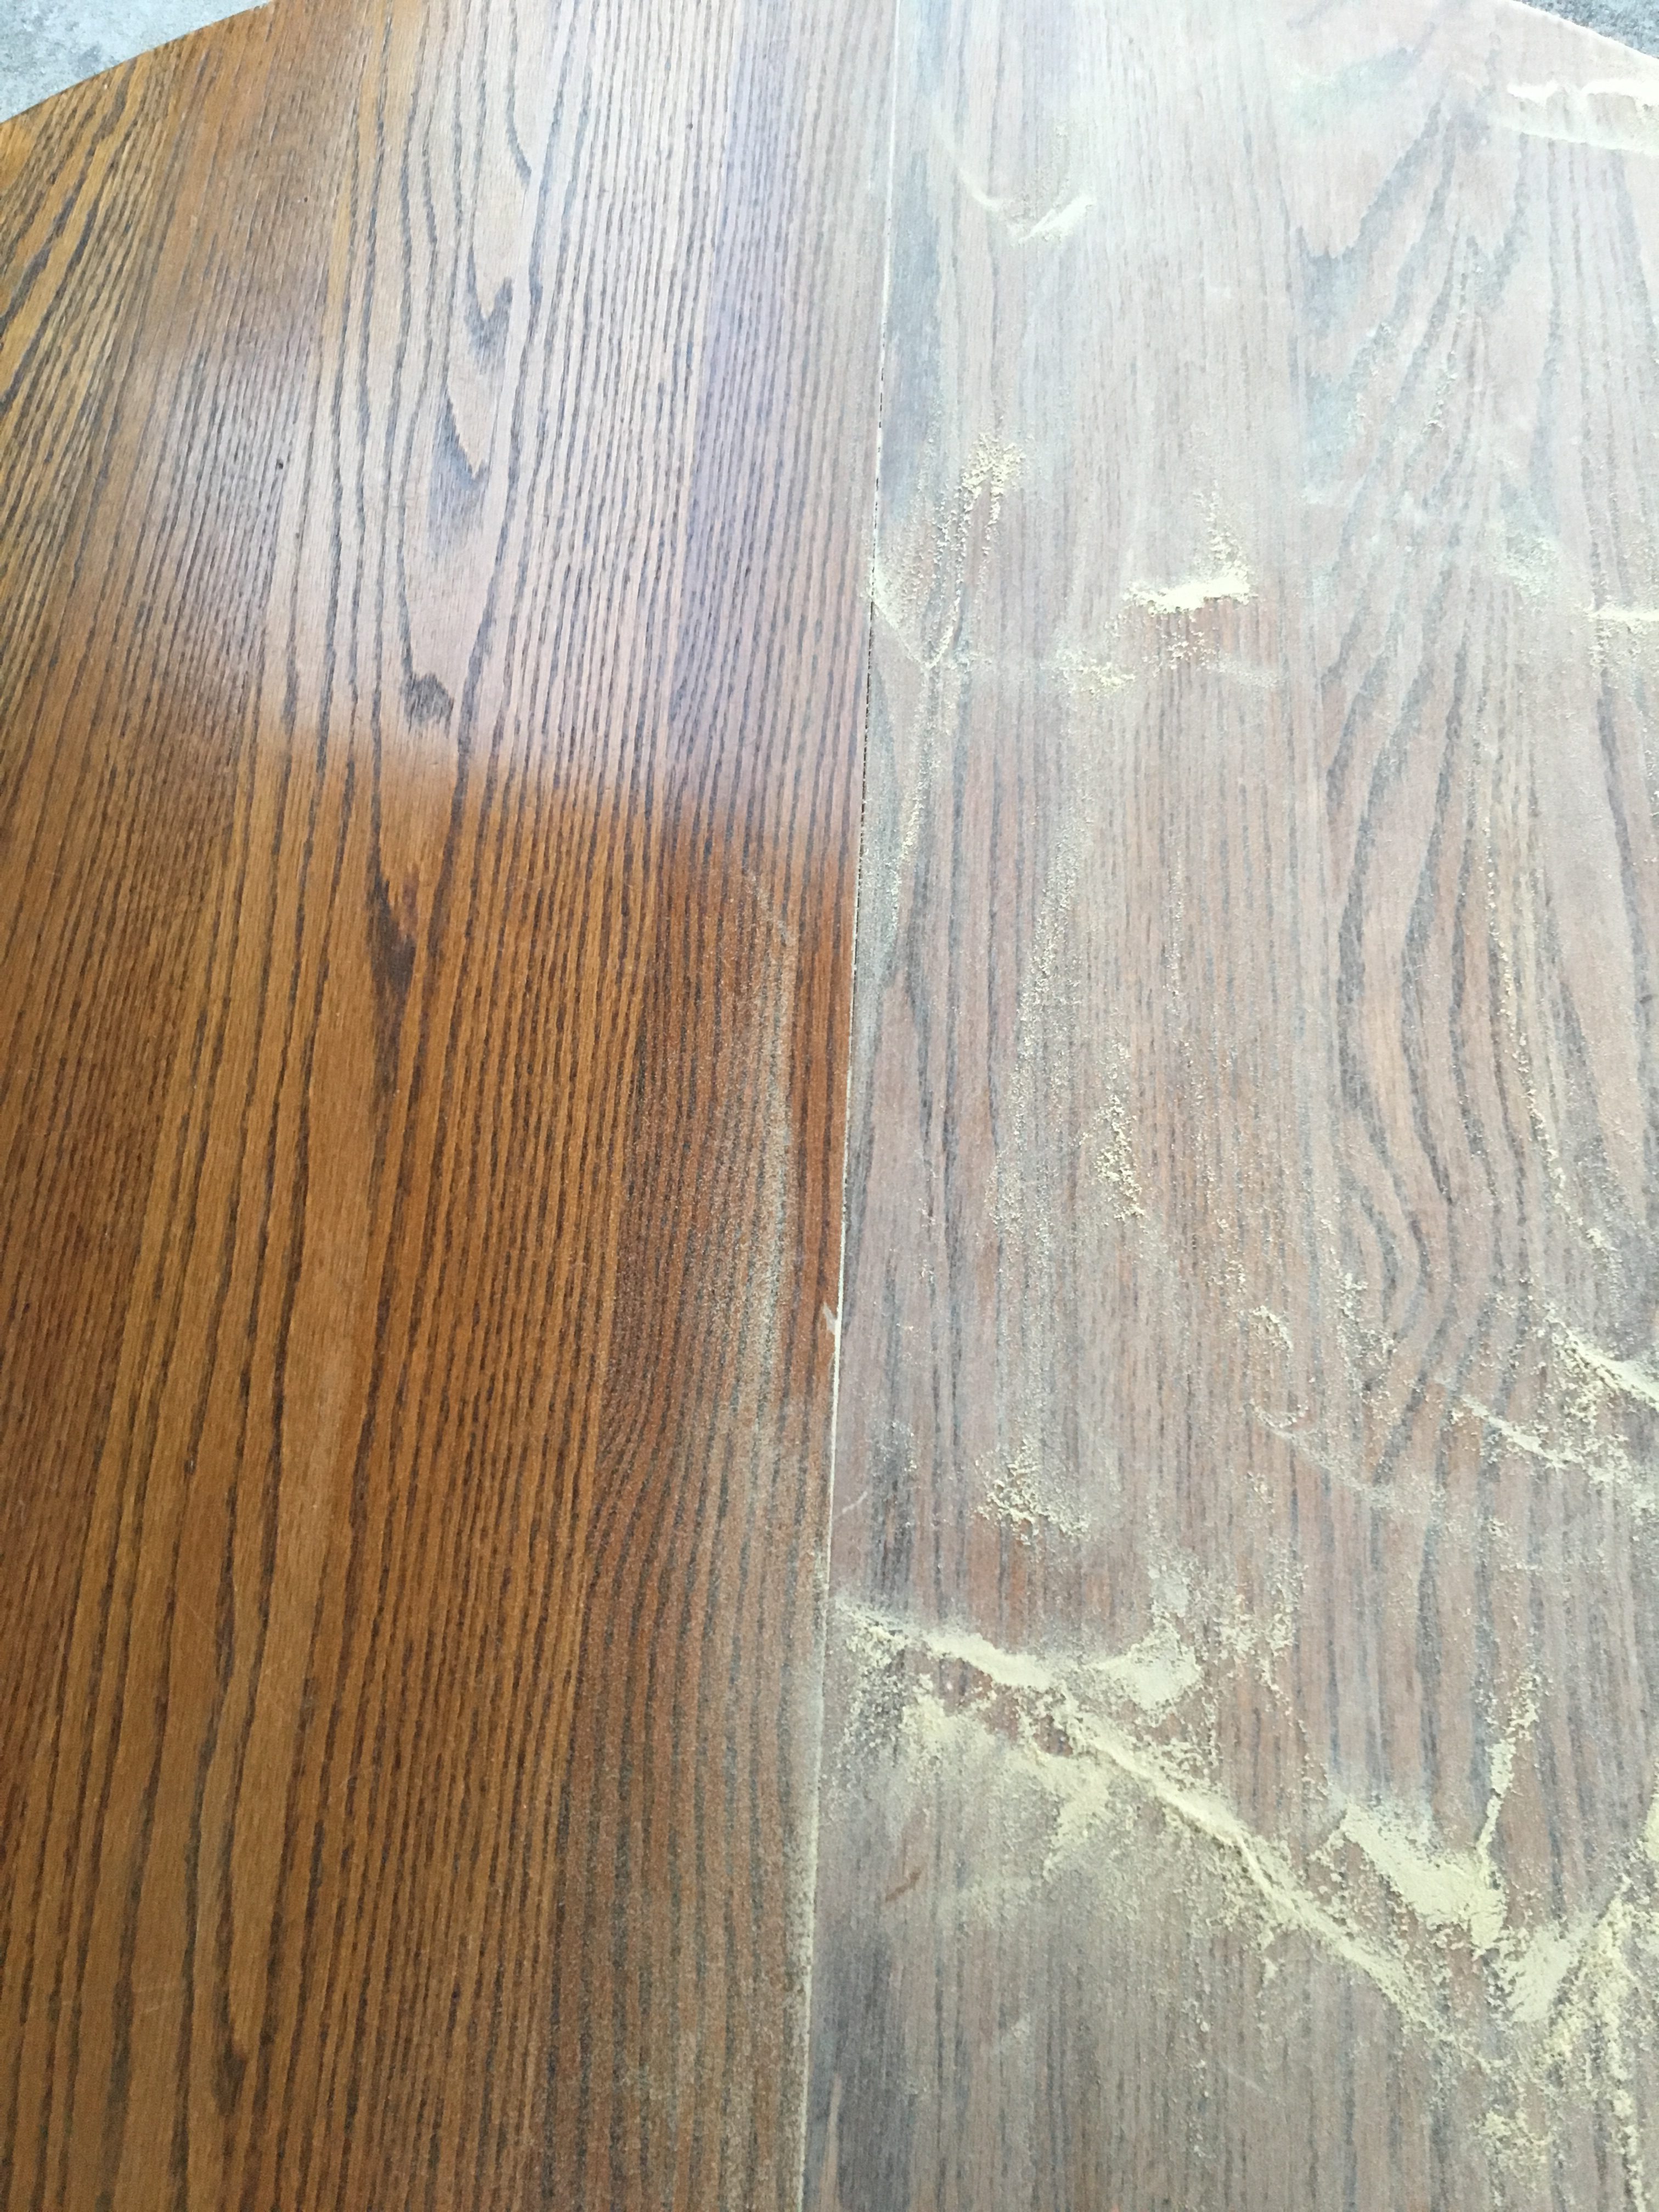
By the way, I love my sander. I highly recommend it. It makes sanding so much faster.
Step 3: Wipe down the surface.
I didn’t use anything fancy for this. Just a damp towel will do but make sure your surface is dry before proceeding to the next step.
Step 4: I suggest skipping this step…This is where the “error” comes in of my “trial and error”.
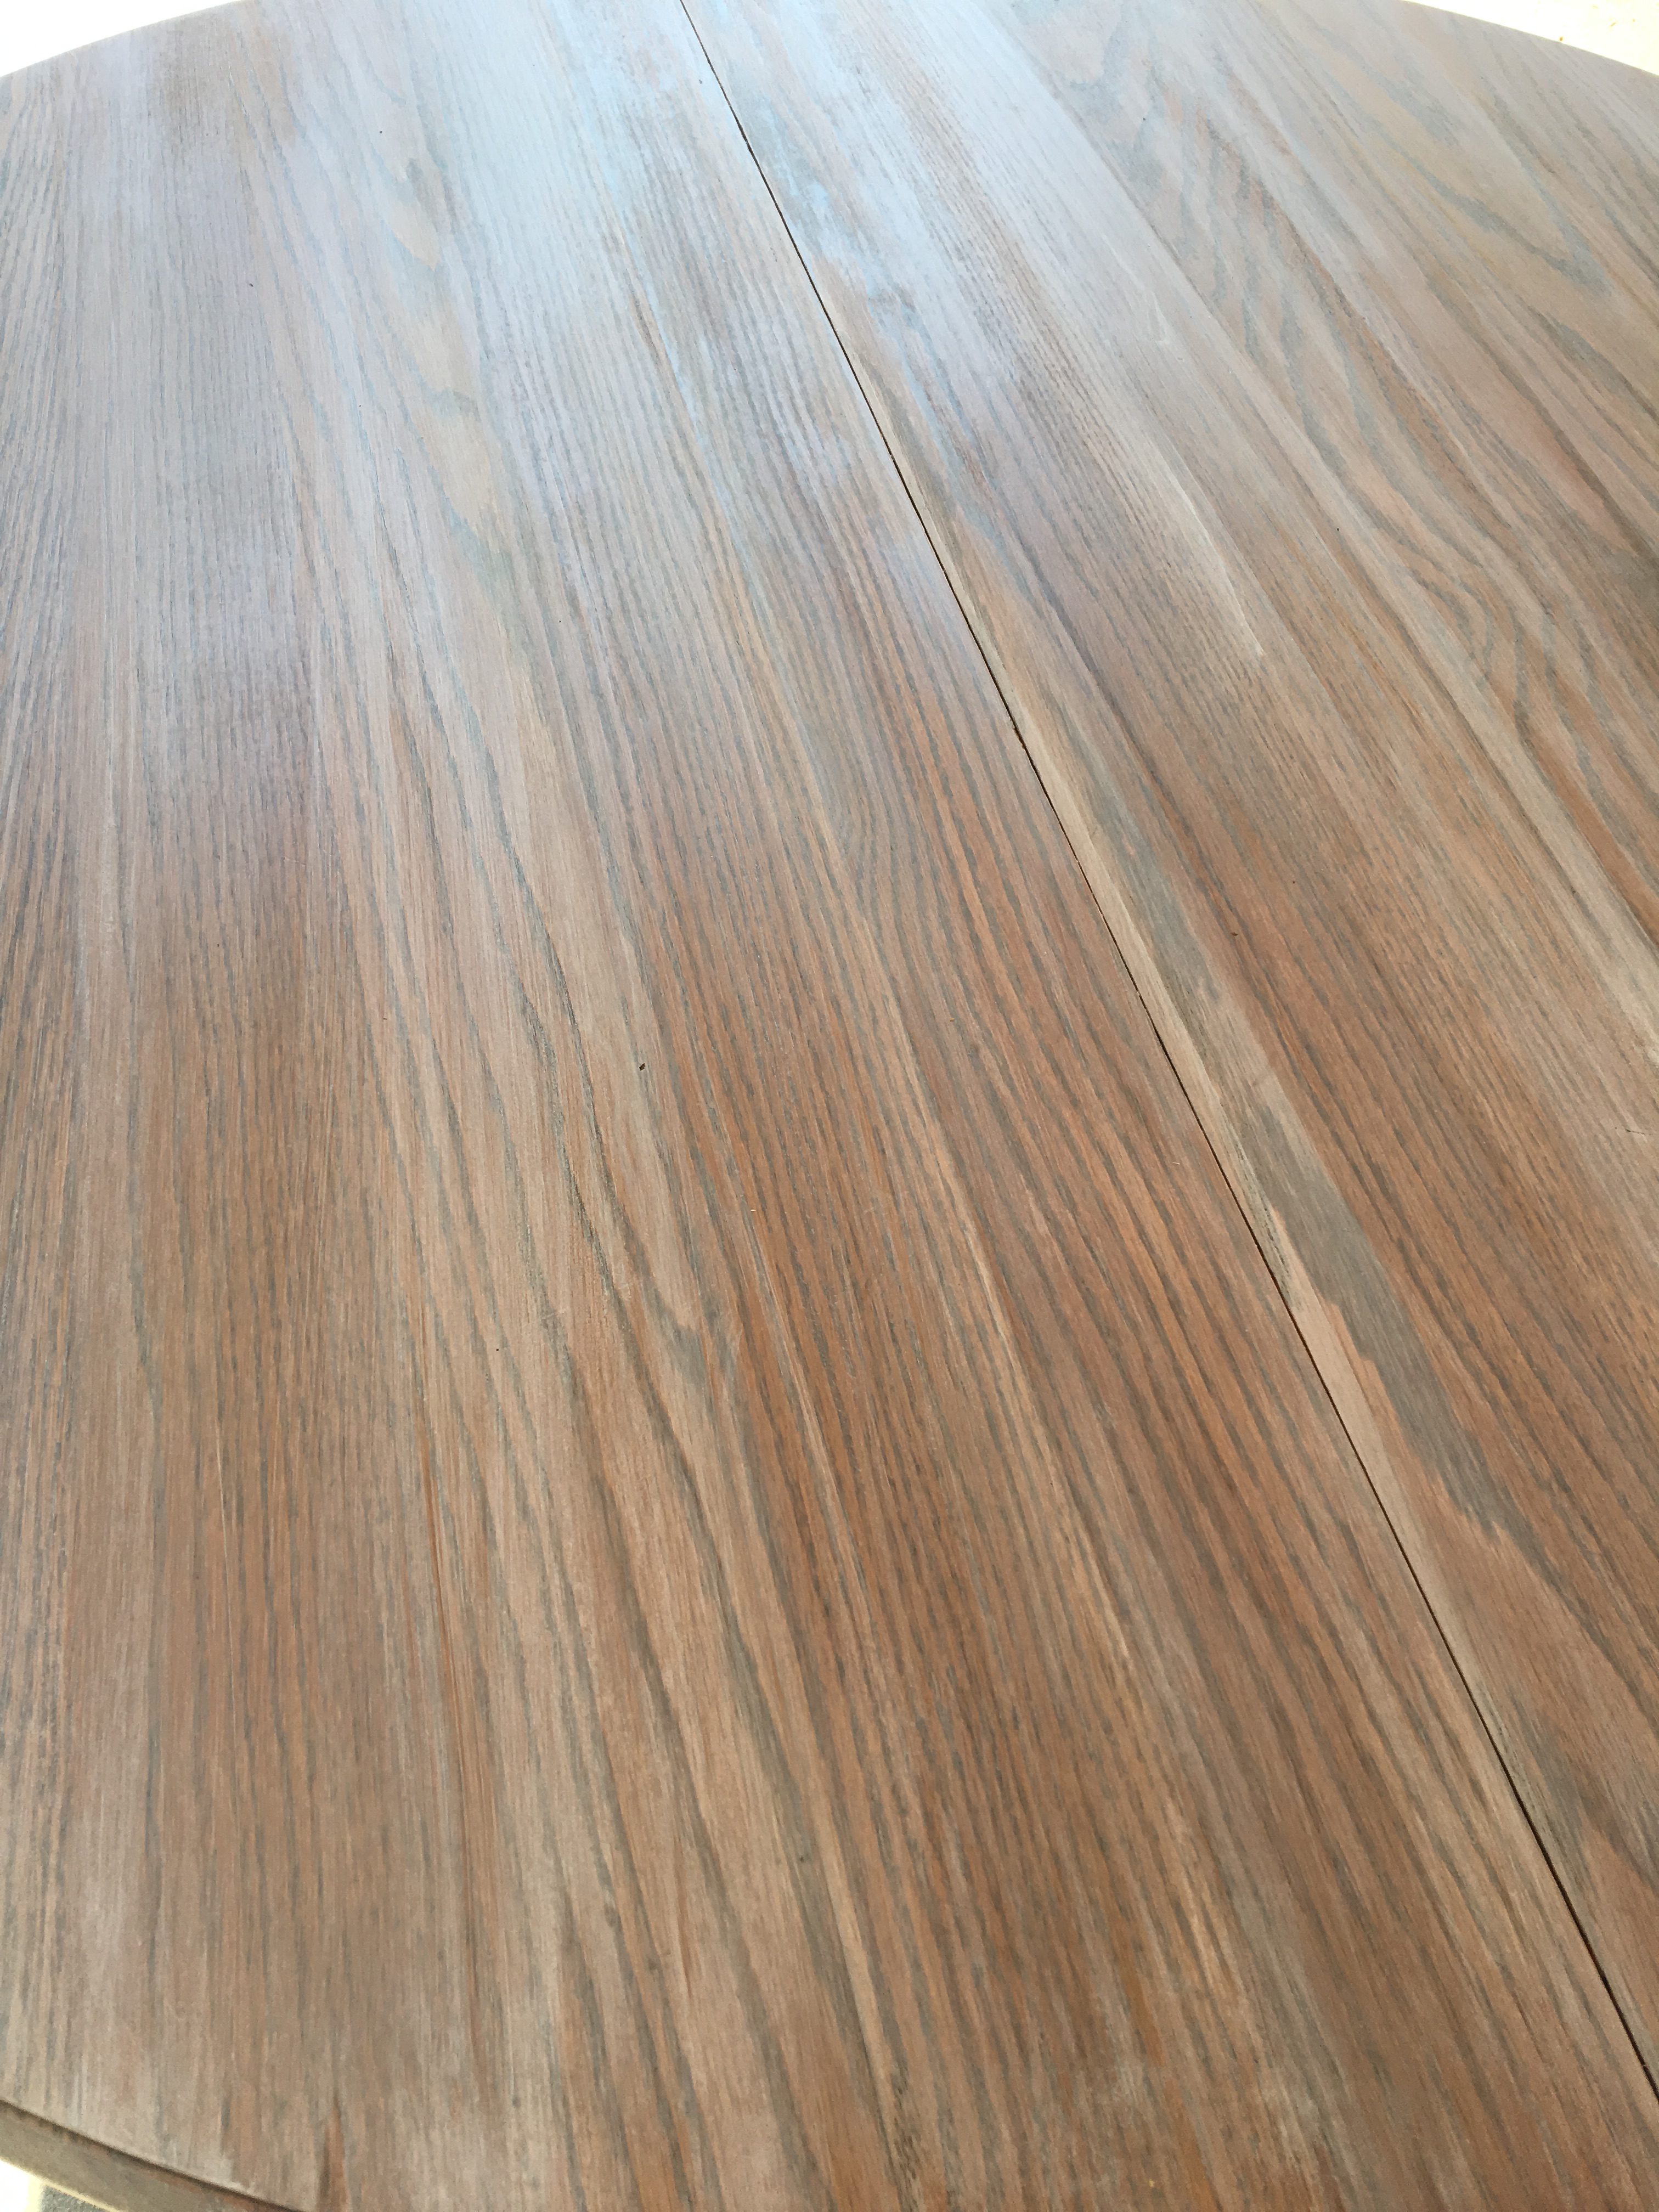
I found this stain by Minwax called Weathered Oak which sounded like a good idea however once I applied it to the table, the table instantly turned orange again with a hazy look. This was not the look I was going for and I may have said a few words that were not very ladylike. (I would like to apologize to any of my neighbors who may have been working outside that day…Again, you might want to skip this step).
Step 5: Back to drawing board
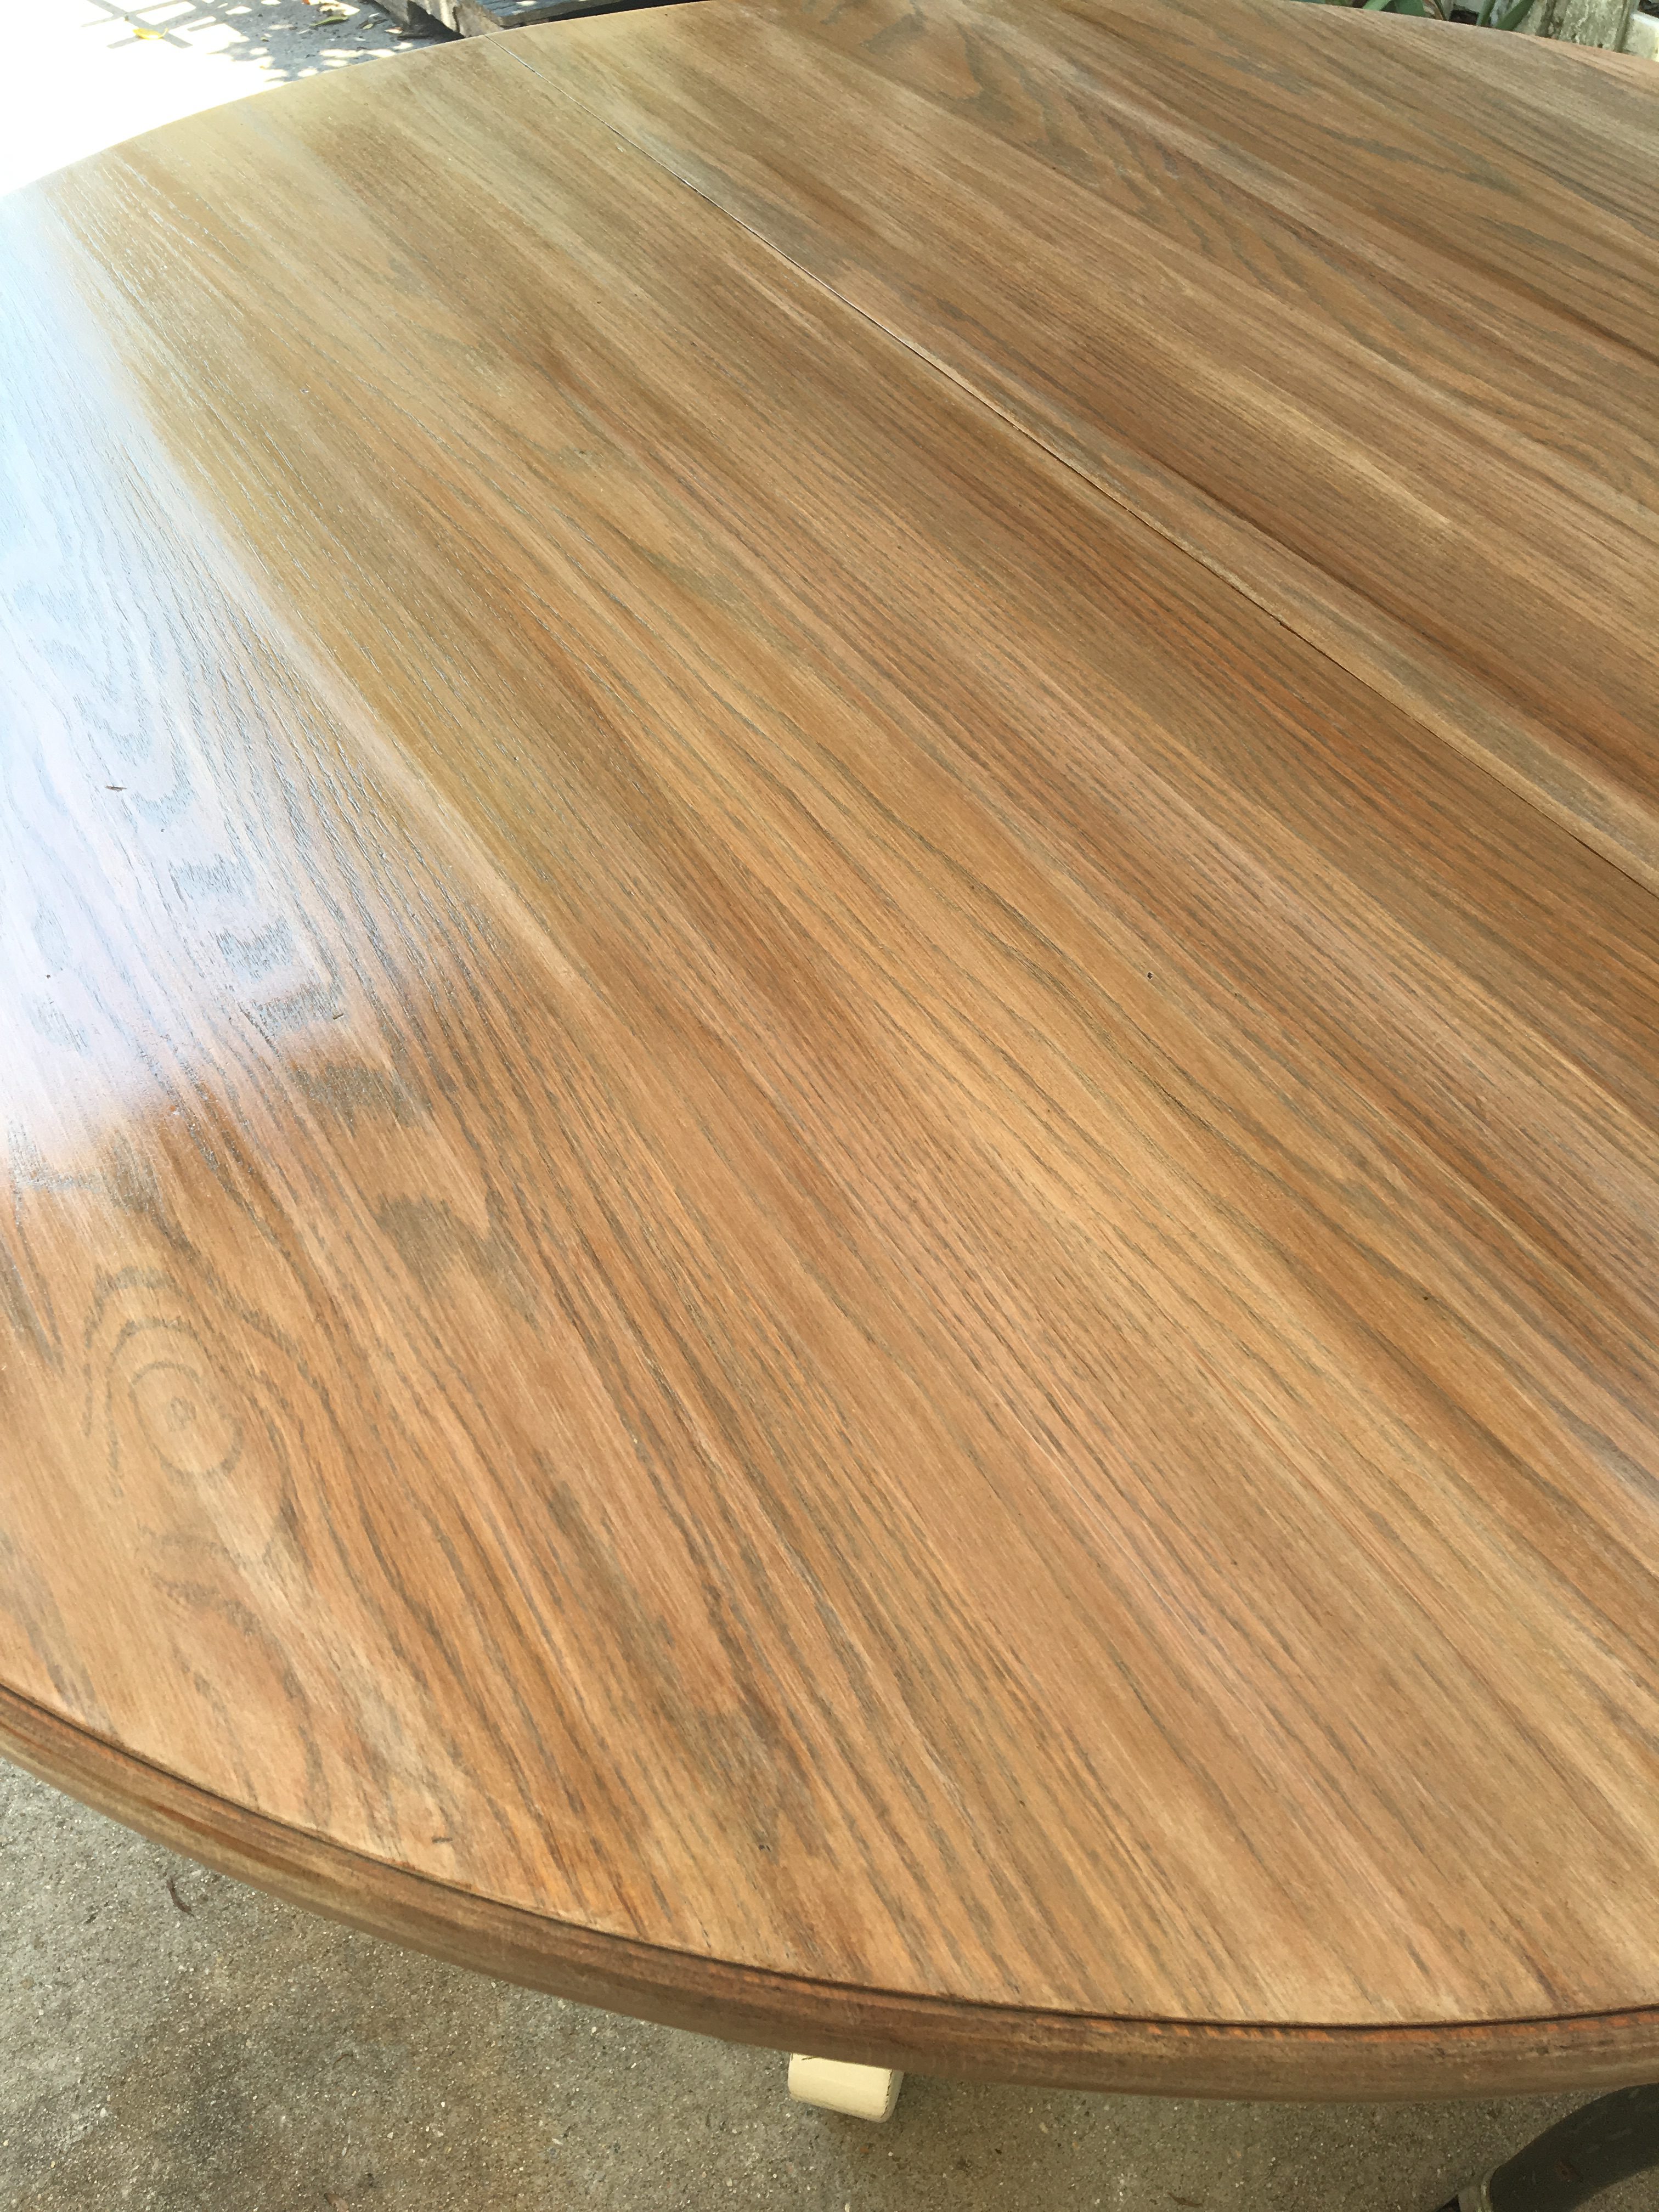
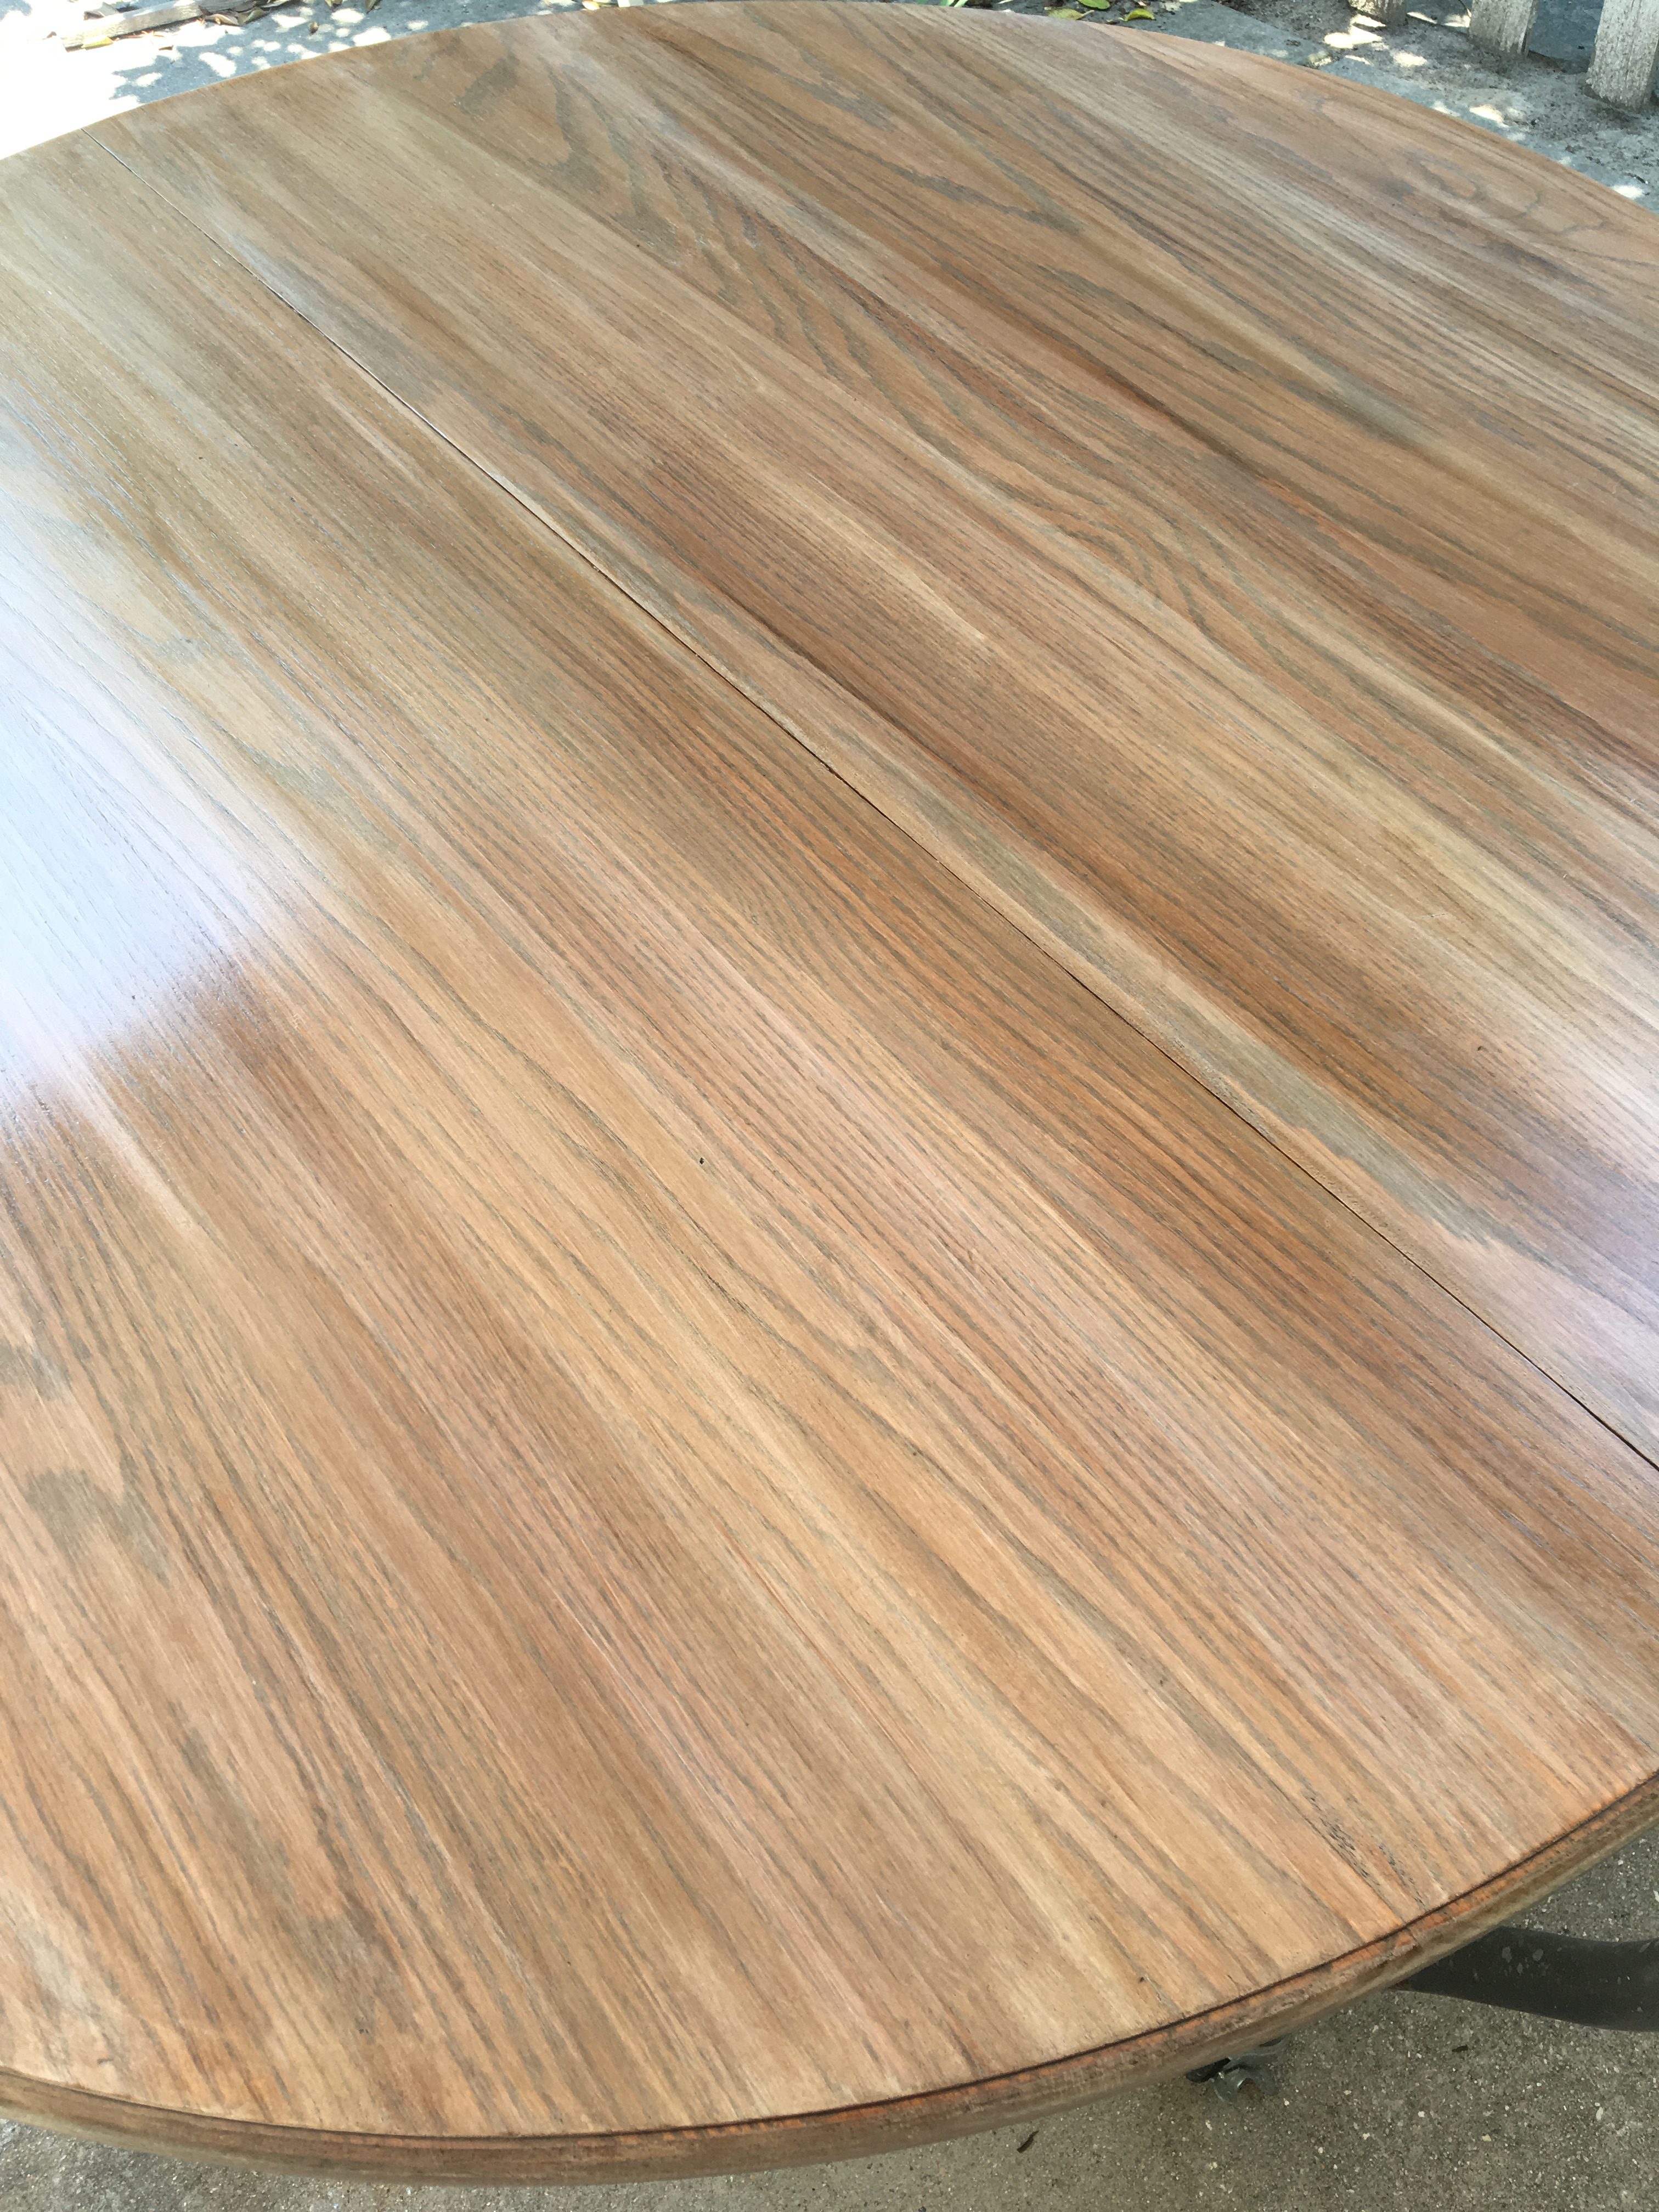
Once the stain had dried, I mixed a small amount of light gray paint with water. I played around with the consistency but it’s more water than paint. I applied it to the table with a brush and immediately wiped it off with a clean dry towel. Make sure you go with the grain of the wood. This allowed the paint to settle into the grooves of the wood and let the grain show through. You don’t have to buy special paint for this process. I used some sample paint that I had bought from the “Oops Bin” at Home Depot. (It only cost 50 cents..this is the cheap part) It was satin finish but I think any finish that is water based and not glossy would work as well as any white/light gray color.

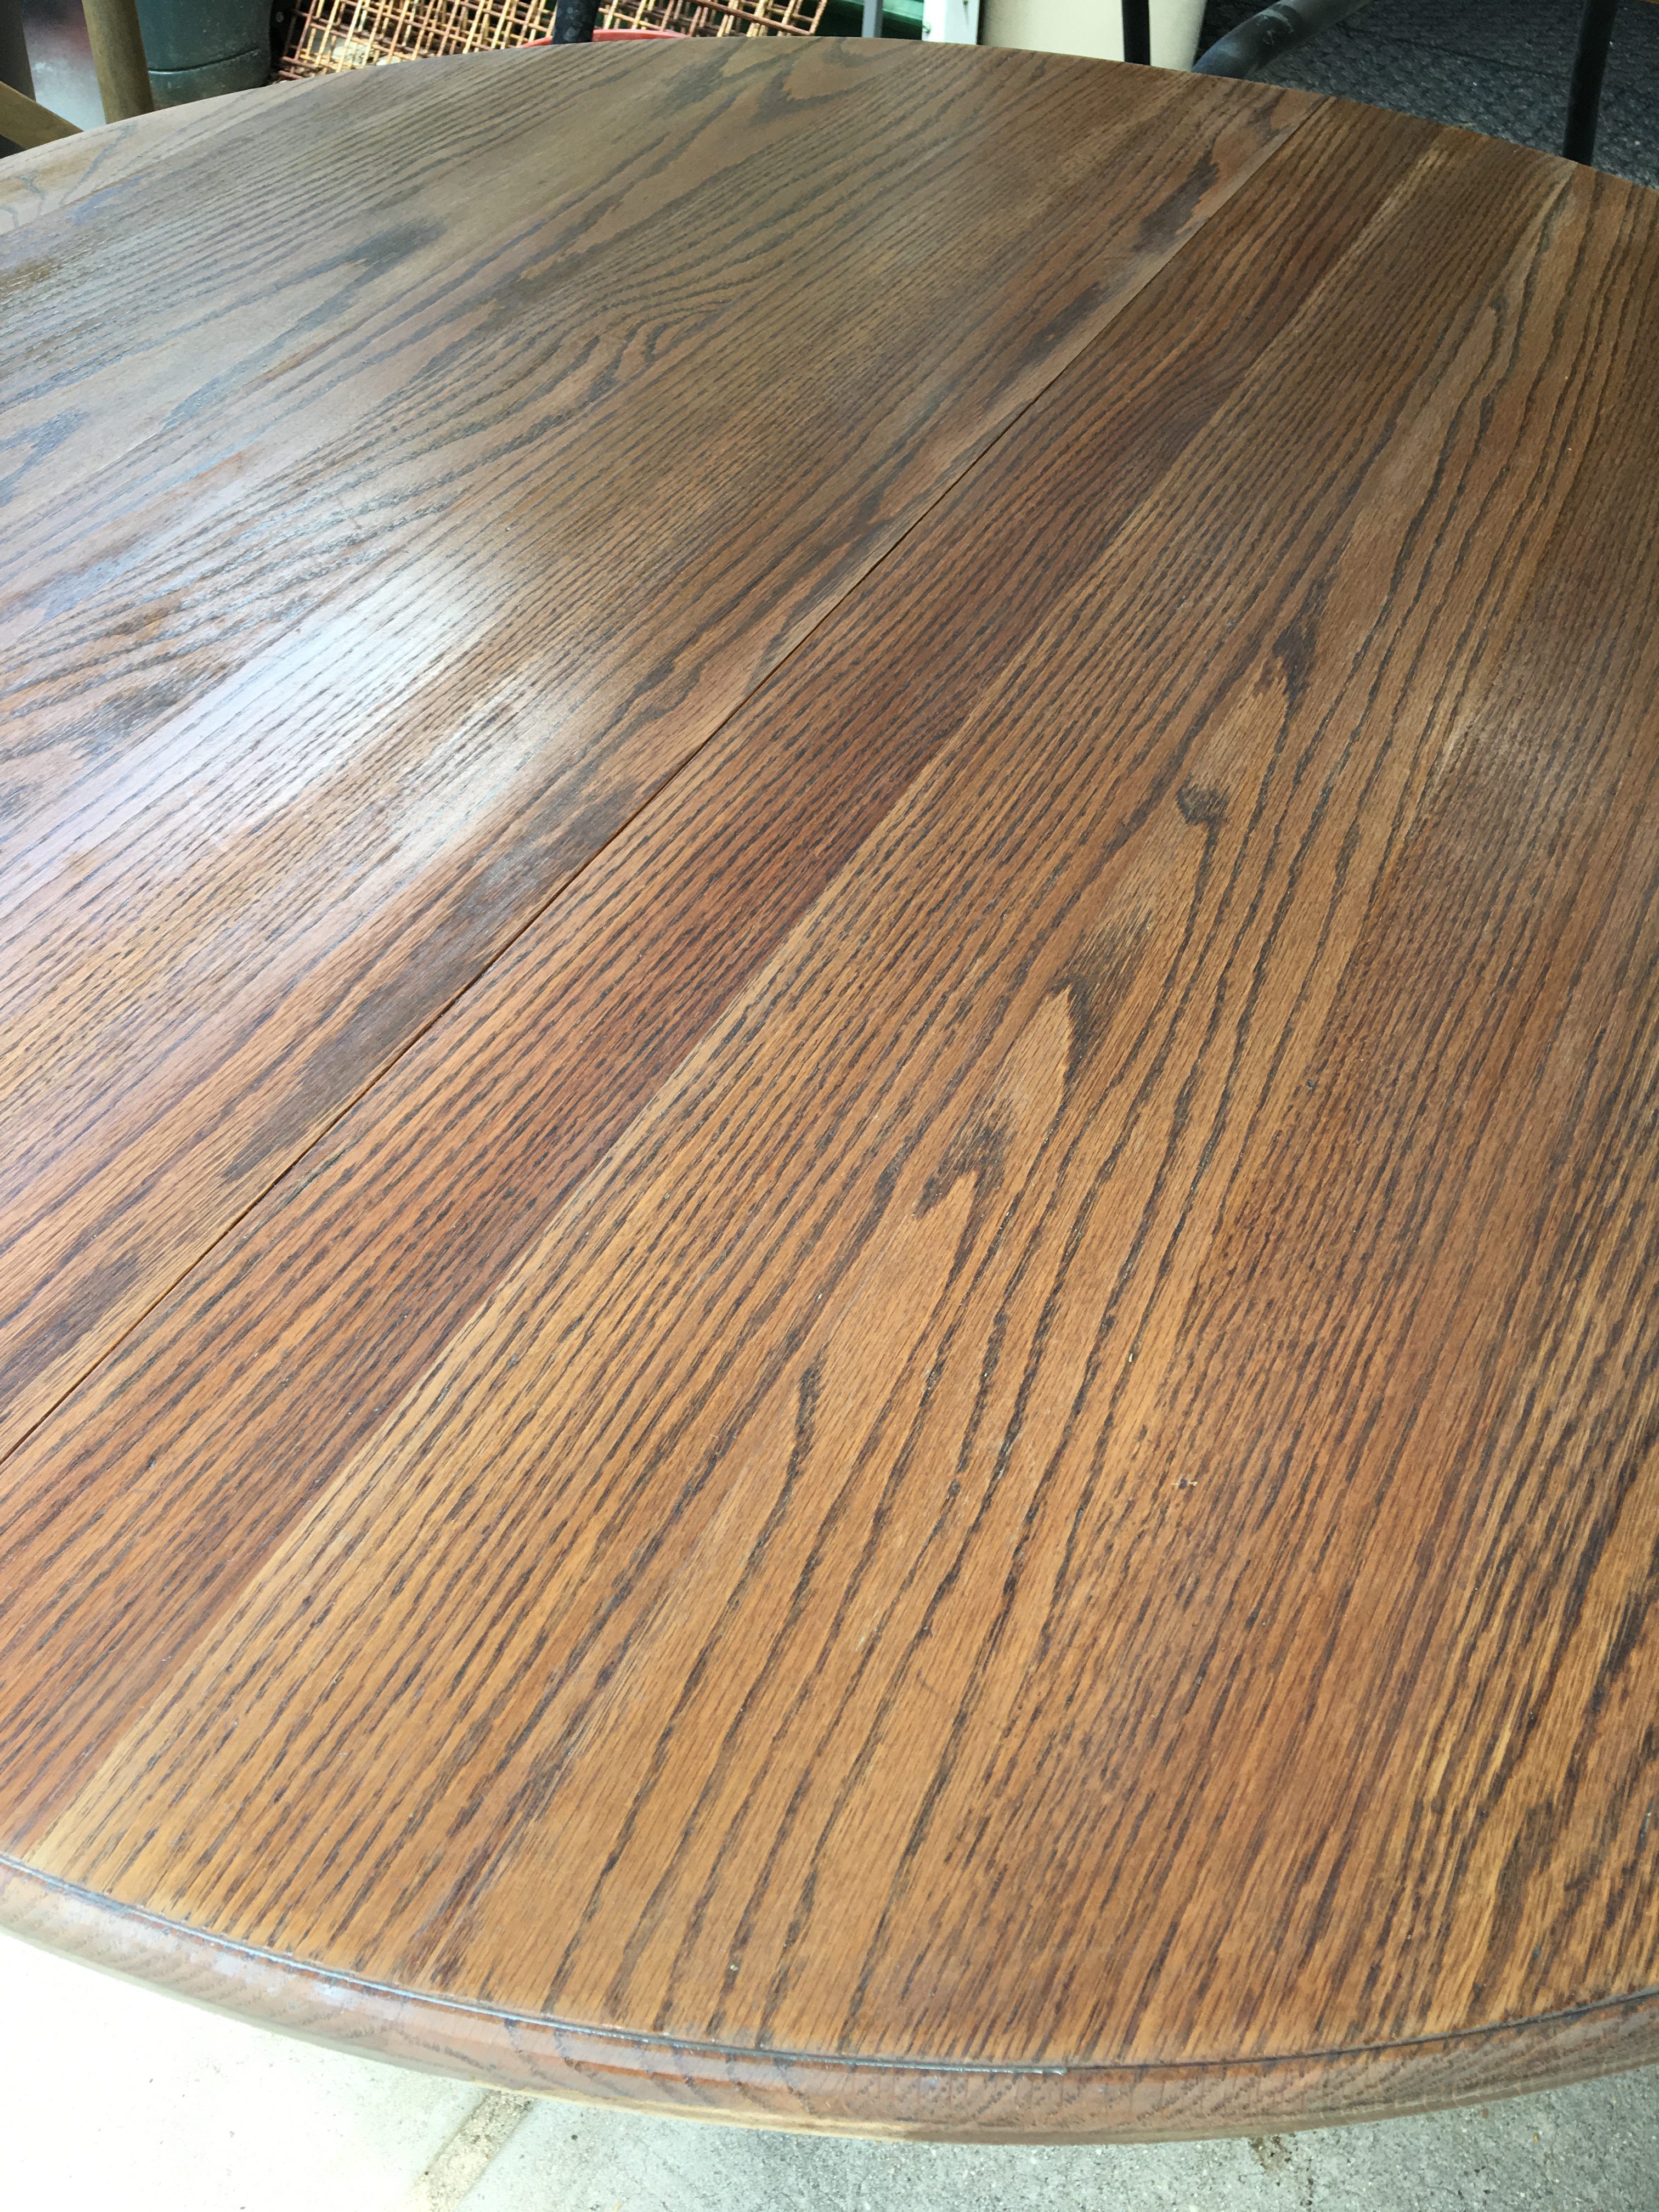
Step 6: Add depth
So far, I was loving the look of it but it looked a little flat. I was wanting it to have more depth. I added a coat of Provincial Minwax stain by brushing it on and wiping over the top of it with a clean towel after a few seconds. Once again, going with the grain of the wood. This part is fun since weathered wood isn’t necessarily consistent so it allows you play around with the application. Just make sure that you wipe off the excess stain before it dries and don’t use a heavy hand. Once you get the look that you are going for, allow it to dry at least 24 hours before doing Step 7.
Step 7: Add a protective coat
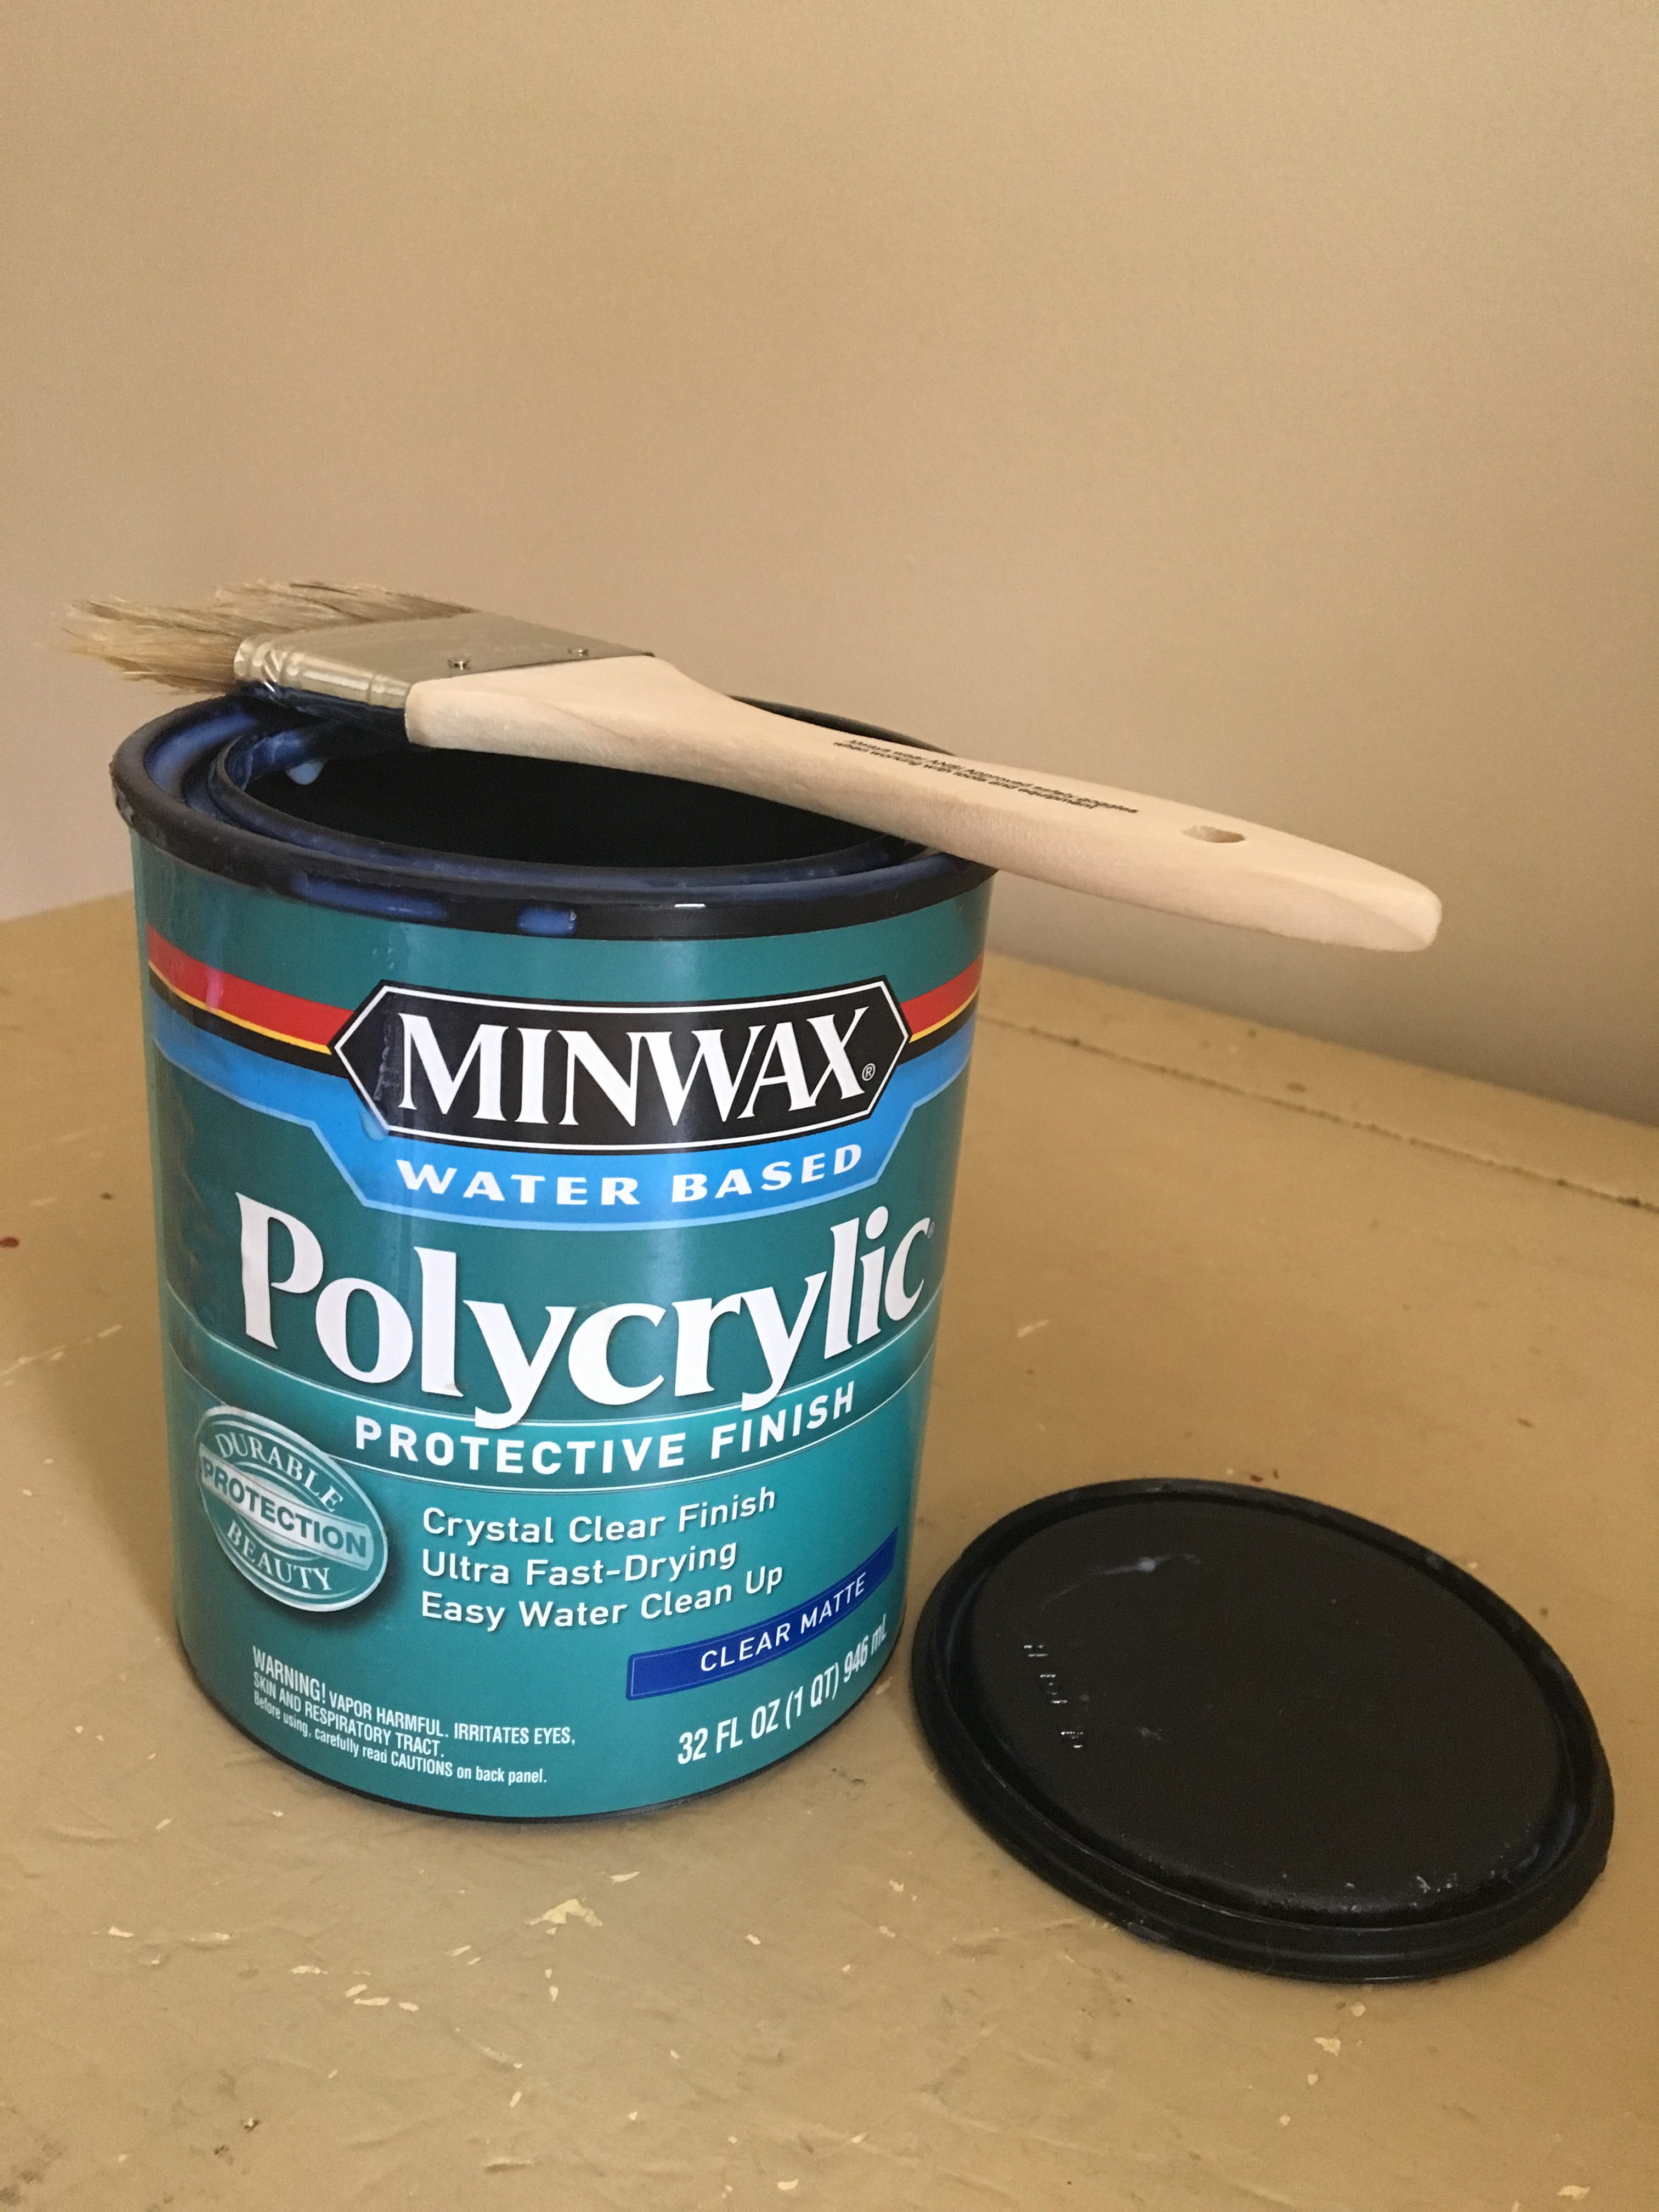
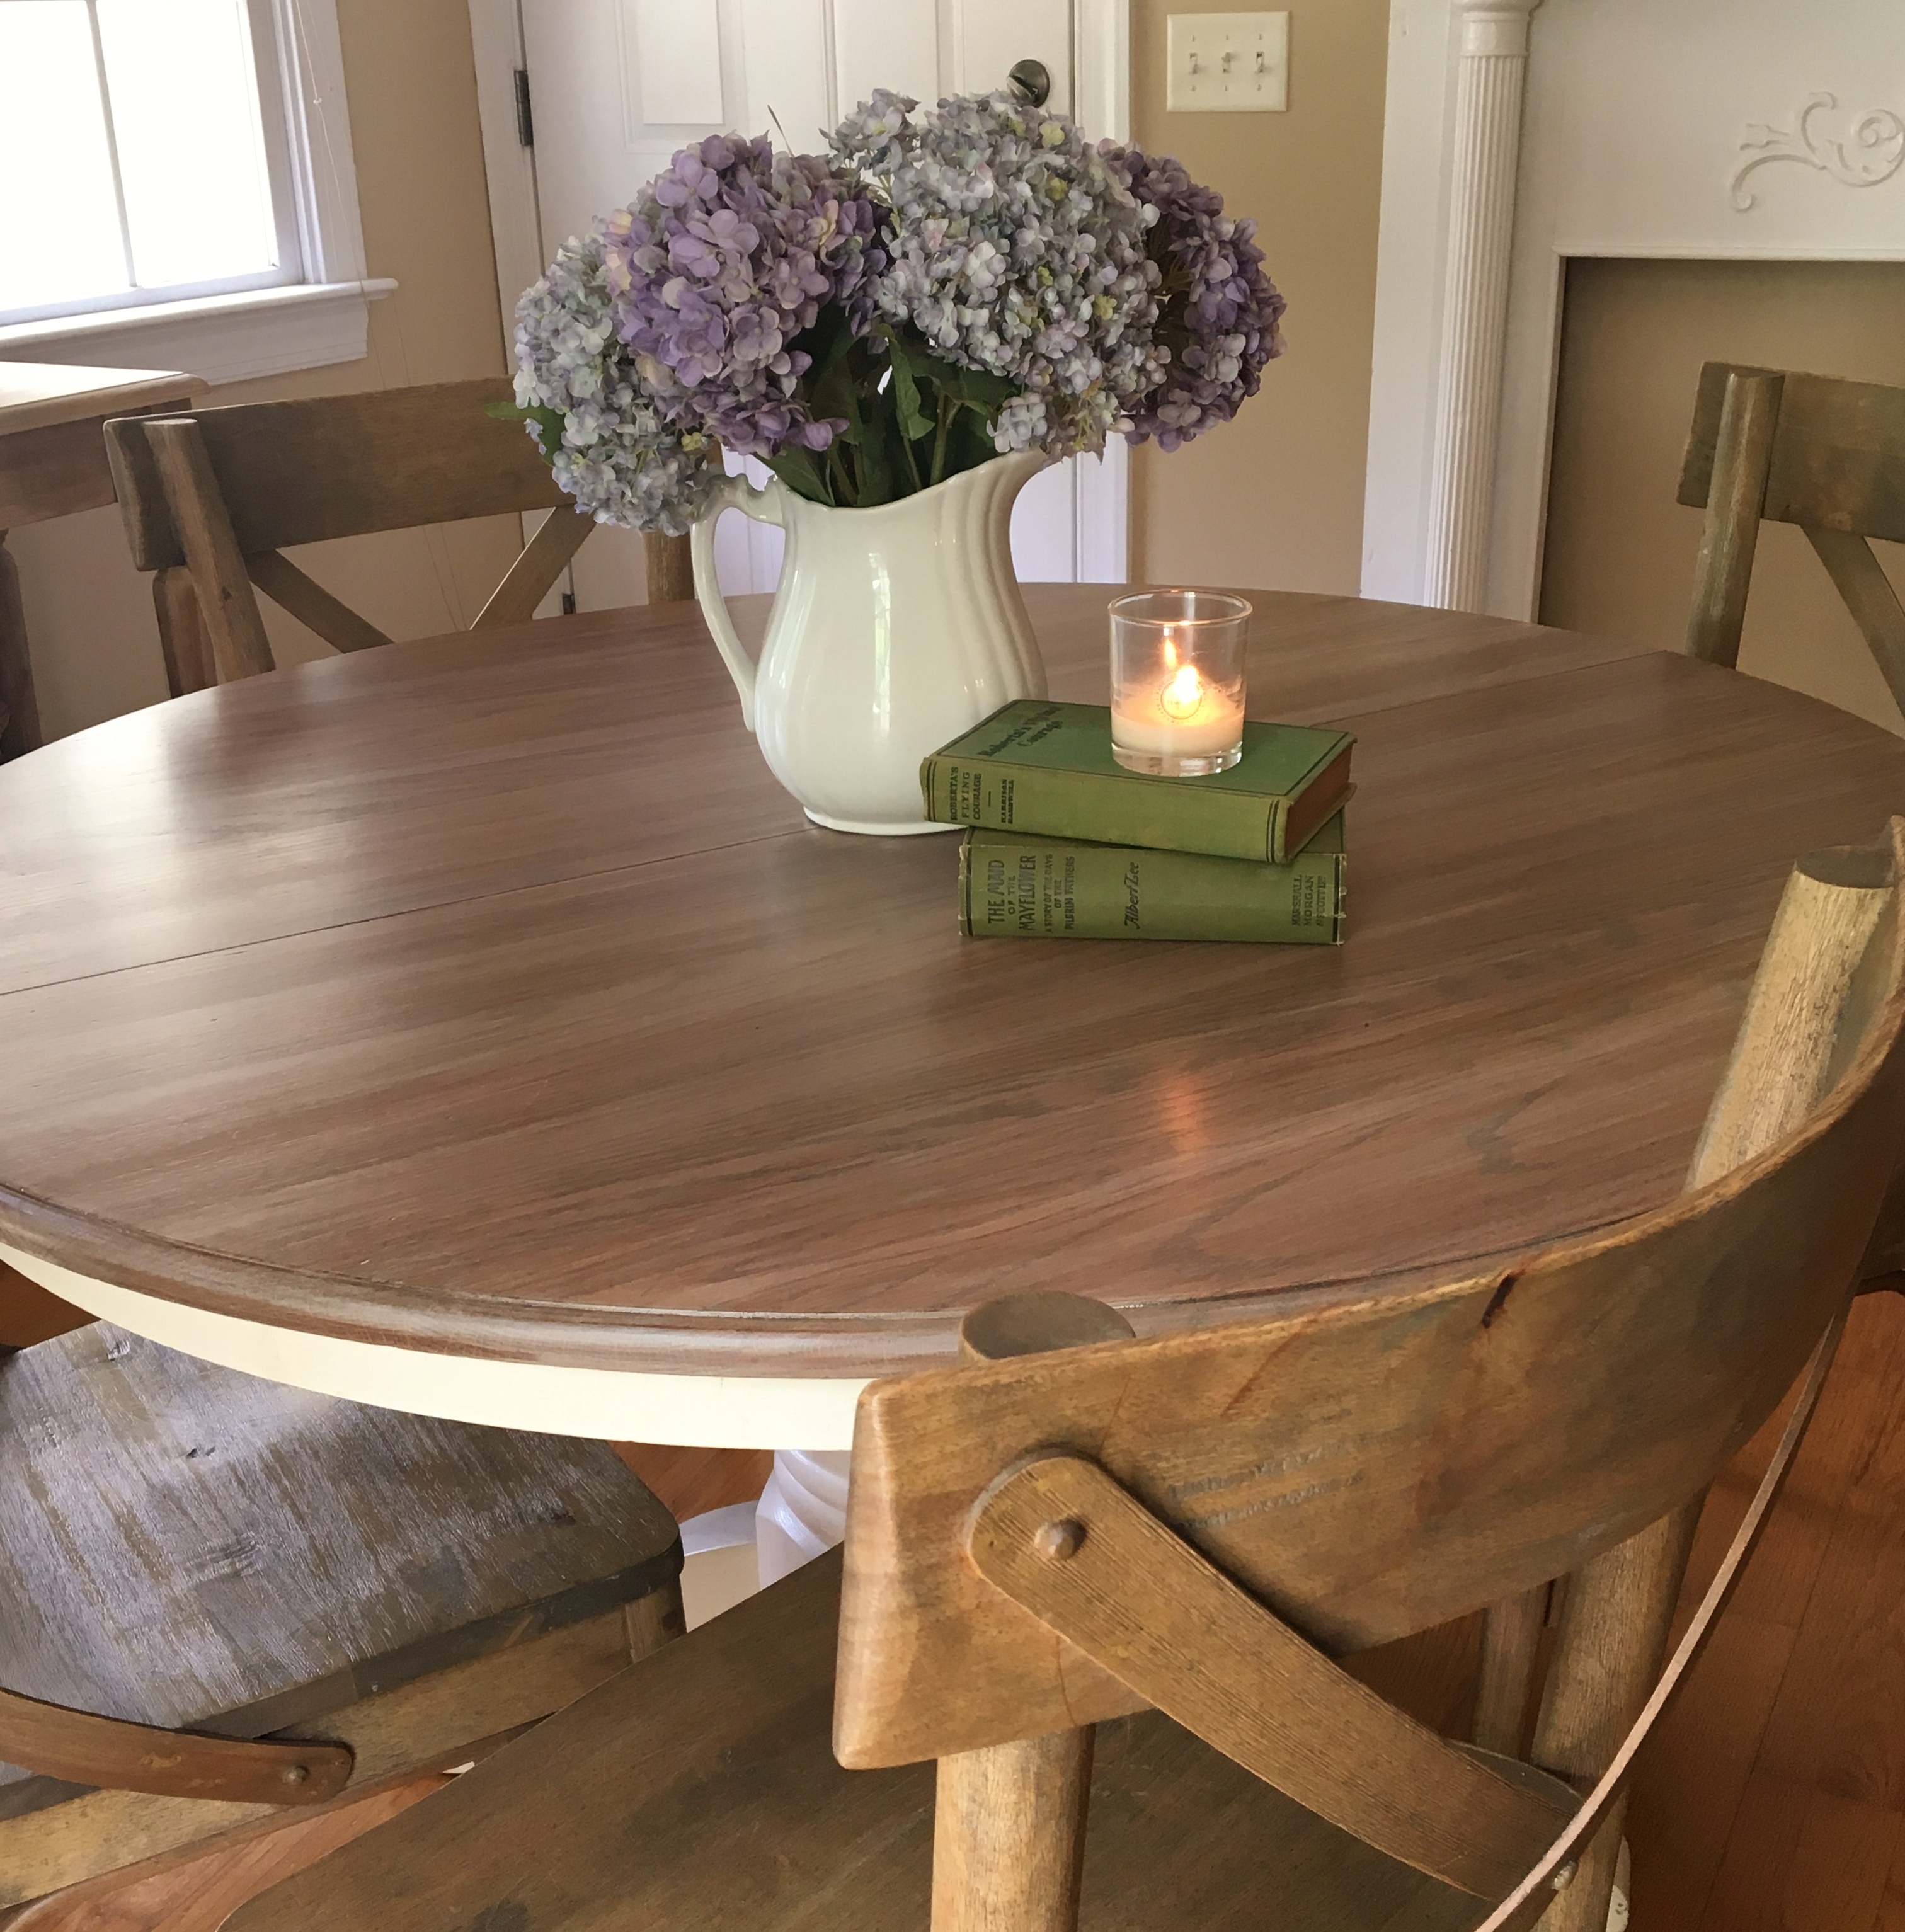
Although I know that the Minwax stain has a sealer in it, I was worried that the light paint finish on top would get scratched and not look like weathered wood but rather a painted surface since our table gets a lot of use. I applied two coats of Minwax Polycrylic Protective Finish letting it dry well between applications. I used the “matte” finish since I didn’t want anything too shiny therefore resembling natural wood. This stuff goes a long way and can be used on so many things which I’ll touch more on in later posts. It’s very worth having a can on hand.

Step 8: Guard it with your life
Okay, I’m kidding about Step 8 but I did allow it to cure for several days before letting my family drop their keys, the mail, lunchboxes, etc… on there. The longer you let it dry before setting things on there, the more it cures. Sit back and enjoy your handy work.
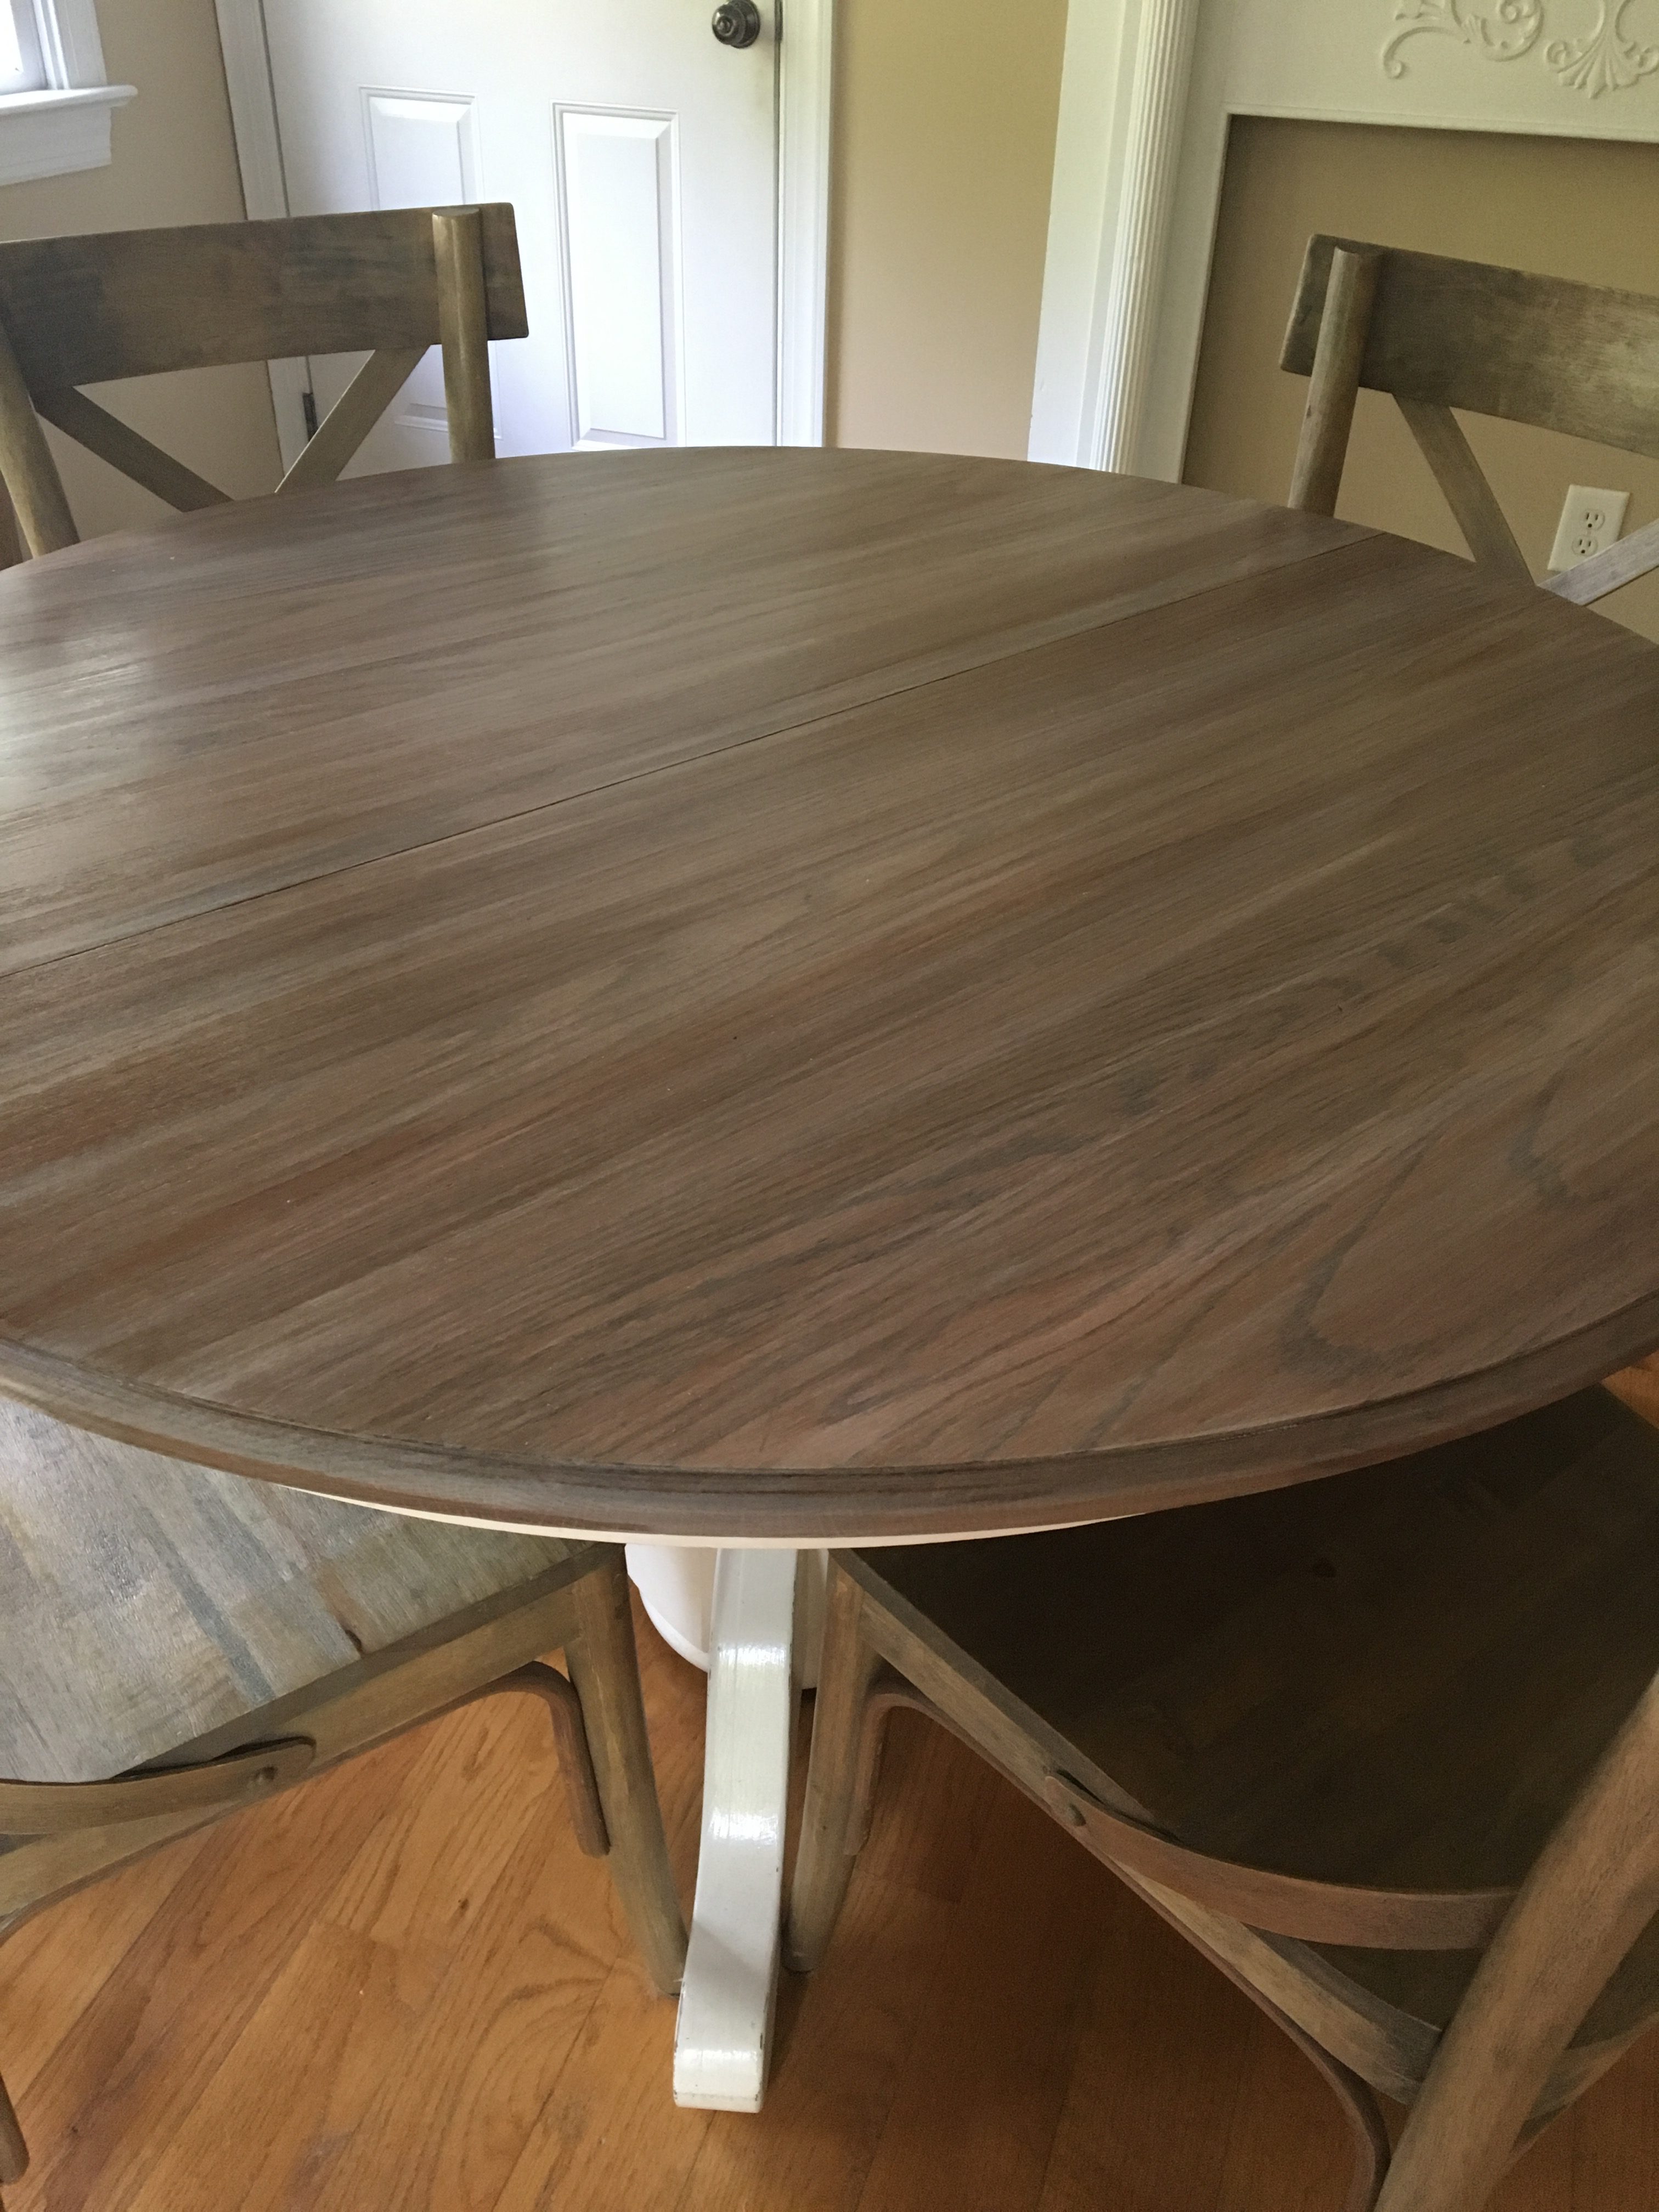
I love the way the table looks with our chairs now. Although it’s not an identical match, I think they blend well. Once again, it was really easy especially since you can skip a couple of the steps I mentioned above. Also, the color paint and stain I used was stuff that I had on hand. Play around with different colors to get the look you want. Different types of wood take of different colors. For example, the Weathered Oak stain that I initially used looks great on pine wood. It actually makes it look like barn wood however, I didn’t care for it on actual oak wood. Crazy right? (Also a tongue twister.)
I hope this helps those of you who want to get that weathered wood look without leaving your furniture outside for months/years. If you have any questions, please feel free to comment below or send me an email and I’ll get back to you as soon as possible.