
My Five Dollar Workbench ~ Part Two ~ The Big Finish
Hello Everyone! If you’re joining me for the first time or missed last week’s post, you’re going to want to go back and read how we came upon our little gem of a find. (Go ahead…I’ll wait)
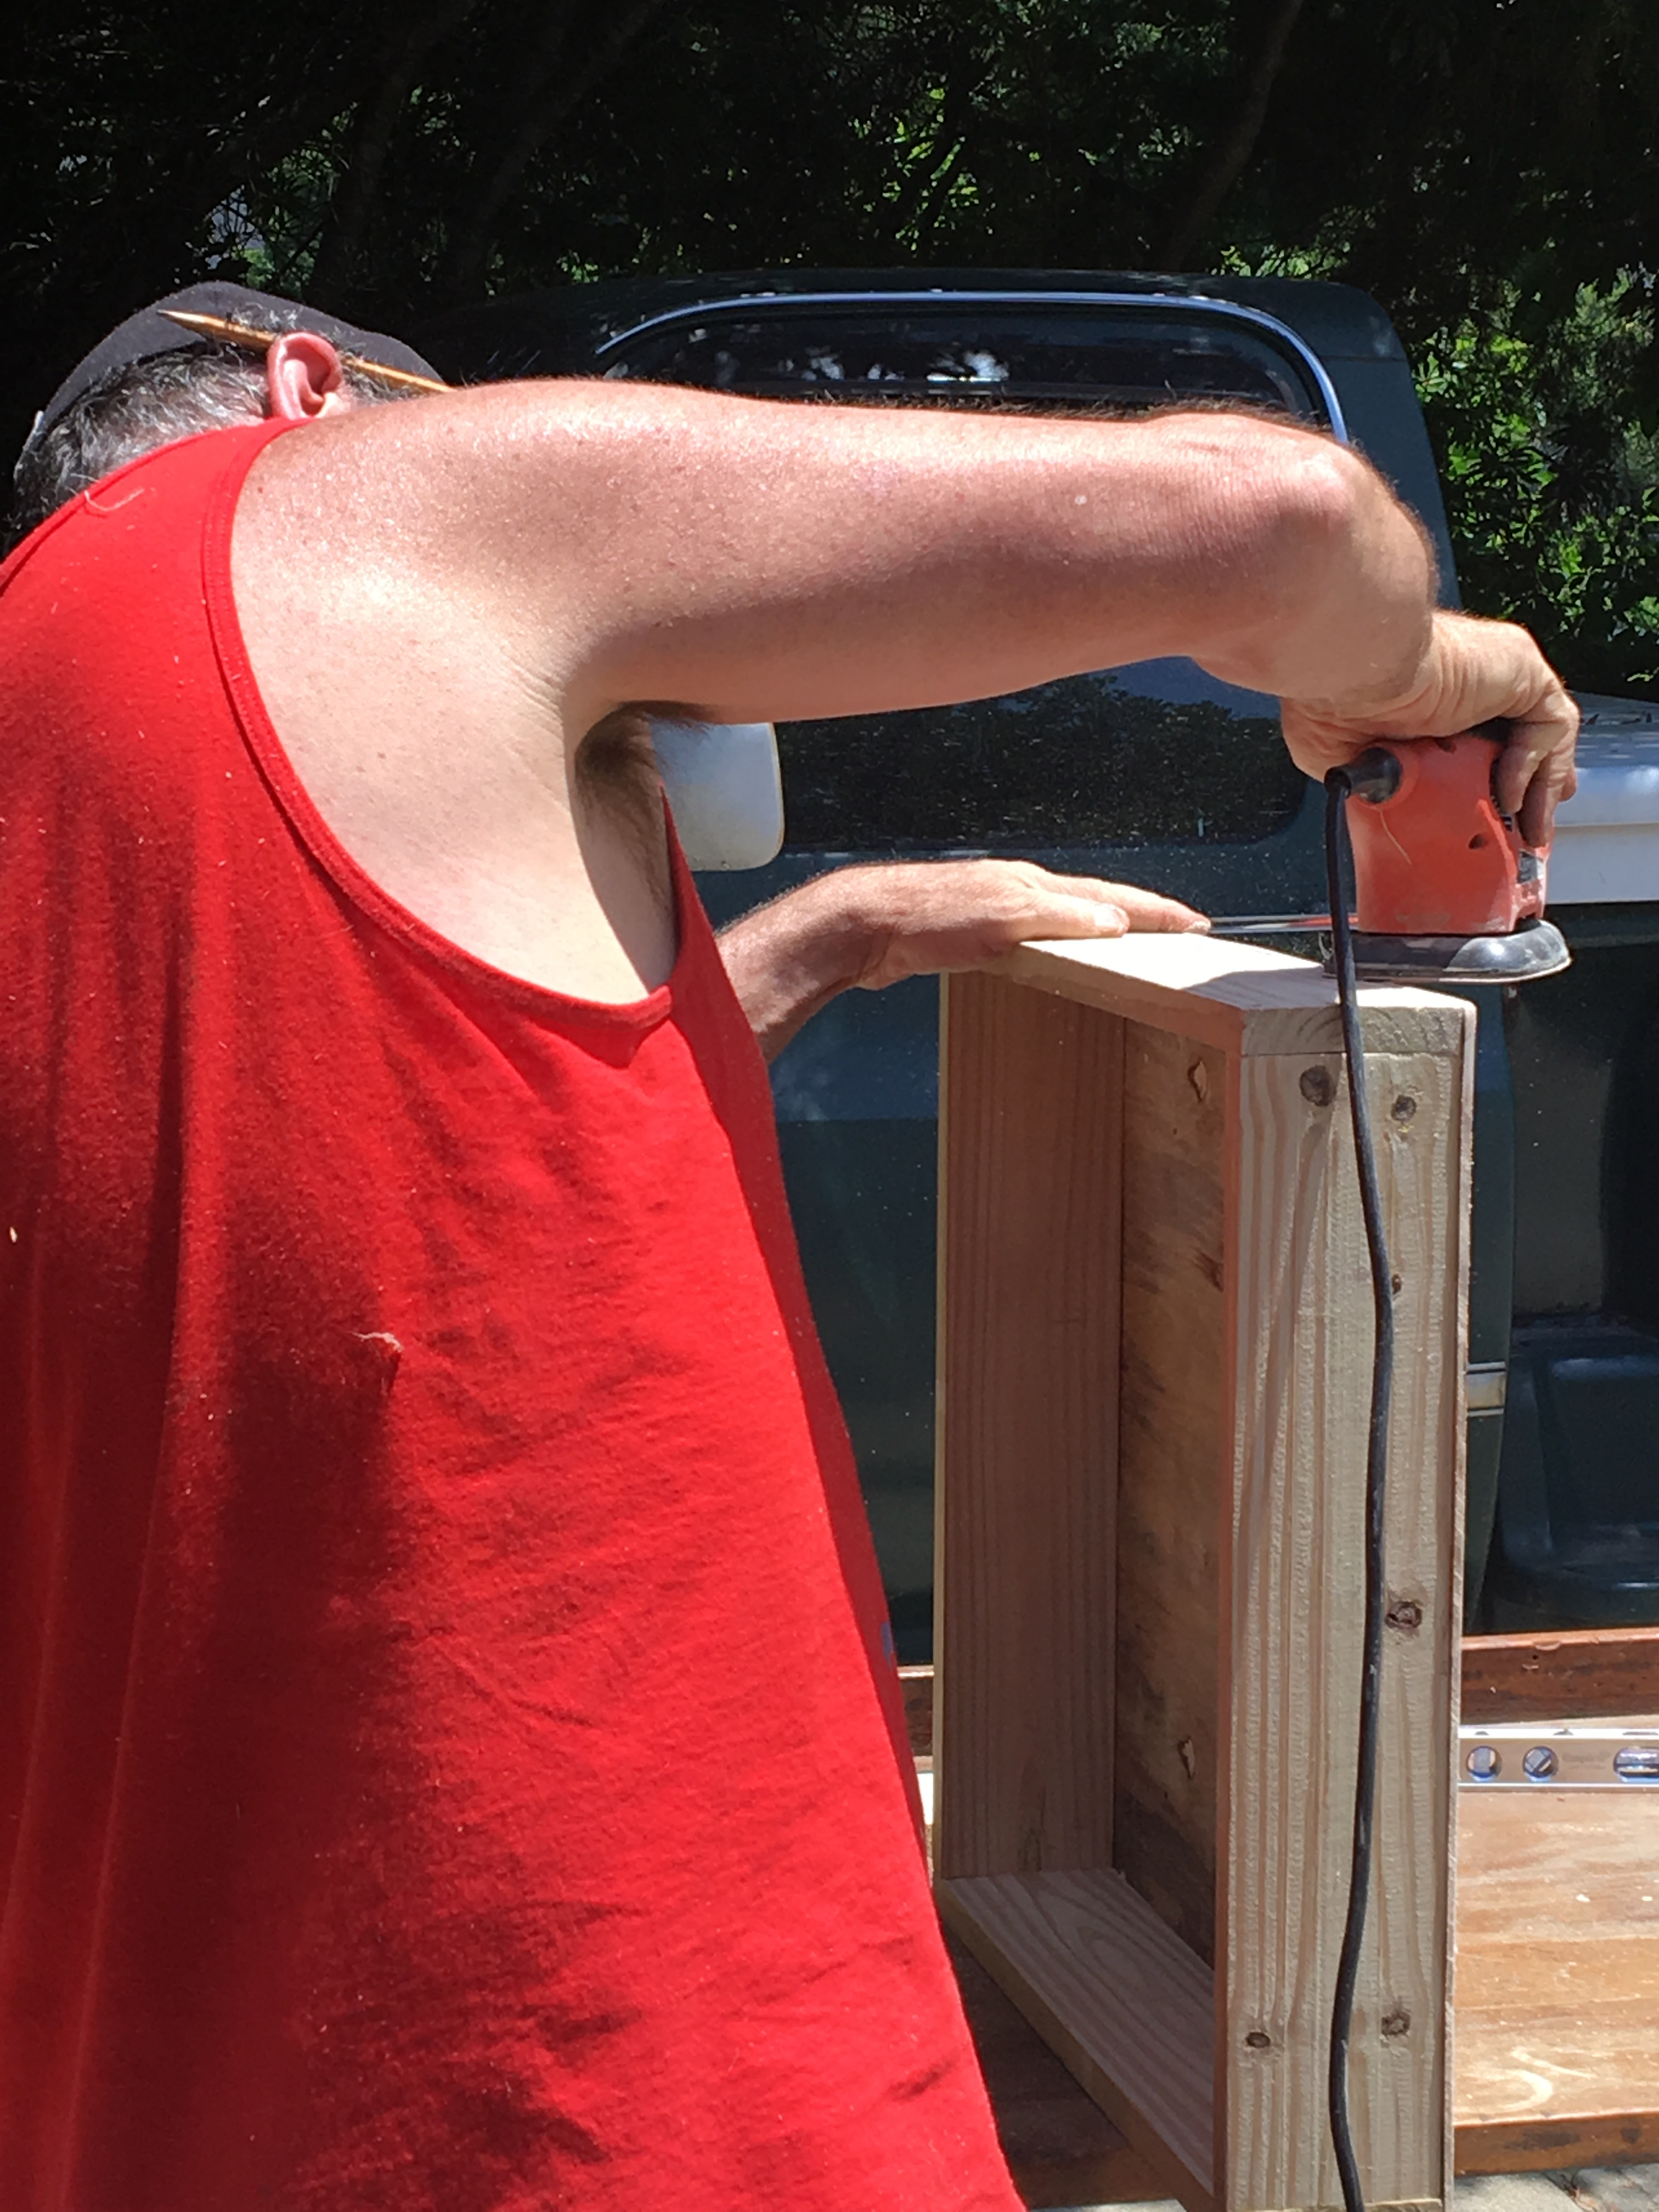
Okay, On to the big finish! When I last left you, My Guy was belly up under the workbench assessing the work that had to be done.
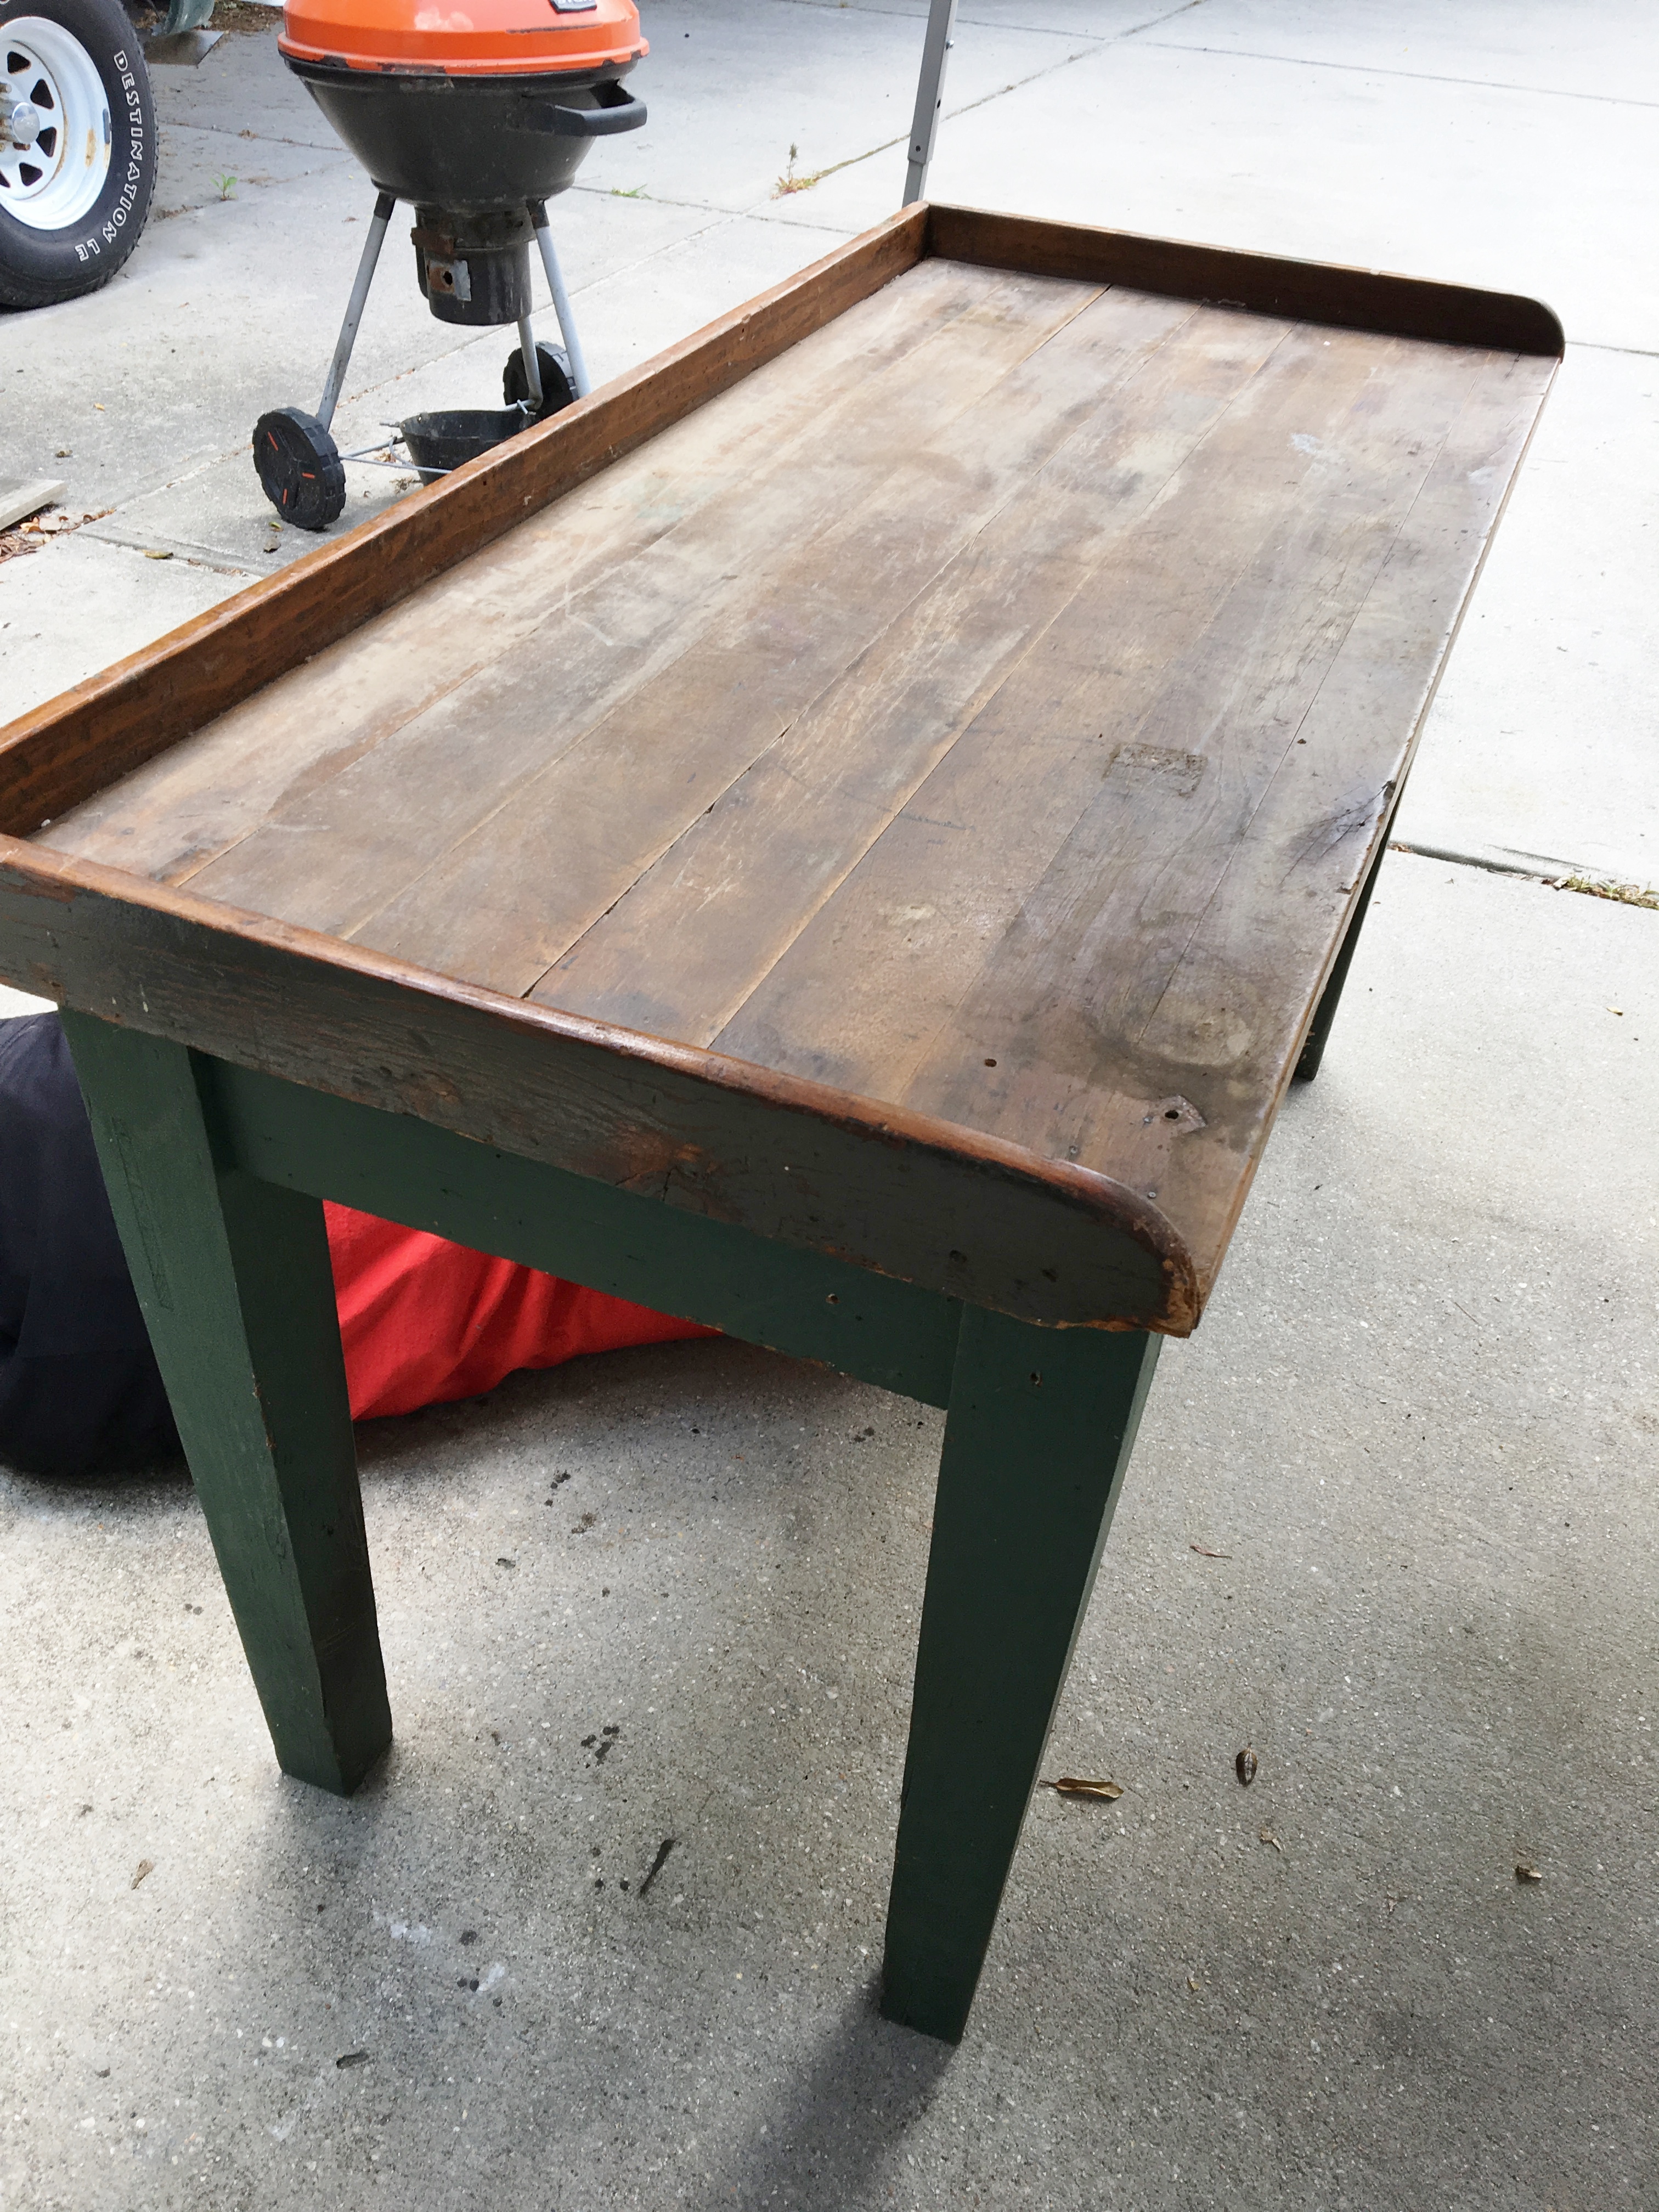
(Or he may have passed out for a bit…it was a sweltering weekend. Just kidding. No husbands were hurt in this process…)
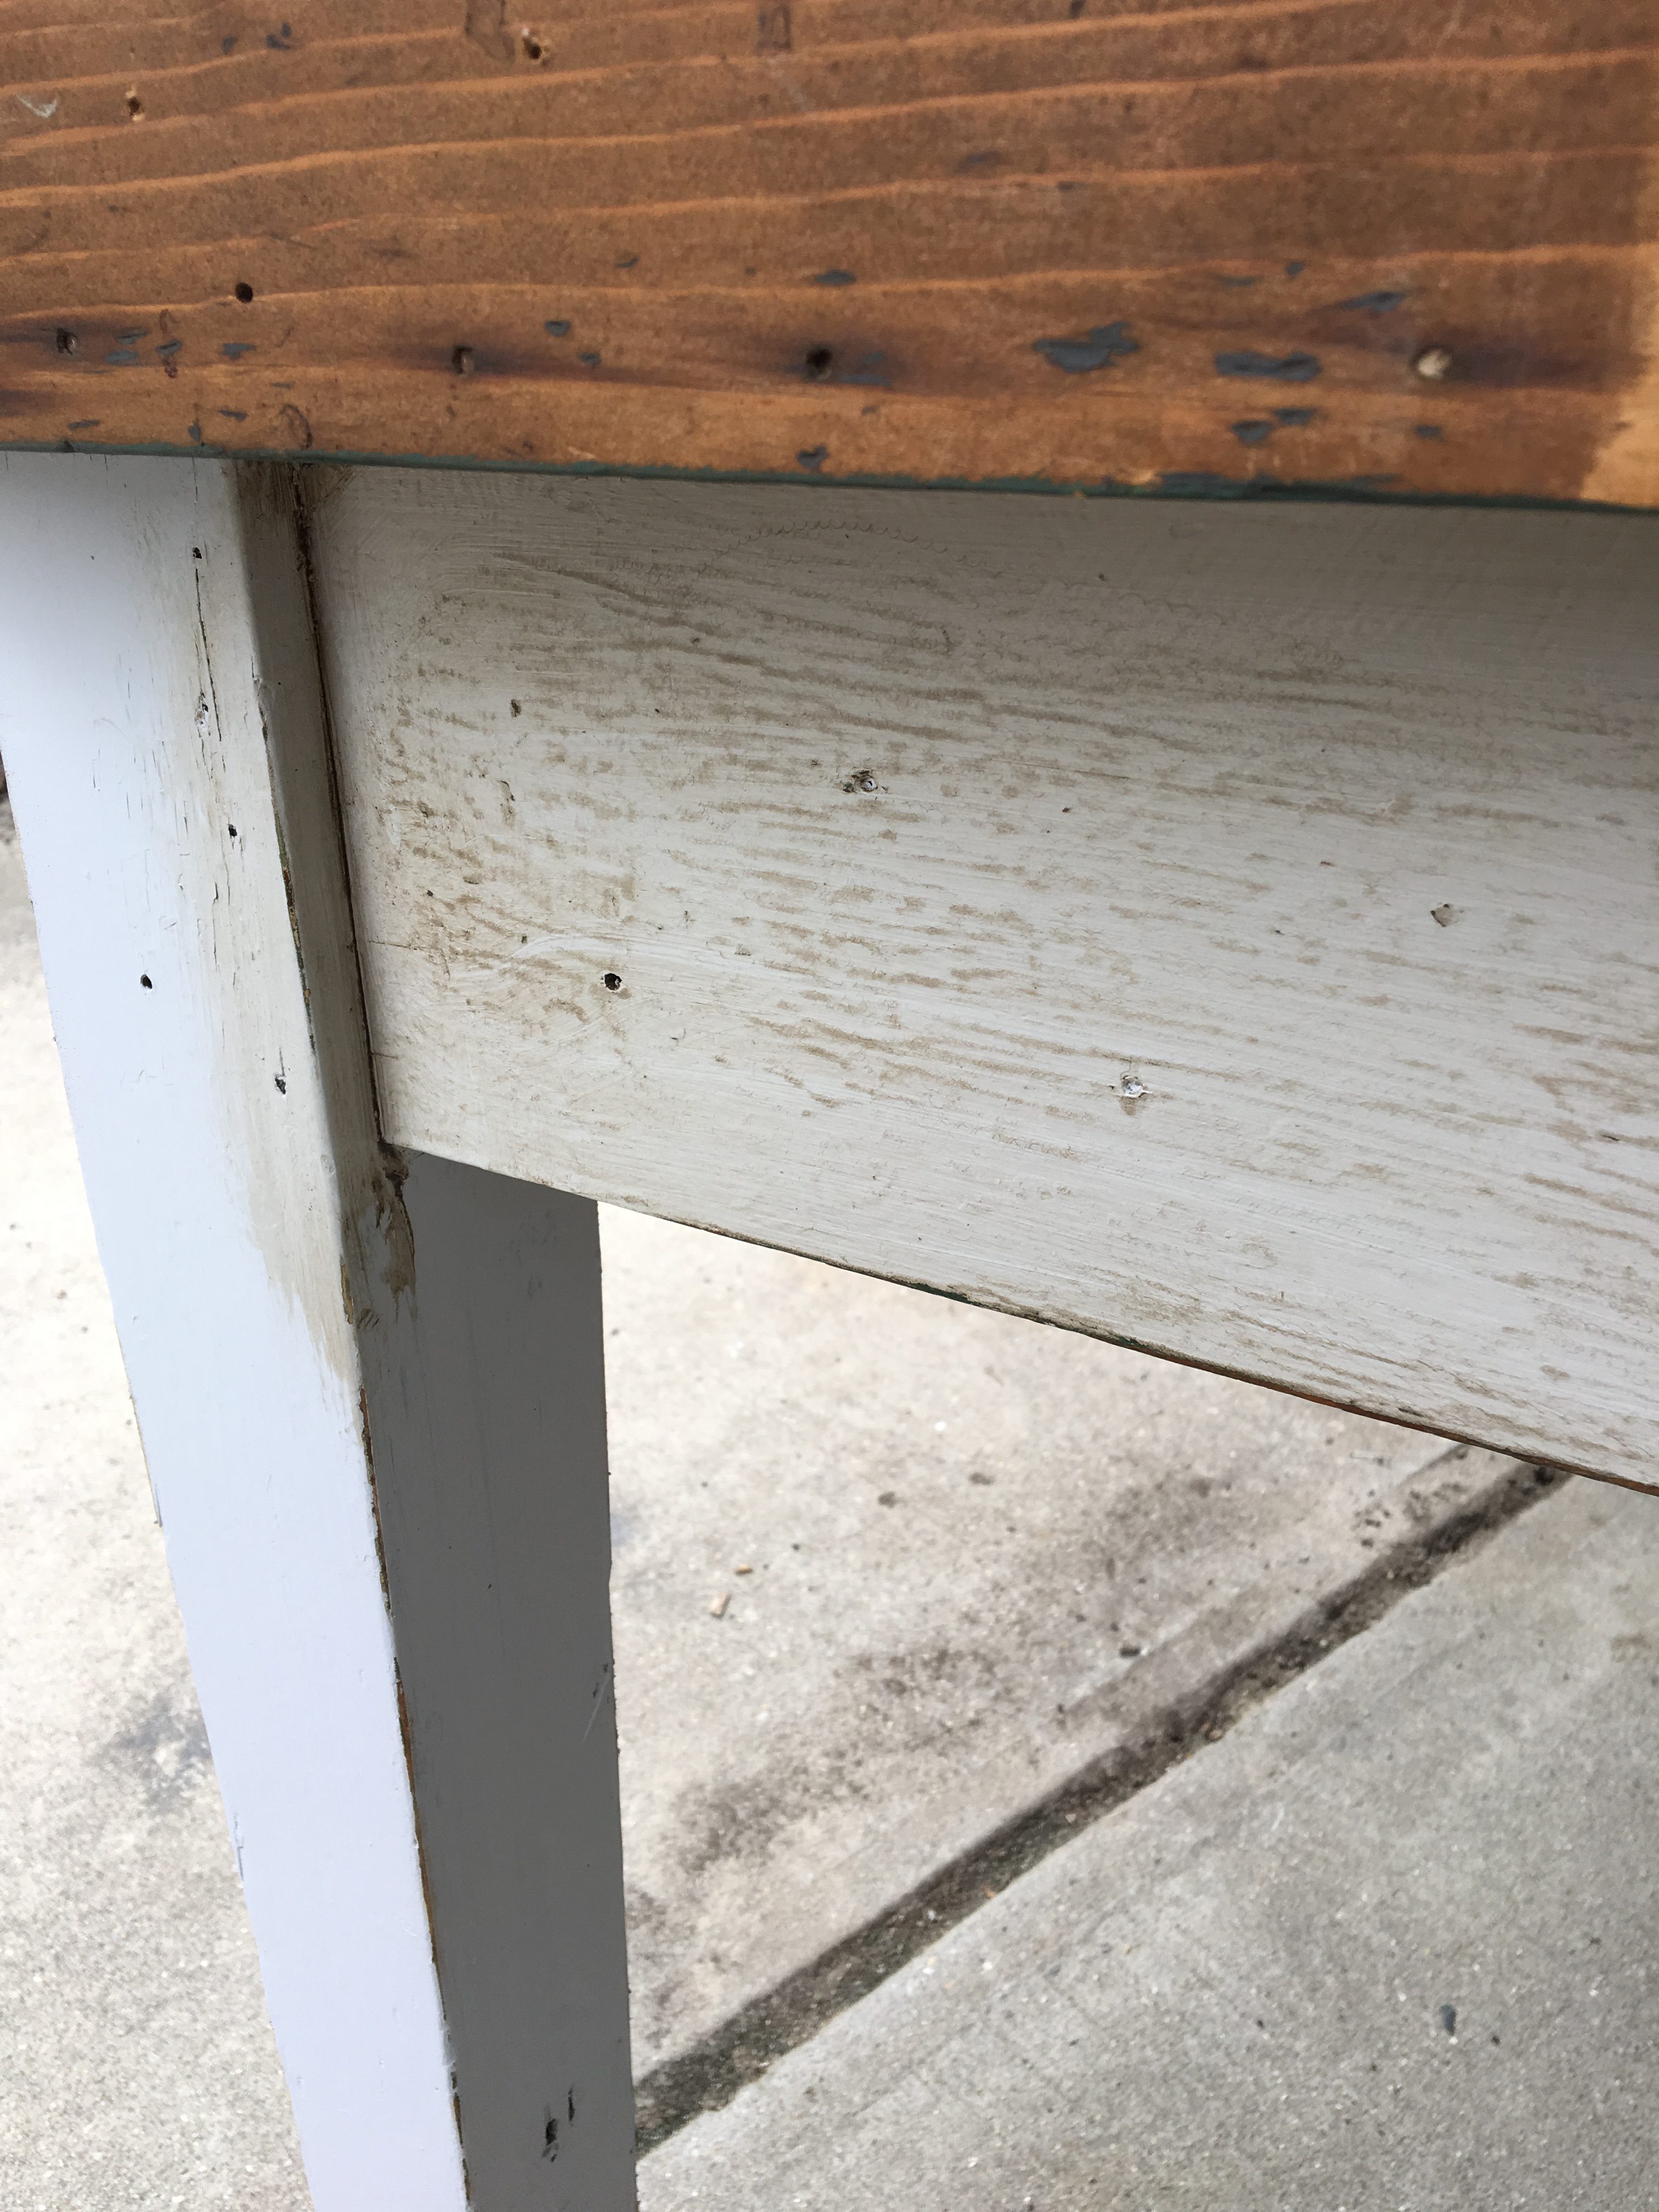
The first thing My Guy did was to add a brace along the front of the workbench.
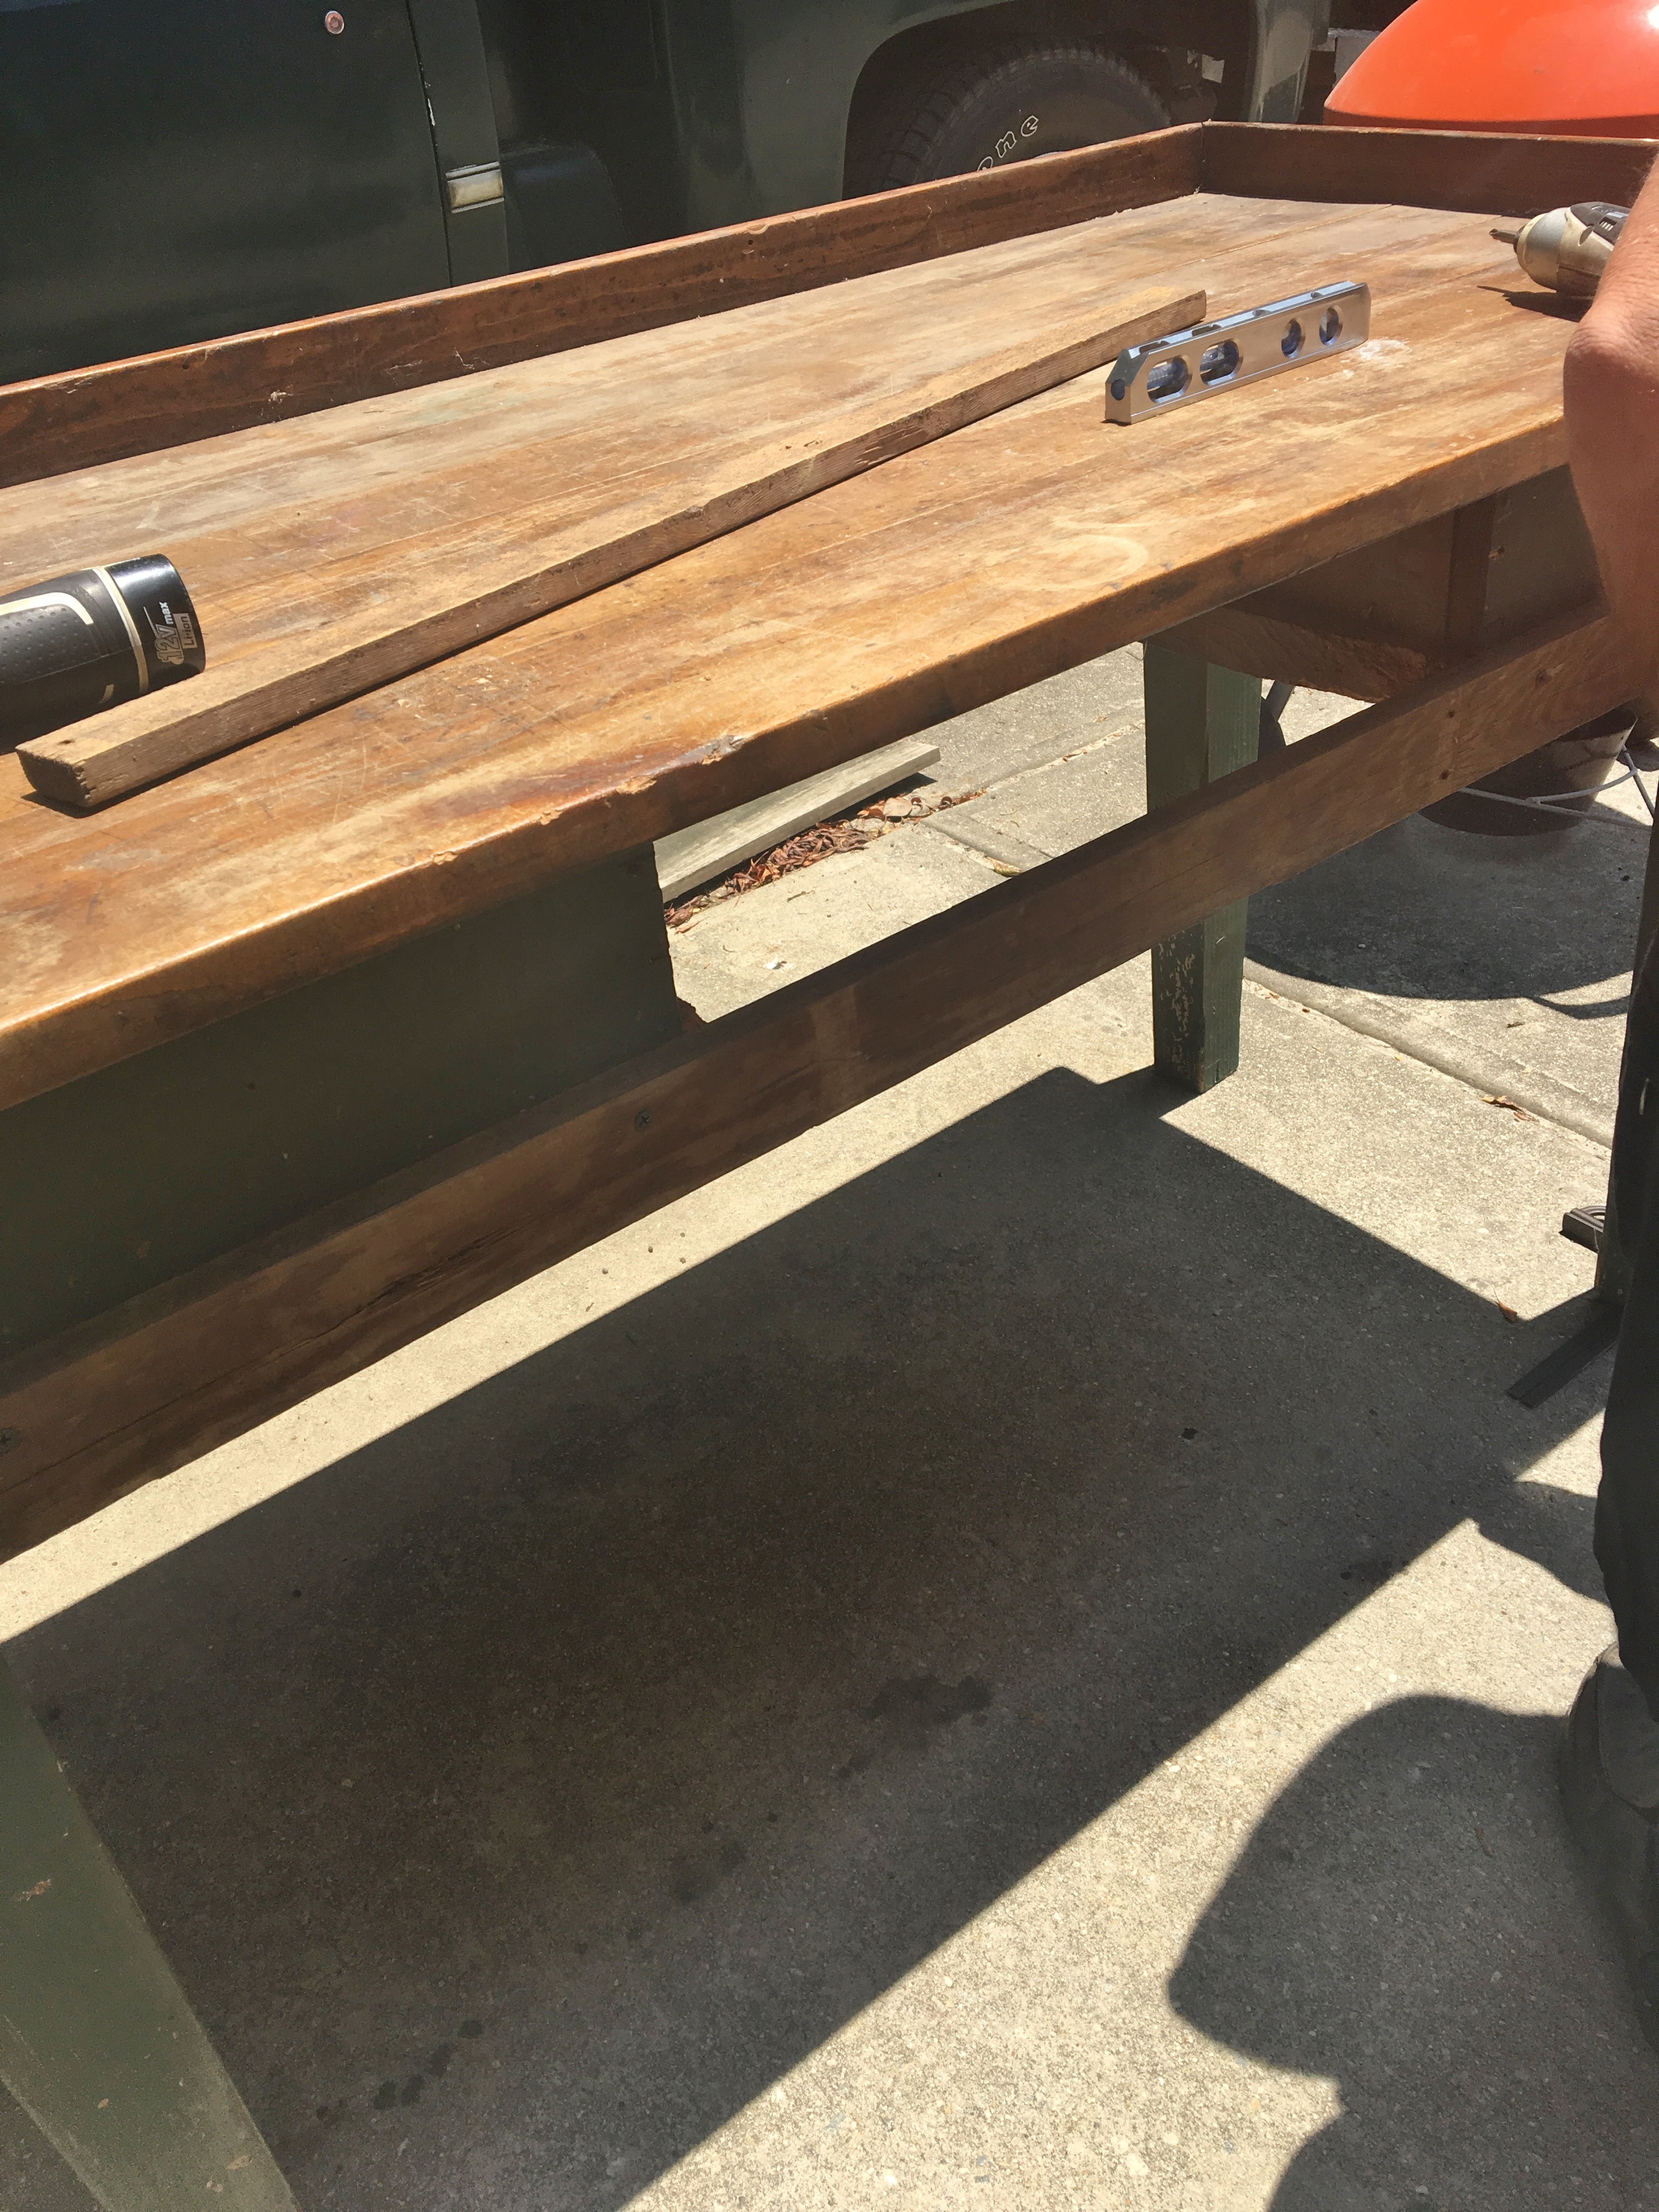
He also added one that ran underneath where the drawer will sit on top of. I didn’t get a picture of that step because My Guy works fast and it’s hard keeping up with him.
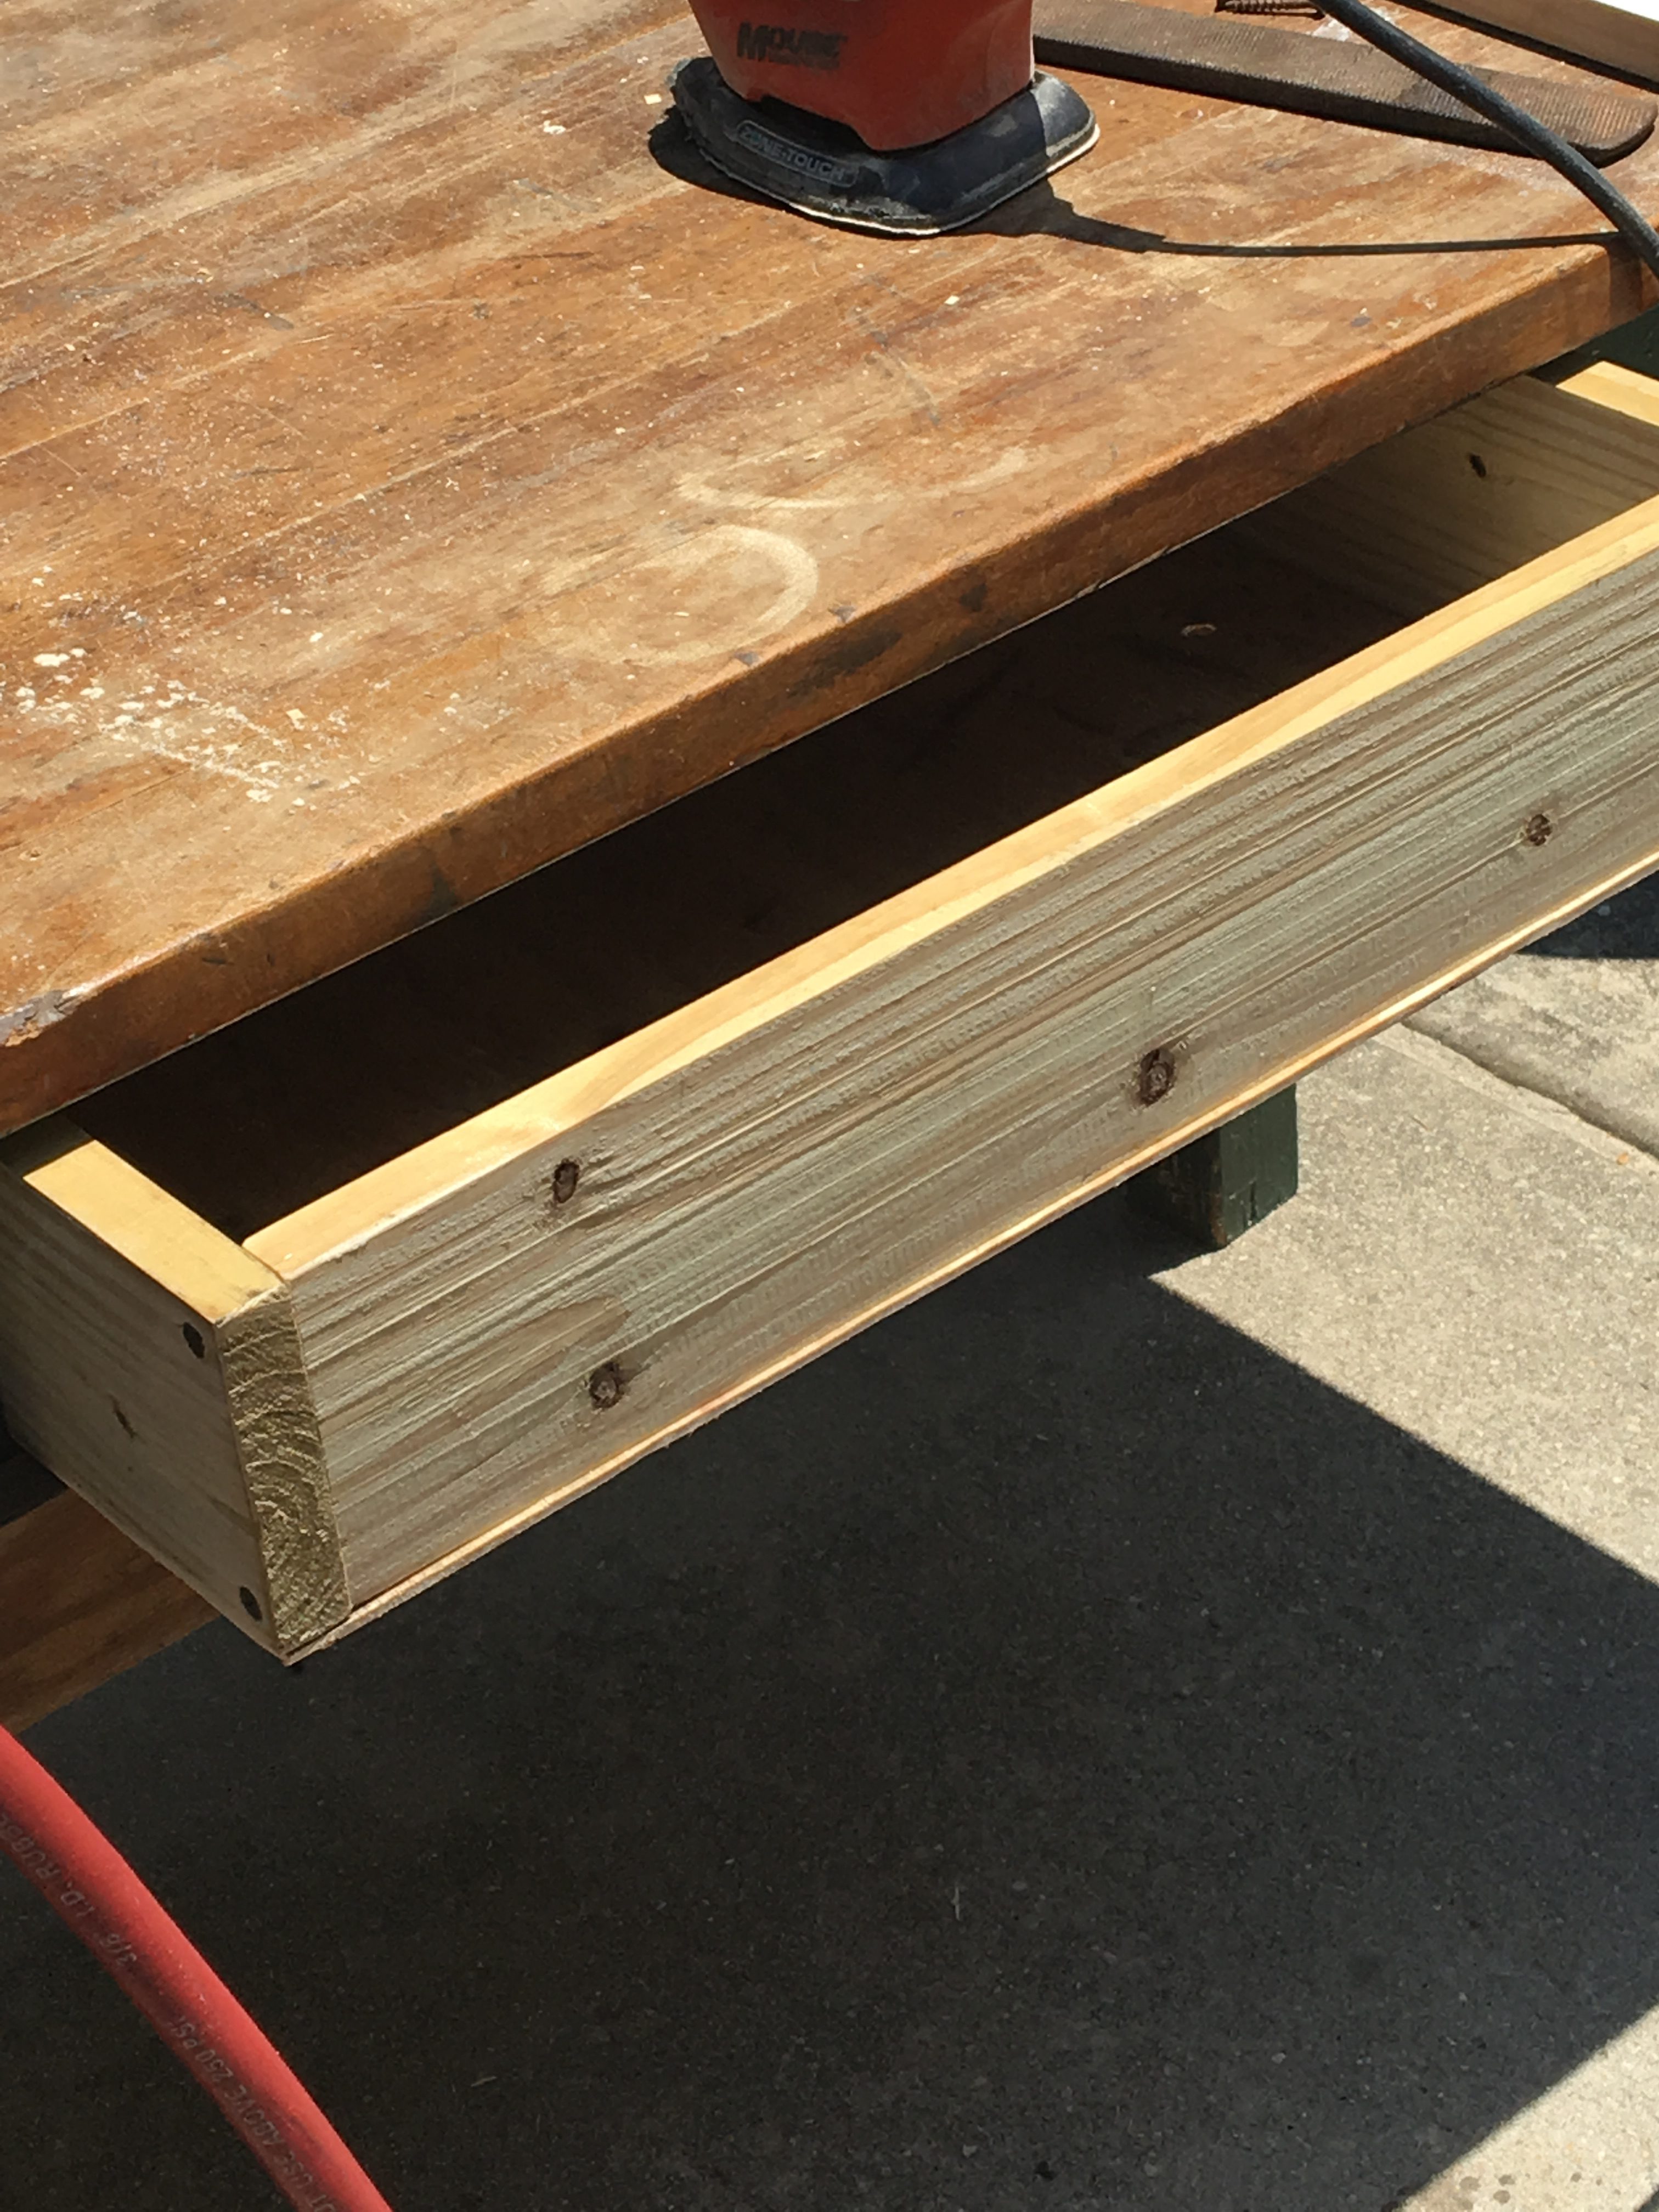
Then he built a box to fit just inside the opening…
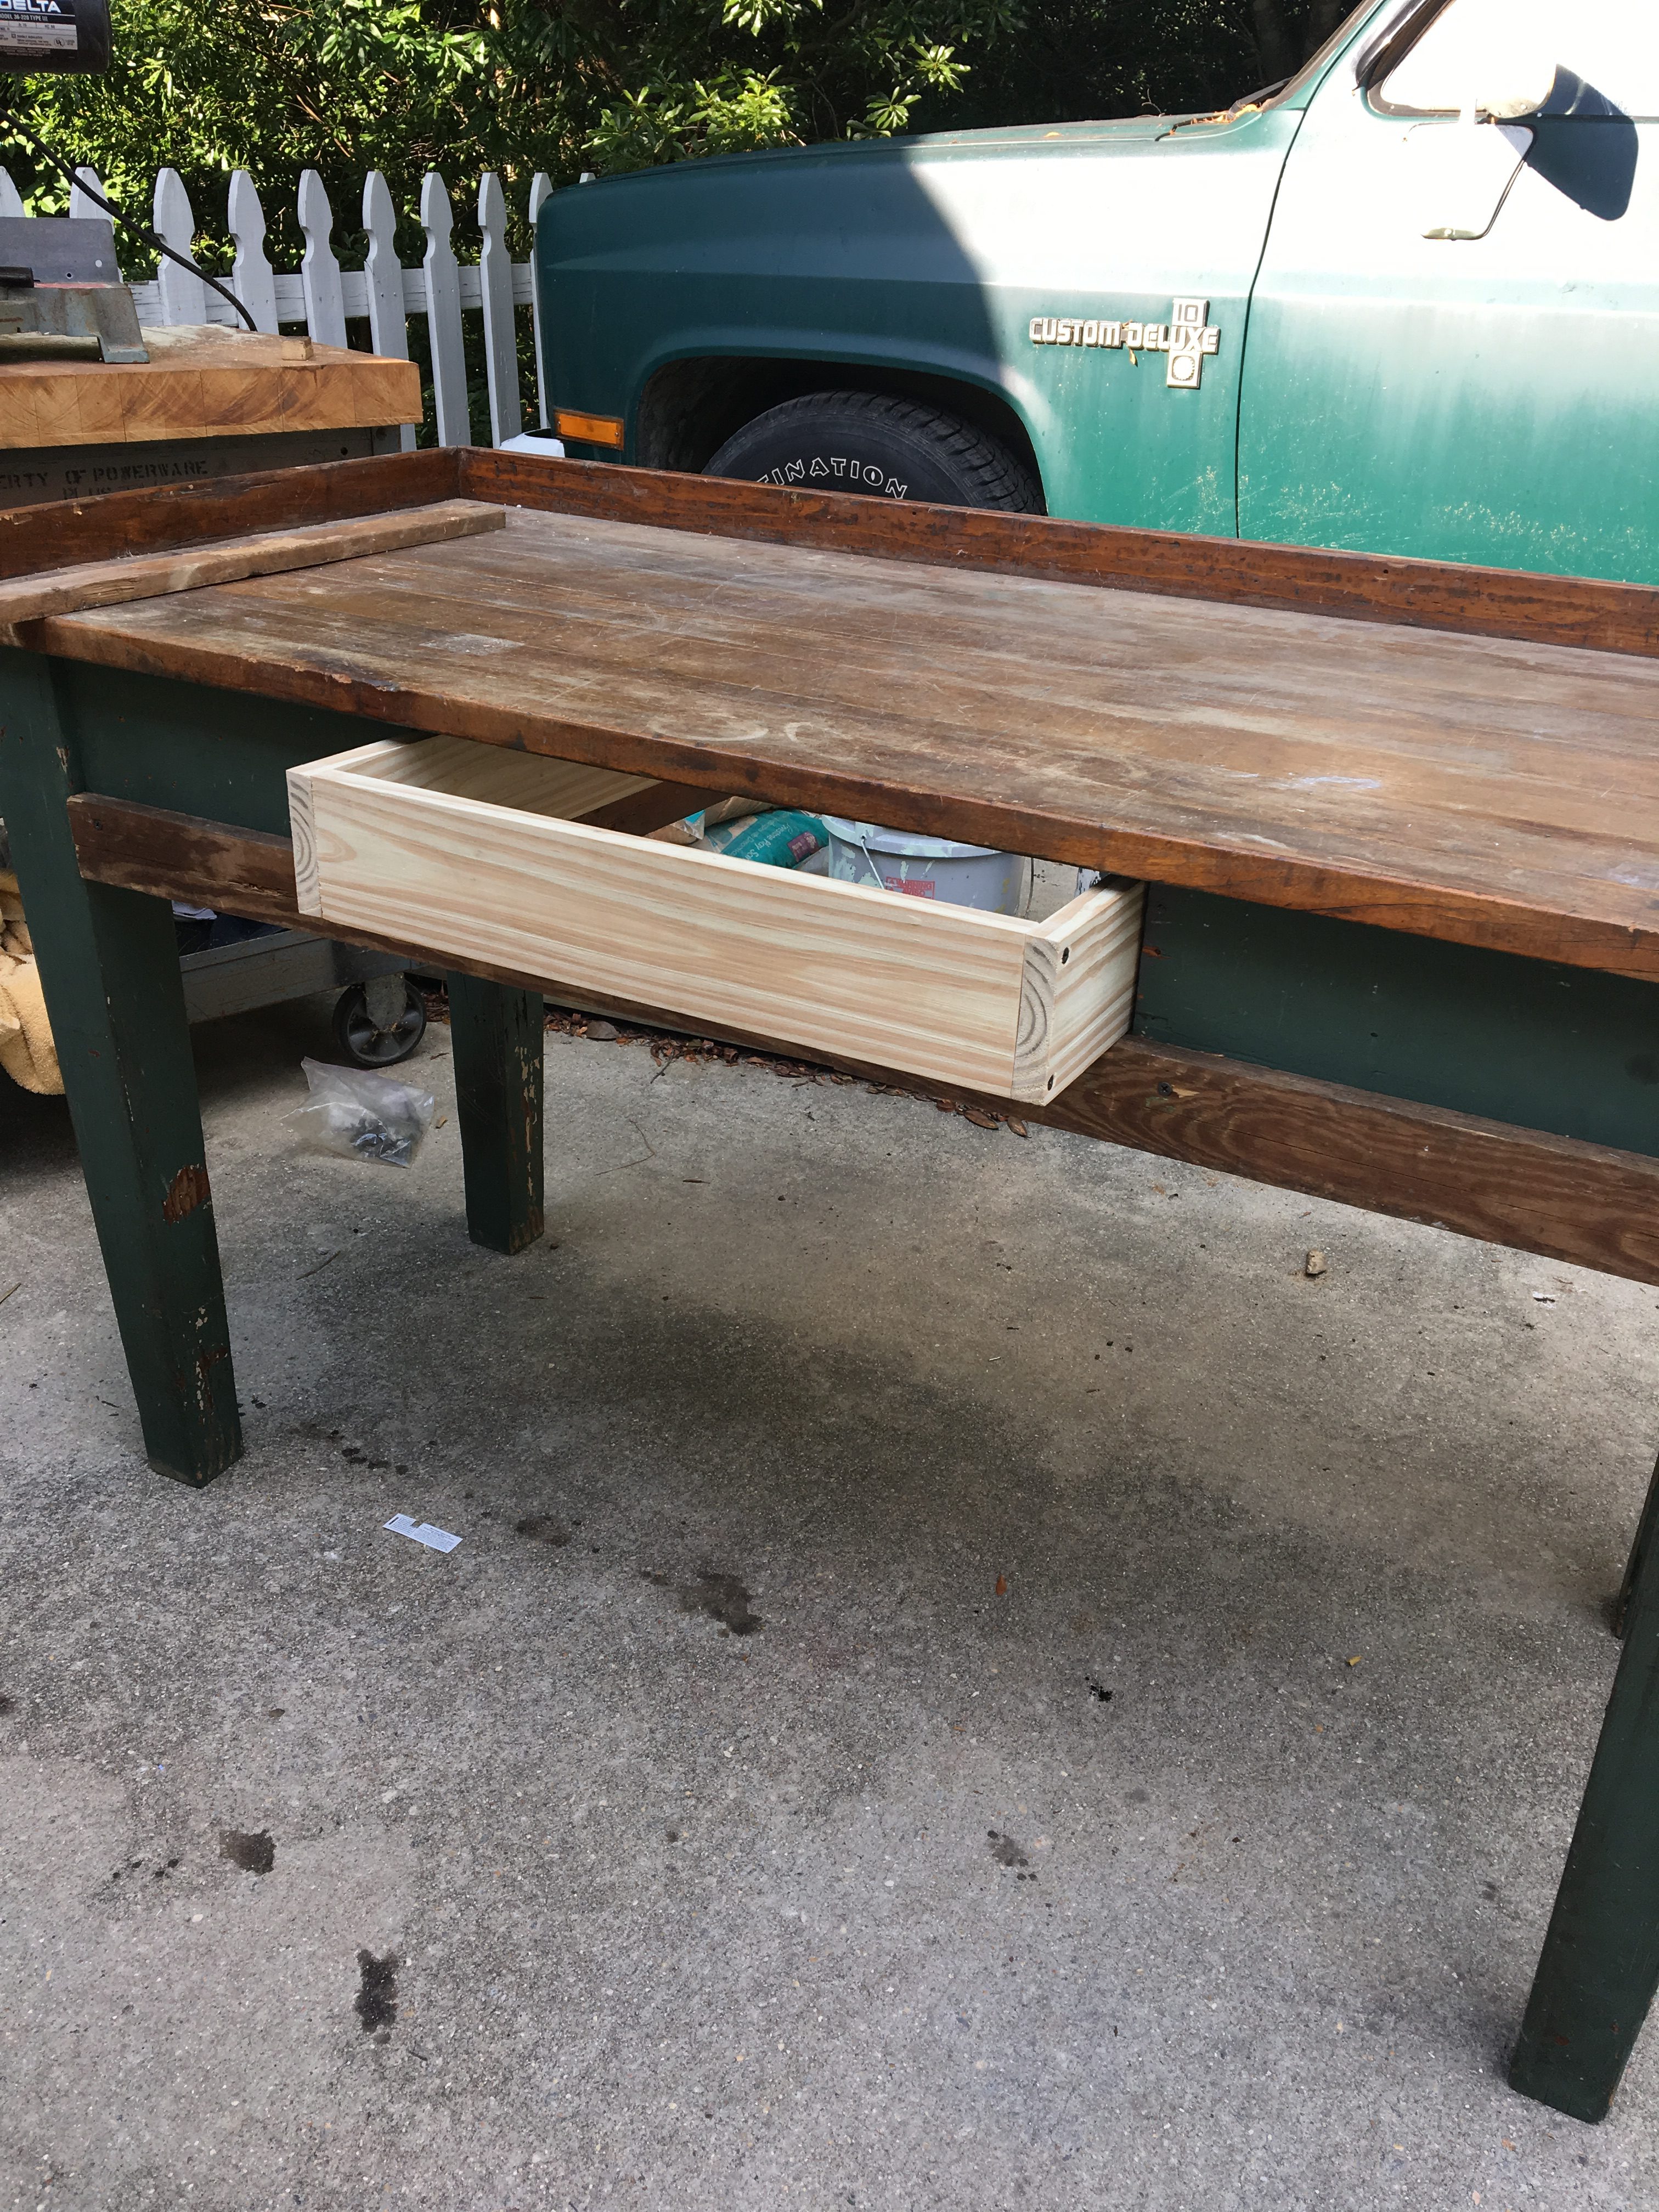
and attached a bottom to the drawer using a very thin plywood.
Keep in mind that the plywood and height of the drawer must fit in the opening. Note: There was very little cussing in that process…(wink, wink…)
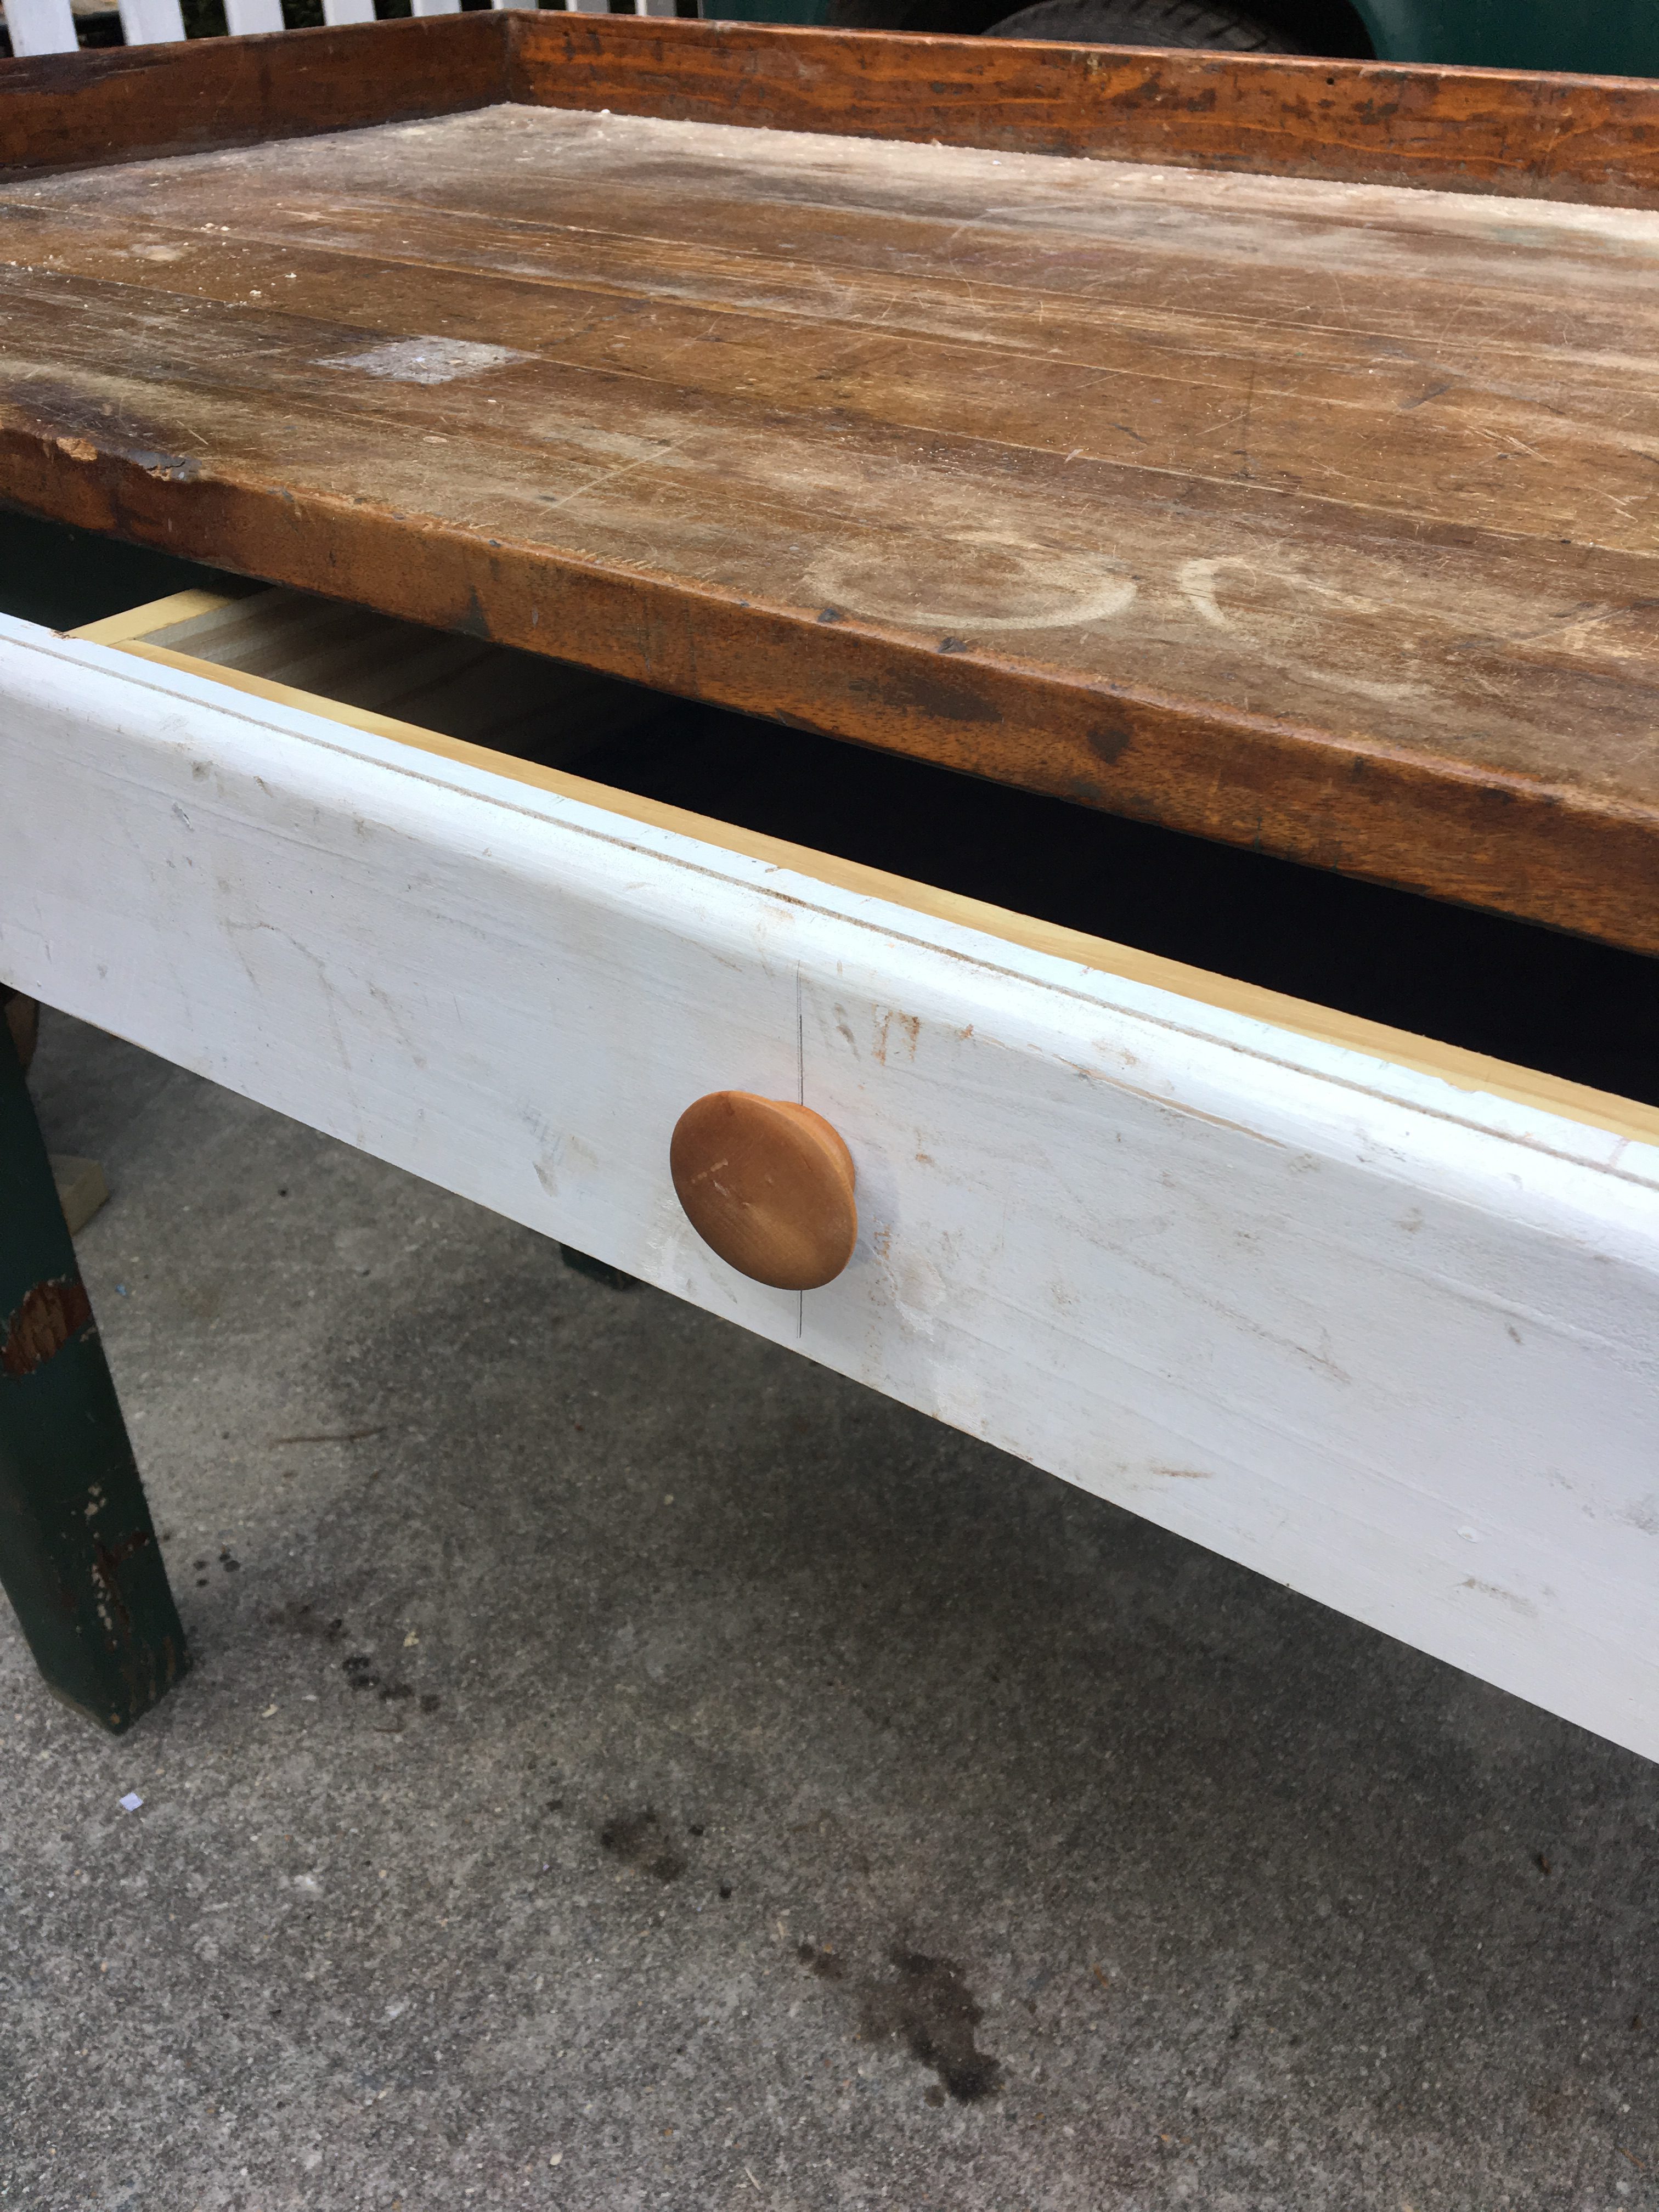
Once the drawer fit nicely in the opening, My Guy attached a front plate to the drawer using scrap wood that we had from another project and attached a wooden knob to the center of it.
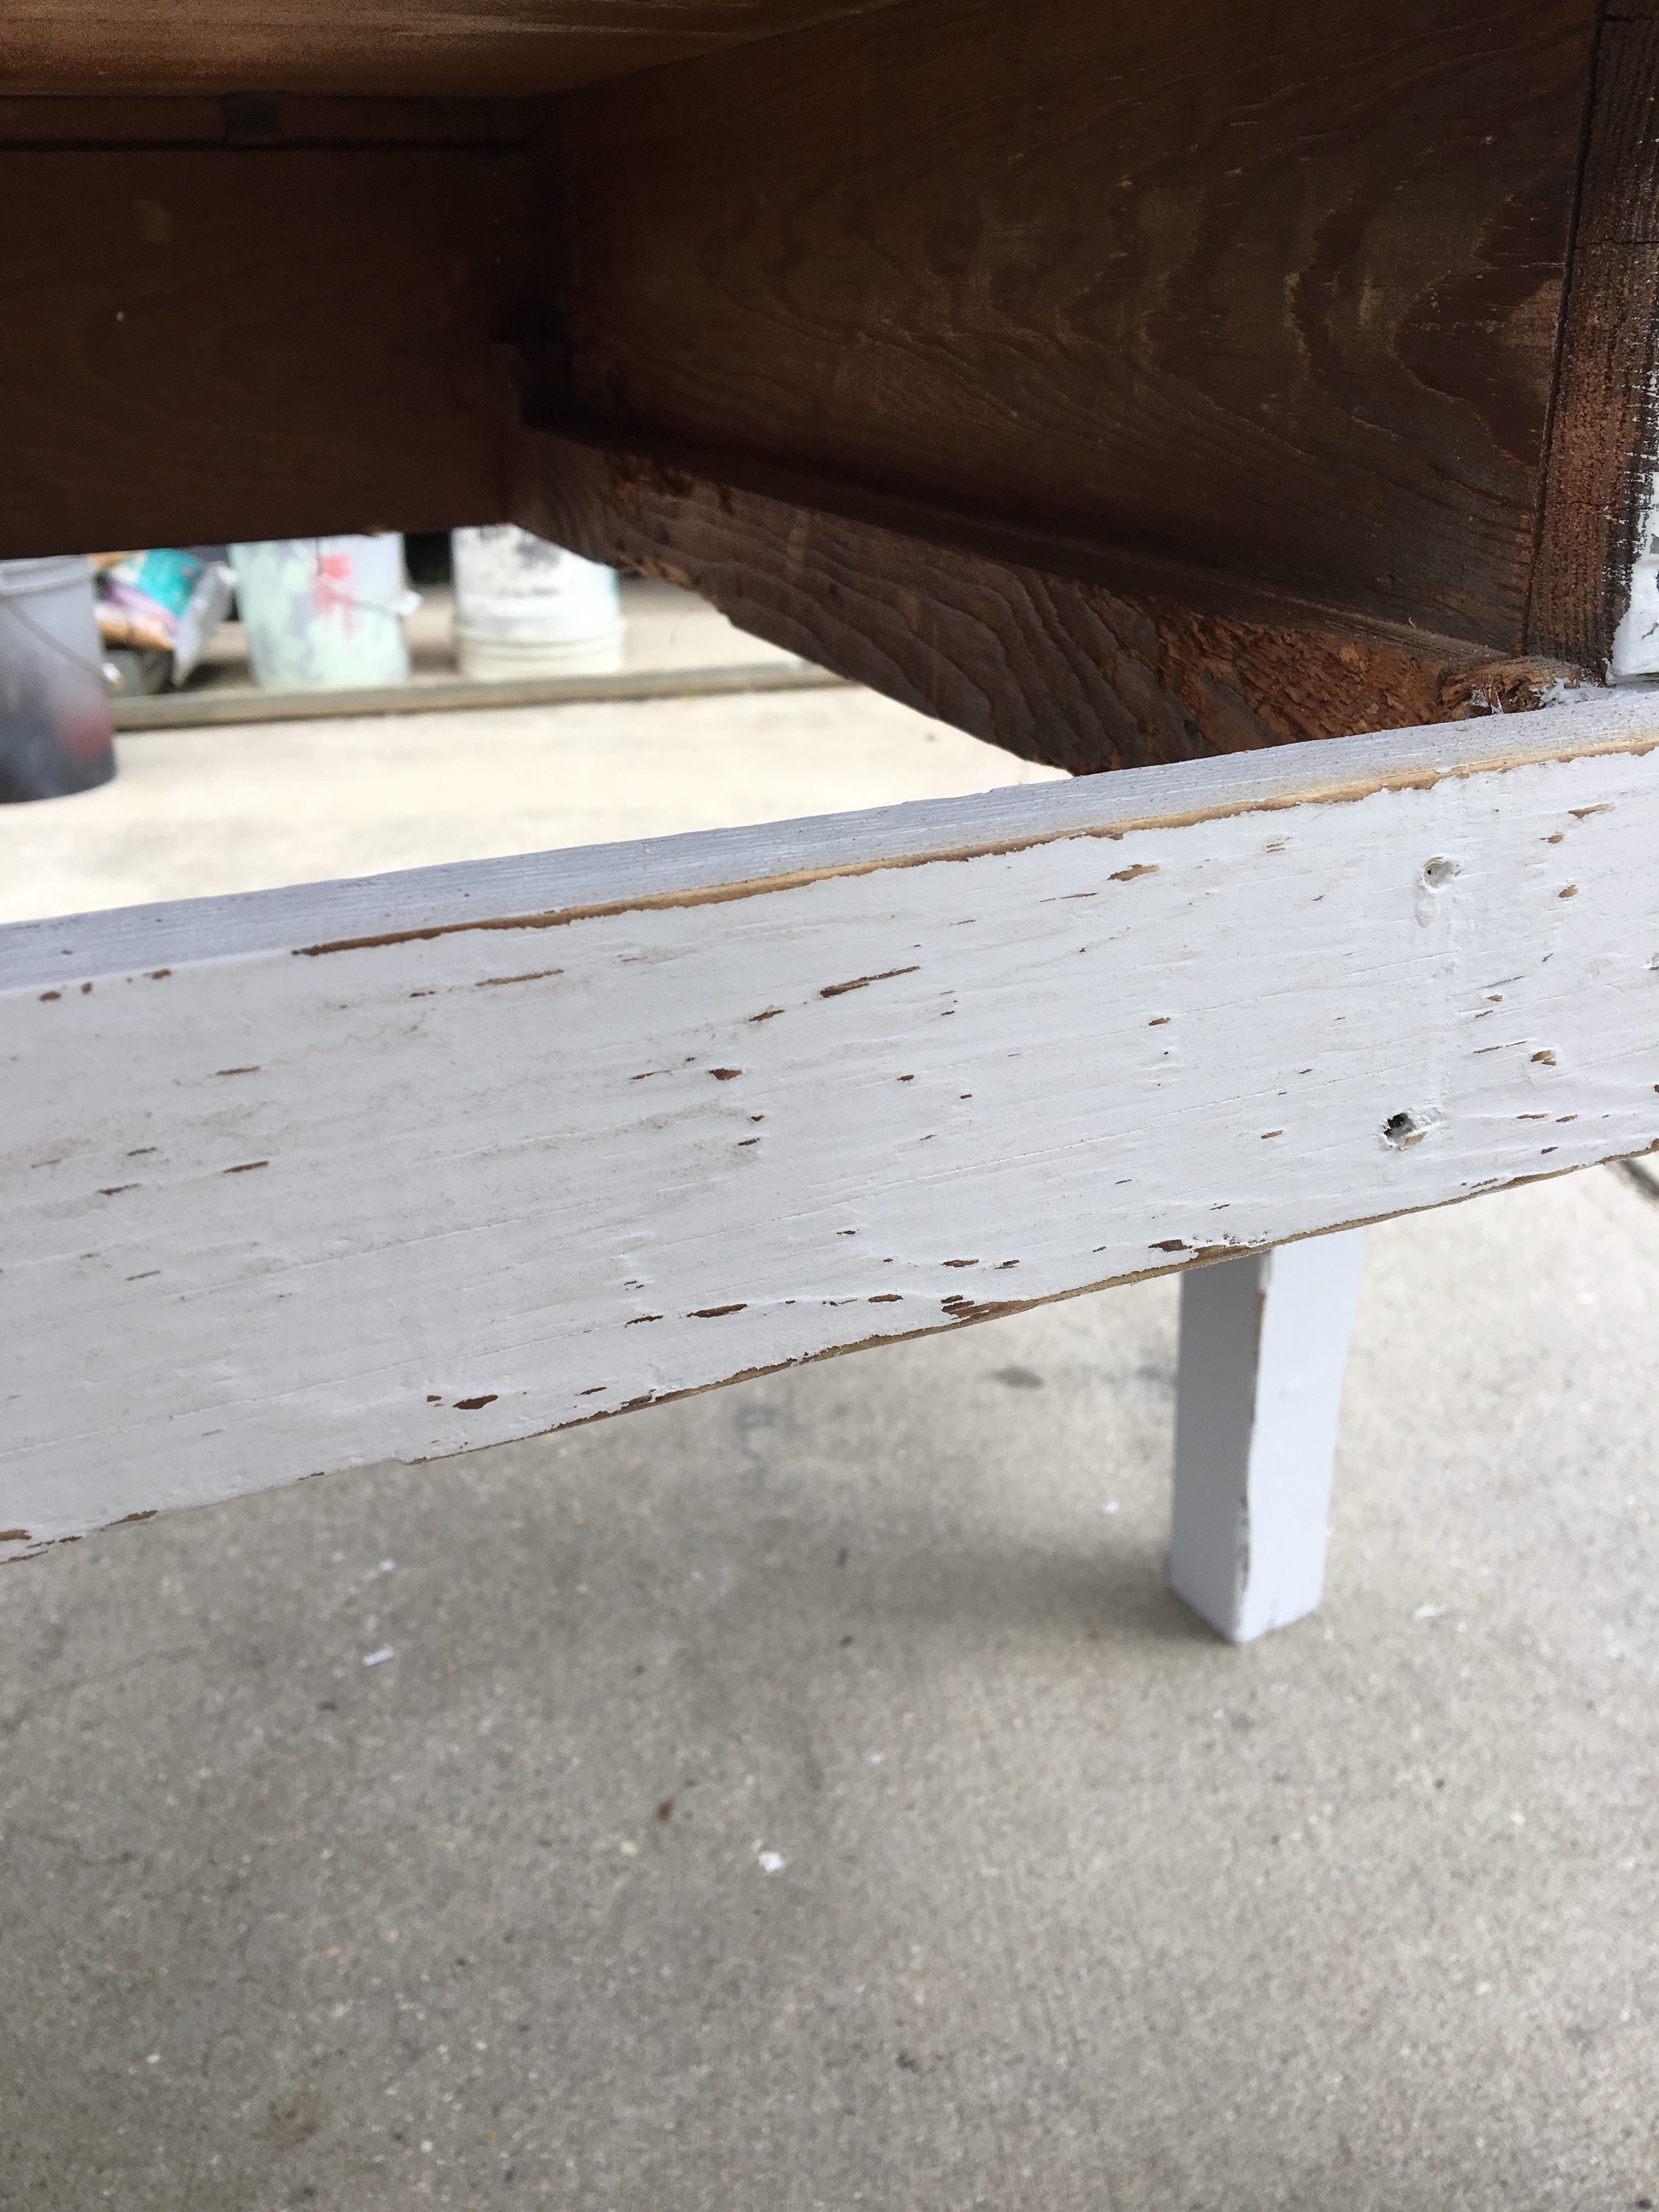
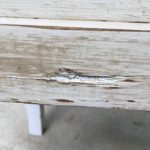
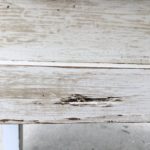
Now the rest was up to me…I pulled out random nails that were sticking out and painted the base with a light gray paint.
Once it was dry, I scuffed up the edges and ran over the surface with my hand sander to give it a worn look.
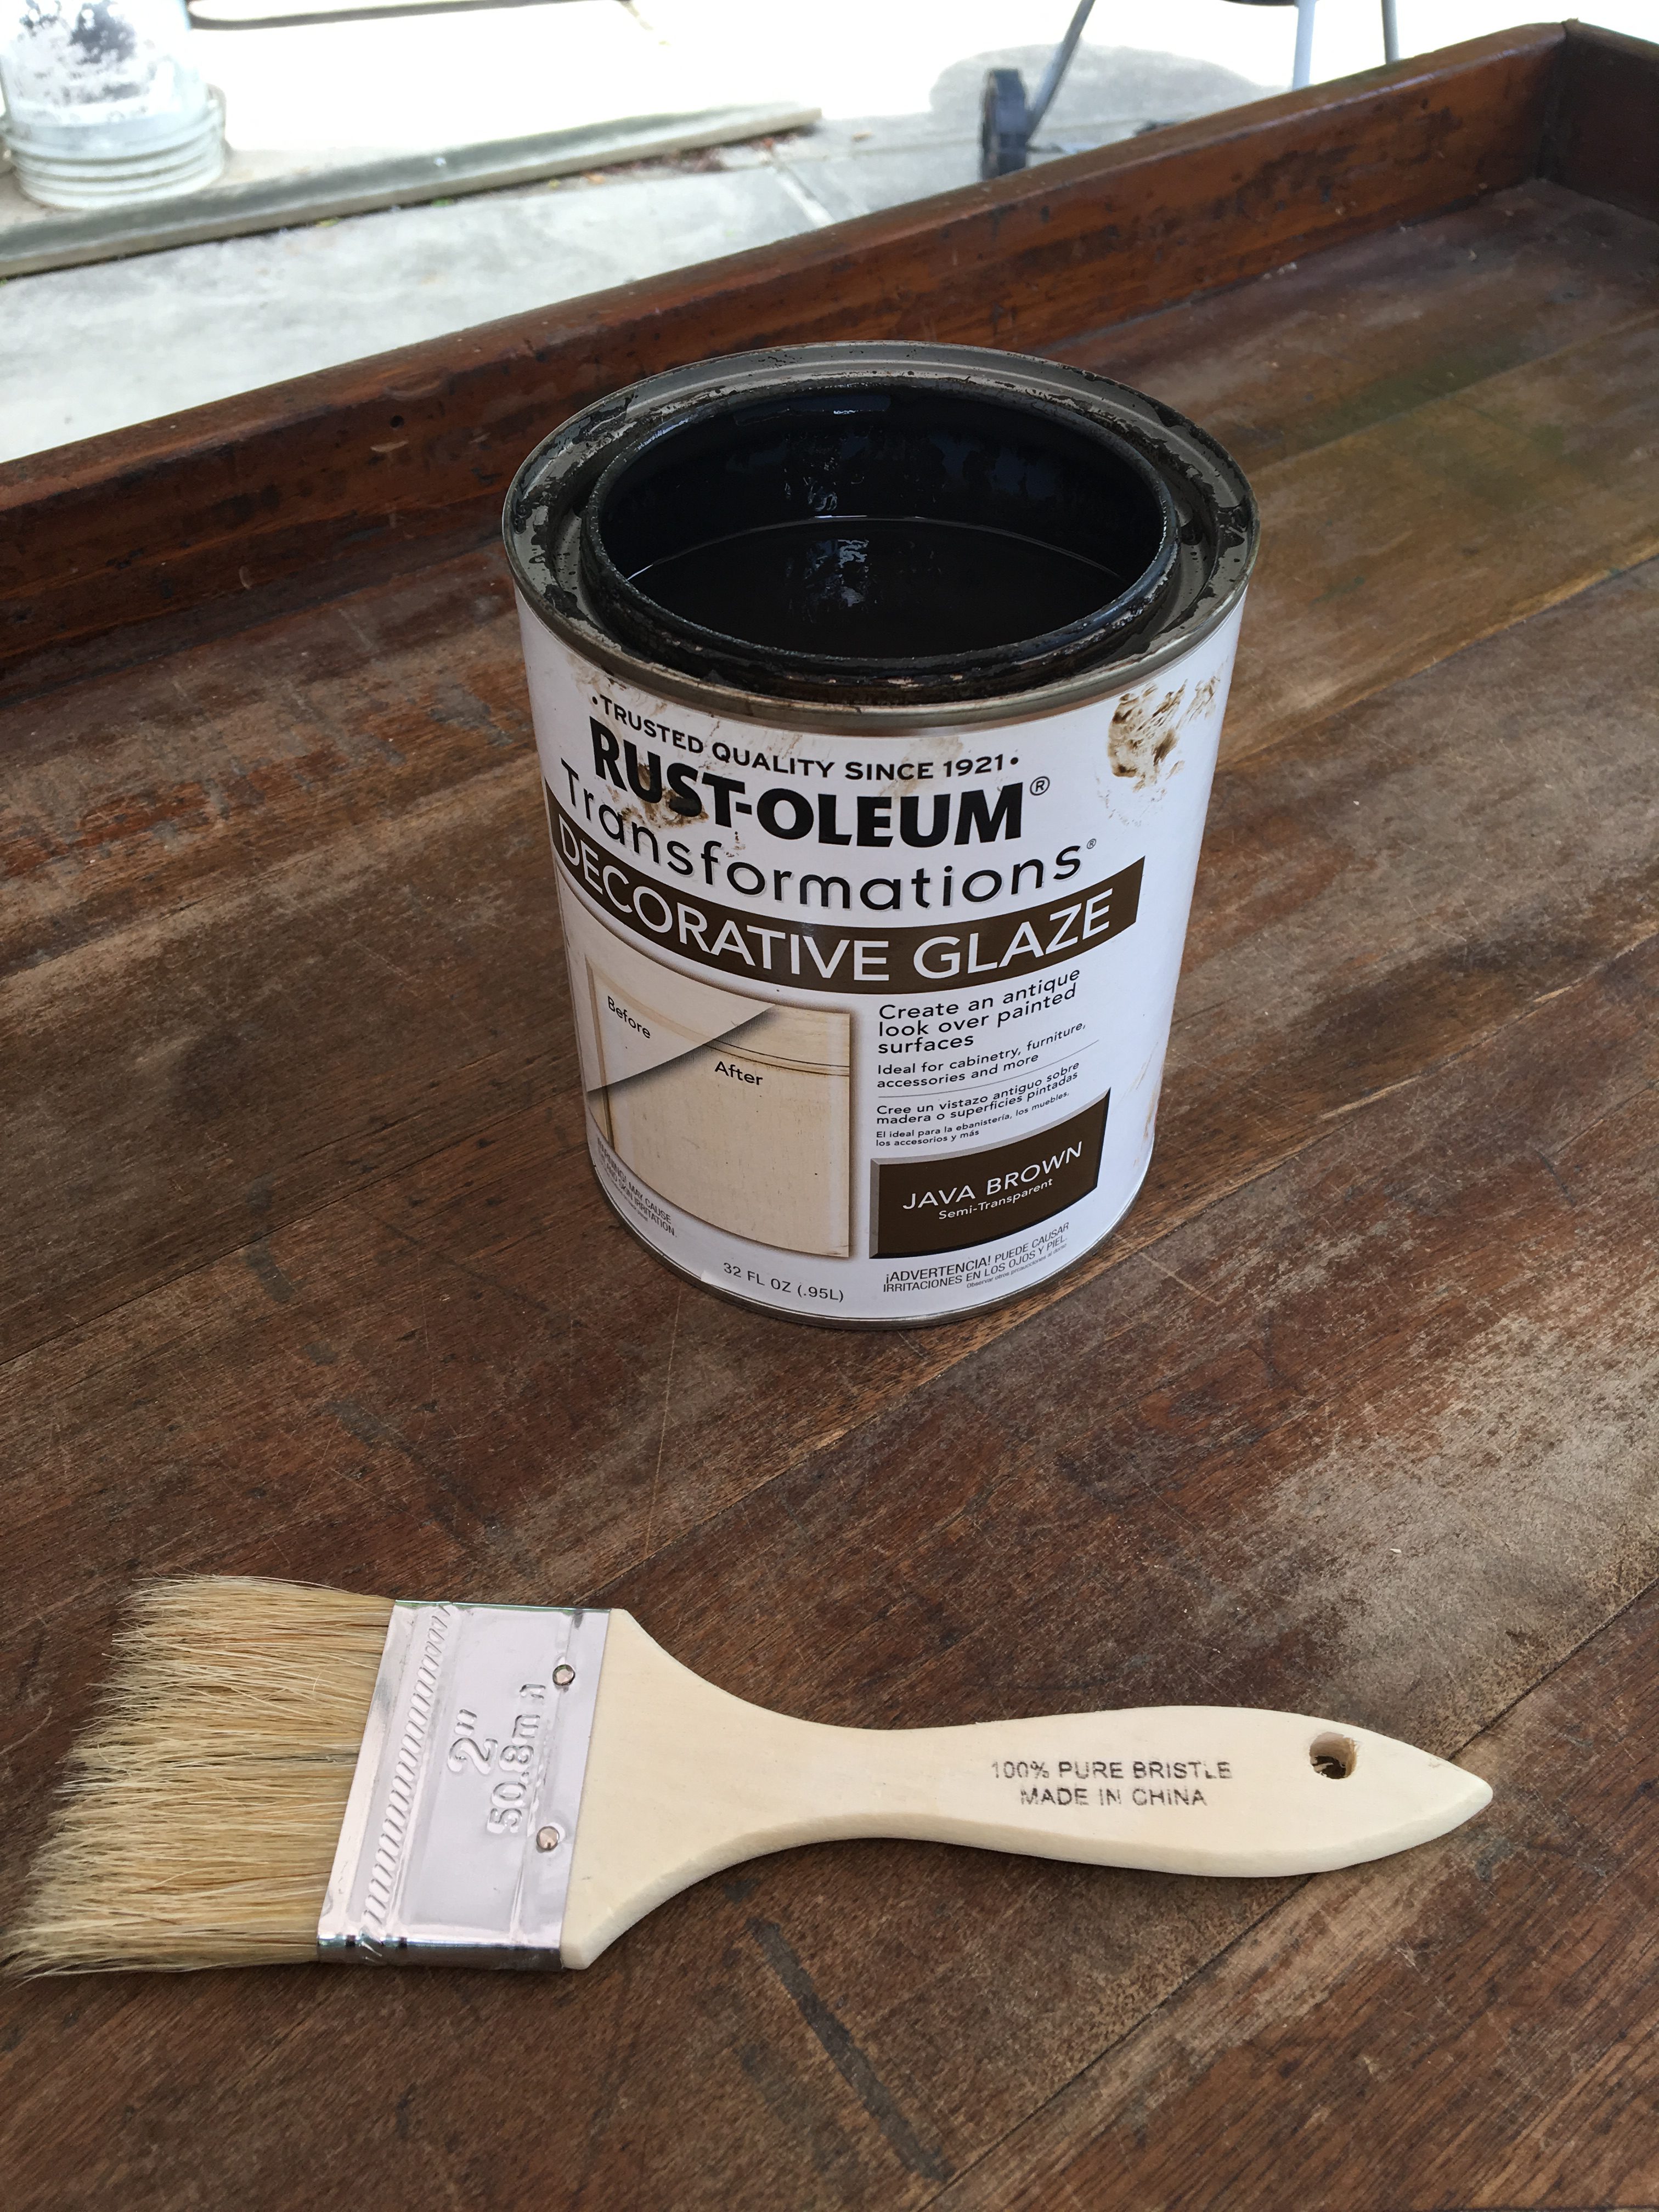
Then I used Rustoleum Decorative Glaze in Java Brown to give it an aged look.
You simply paint on a thin layer…
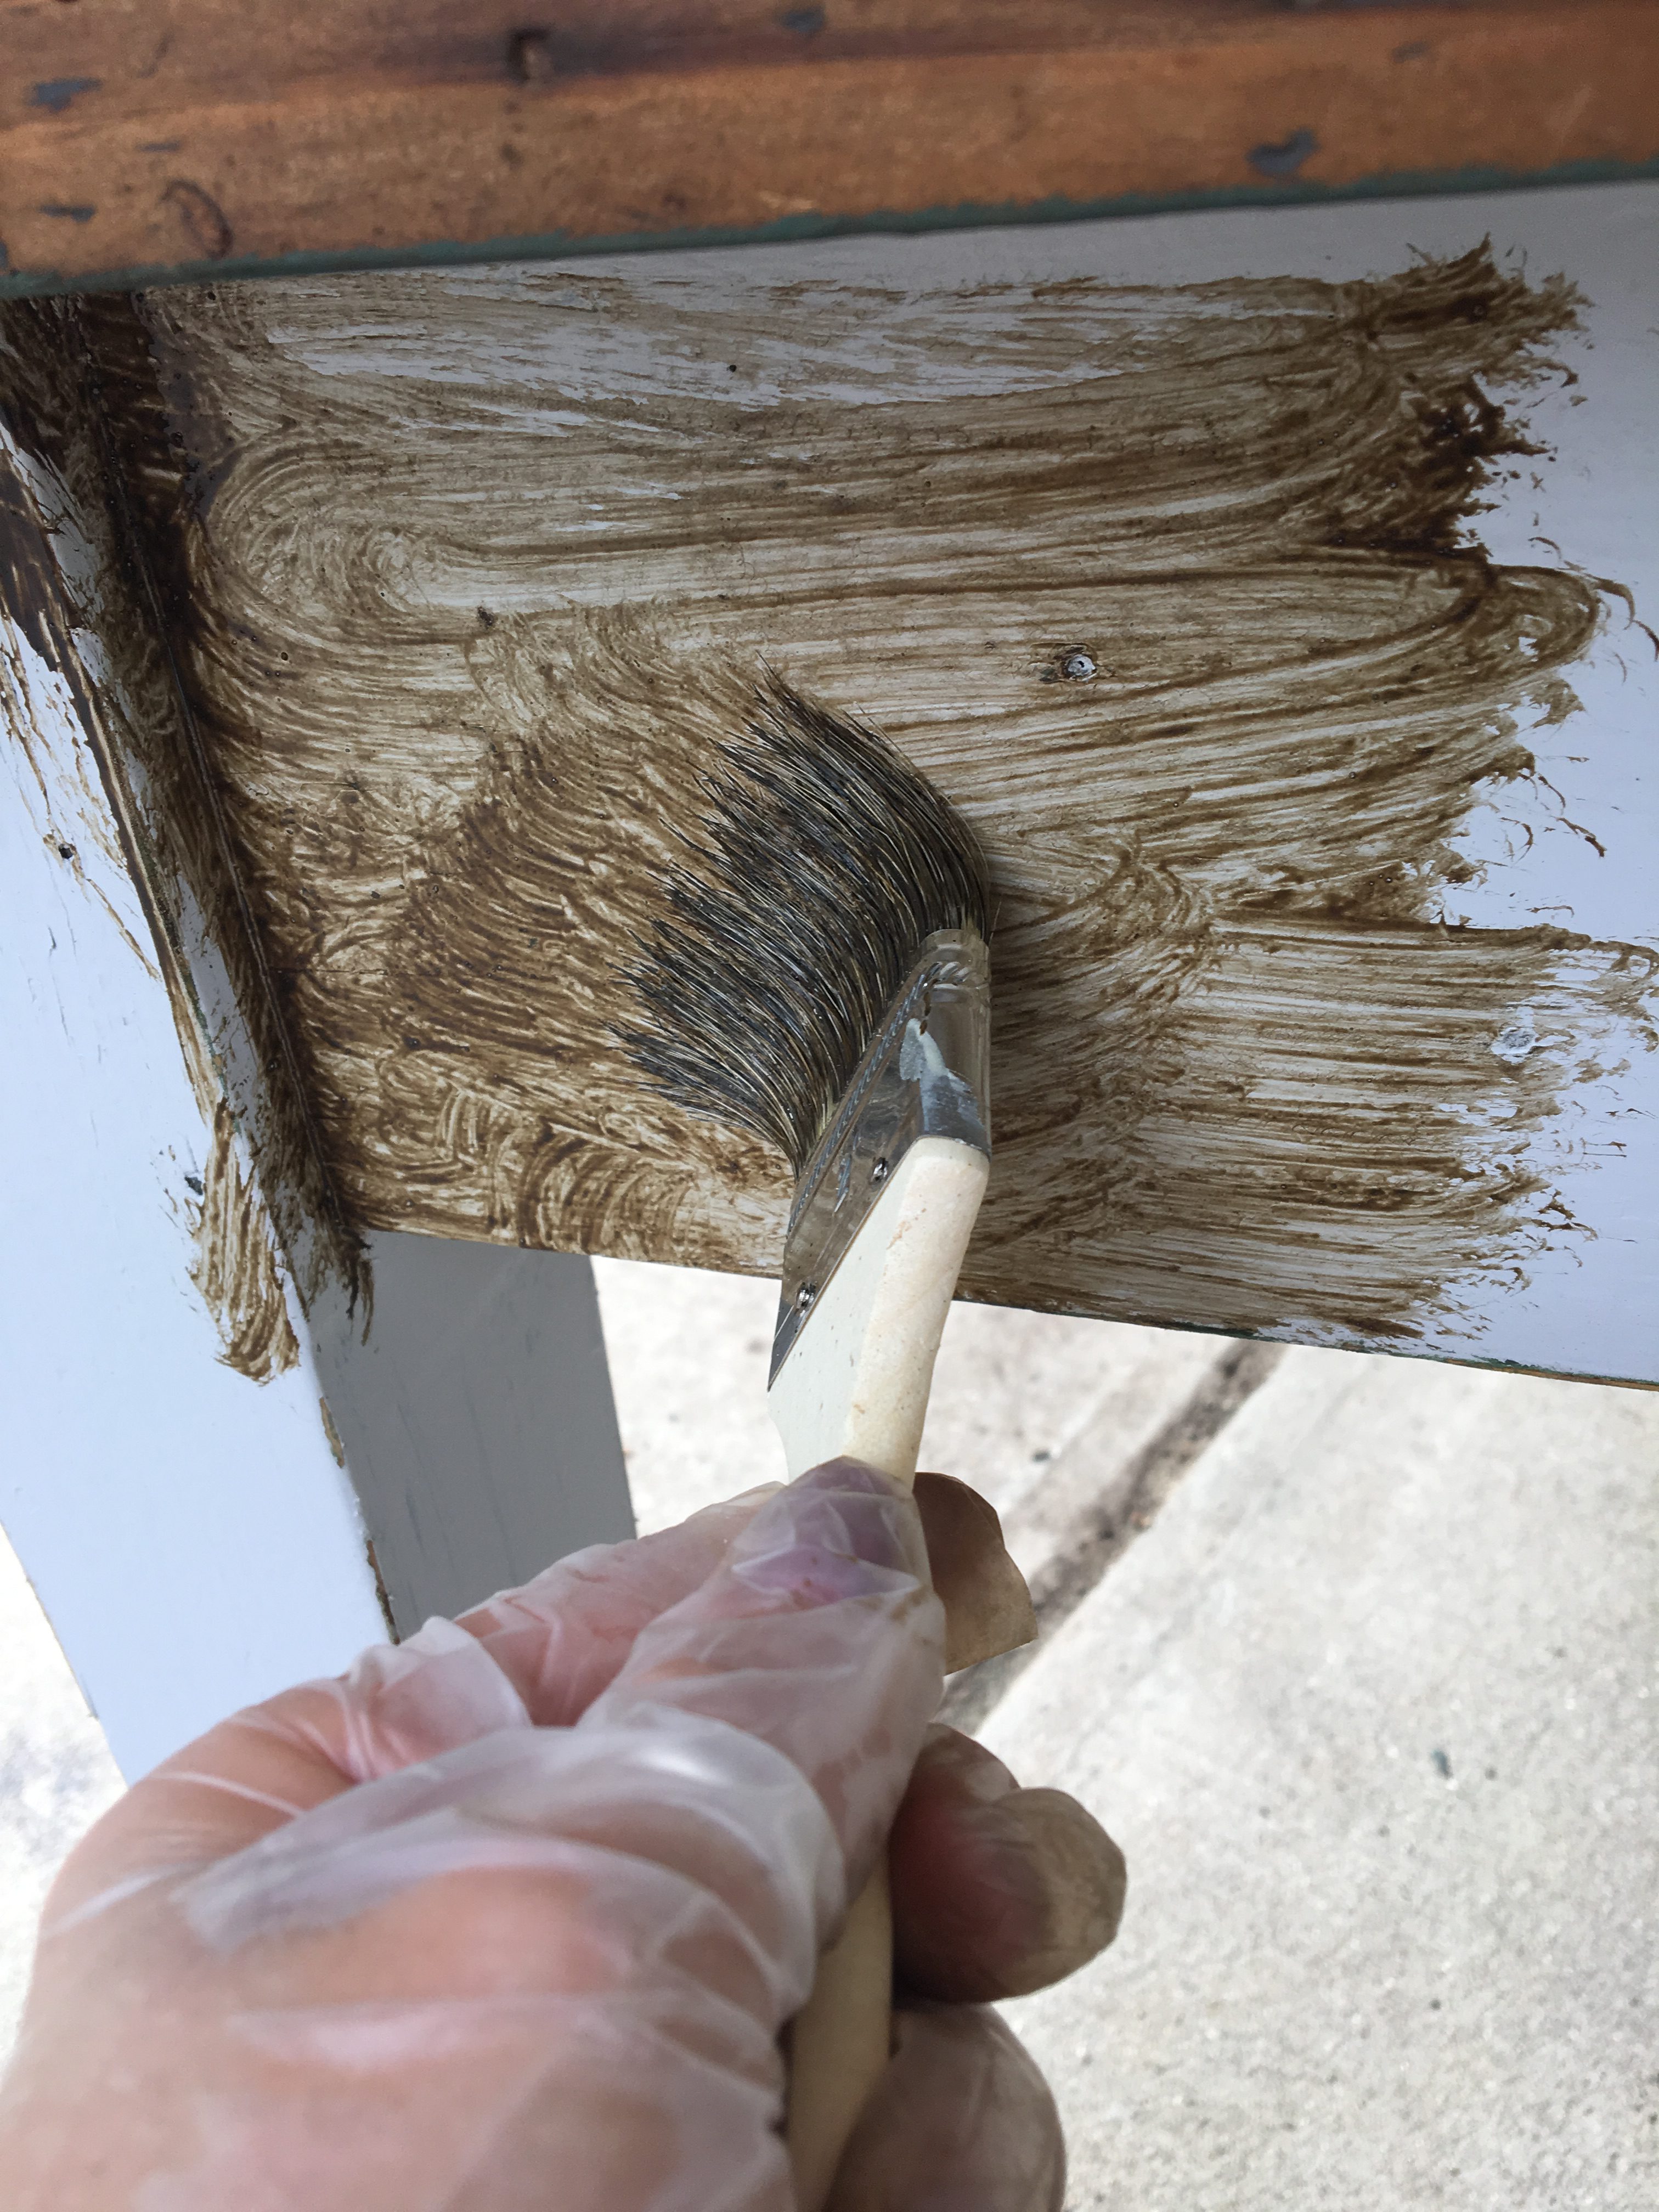
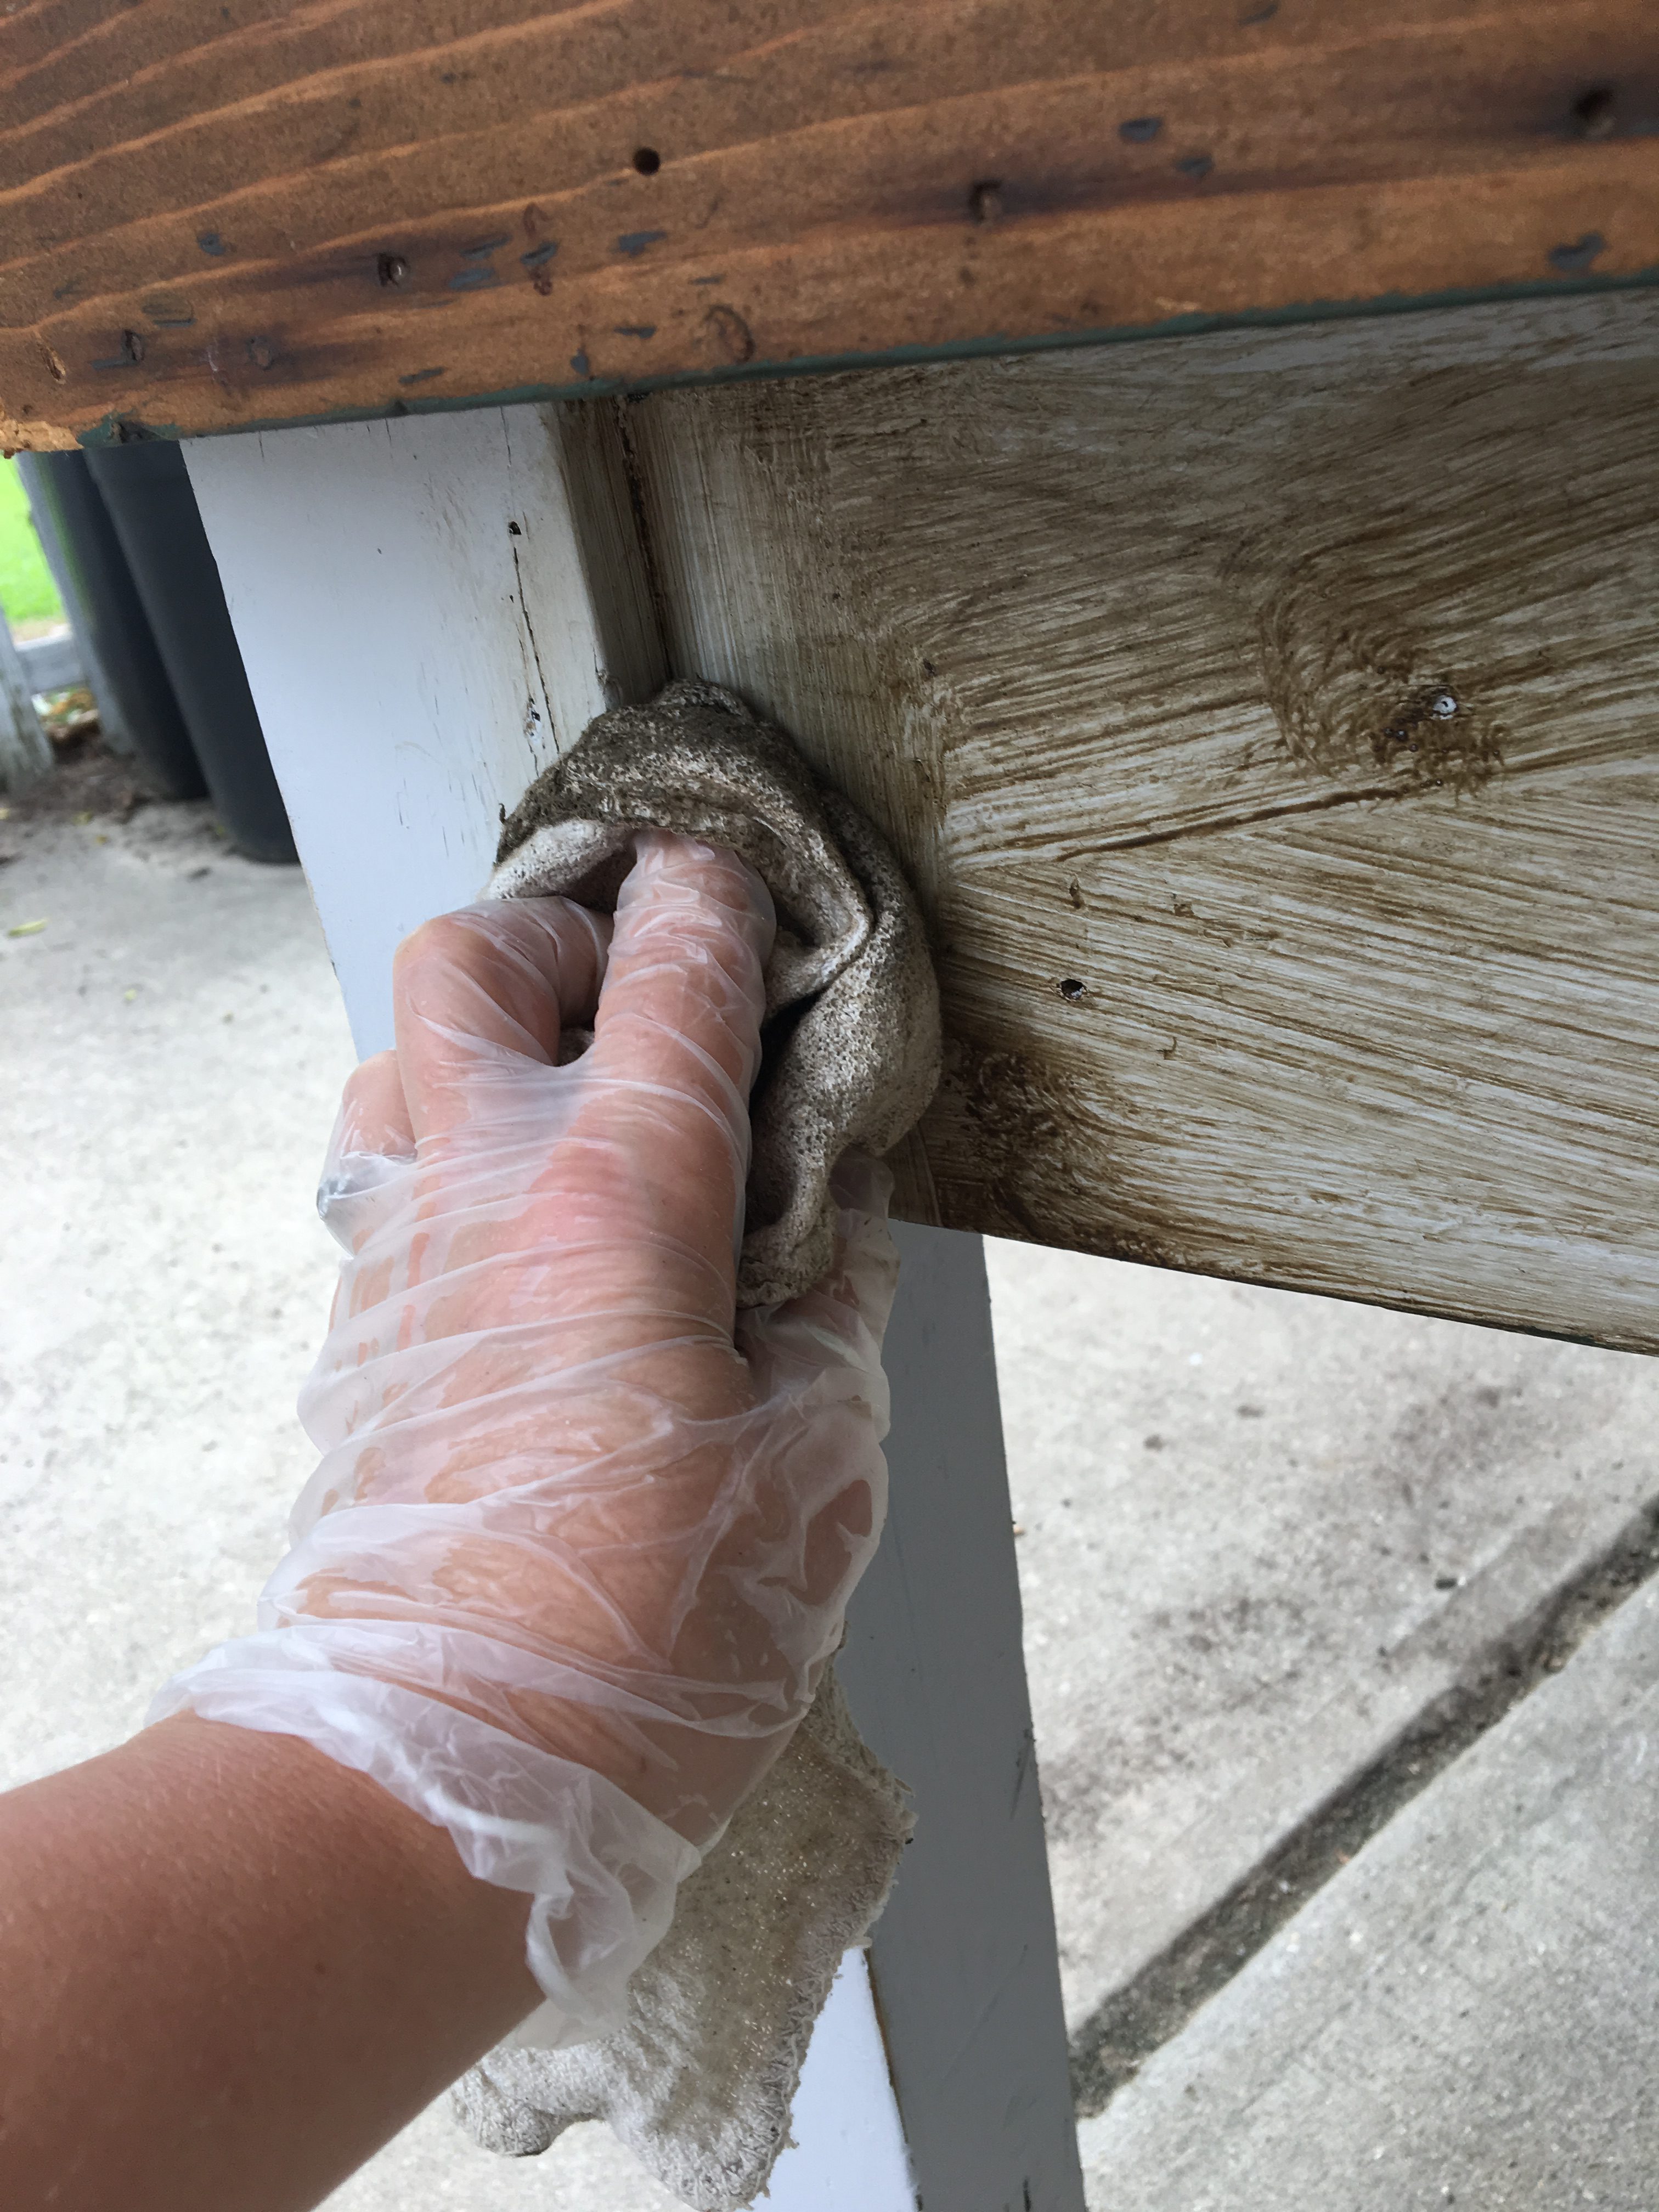
And immediately wipe it off.
Make sure you get in the cracks where dirt and grime would naturally build up over the years.
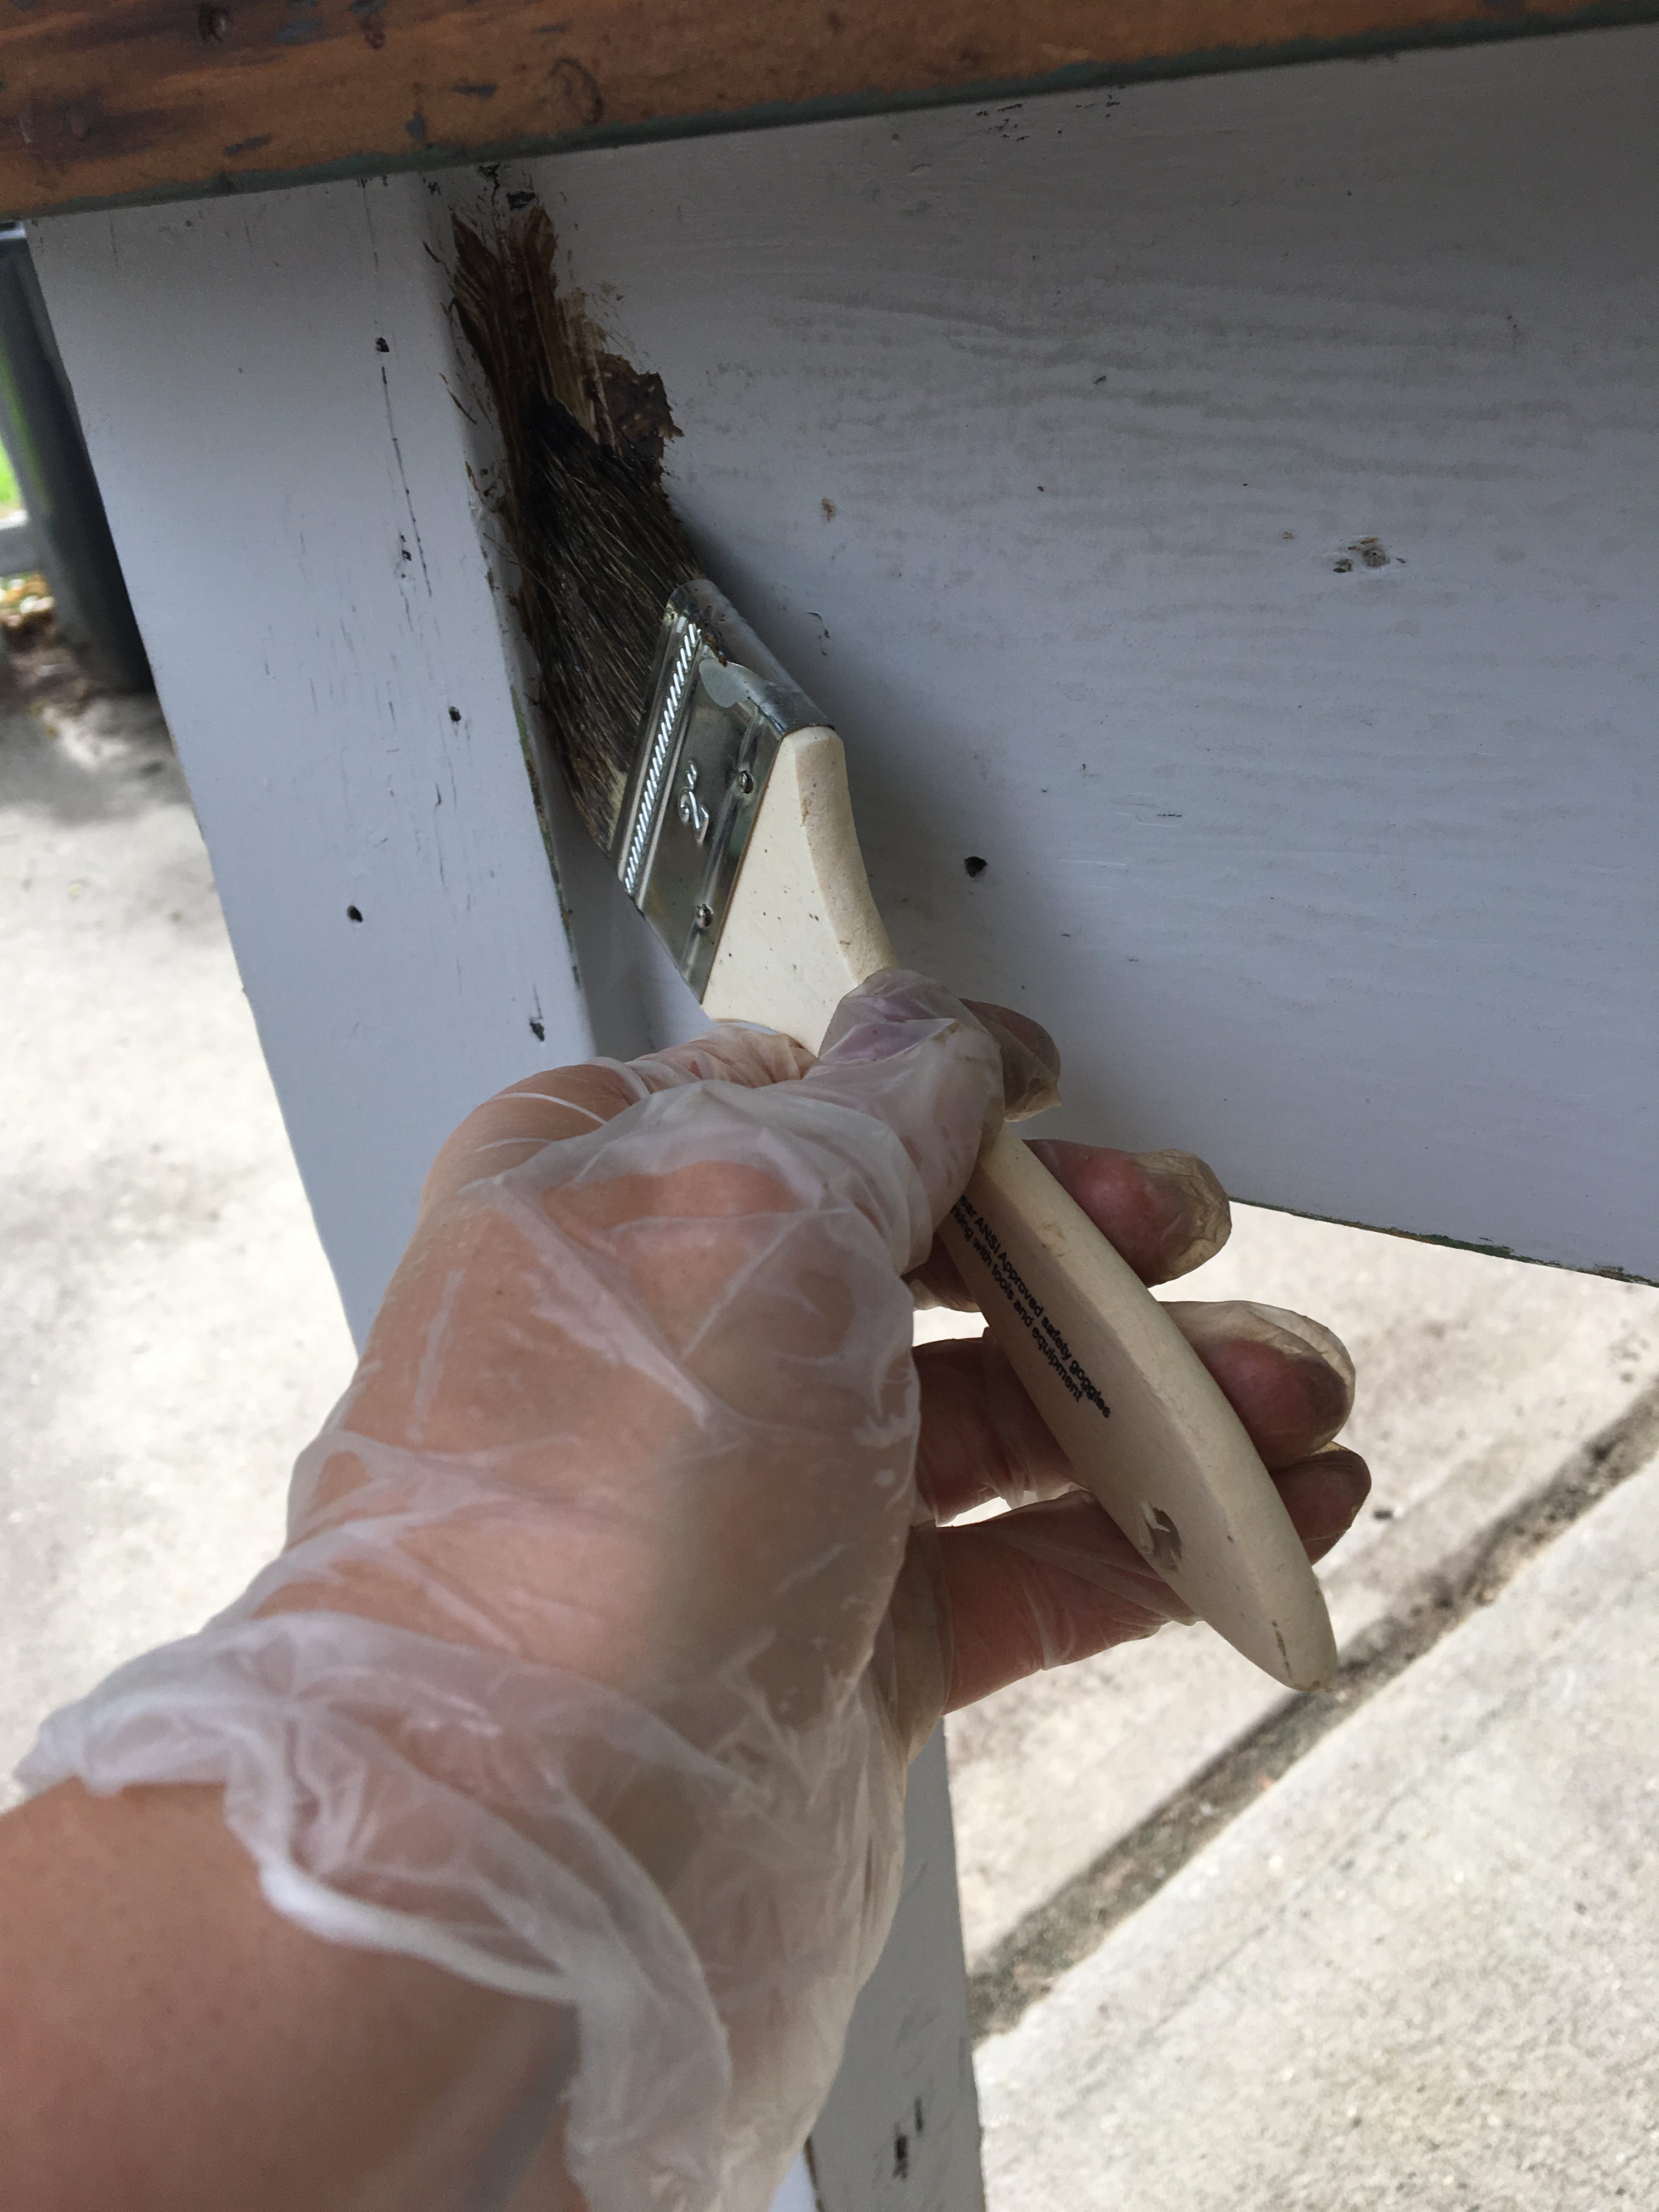
Repeat this process in little steps as not to let the glaze dry before wiping off.
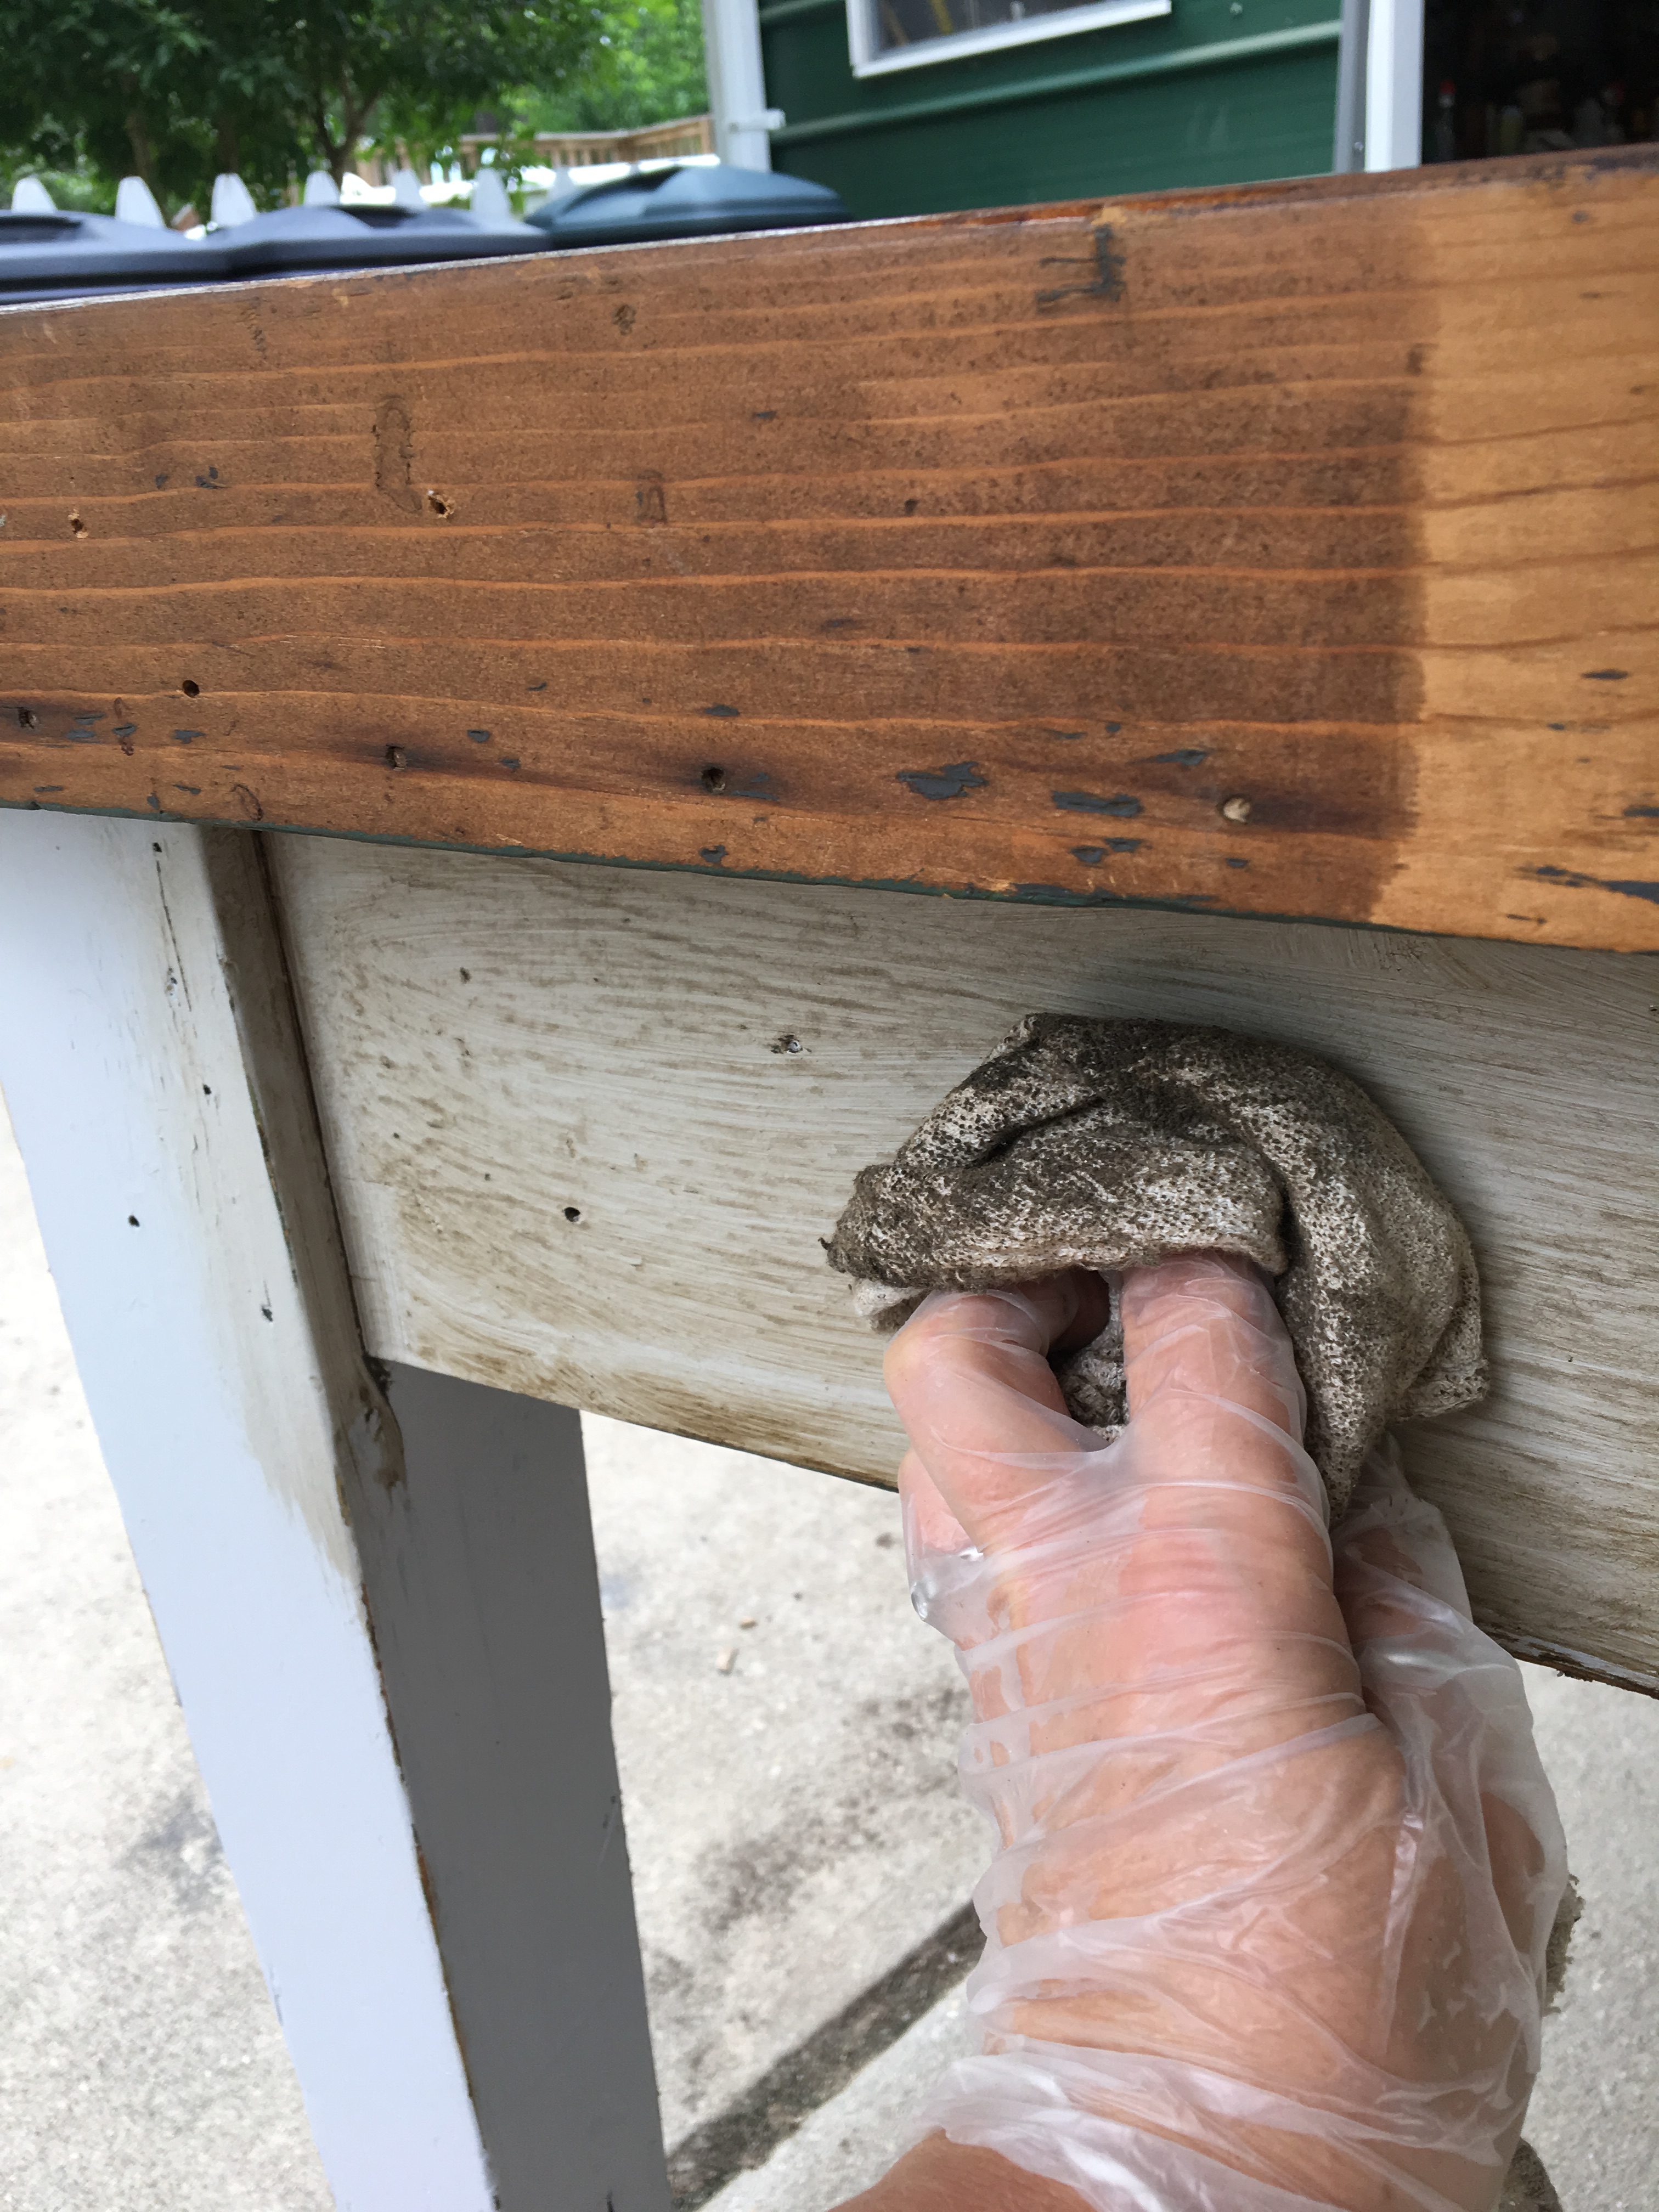
Pay attention to little grooves in the wood that naturally gather dirt as well.

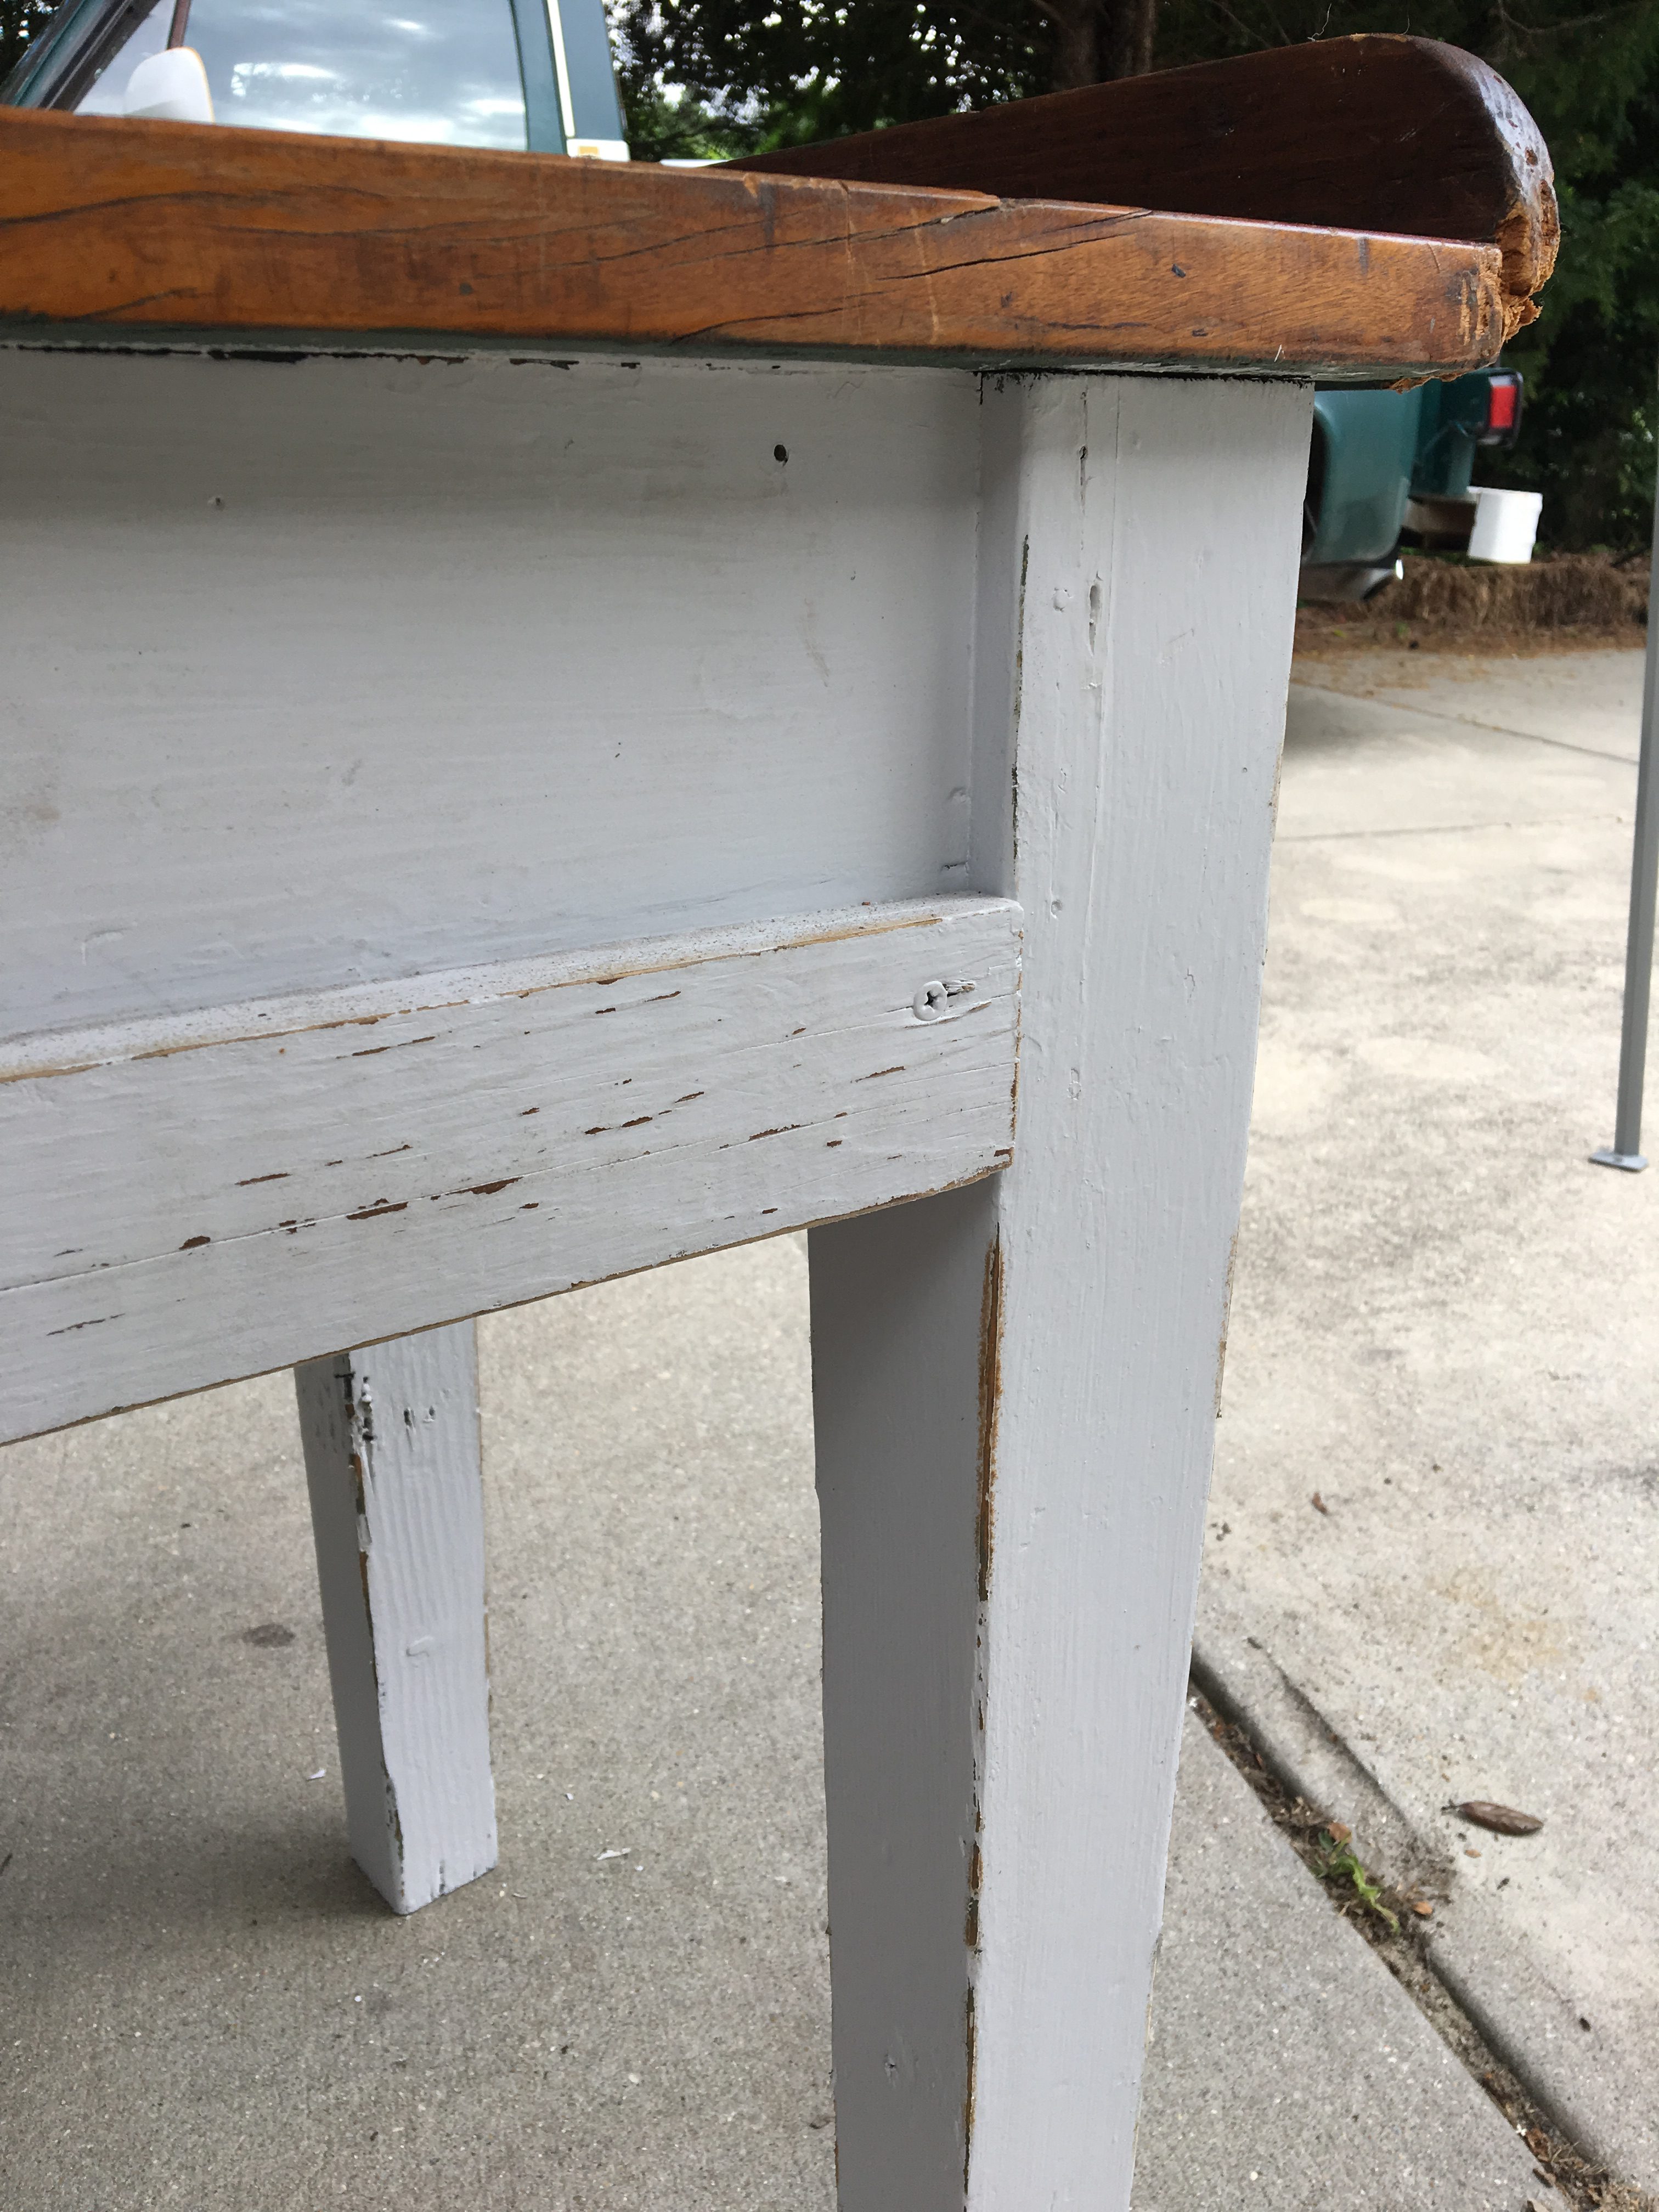
You can see the difference in the wood that has been glazed and not glazed. This process definitely adds an aged look.
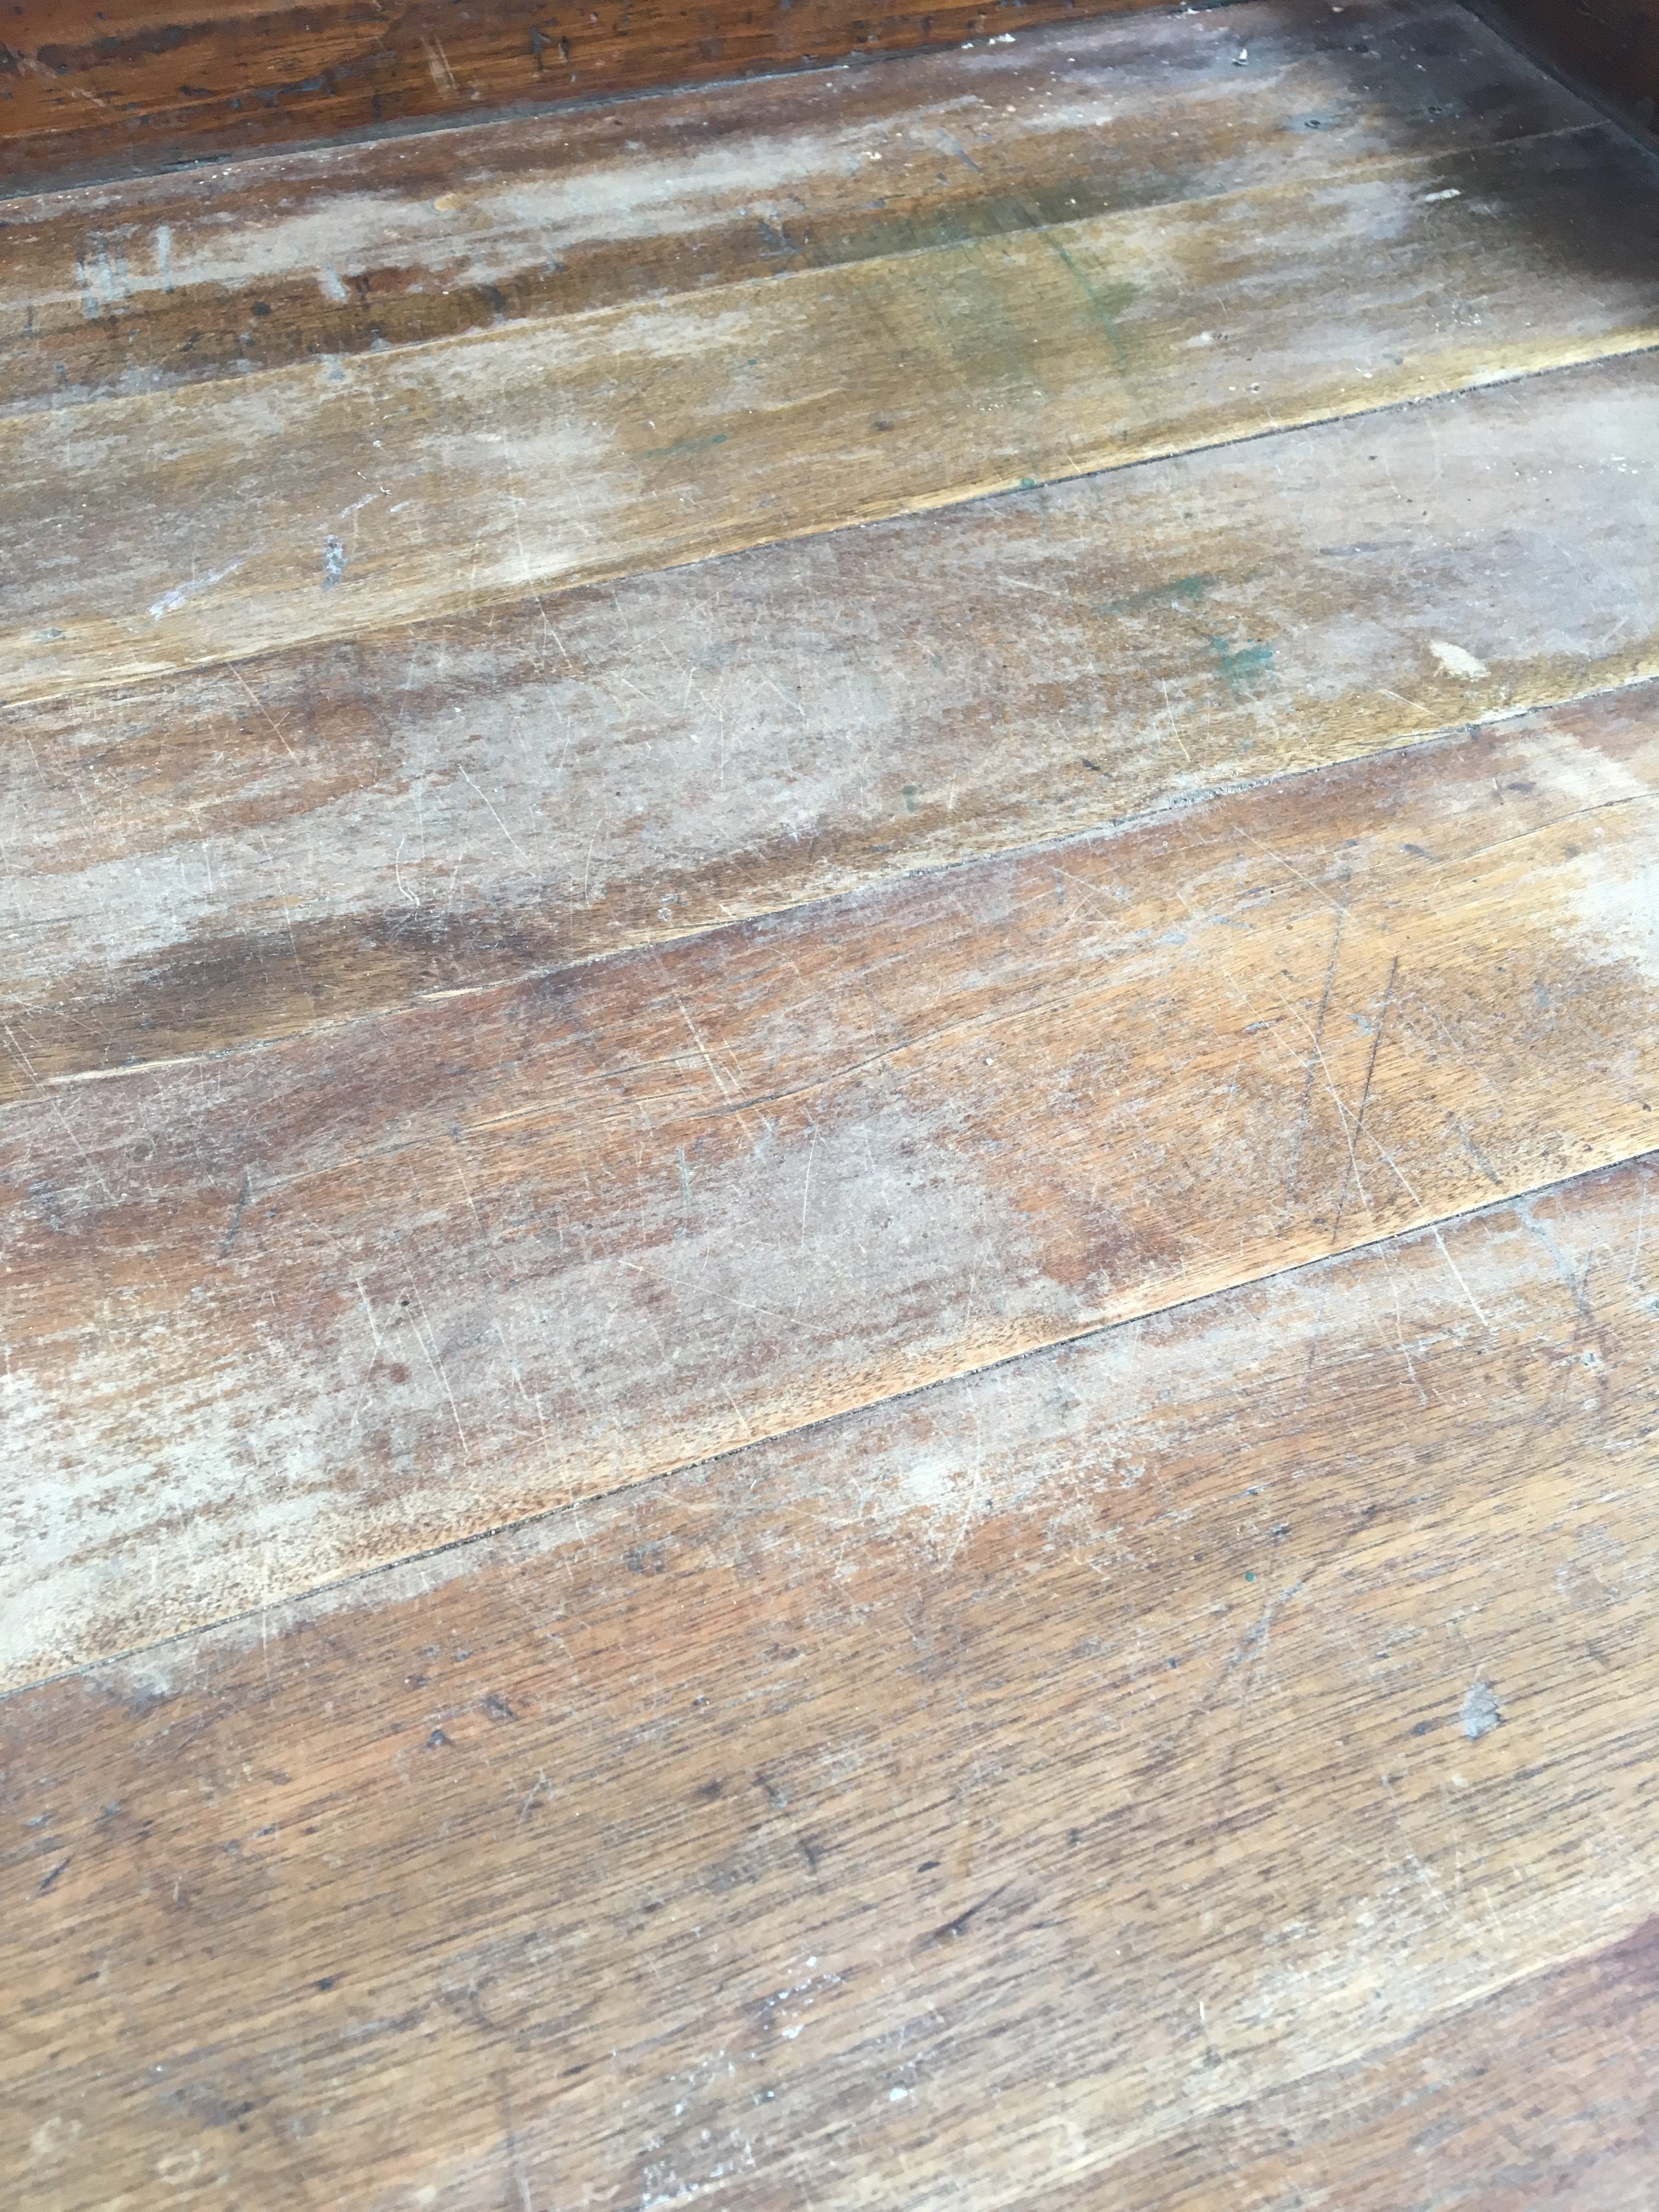
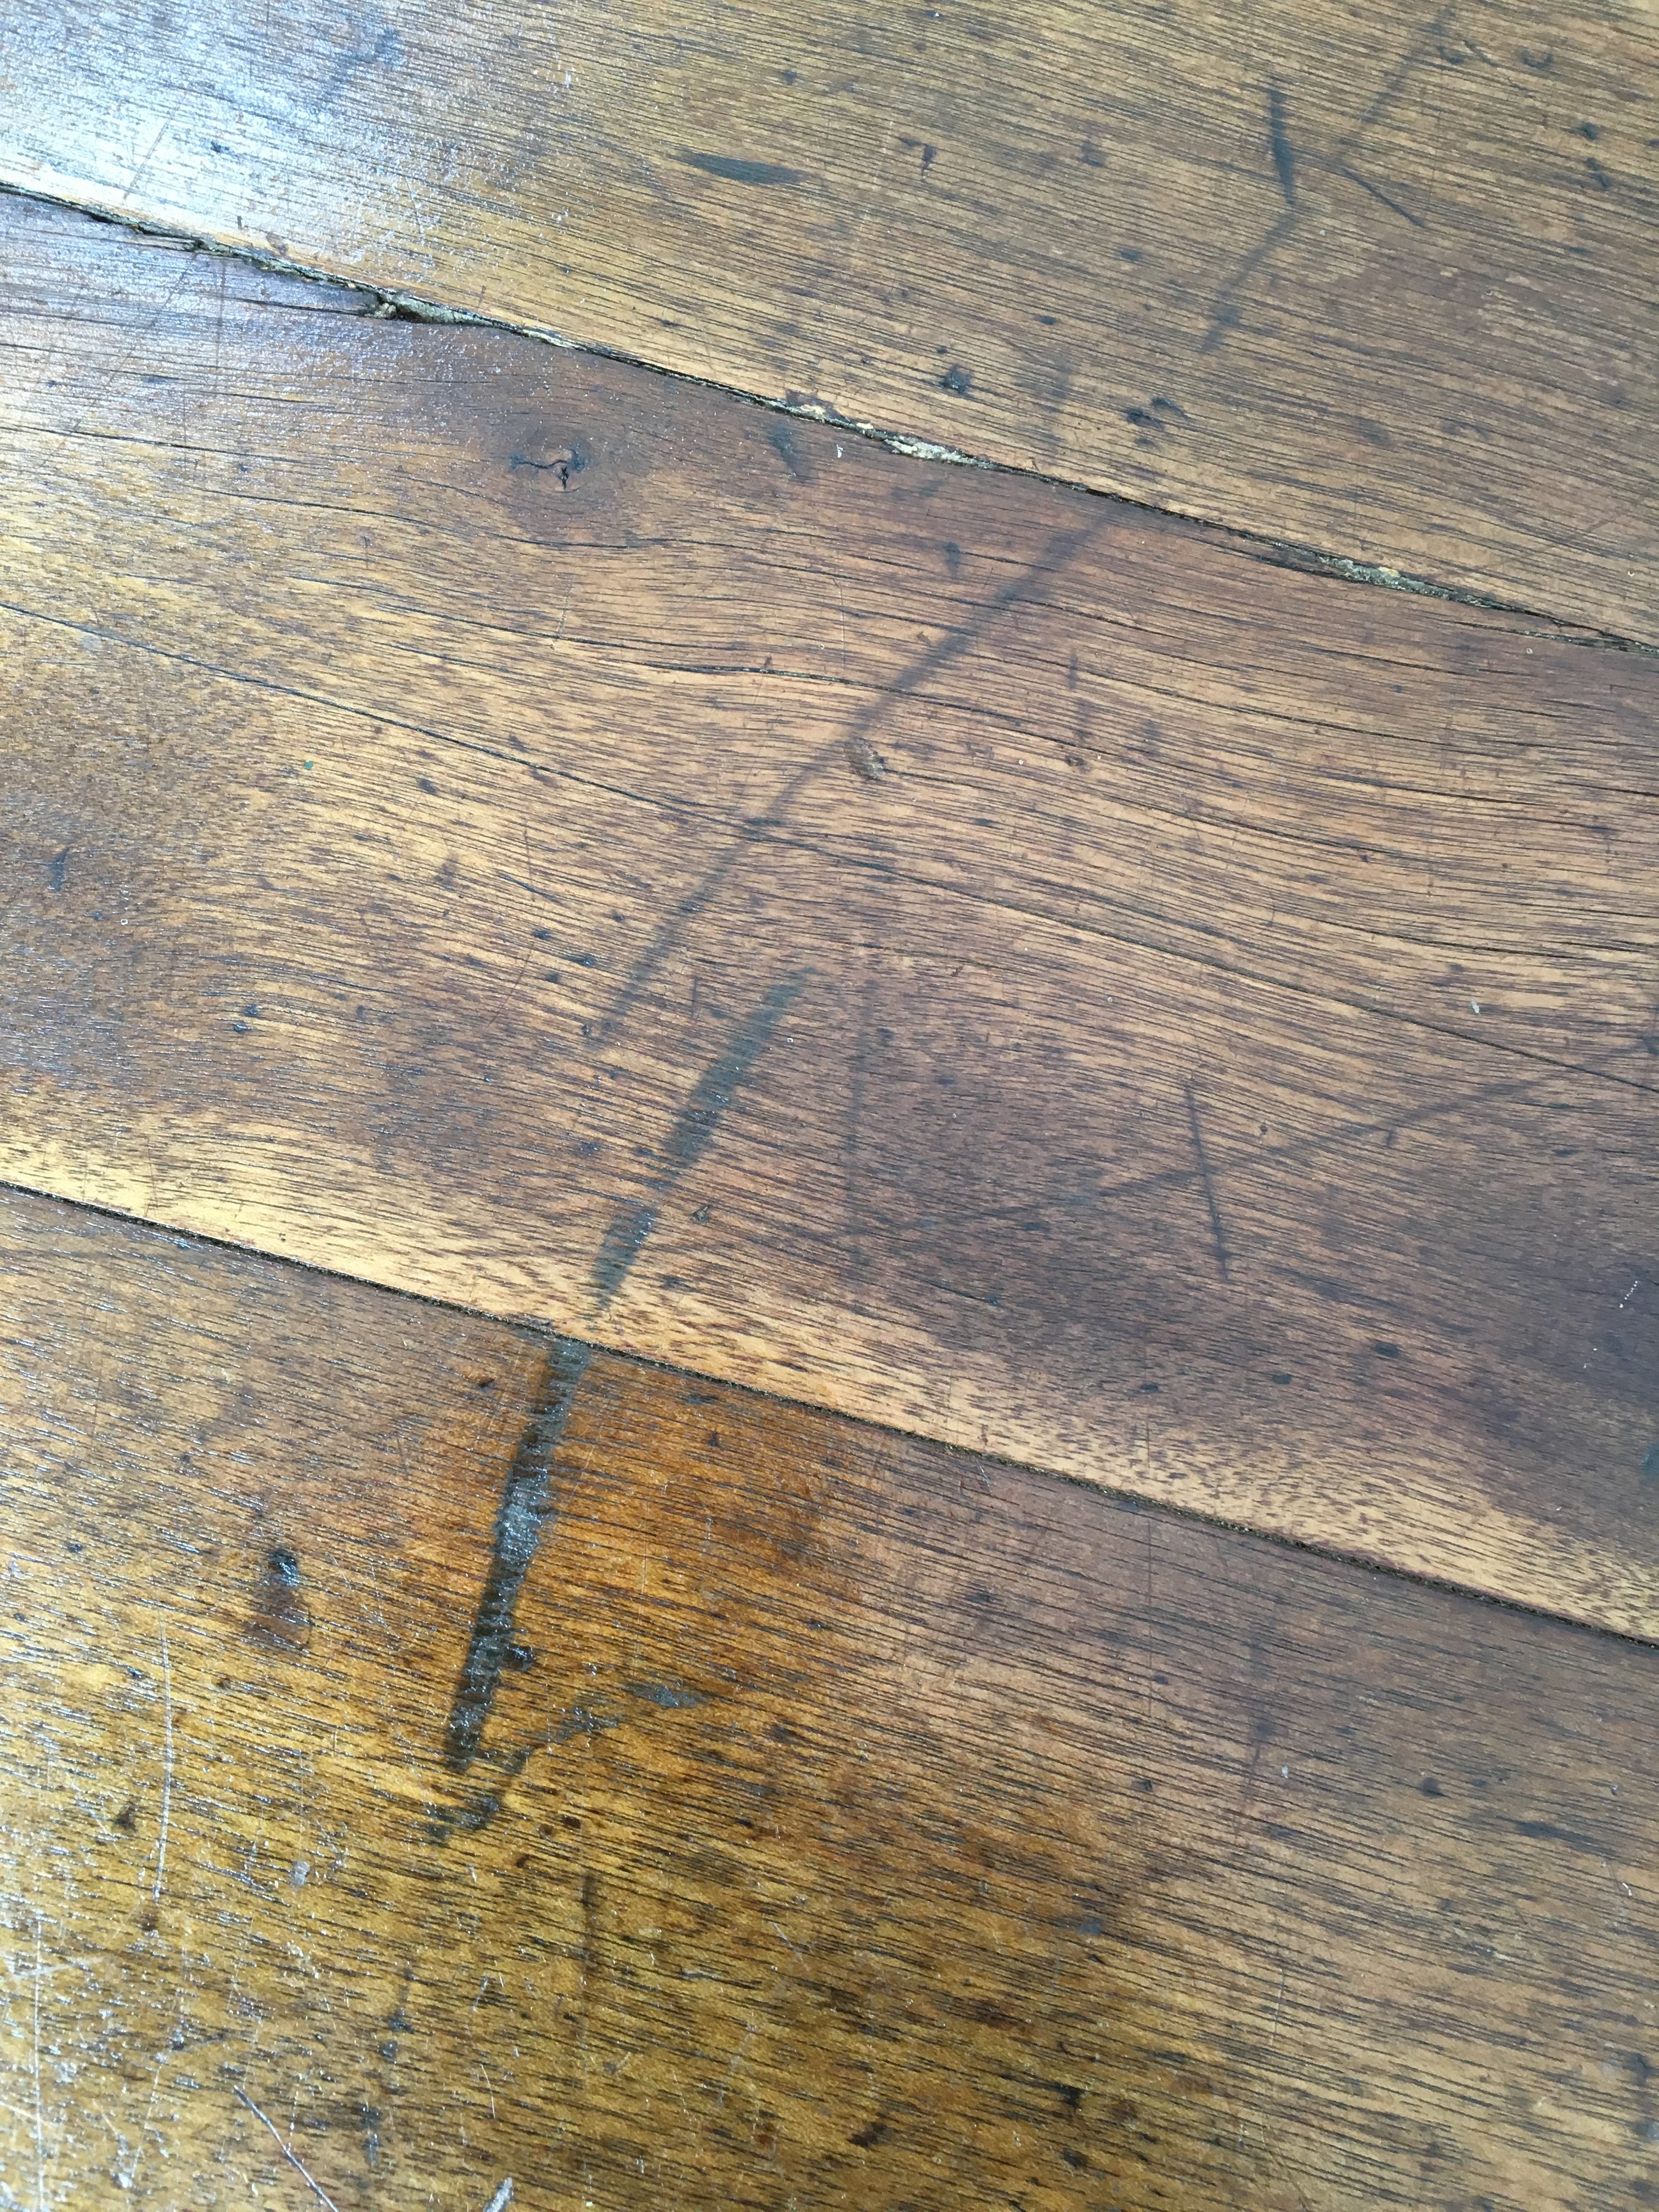
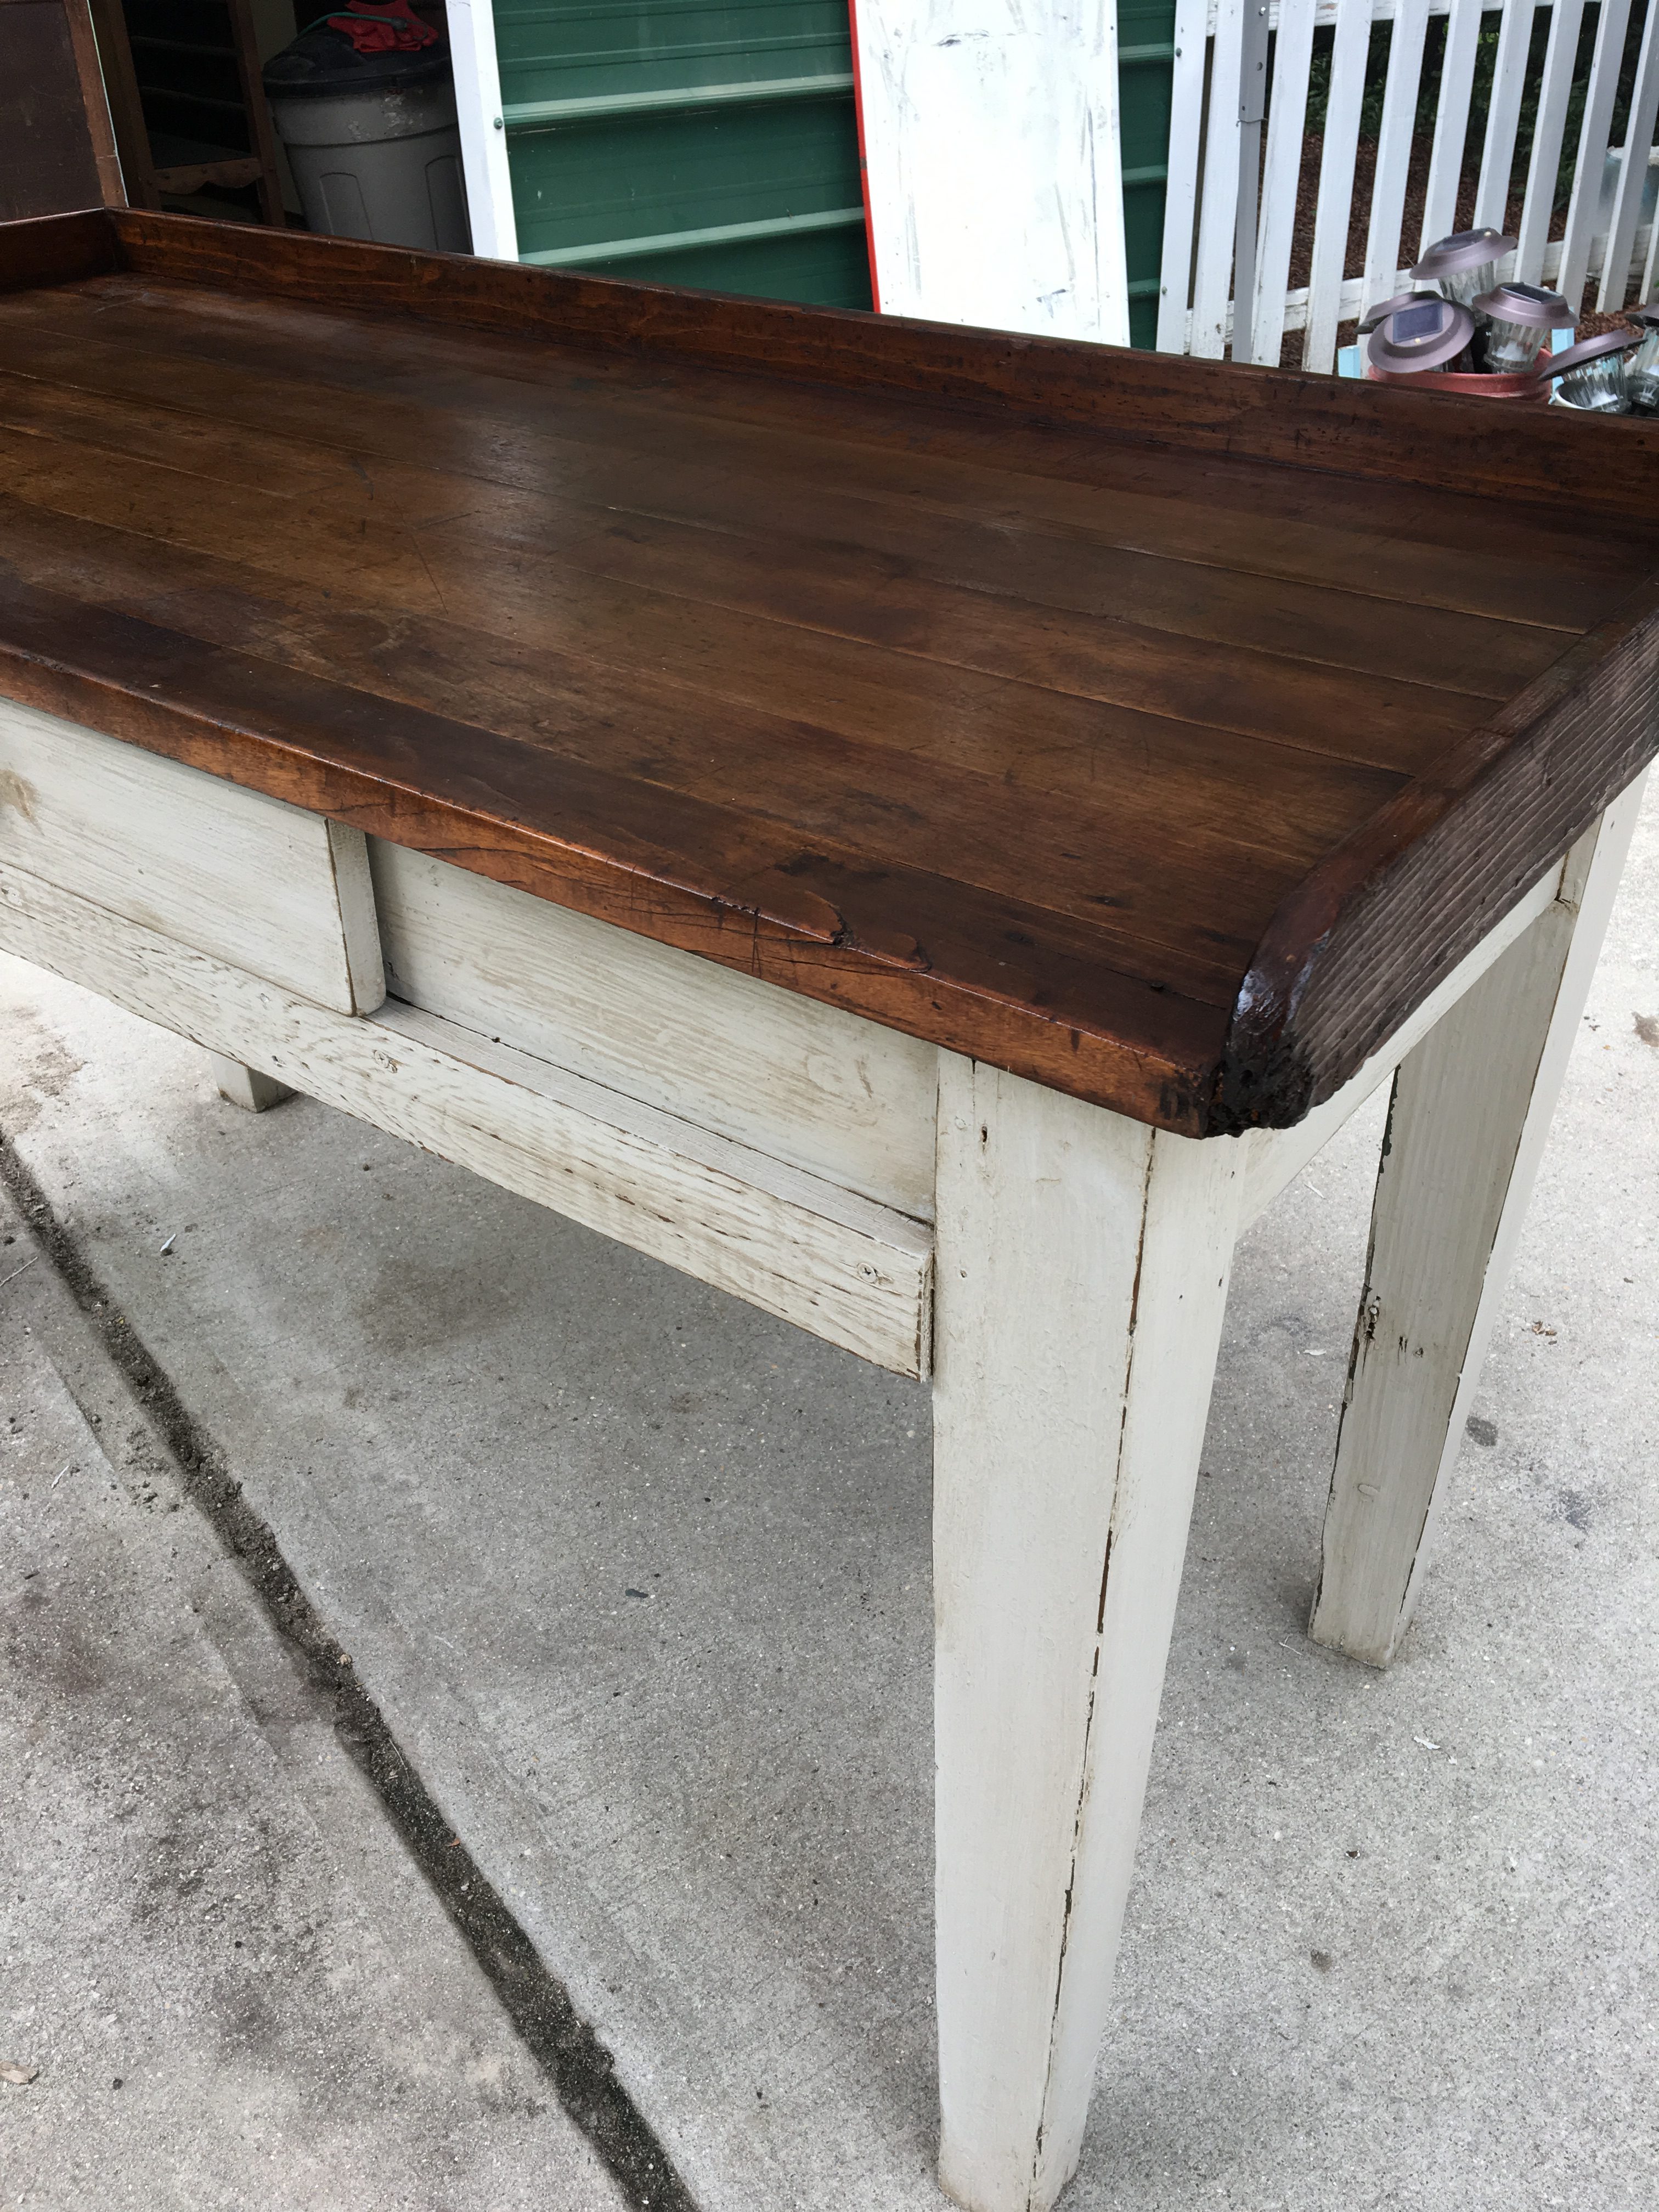
Once the base was finished, it was time to tackle the top. I gave it a light sanding and used mineral spirits to remove any paint spatters that were on it. I didn’t want to sand too much since all of the scratches and dings are part of what I loved about this piece.
After wiping the dust off of the top, I used Minwax Provincial Stain to finish the top.

I simply brushed it on and wiped the excess off with a clean rag.
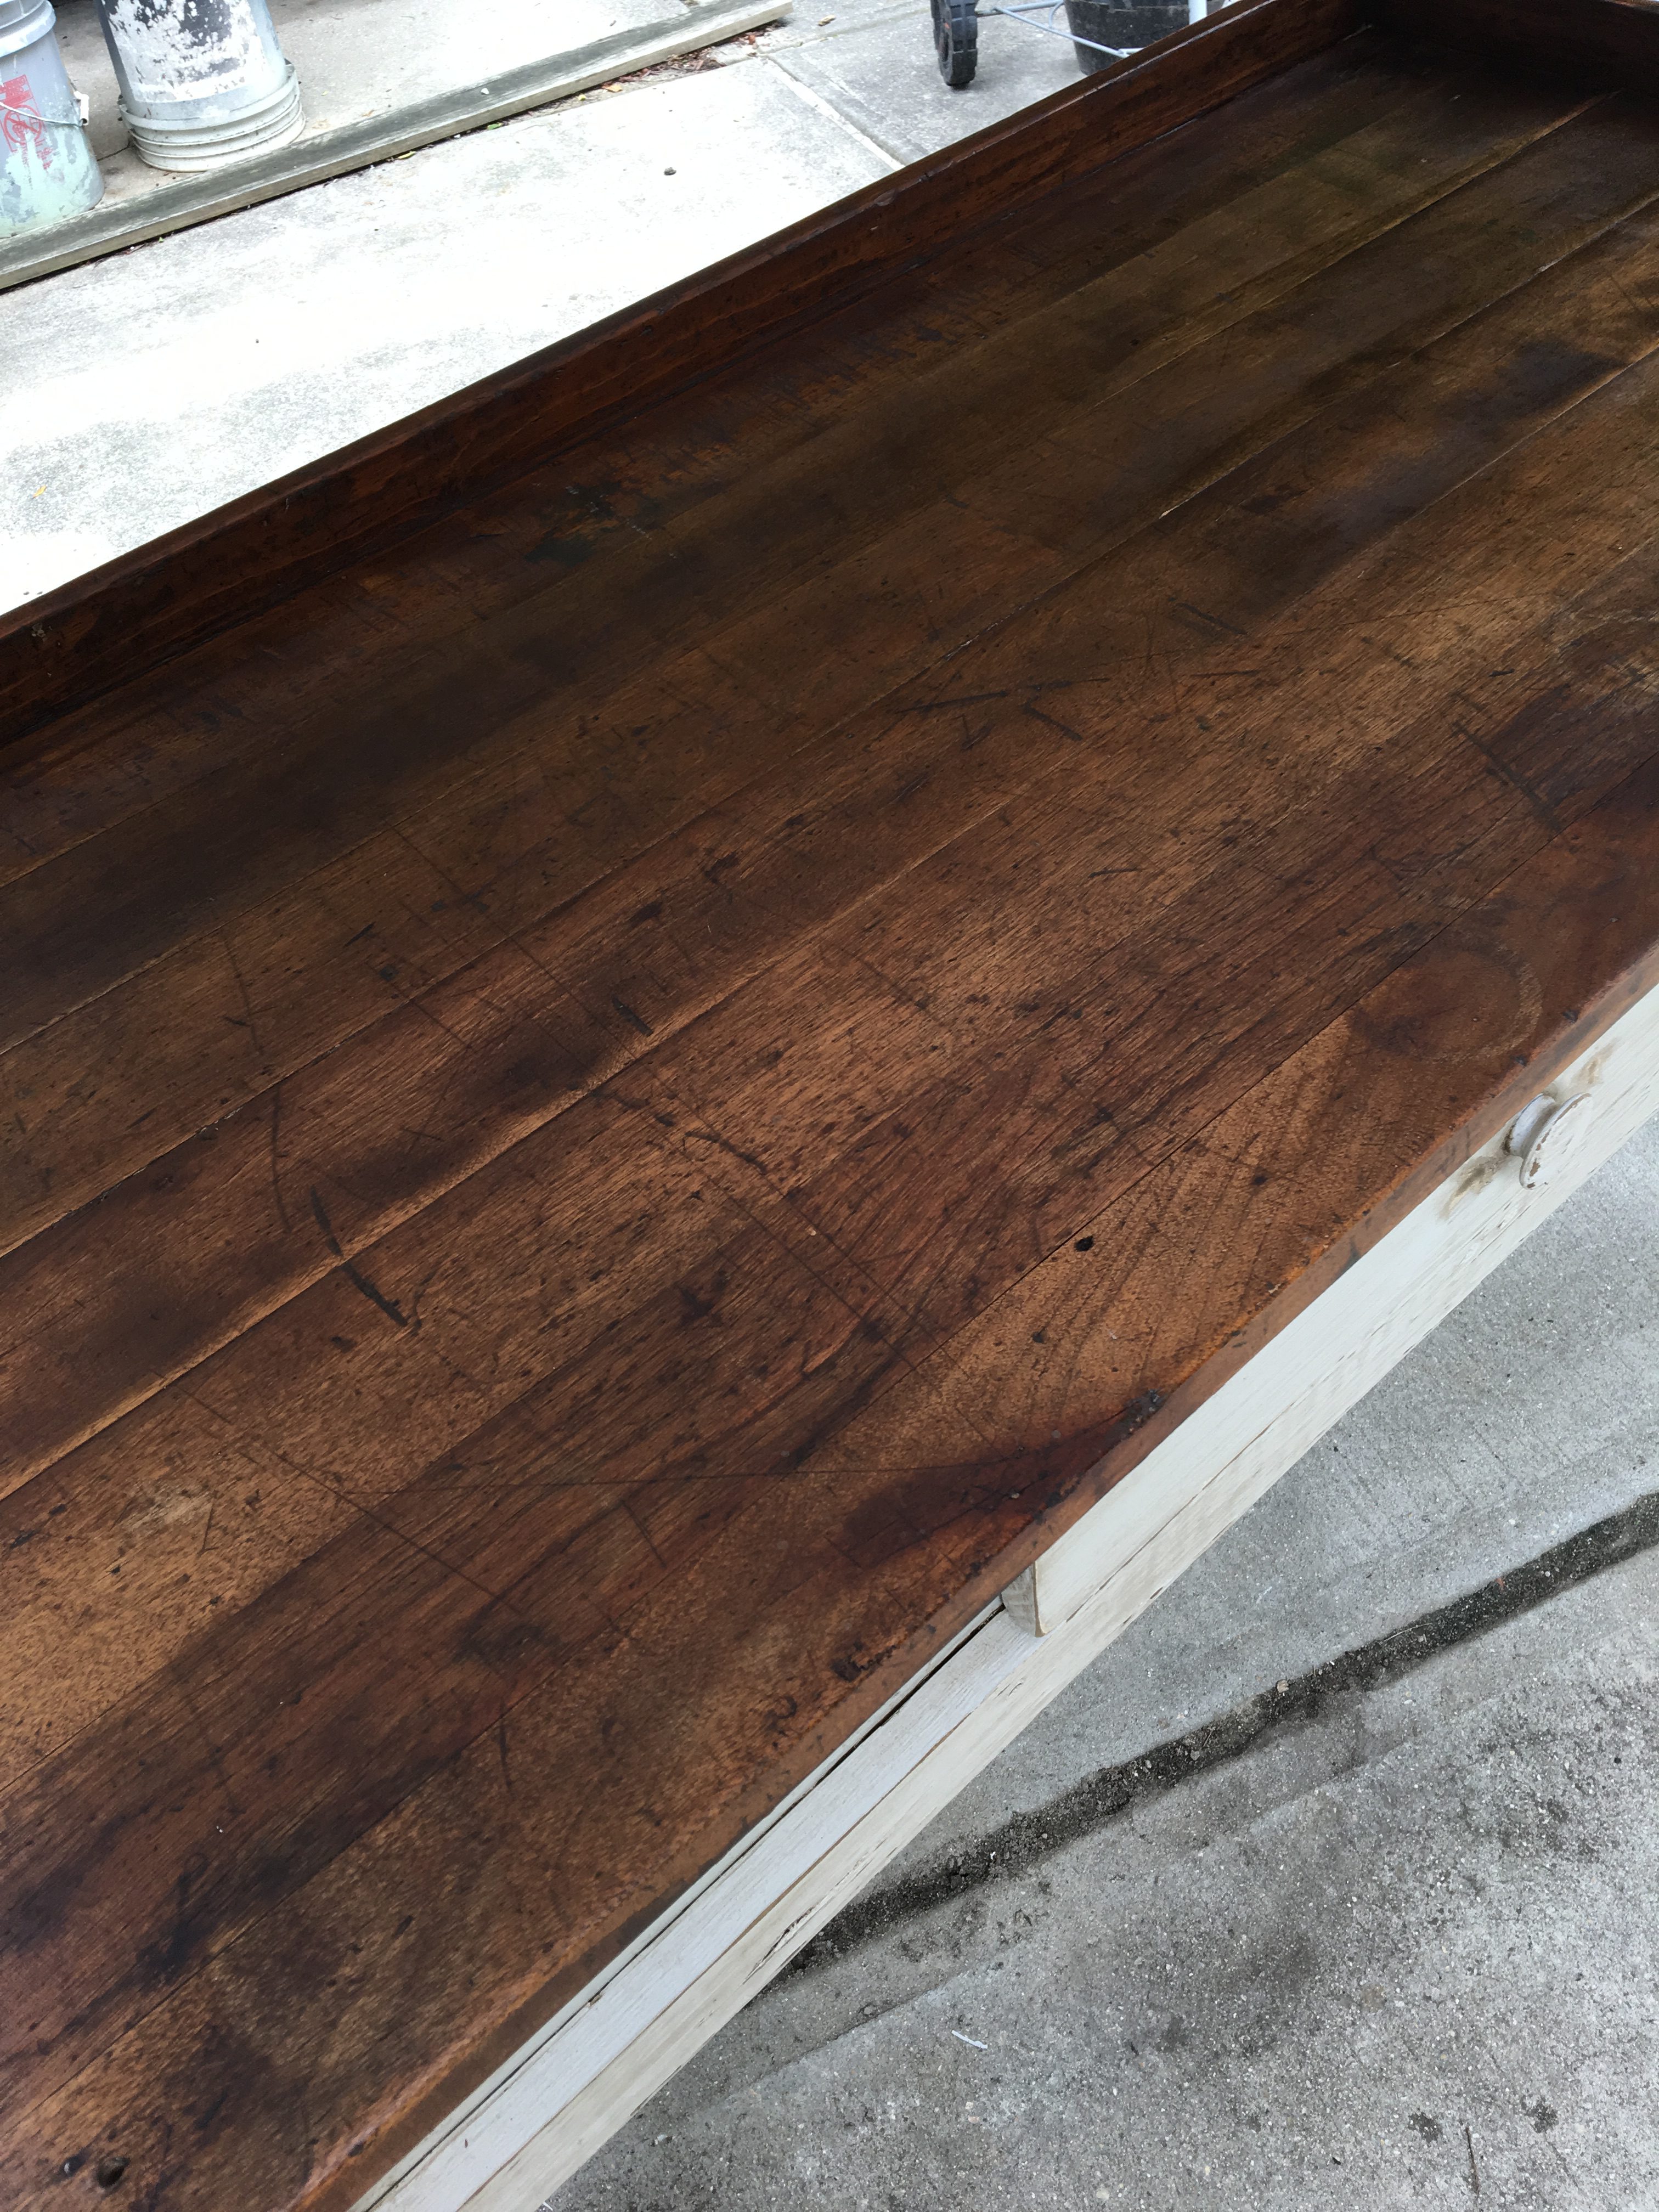
I made sure that I got stain in all of the scratches and grooves.
At this point, I wasn’t sure where I was going to use this piece in my home. When I bought it, my intentions were that is was going to the shop however once we were working on it, I began to fall in love with it. I let the stain dry for 24 hours and then put a coat of Minwax Polycrylic in Clear Matte Finish on it in case I was using it outside.
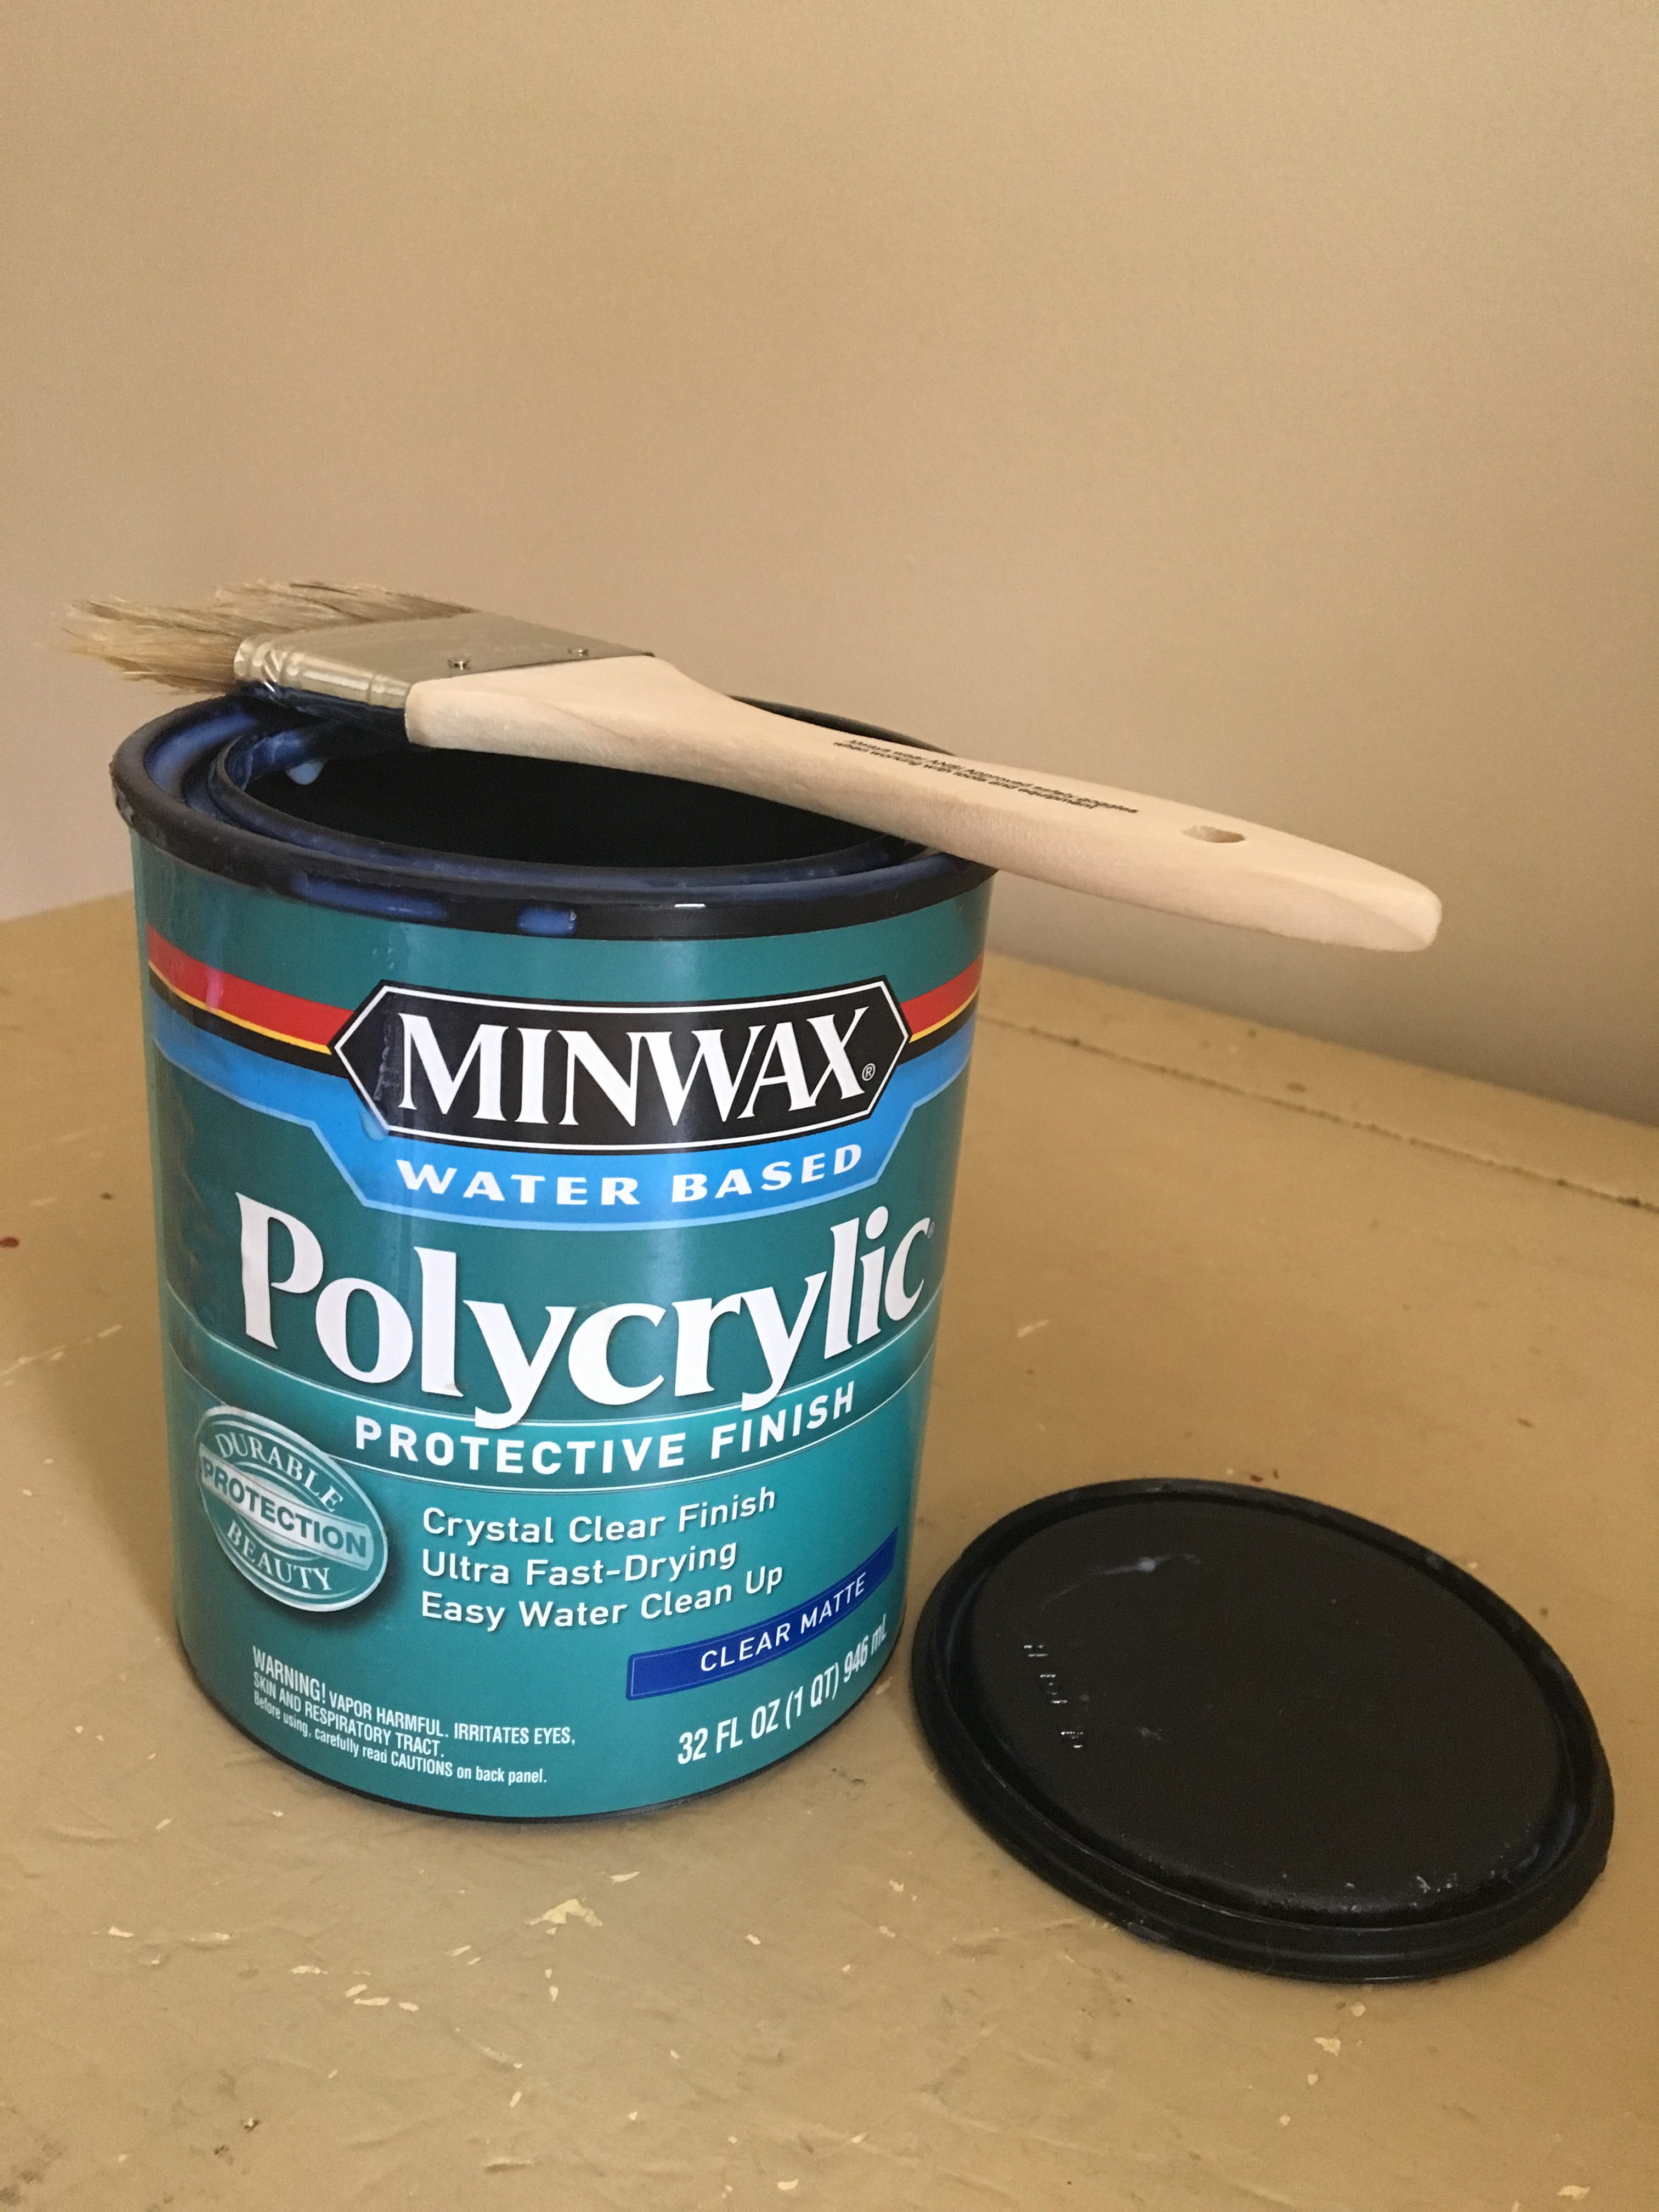
This is the stuff that I said you would use over and over again and was worth keeping a can around.
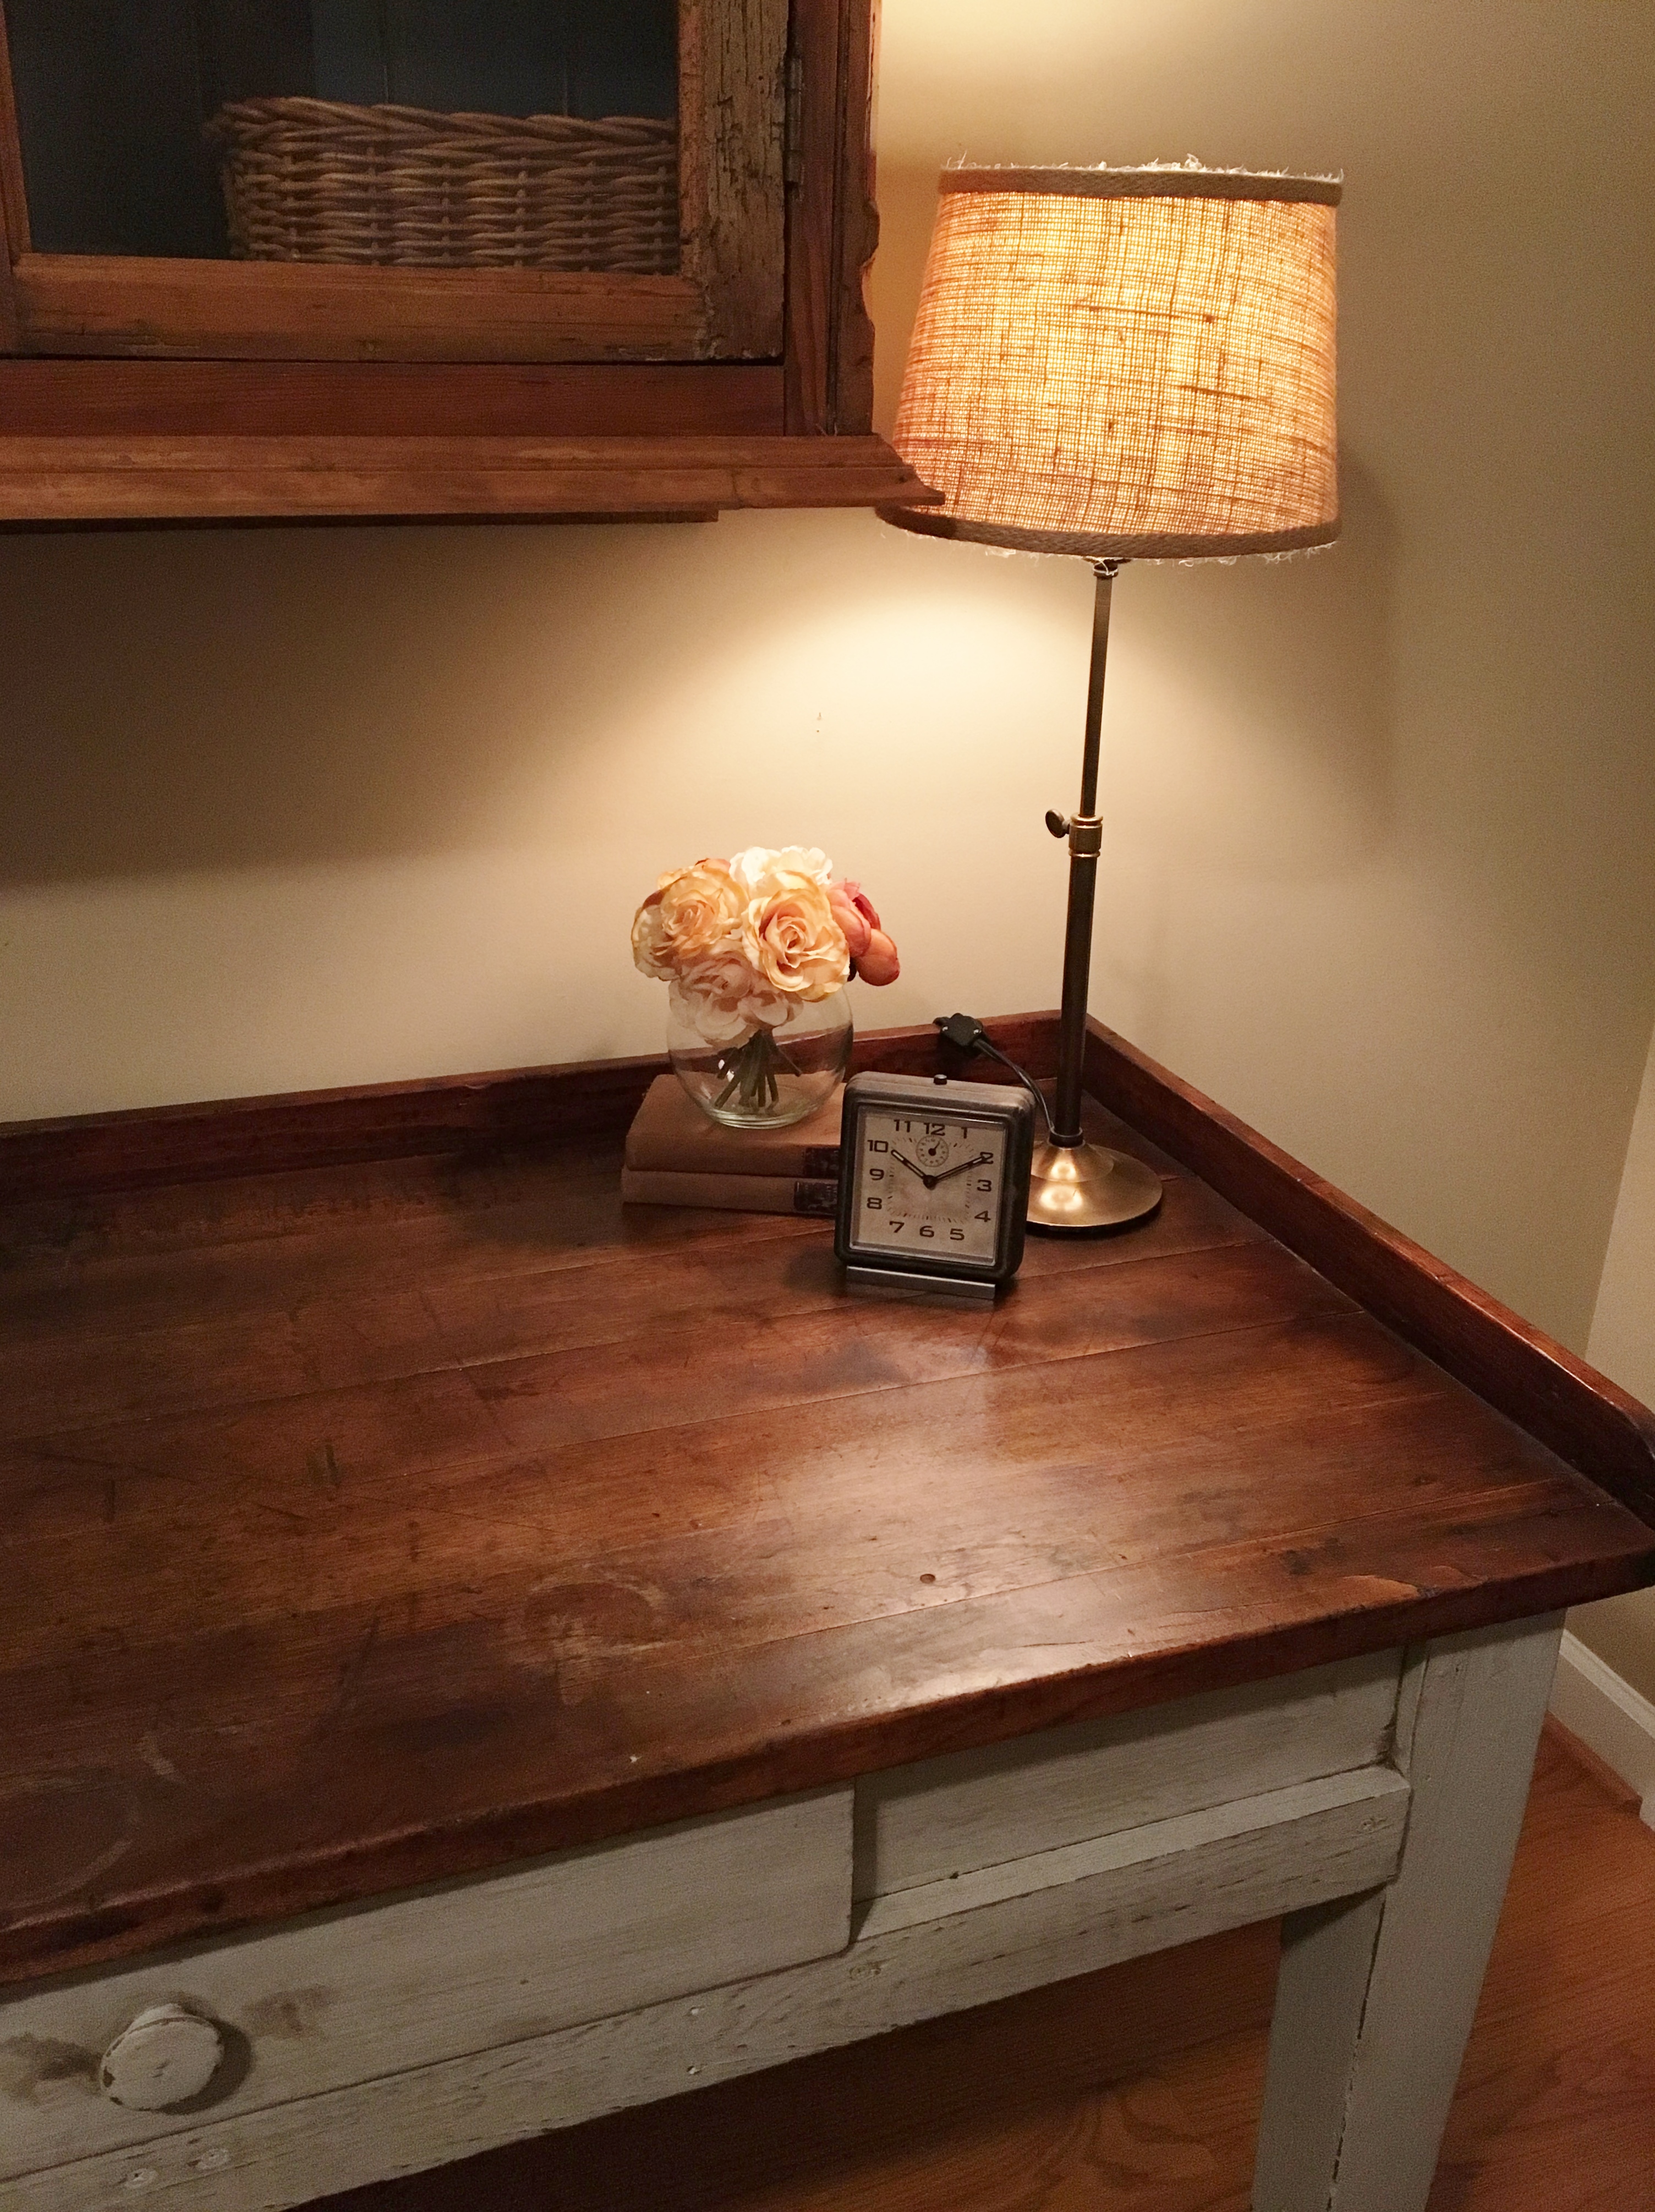
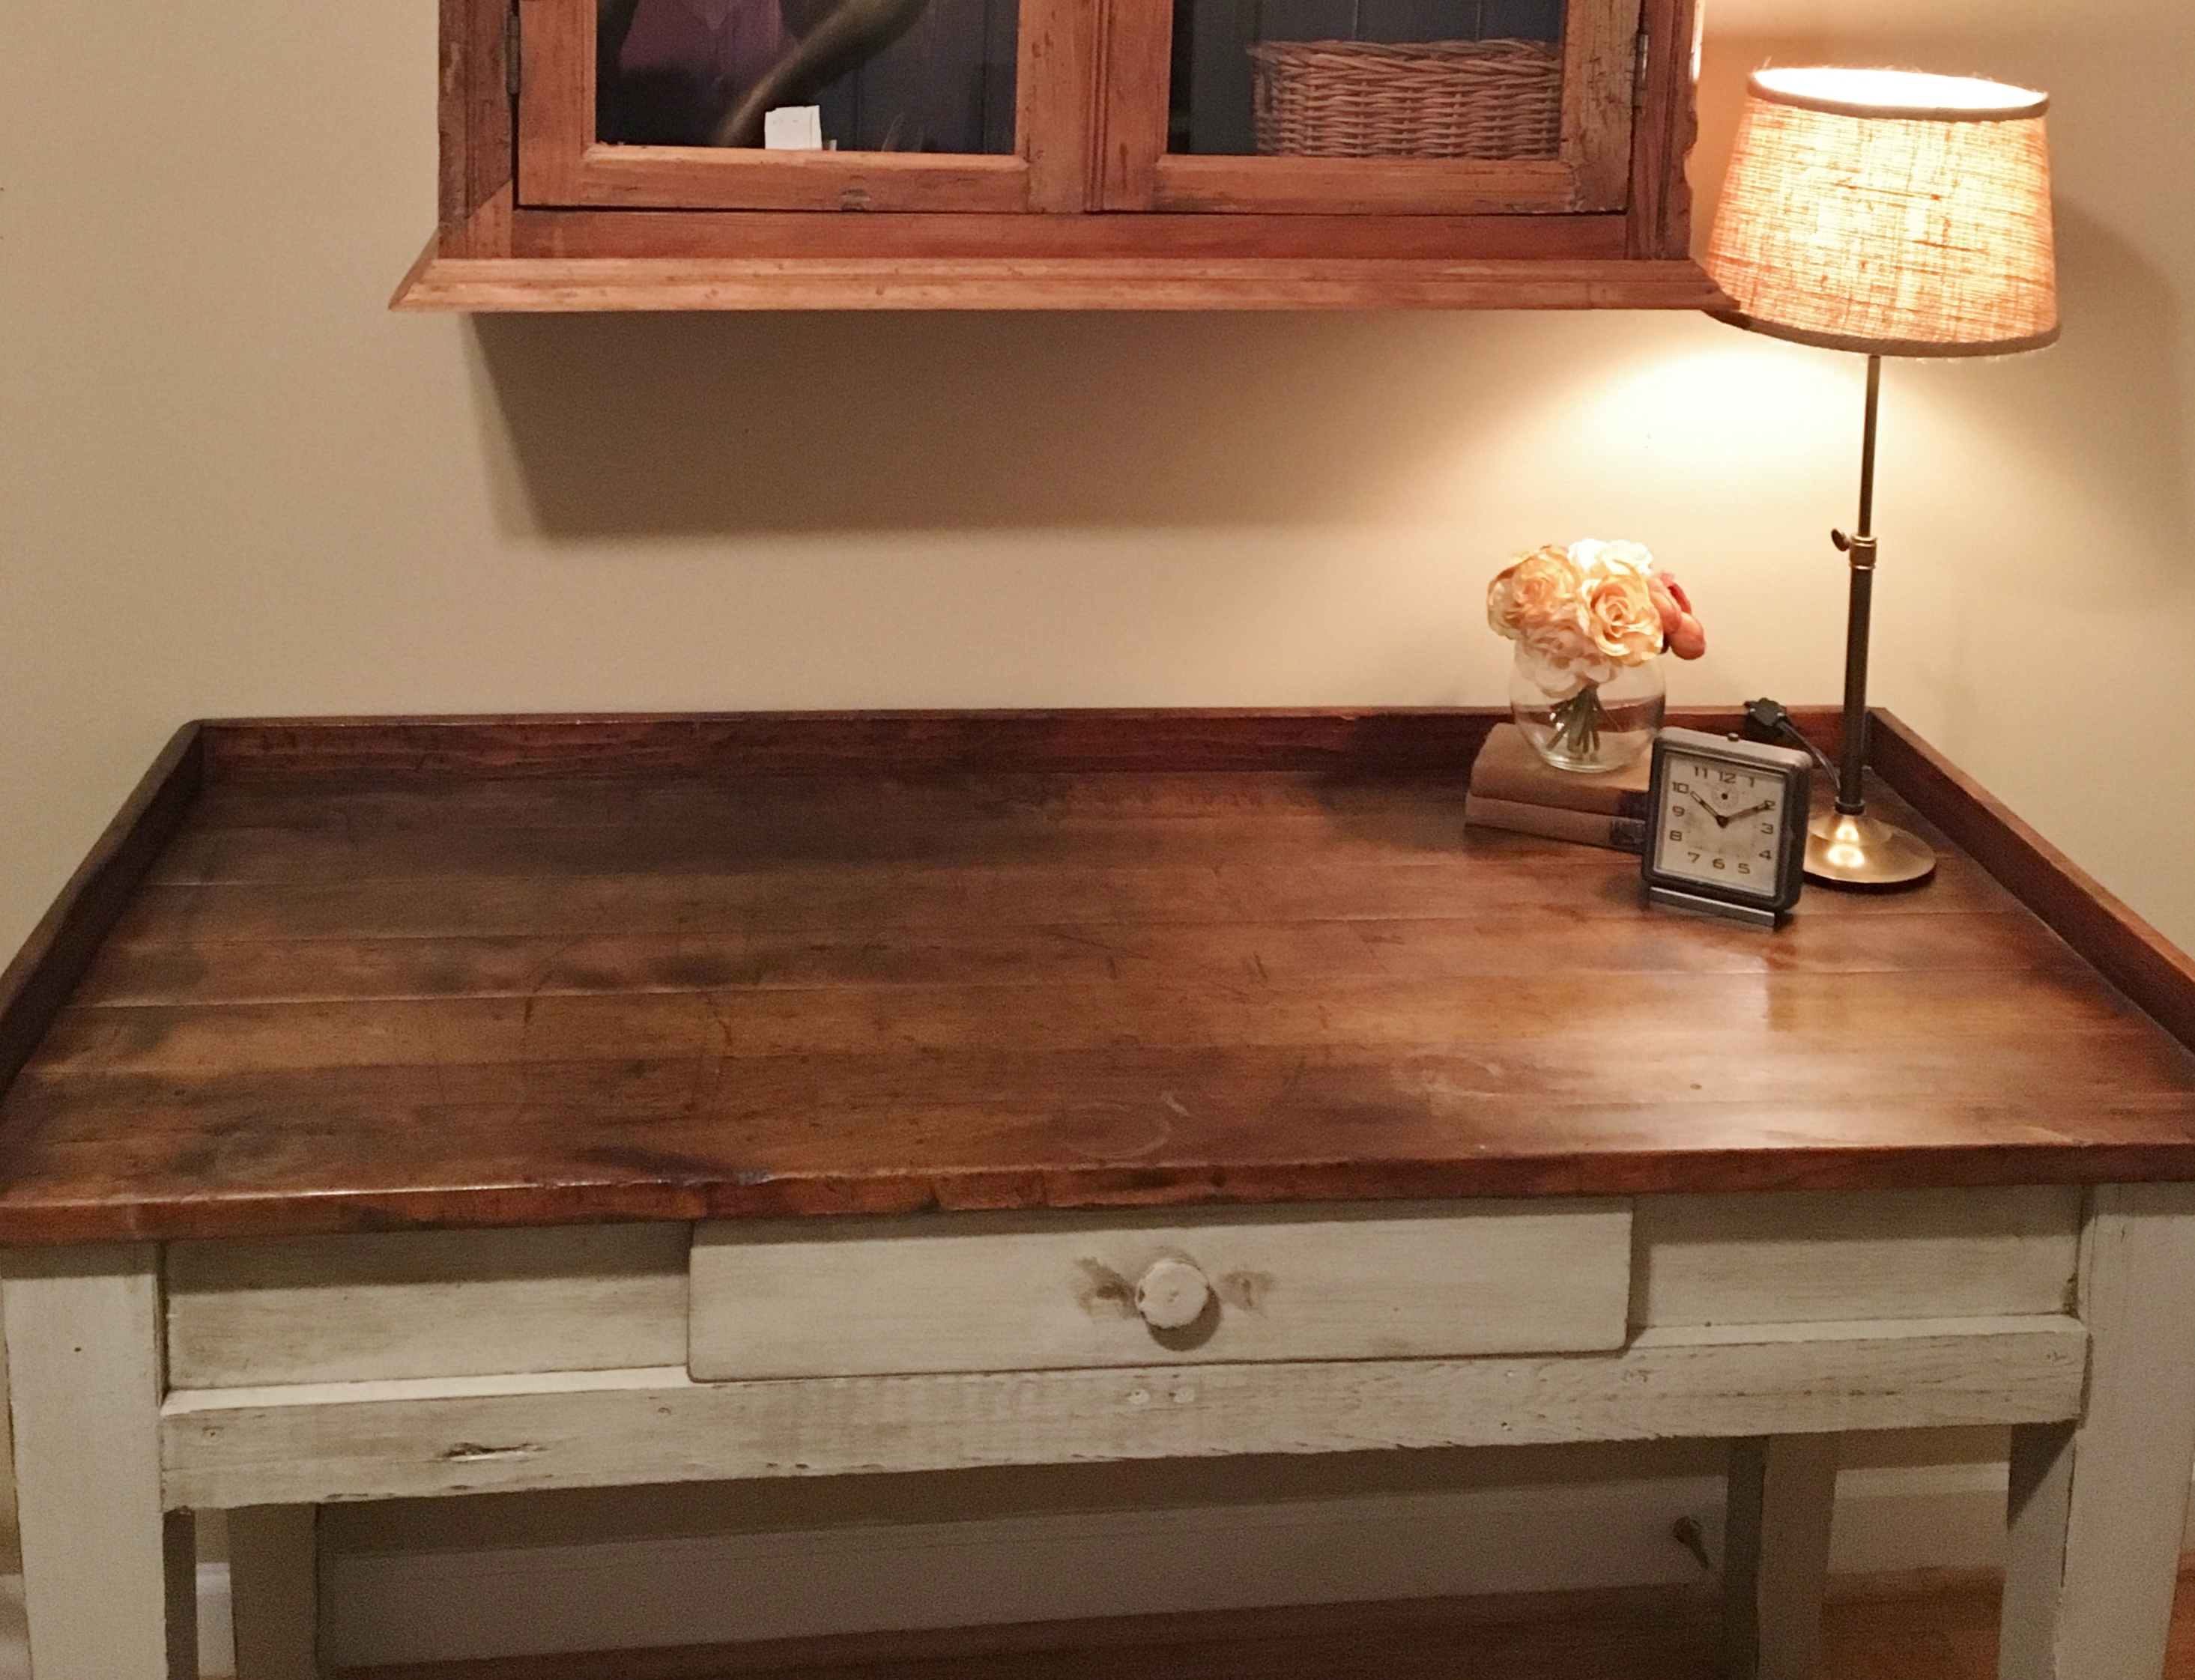
Once that dried, I scoured my house to find the perfect place for my new workbench. Turns out, it made the most beautiful desk in our office.

I am so happy with the way it turned out. There’s definitely something to that saying, “One person’s trash is another person’s treasure.”
Have you rescued any pieces? Leave a comment below or upload a picture. I would love to see it!
![]()