

DIY Vintage Bread Board
Hey there! I’m coming atcha with a little DIY that could save you big bucks!
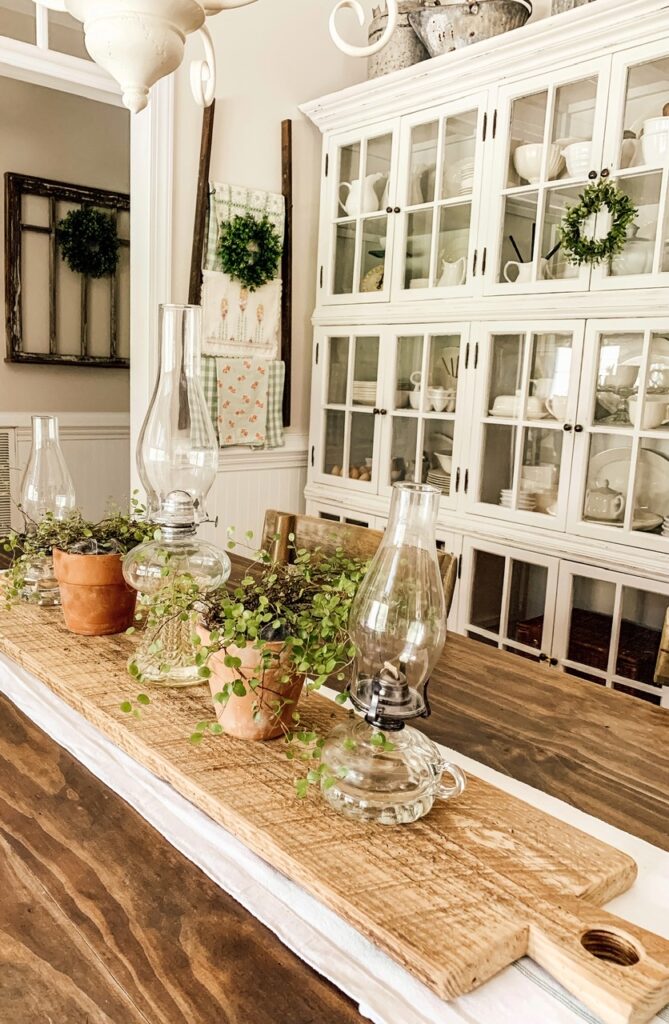
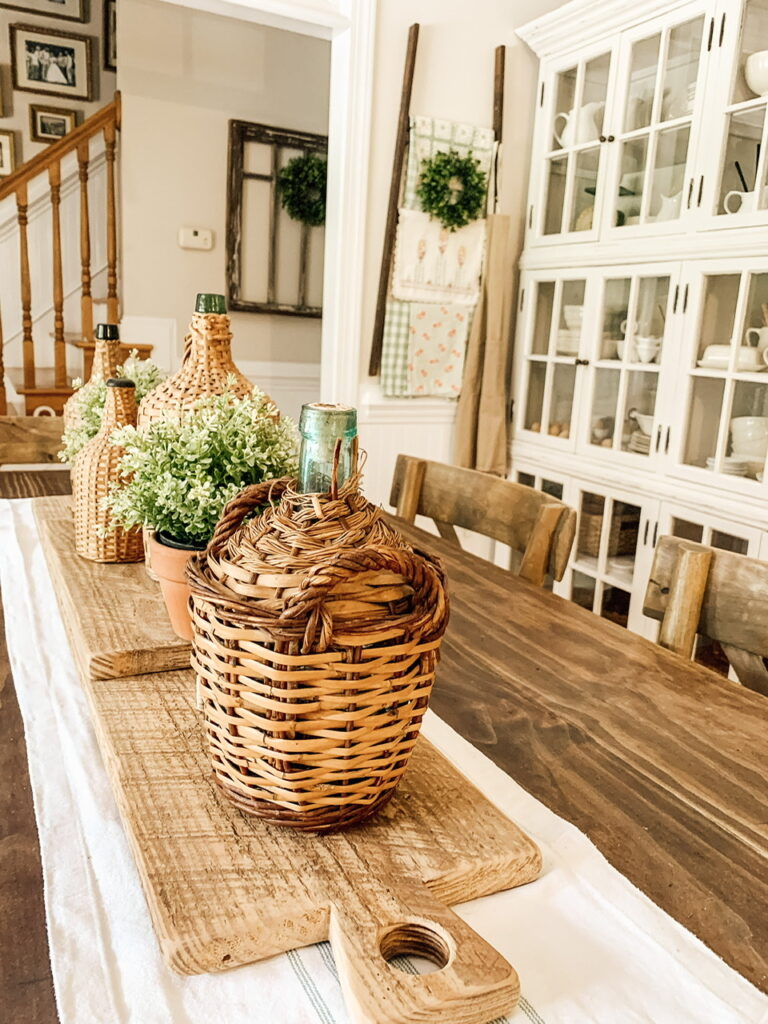
I have been searching for a large bread / cutting board to place on the center of our farmhouse table. Since our table is rather long, I wanted a board that would fill the space.
After much searching, I realized that not only are they difficult to find but when you do, they are super expensive!
In typical “me” fashion, if I can’t find something (or afford something), I’ll make one!!!
Now to make it look as authentic as I could, I used an actual old board that I found in our shed. (There’s a story that goes along with this…I’ll share that in a moment.) I’m not sure where we got this board from but I do know that people sell reclaimed boards that would be perfect for this project!
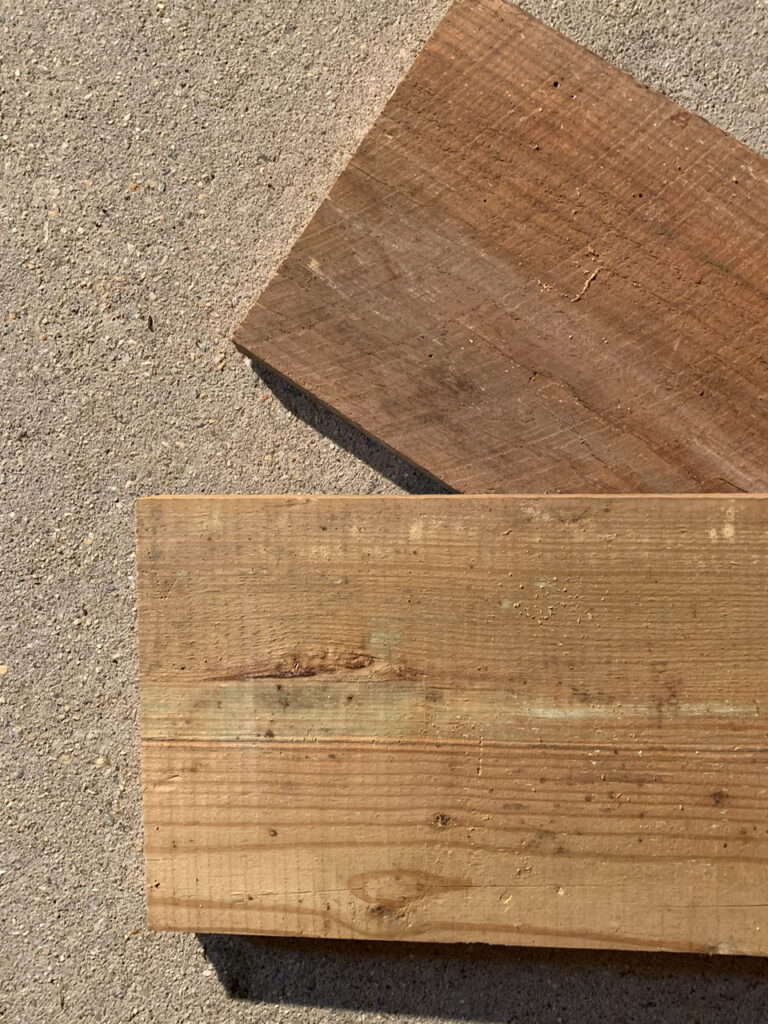
I started out by cutting the board to the desired length. In our case, I wanted to make a few bread / cutting boards so I cut mine to approximately 4 feet long and 2 feet long. I used another old thicker board to cut a smaller board as well. I figured while I was making one, I might as well make several.
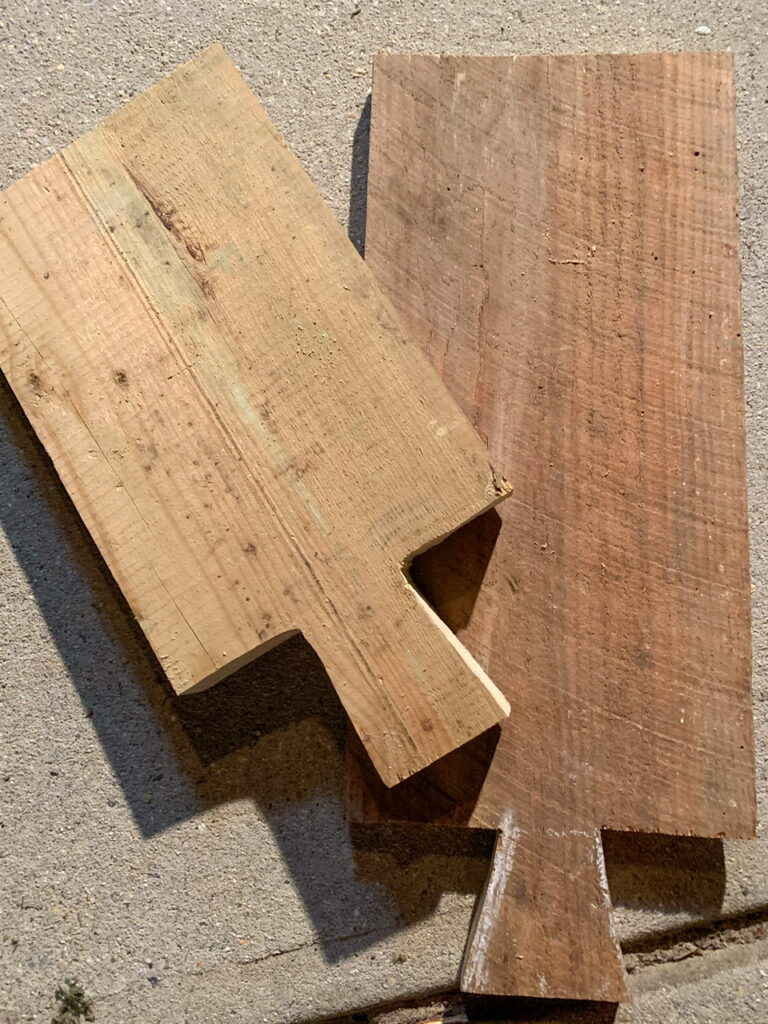
I then used chalk to draw the shape of the handle that I wanted on all three boards. I used a jig saw to cut out the handles and used a hole saw to cut the holes in the center of the handles.
Here’s the story that goes along with the board… After successfully cutting the boards into their pieces, my husband asked me where I got the board from. I told him that I got it out of our shed. He then informed me that it was the tailgate to his trailer…Luckily, he was just kidding but boy that made me sweat…I’m still not sure where we got that board from.

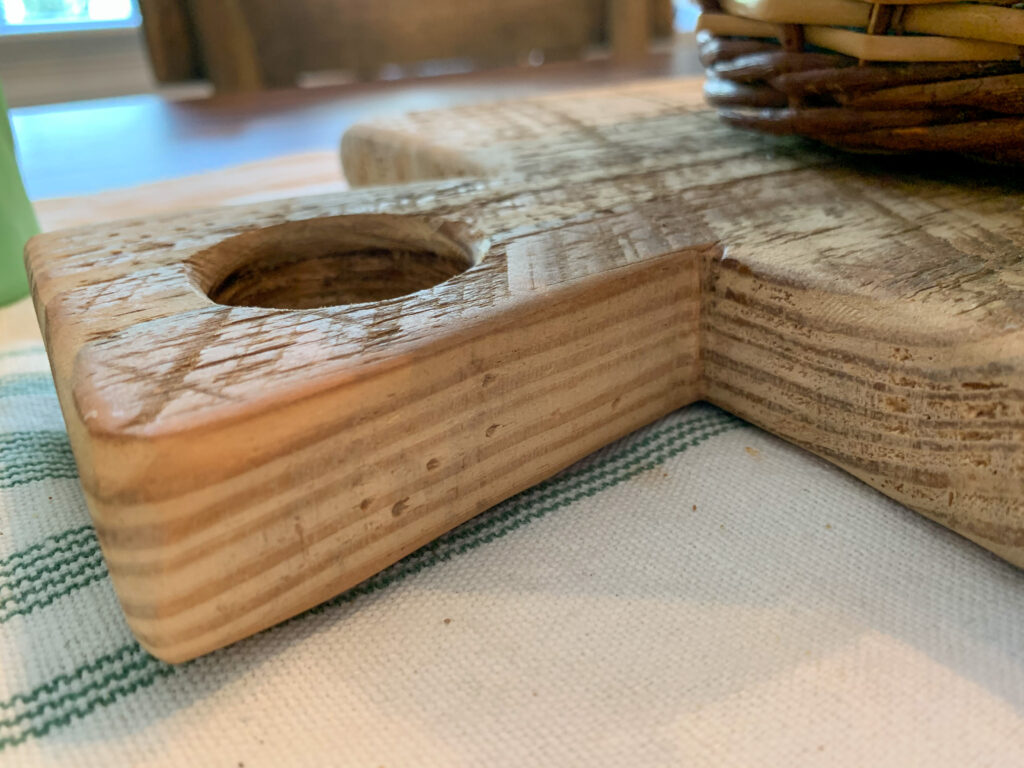
Now comes the fun part…you beat the heck out of the board using whatever you could find. The longer boards that I cut from the reclaimed wood already had saw marks on it which I love so they didn’t need many marks added to them however I used an awl to make “worm” holes on it.
On the thicker board, the finish was originally smoother so that one took a beating. I usually use flat head screw drivers, hammers, awls, etc… and just dink up the board wherever I see fit. Make sure to catch all sides of the board including the sides of the board and handle.
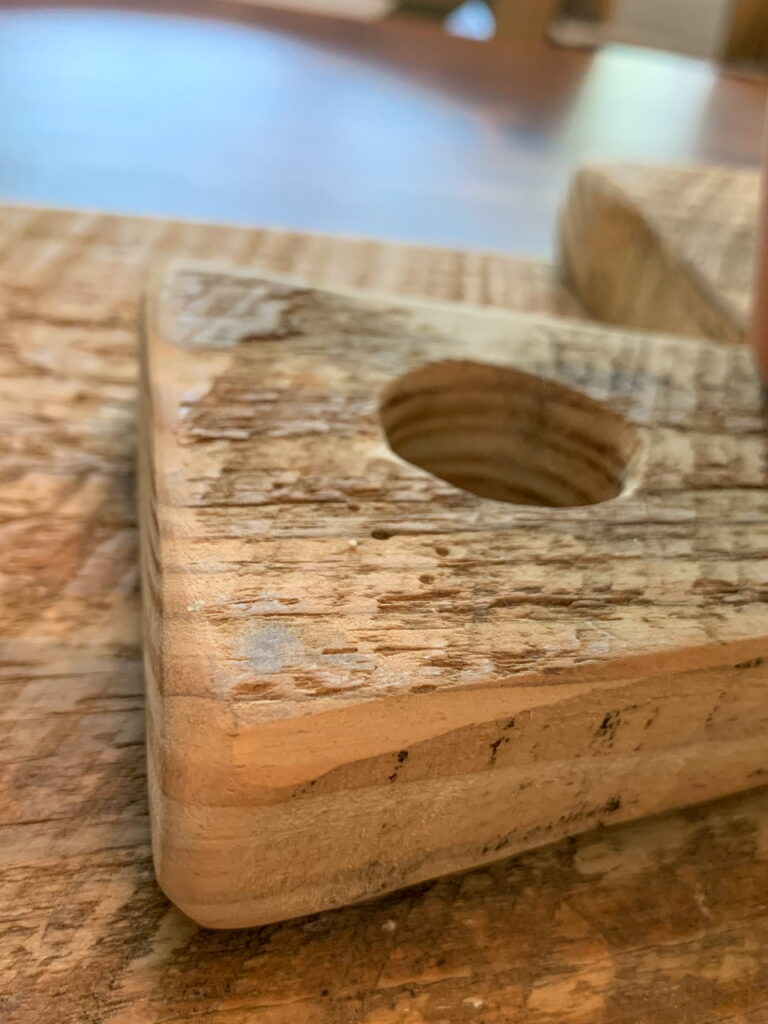
Once you’re done beating the heck out of it, I used a hand sander to go over the entire board making sure to pay extra attention to any pointy ends and corners. I wanted to give the illusion that this board had been used hundreds of times over the years.
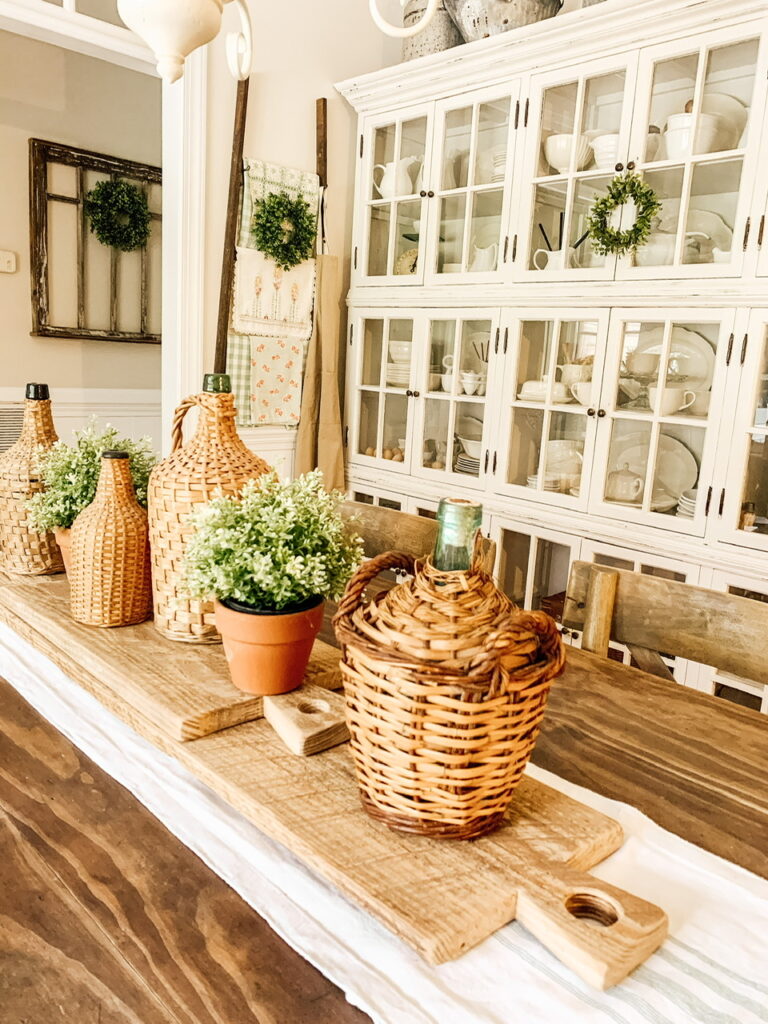
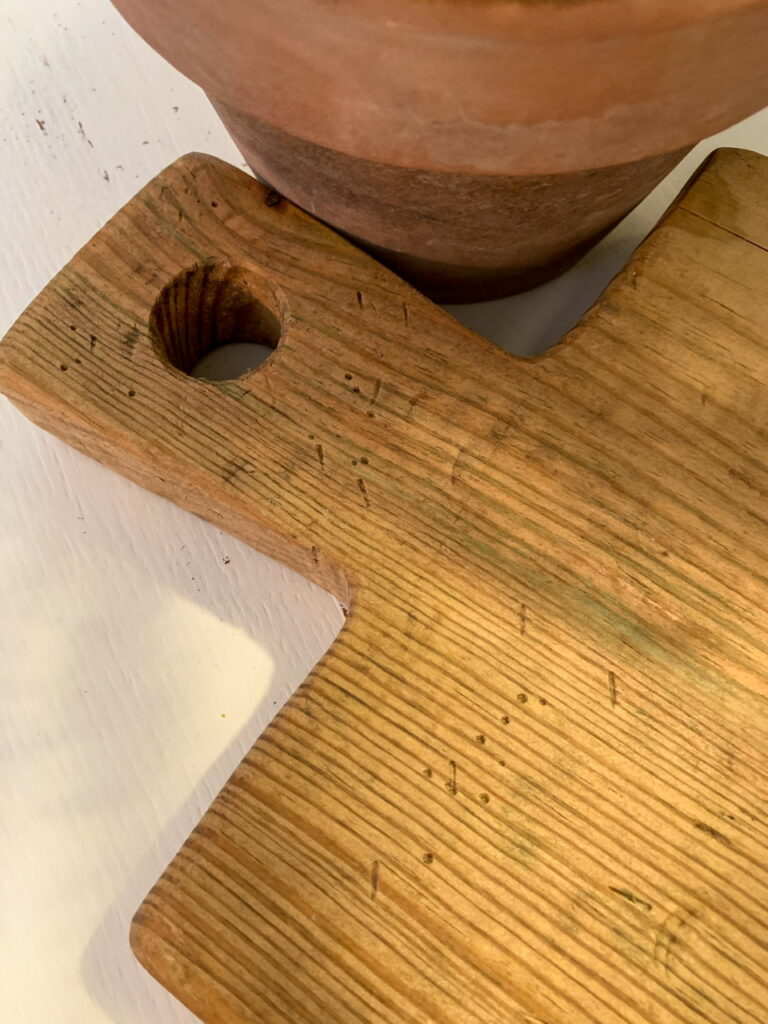
I got lucky when it came to the color of the boards. This was the original worn and aged color of the wood so I didn’t need to stain it.
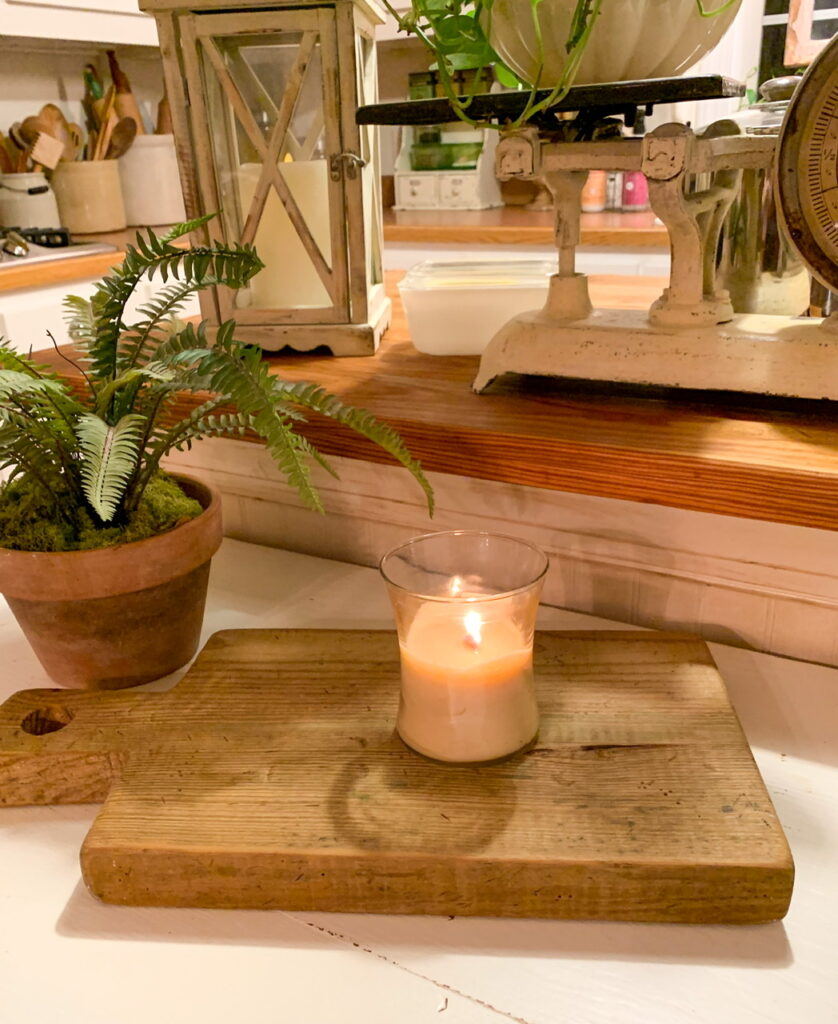
I also didn’t put a sealer on it although I may change my mind if I plan to have something on it that would leave a water mark.
That’s it! This was such a simple and quick project that took me less than an hour to make all three boards. If you have the wood laying around your house, it’s essentially free! If you can’t find any wood, check your husband’s trailer.
Have a wonderful day friends and thanks for stopping by!
