Vintage Kitchen Cabinet
Hello Friends! Is everyone getting into the swing of summer? I love this time of year when relaxed is the name of the game. The days are filled with staying cool and the nights are filled with porch sitting while watching the lightning bugs glow about the yard. Yep, that last sentence shows what a wild and crazy life we live. haha
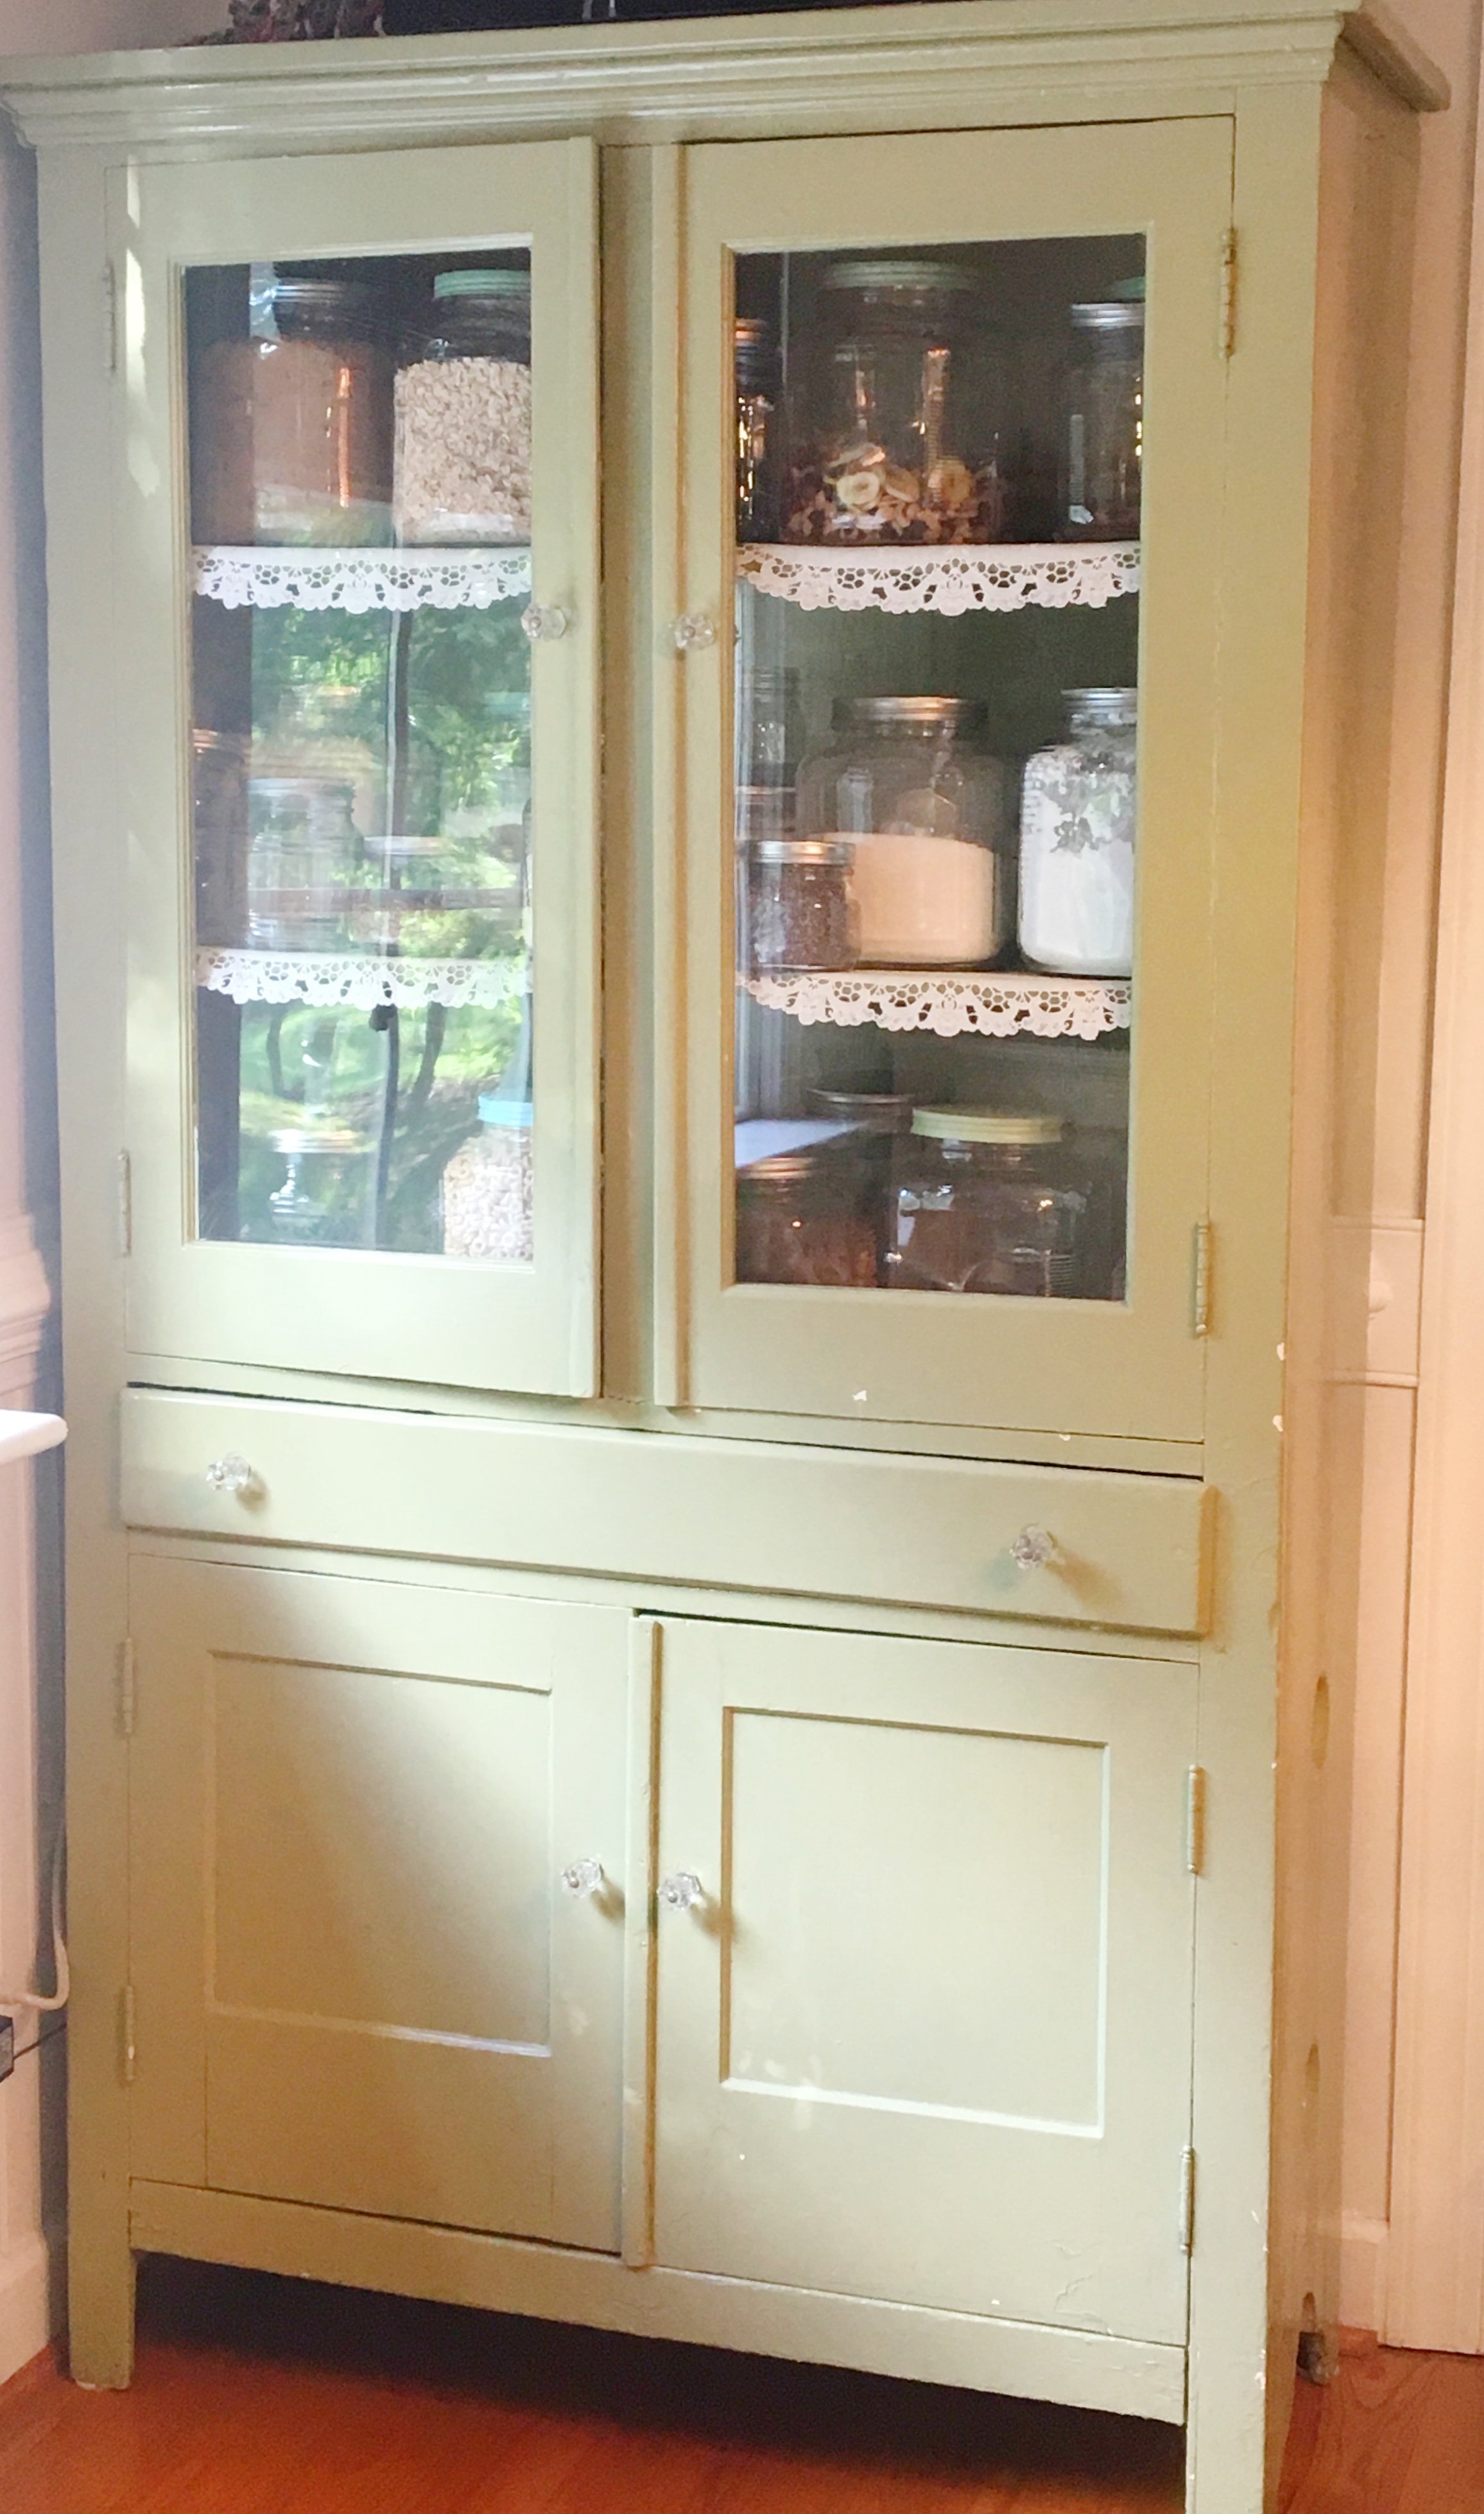
Summer weather got here fast this year which kind of chased us indoors to work on some projects inside since it was so blazing hot outside. One of the projects I had on my list was to paint this old vintage cabinet that I had in my kitchen.

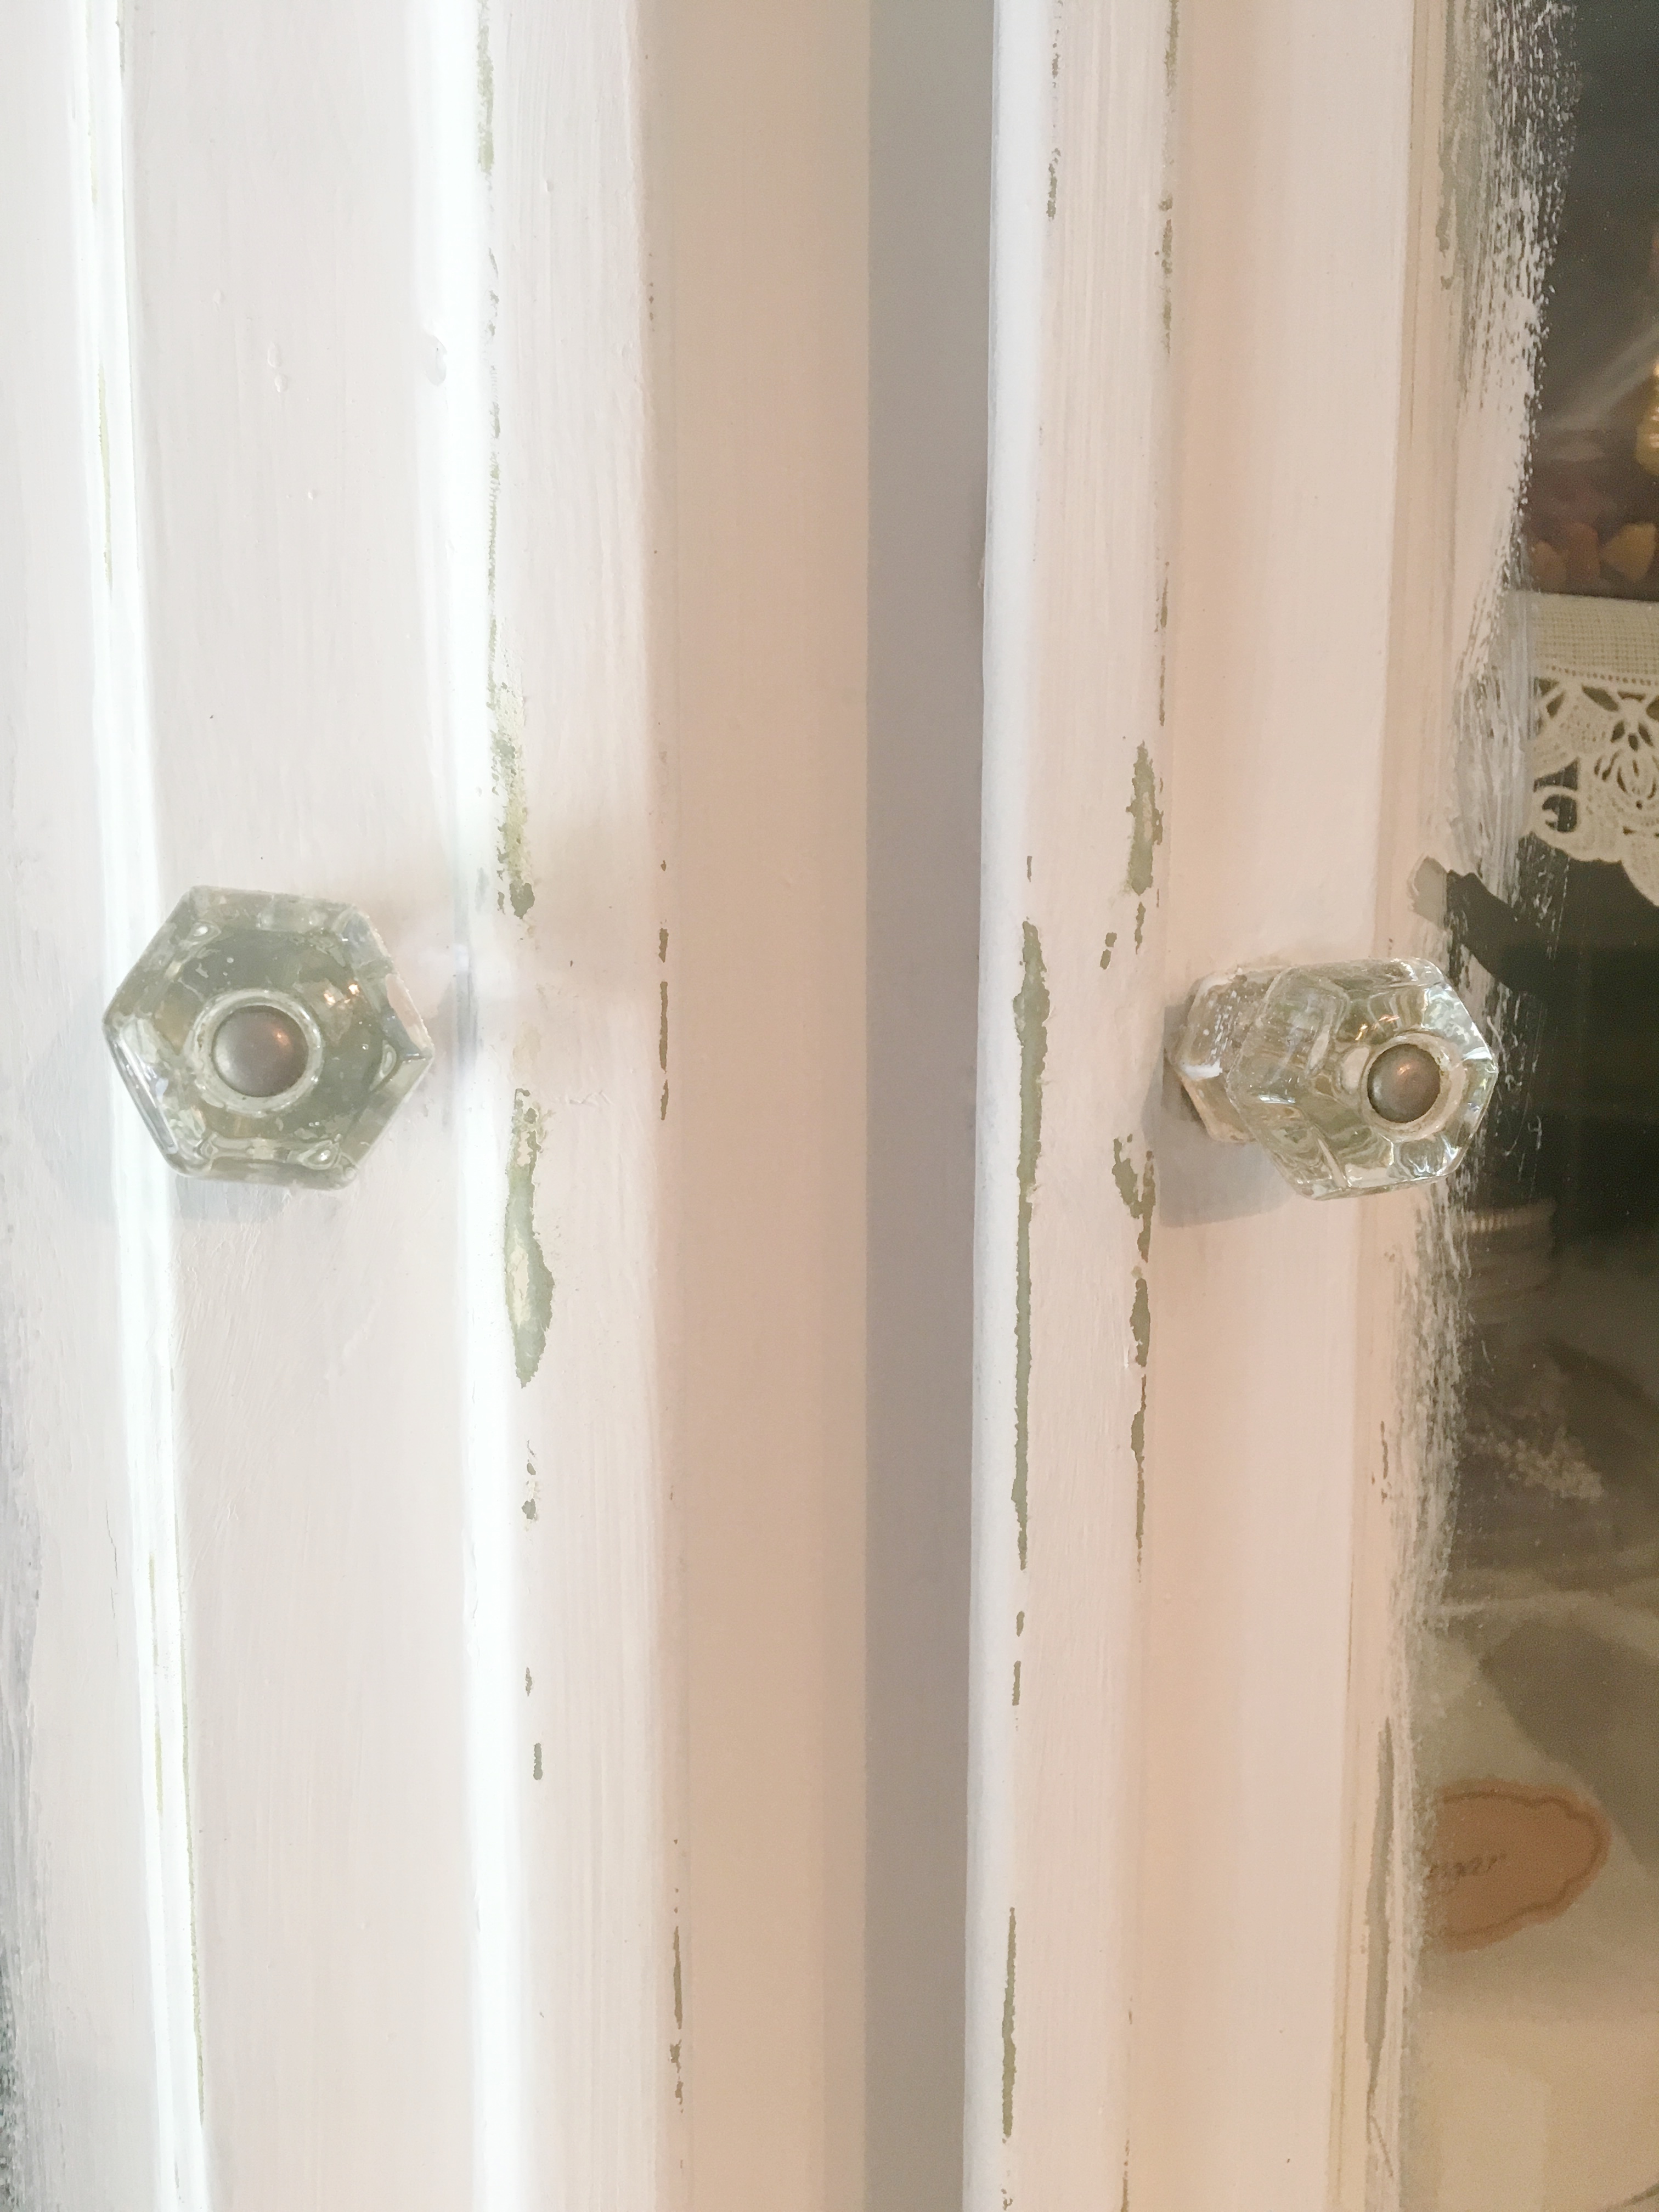
I love this cabinet!!! My husband bought this for me as a birthday gift from him and our three boys when they were little. It was one of the very first pieces of furniture that I had picked out from a local flea market. You know how it is when you’re starting out in life and most of what you have are hand me downs or curbside finds (I’m not ashamed to admit that…times were tough. haha) I remember it needed a good cleaning and a fresh paint job but it was the prettiest cabinet in the whole world to me…and those original glass knobs…so pretty.
I painted it green back then which come to think of it, I think this is the second green color that I had painted it. Anyhow, although I really still like the color, it seemed a little out-of-place in our kitchen since everything else in there is some shade of white.
Since the cabinet had always been painted in a high gloss paint, I wanted to try using chalk paint since that adheres to shiny surfaces with little prep work. I used a homemade recipe which is super easy and inexpensive and allows you to choose whatever color you like as opposed to the ready-made chalk paint.
Chalk paint recipe:
- Calcium Carbonate
- Water
- Paint (flat, egg shell or satin)
I purchased my calcium carbonate from a local brewery supply company but I know that you could order it online as well.
Depending on how much paint you are mixing will depend on how much calcium carbonate you will use. As a general rule of thumb, I use about 12 TB per quart of paint. I mix the calcium carbonate with water a little at a time to get a goopy consistency. You don’t want it too thin so add water slowly. Once the calcium carbonate and water is mixed thoroughly, add it to your paint and mix well. If your paint appears too thin, you can add more calcium carbonate to the paint but you want to make sure that you mix it well to get all of the clumps out. Now it’s time to paint!
It only took two coats which I thought was pretty good considering how shiny the surface was.

Once the paint had dried, I used my hand sander to rough up the edges a bit to keep in character with the age of the cabinet.

After sanding it, I sealed it with a matte poly coat to protect the finish and scraped the paint off of the windows.
It looks much lighter and brighter without losing its vintage flair.

What do you think of it?

I’m pretty happy with it. I’ll guess I’ll keep it for another twenty years or so. haha
Have you breathed new life into any old pieces lately? Send me a picture! I would love to see it.
Big Hugs,
![]()

