
Olive Branch Topiary
Hello Friends! Today I’m back with a new DIY that’s super simple and very budget friendly!
I love having plants around the house! I love the freshness and the bit of nature that it adds to a room. It fills a space with just the right look without competing with other decor. It adds a bit of life to a room…unless of course, you can’t keep the plant alive in which case it looks more like death. uh hum…That being said, sometimes faux plants are the way to go. My first preference is the real deal but sometimes plants can be fickle. That’s when I like to mix in some fake ones with my real ones. If you missed my post about “Faking It”, you can read about it here.
One of the plants that I almost always kill are topiaries. I absolutely love the looks of them. I don’t even know what it is about them but I kid you not, I’ve tried a bajillion times and always kill them. Just ask my boys…I think the last topiary I got was yet another gift from my three boys with a note attached that said, “Happy Mother’s Day…try not to kill this one!” Don’t get me wrong, the note was funny but what was not funny is that I killed that one too. Another innocent plant life murdered by my care. It’s not like I even neglect them. I think I kill them with kindness.
That is when I decided to get an artificial topiary…only the cost of them are out of this world! Especially if you get one that looks kind of realistic.
So my budget friendly (cheap) self decided that I would make one and do you know what? I actually really like the way it turned out.
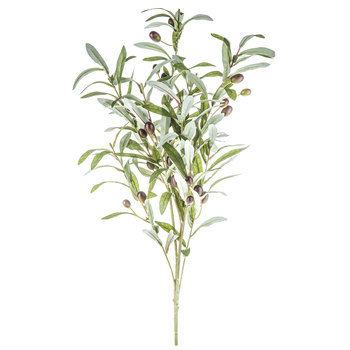
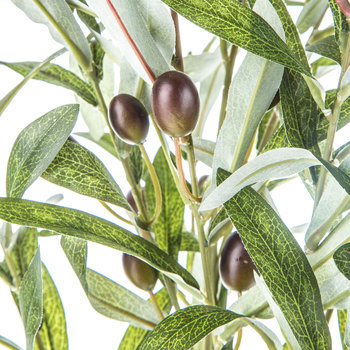
I purchased three olive branch bushes from Hobby Lobby. I got mine when they were on sale for 50% off ($6.49) but I know that Hobby Lobby always has a 40% coupon on their website for regularly priced items.
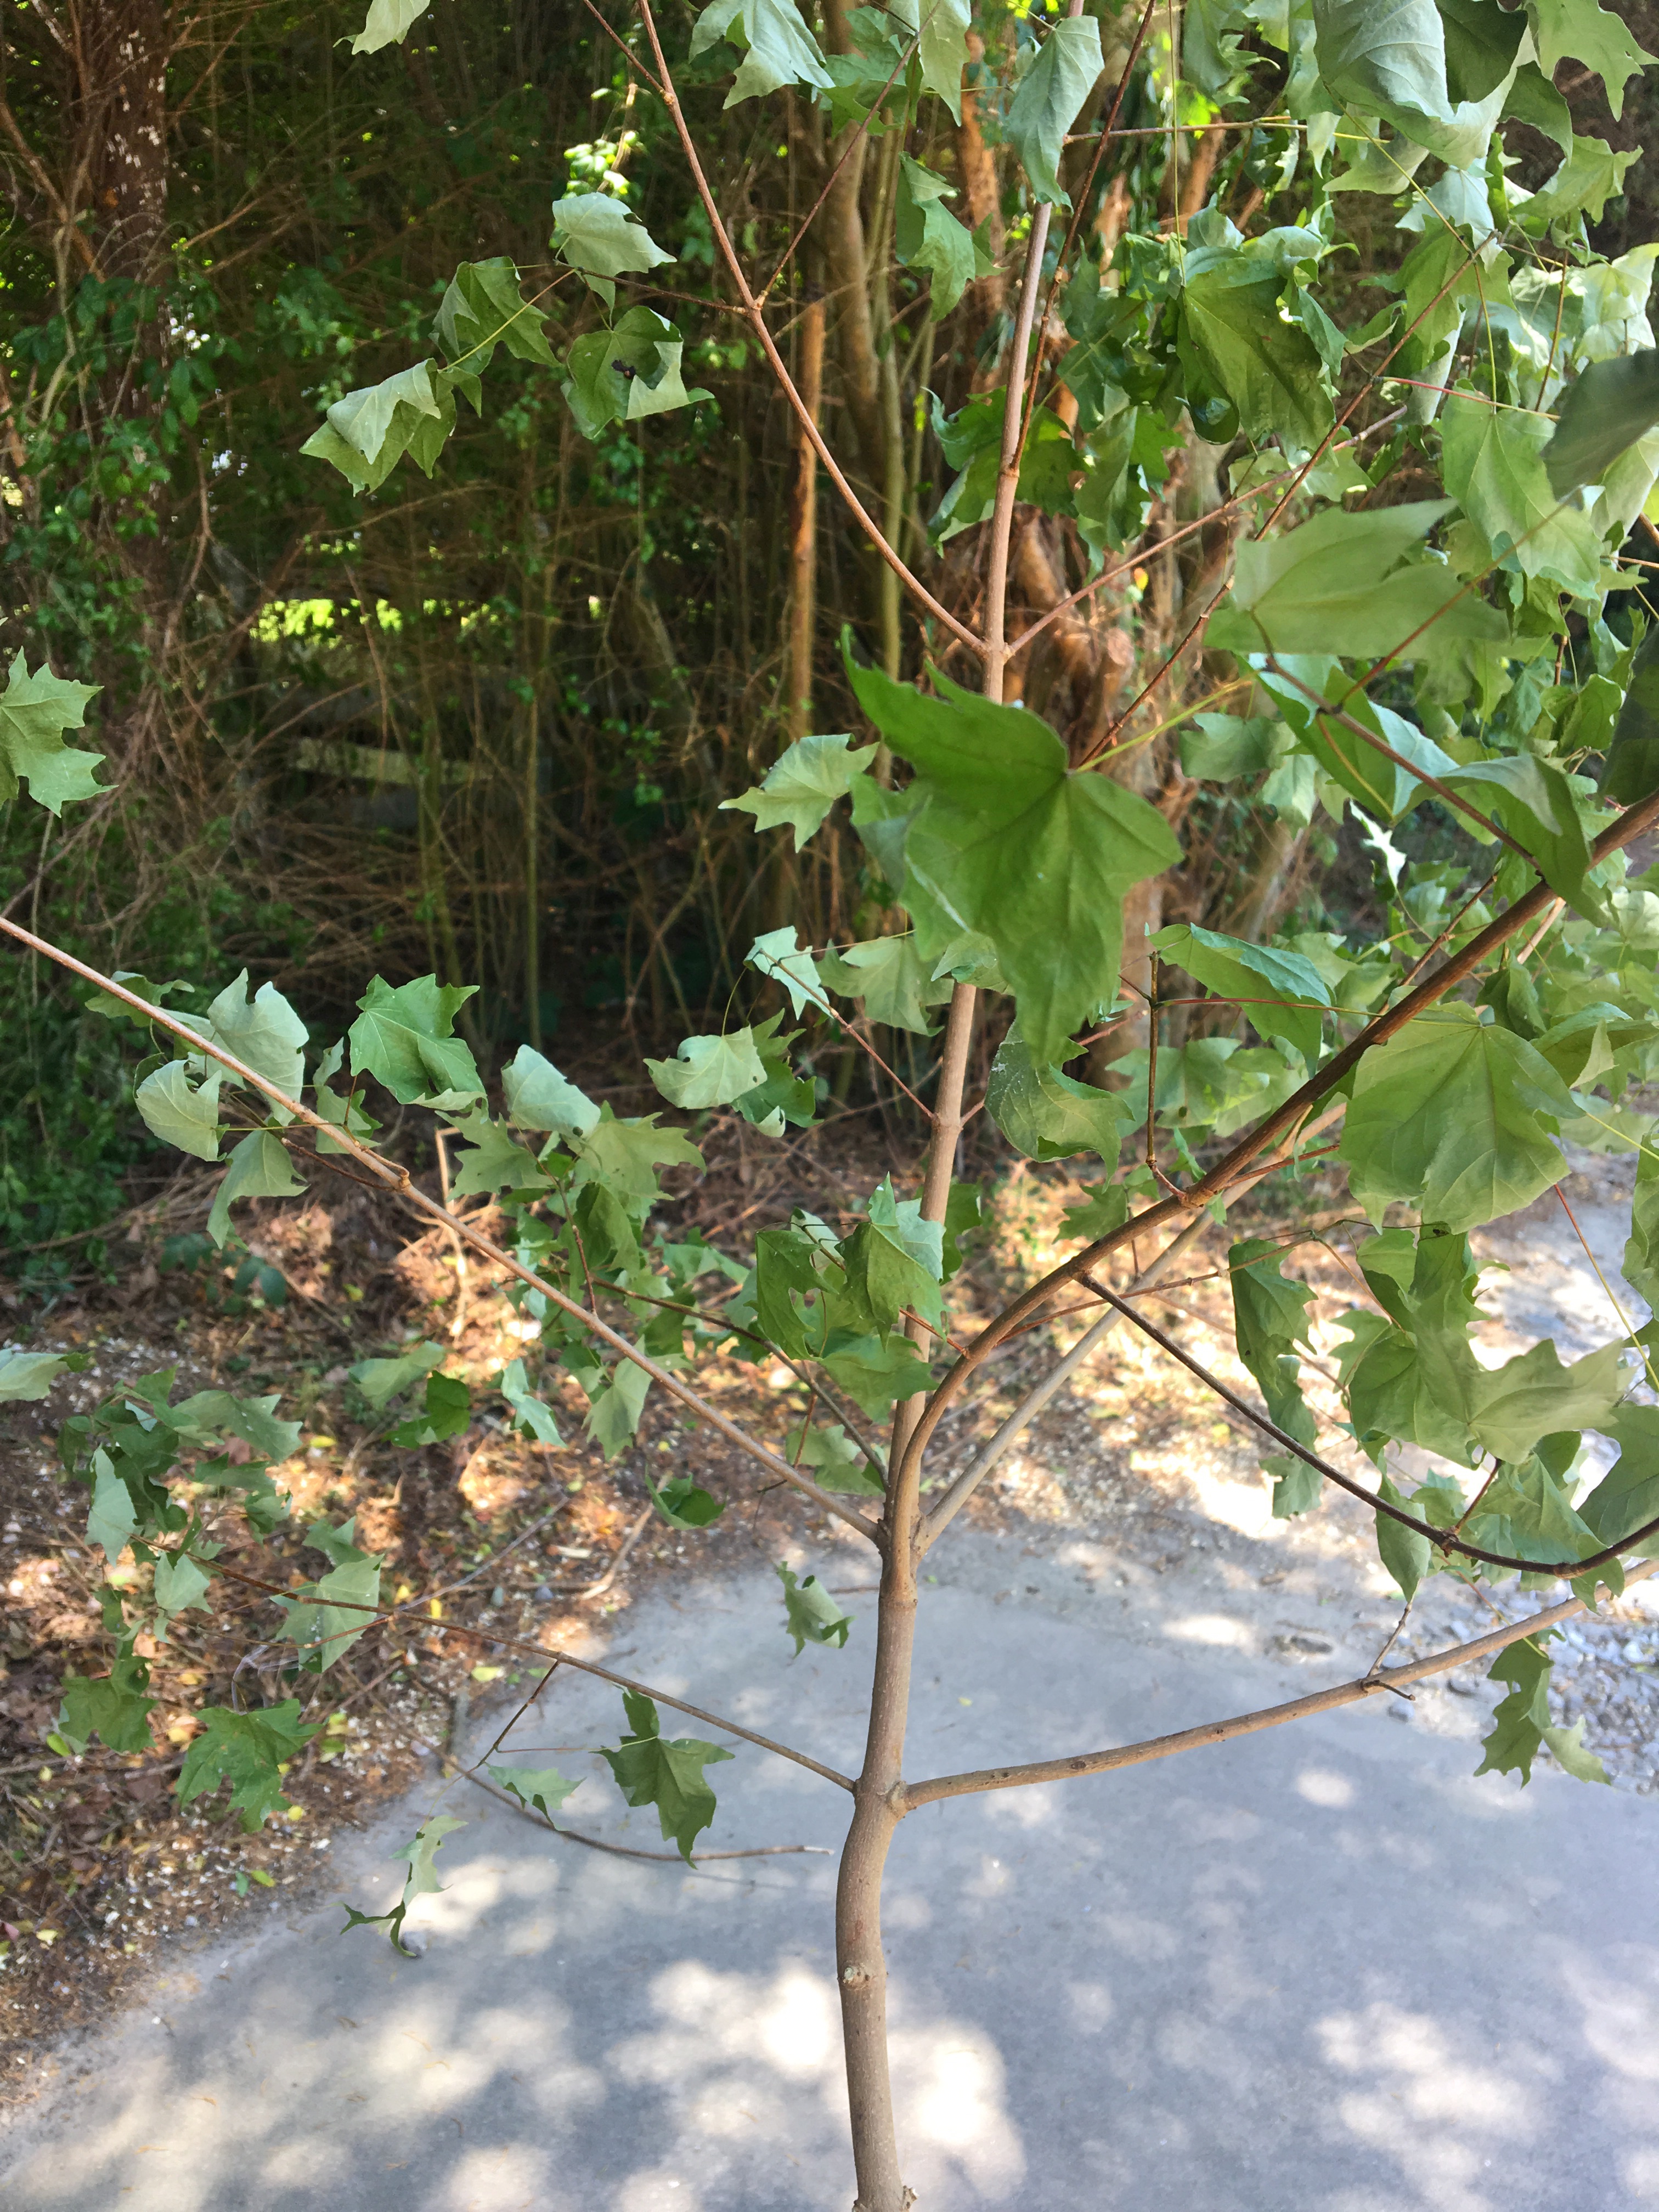
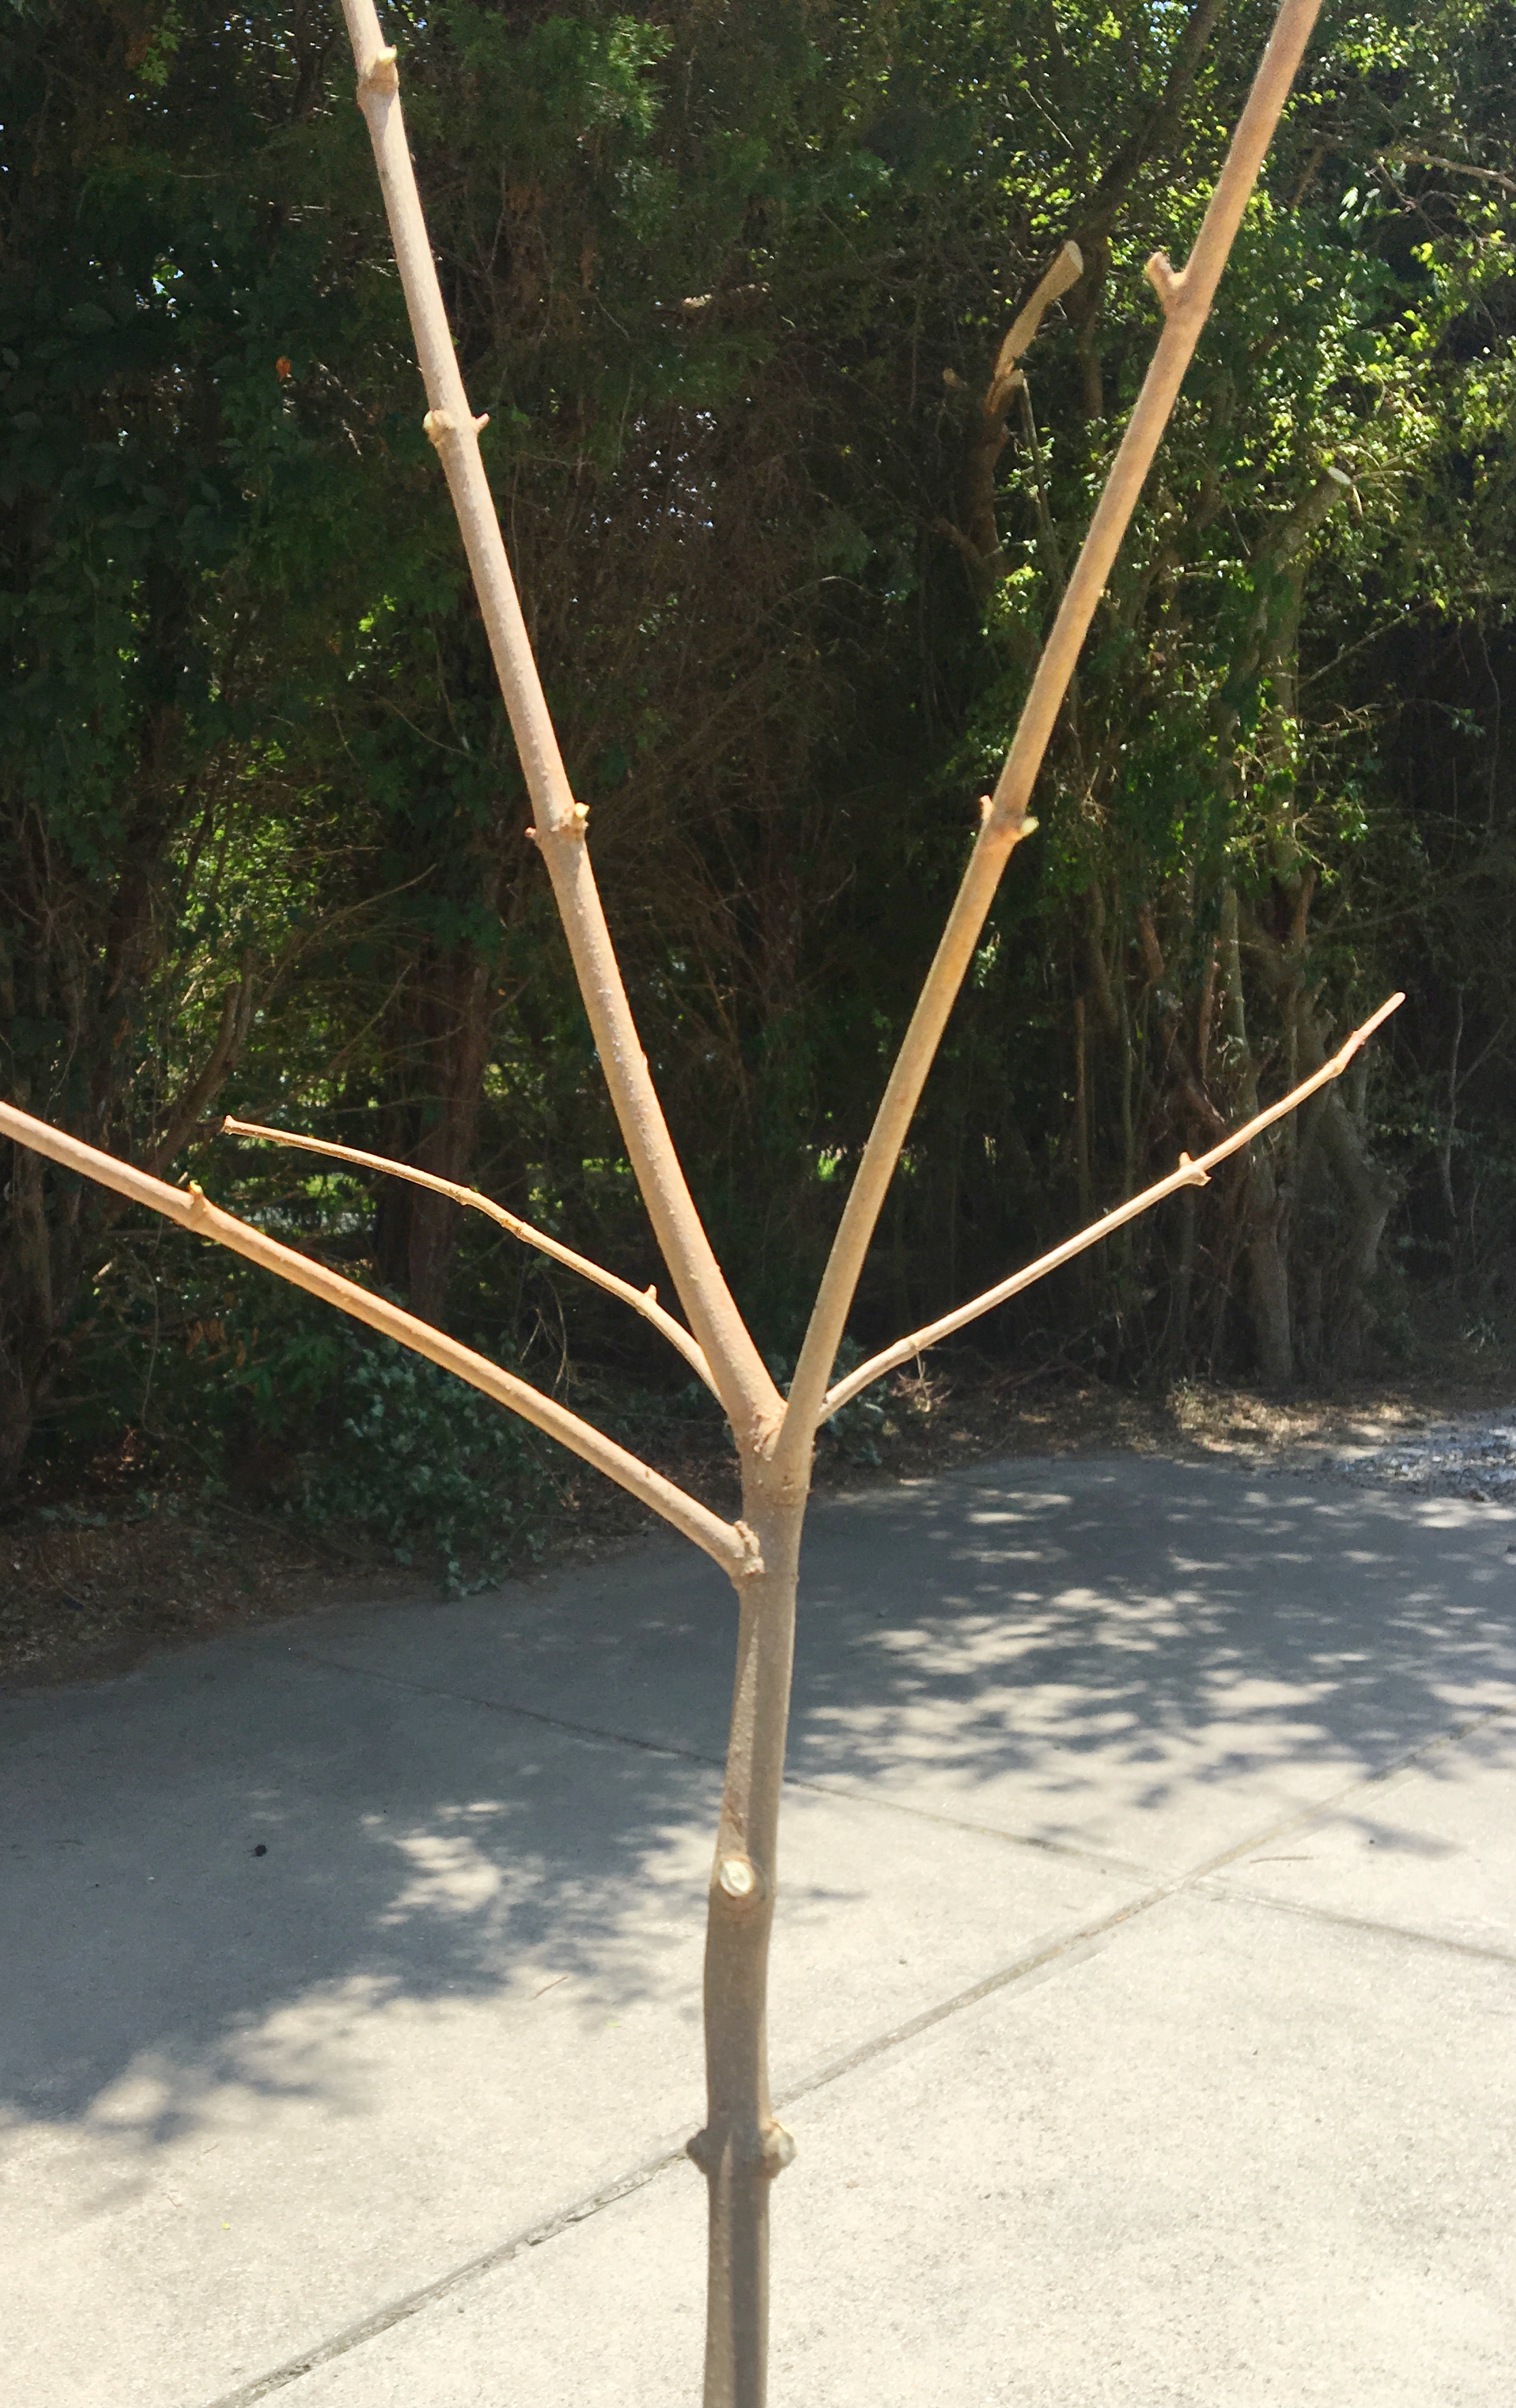
I found a straight (ish) branch from a tree outside when my husband and I were doing some pruning.

I pruned all the branches off except the ones at the very top. I wanted to use those for support.
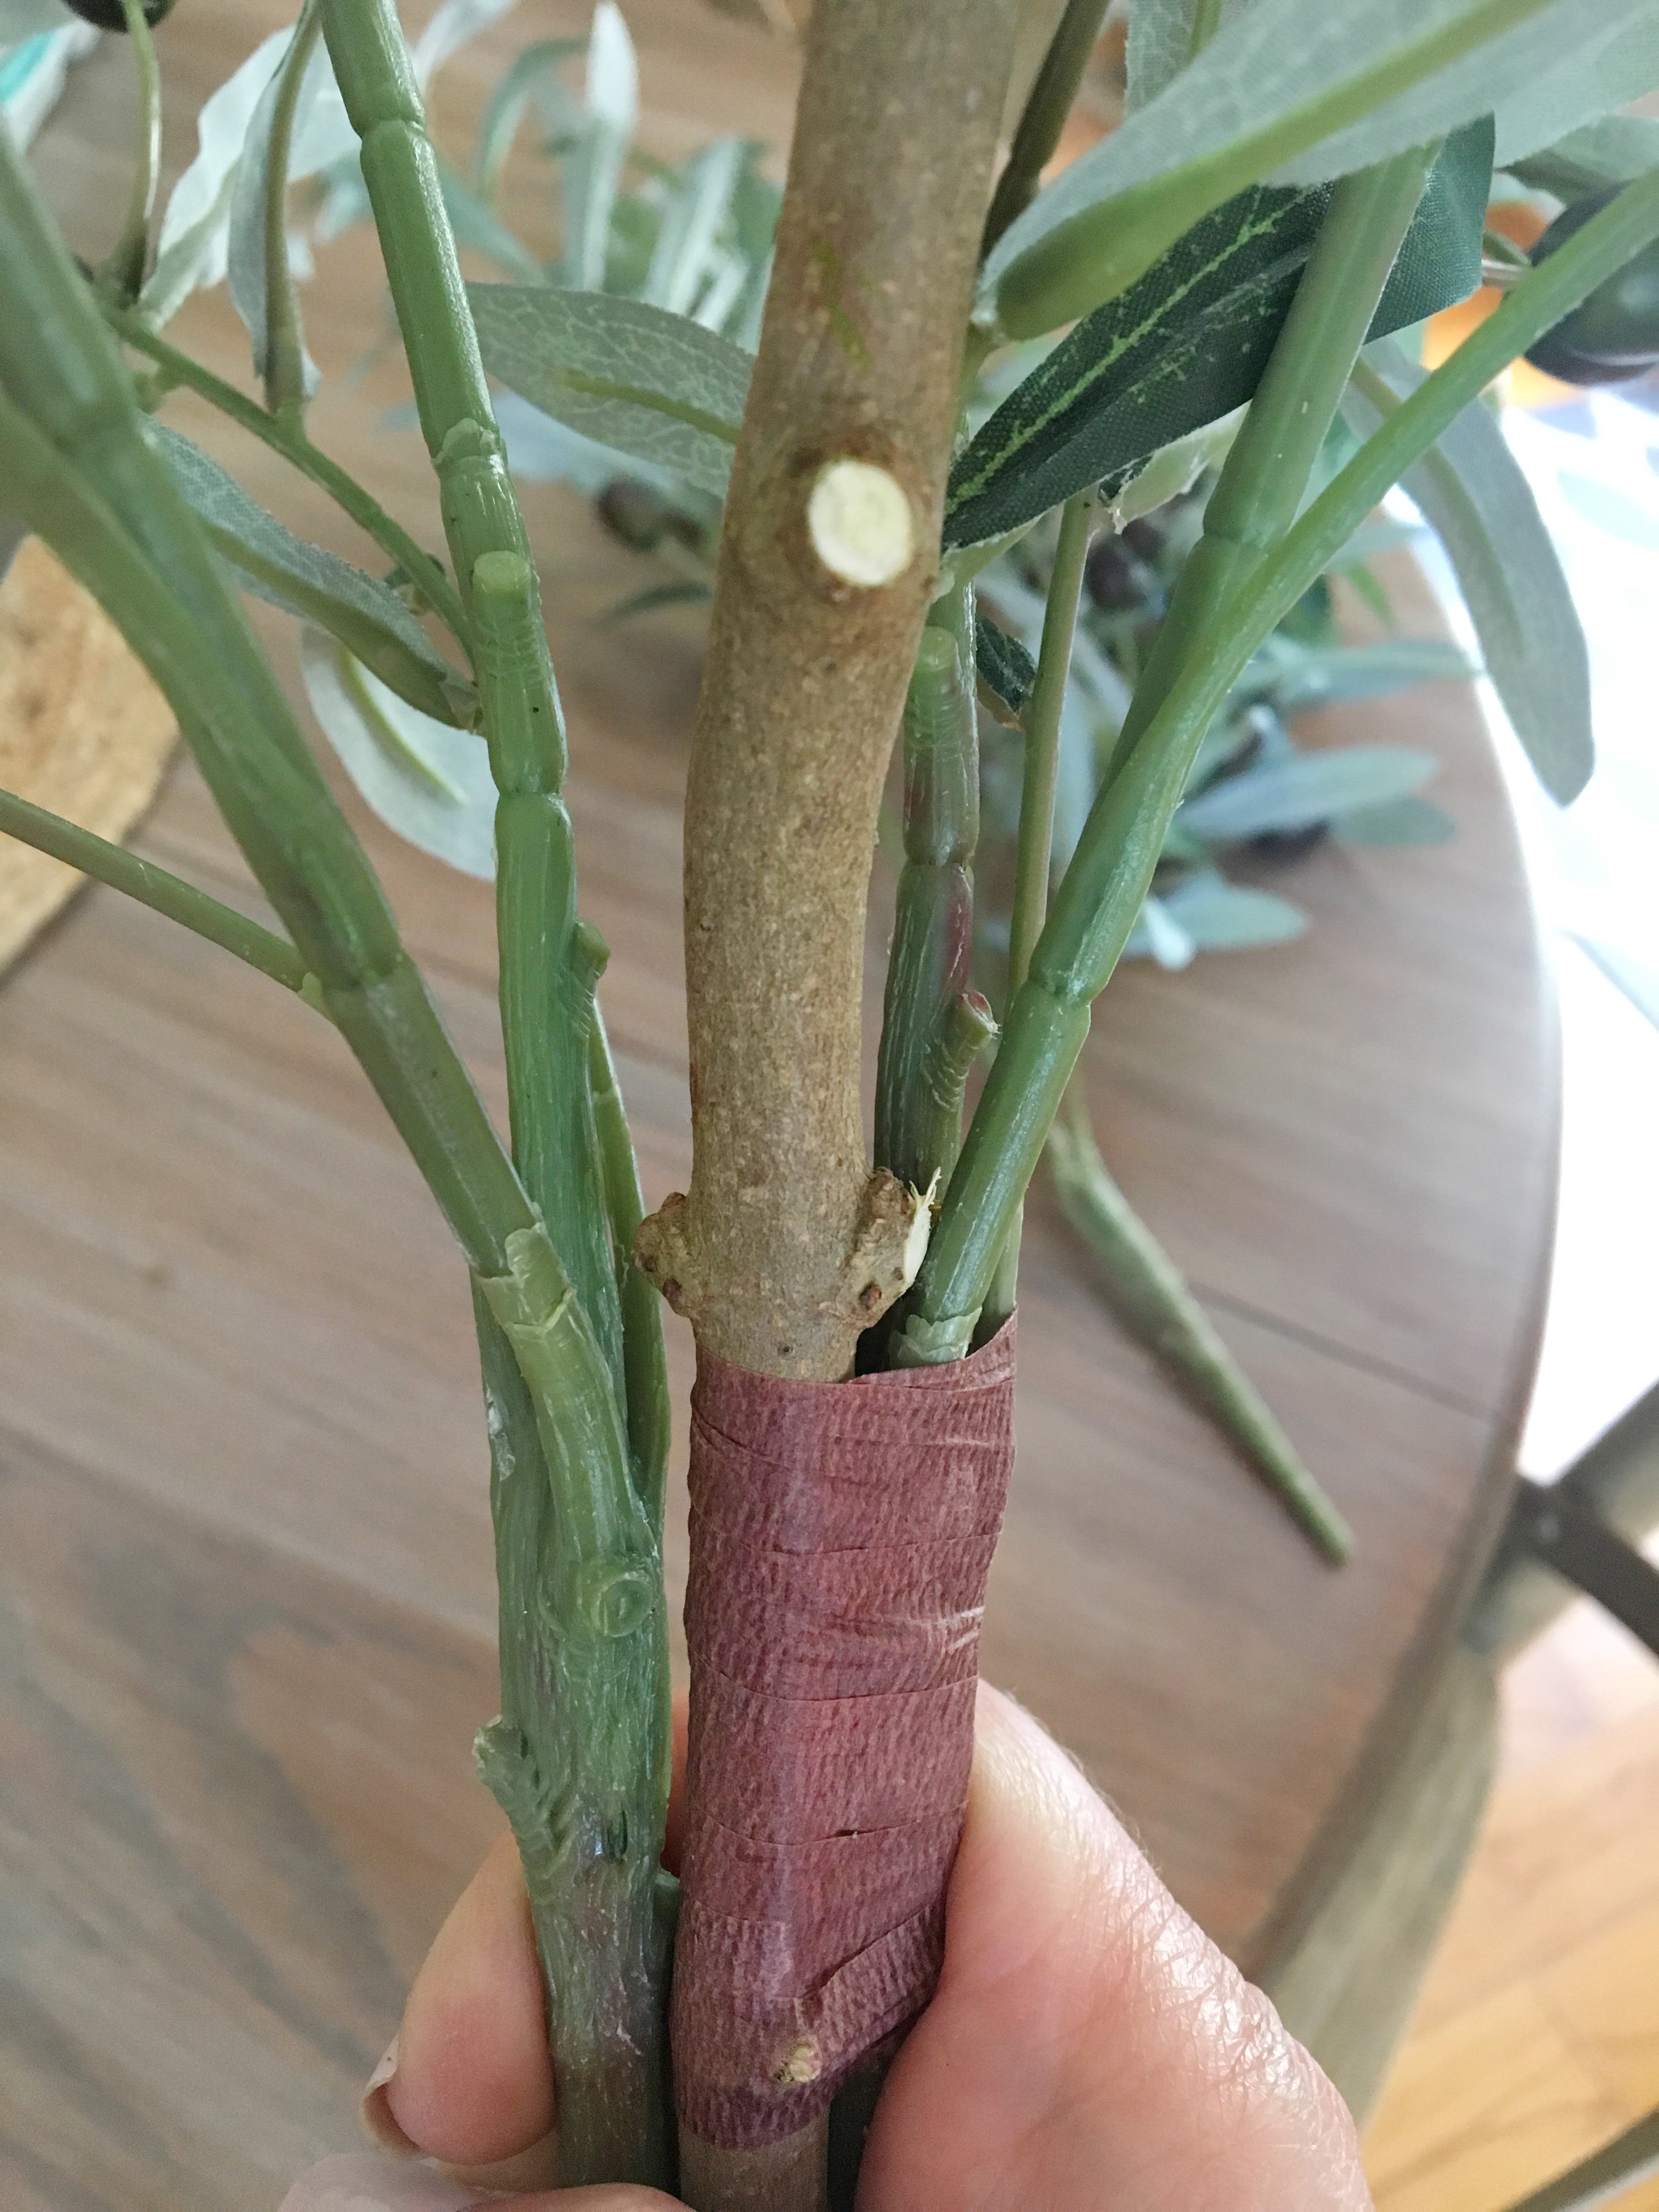
I took the first olive bush and lined it up on one side of the branch and began taping around the branch using brown floral tape.
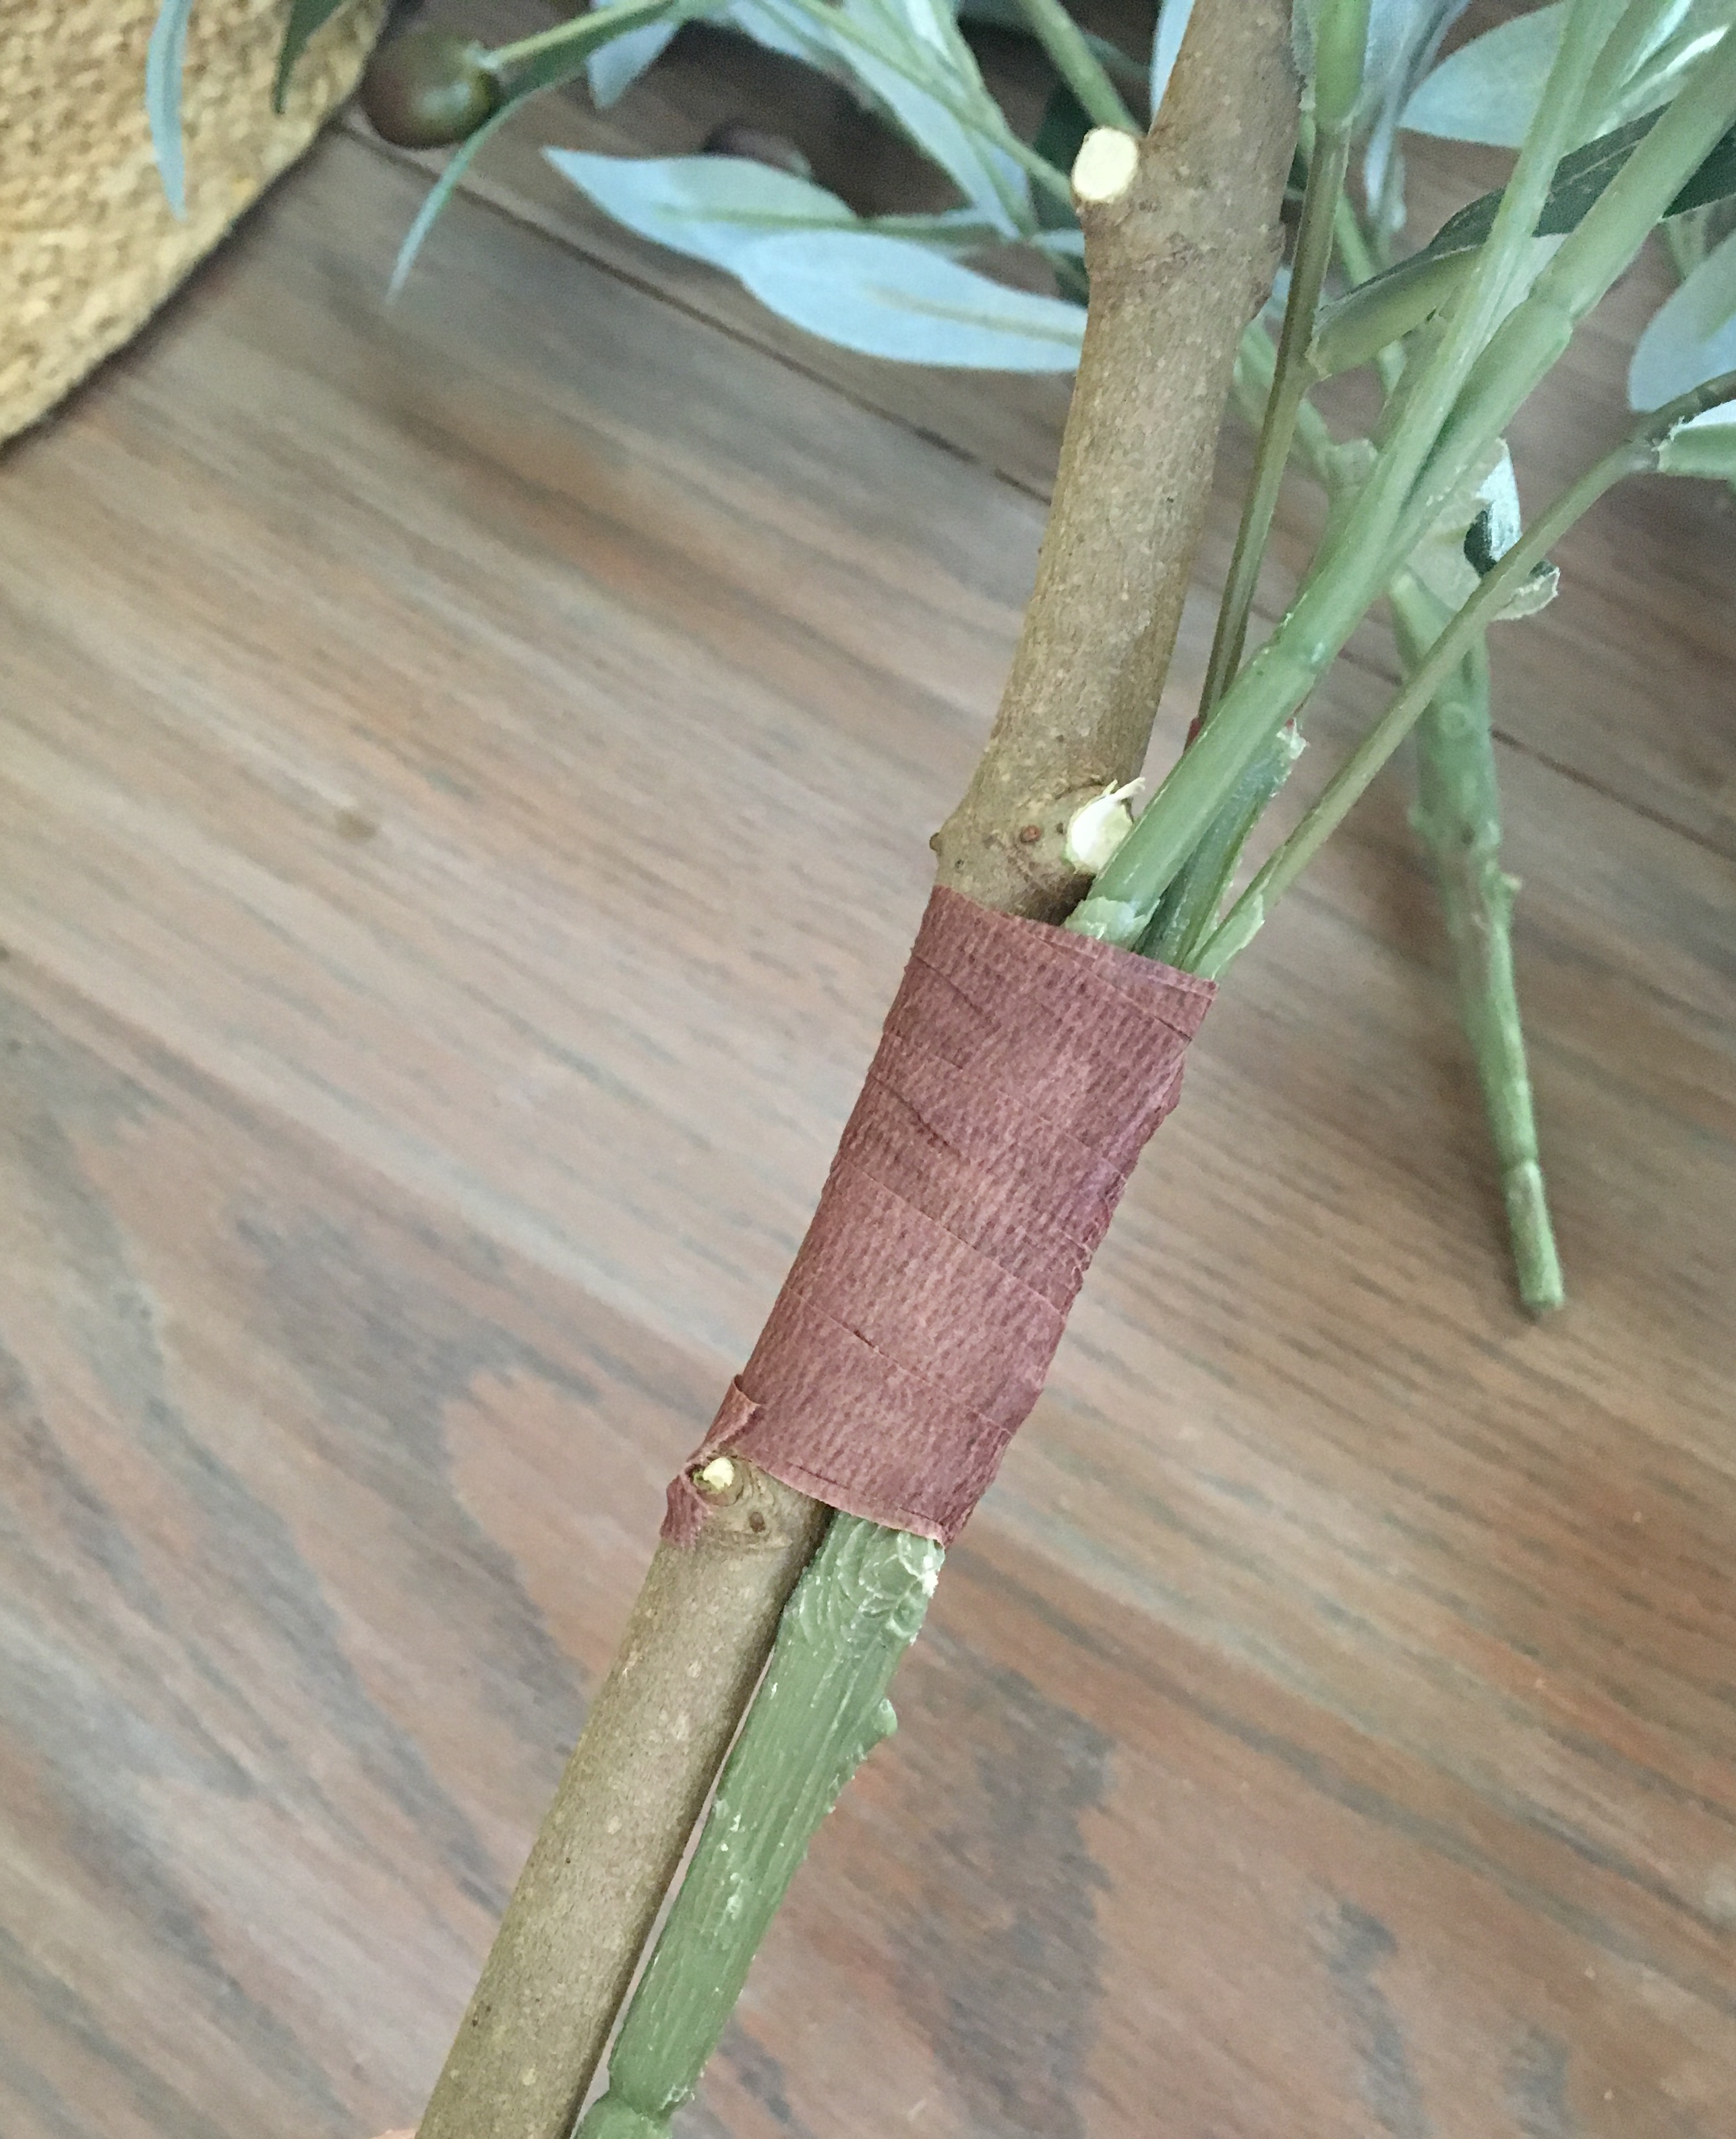
I lined another olive bush on the other sides and repeated the same process with the tape until all three branches were secure.

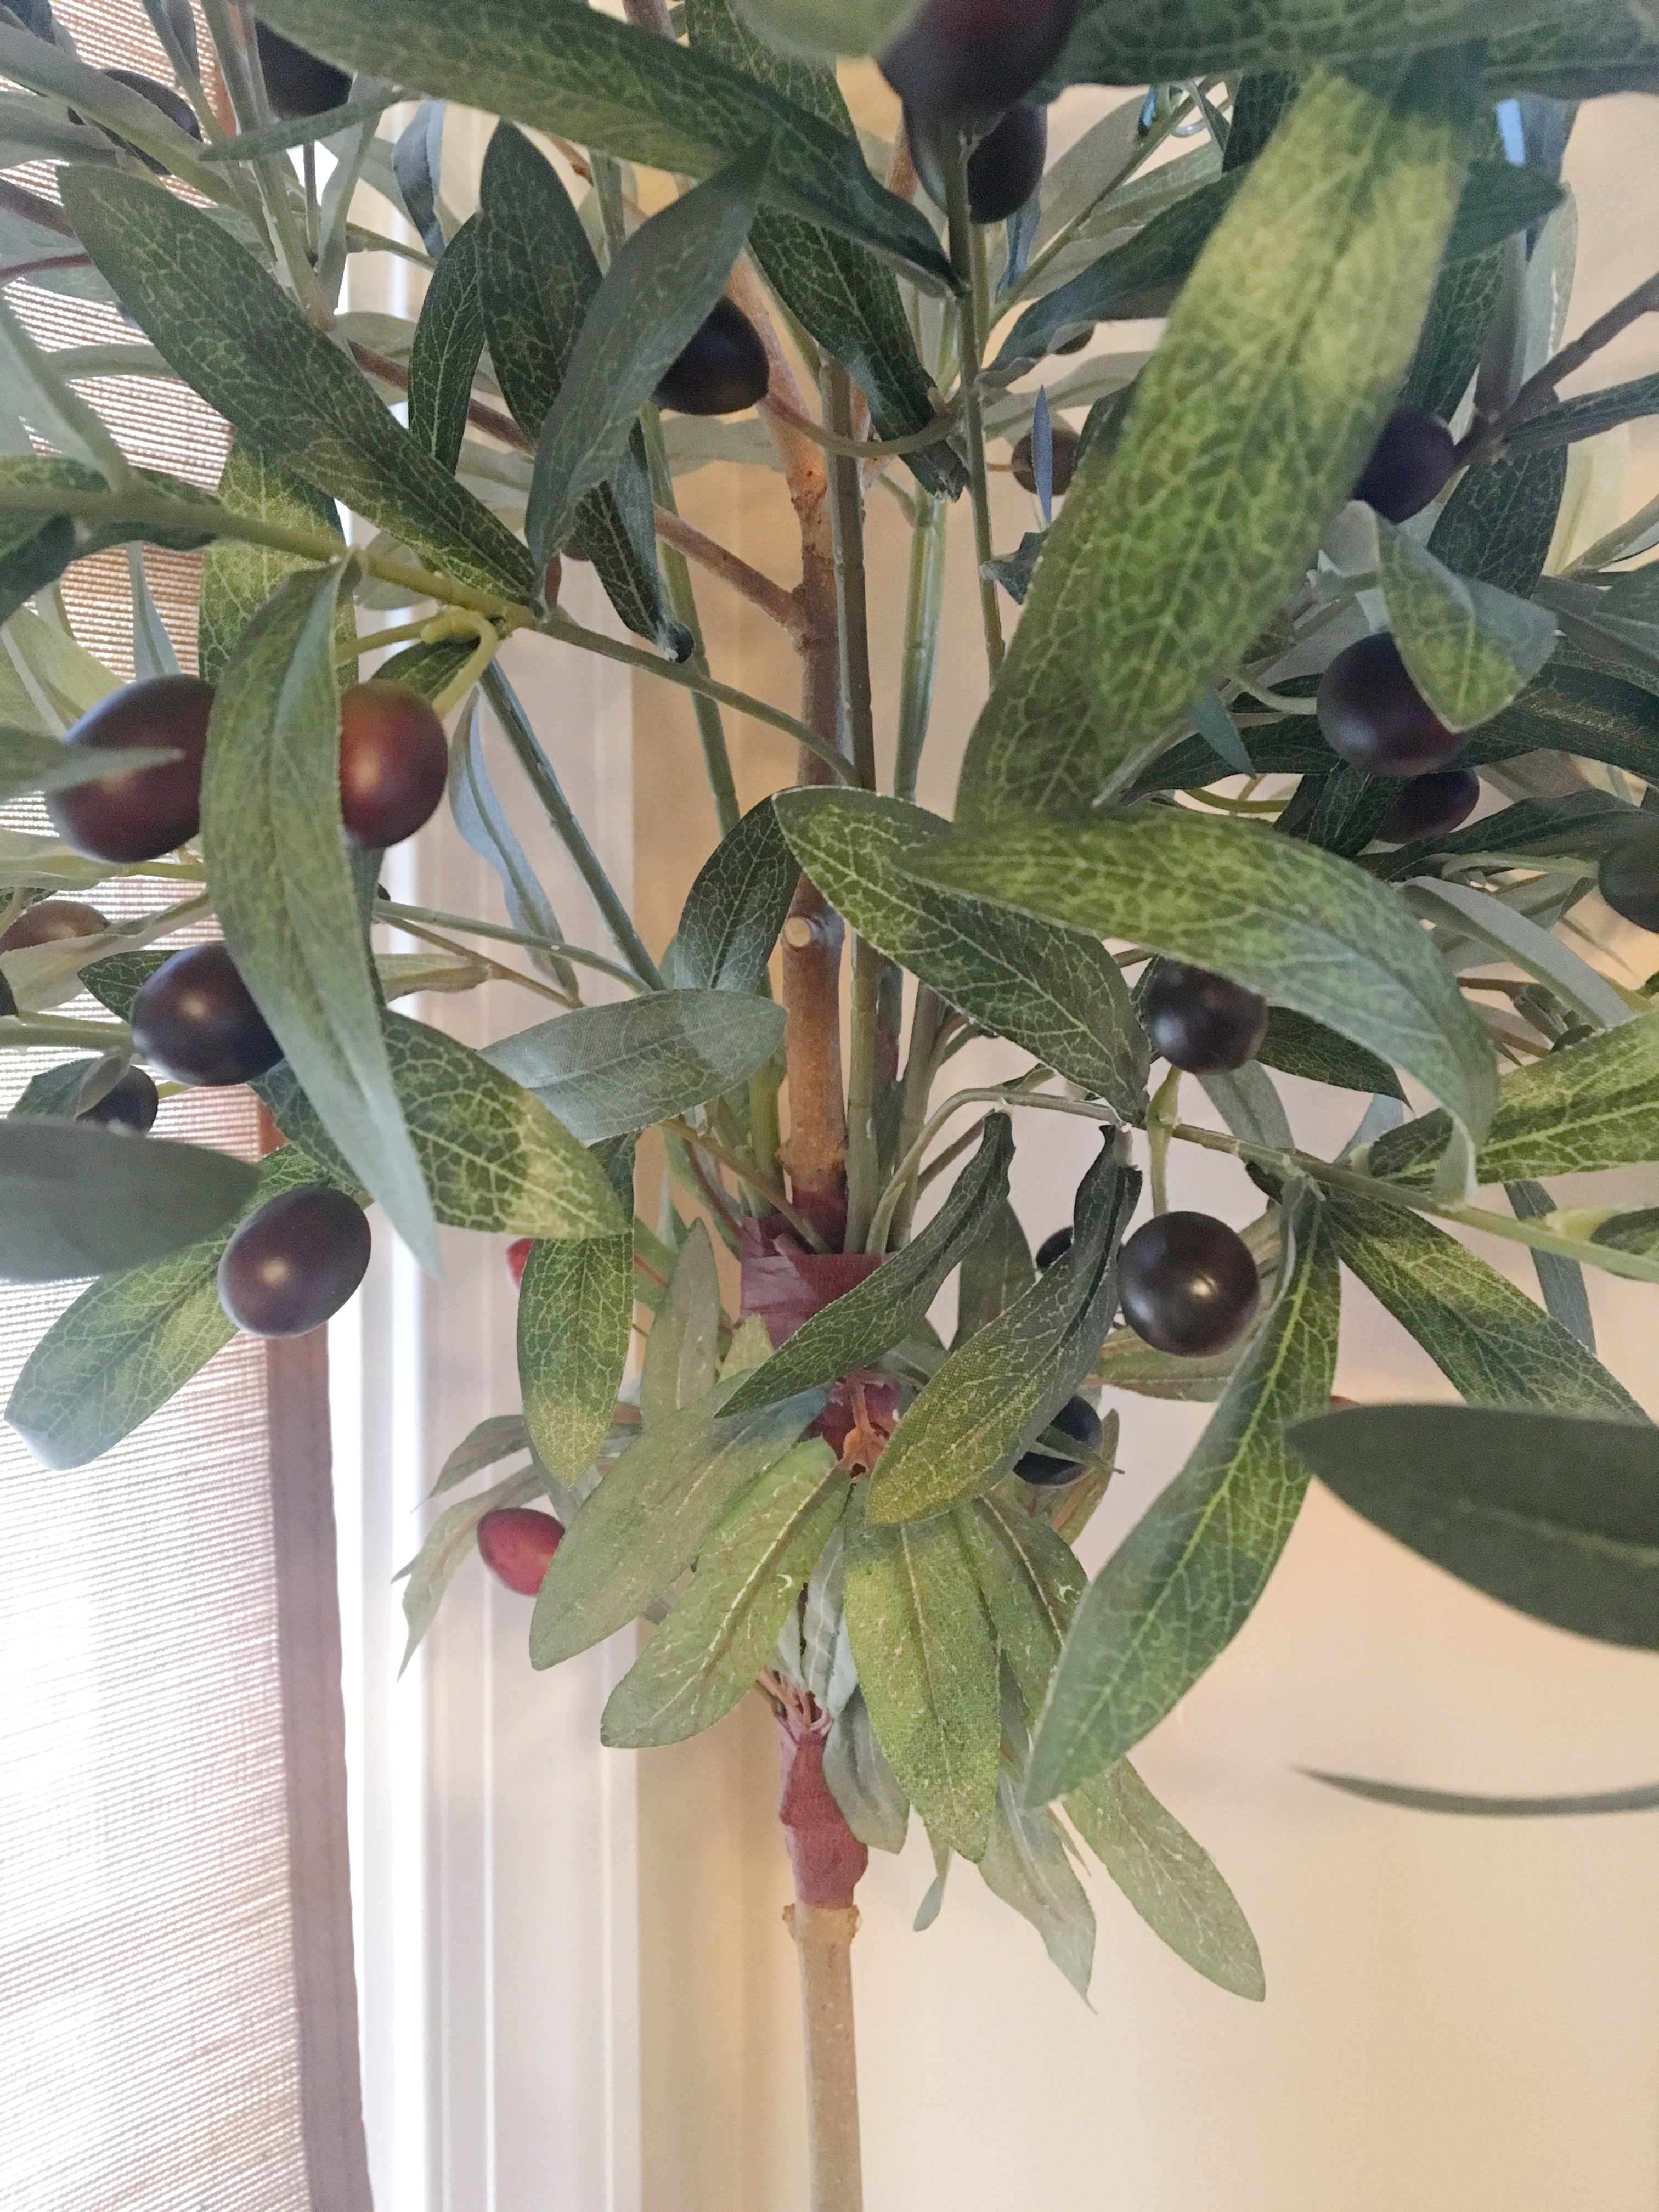
I snipped a few leaves from the bush to tape to the bottom to hide some of the tape.
That was it!!!
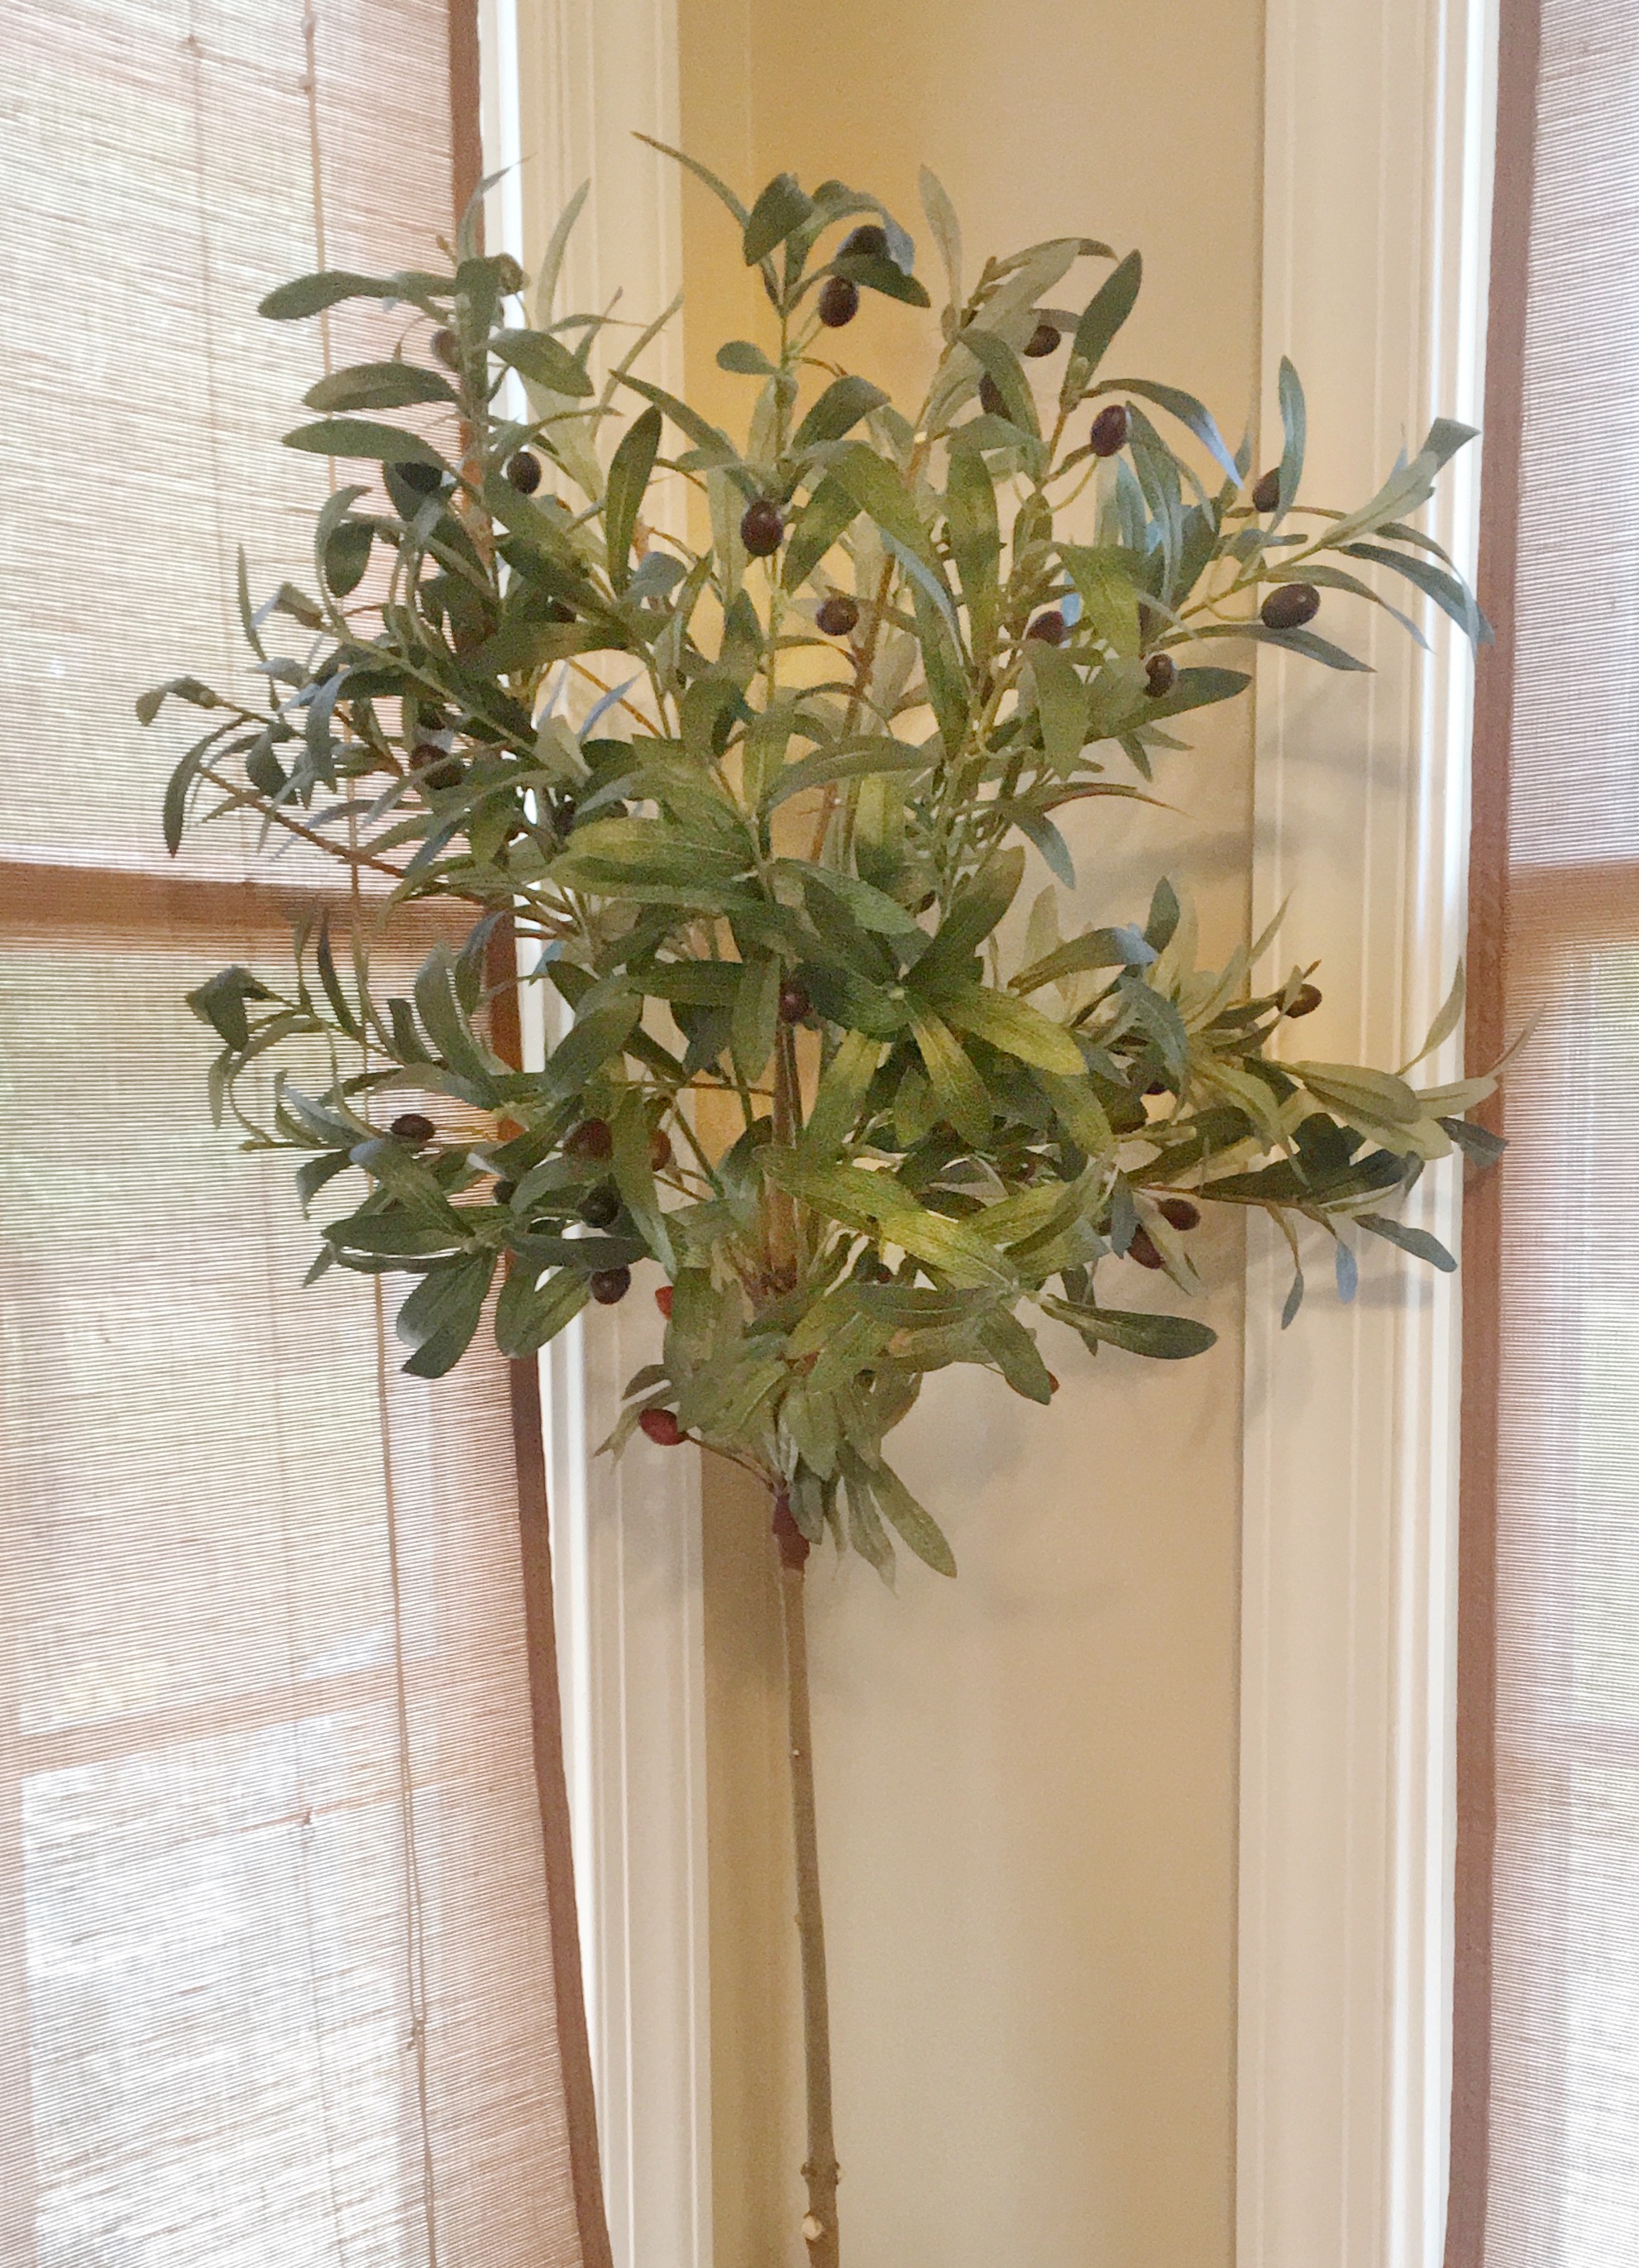
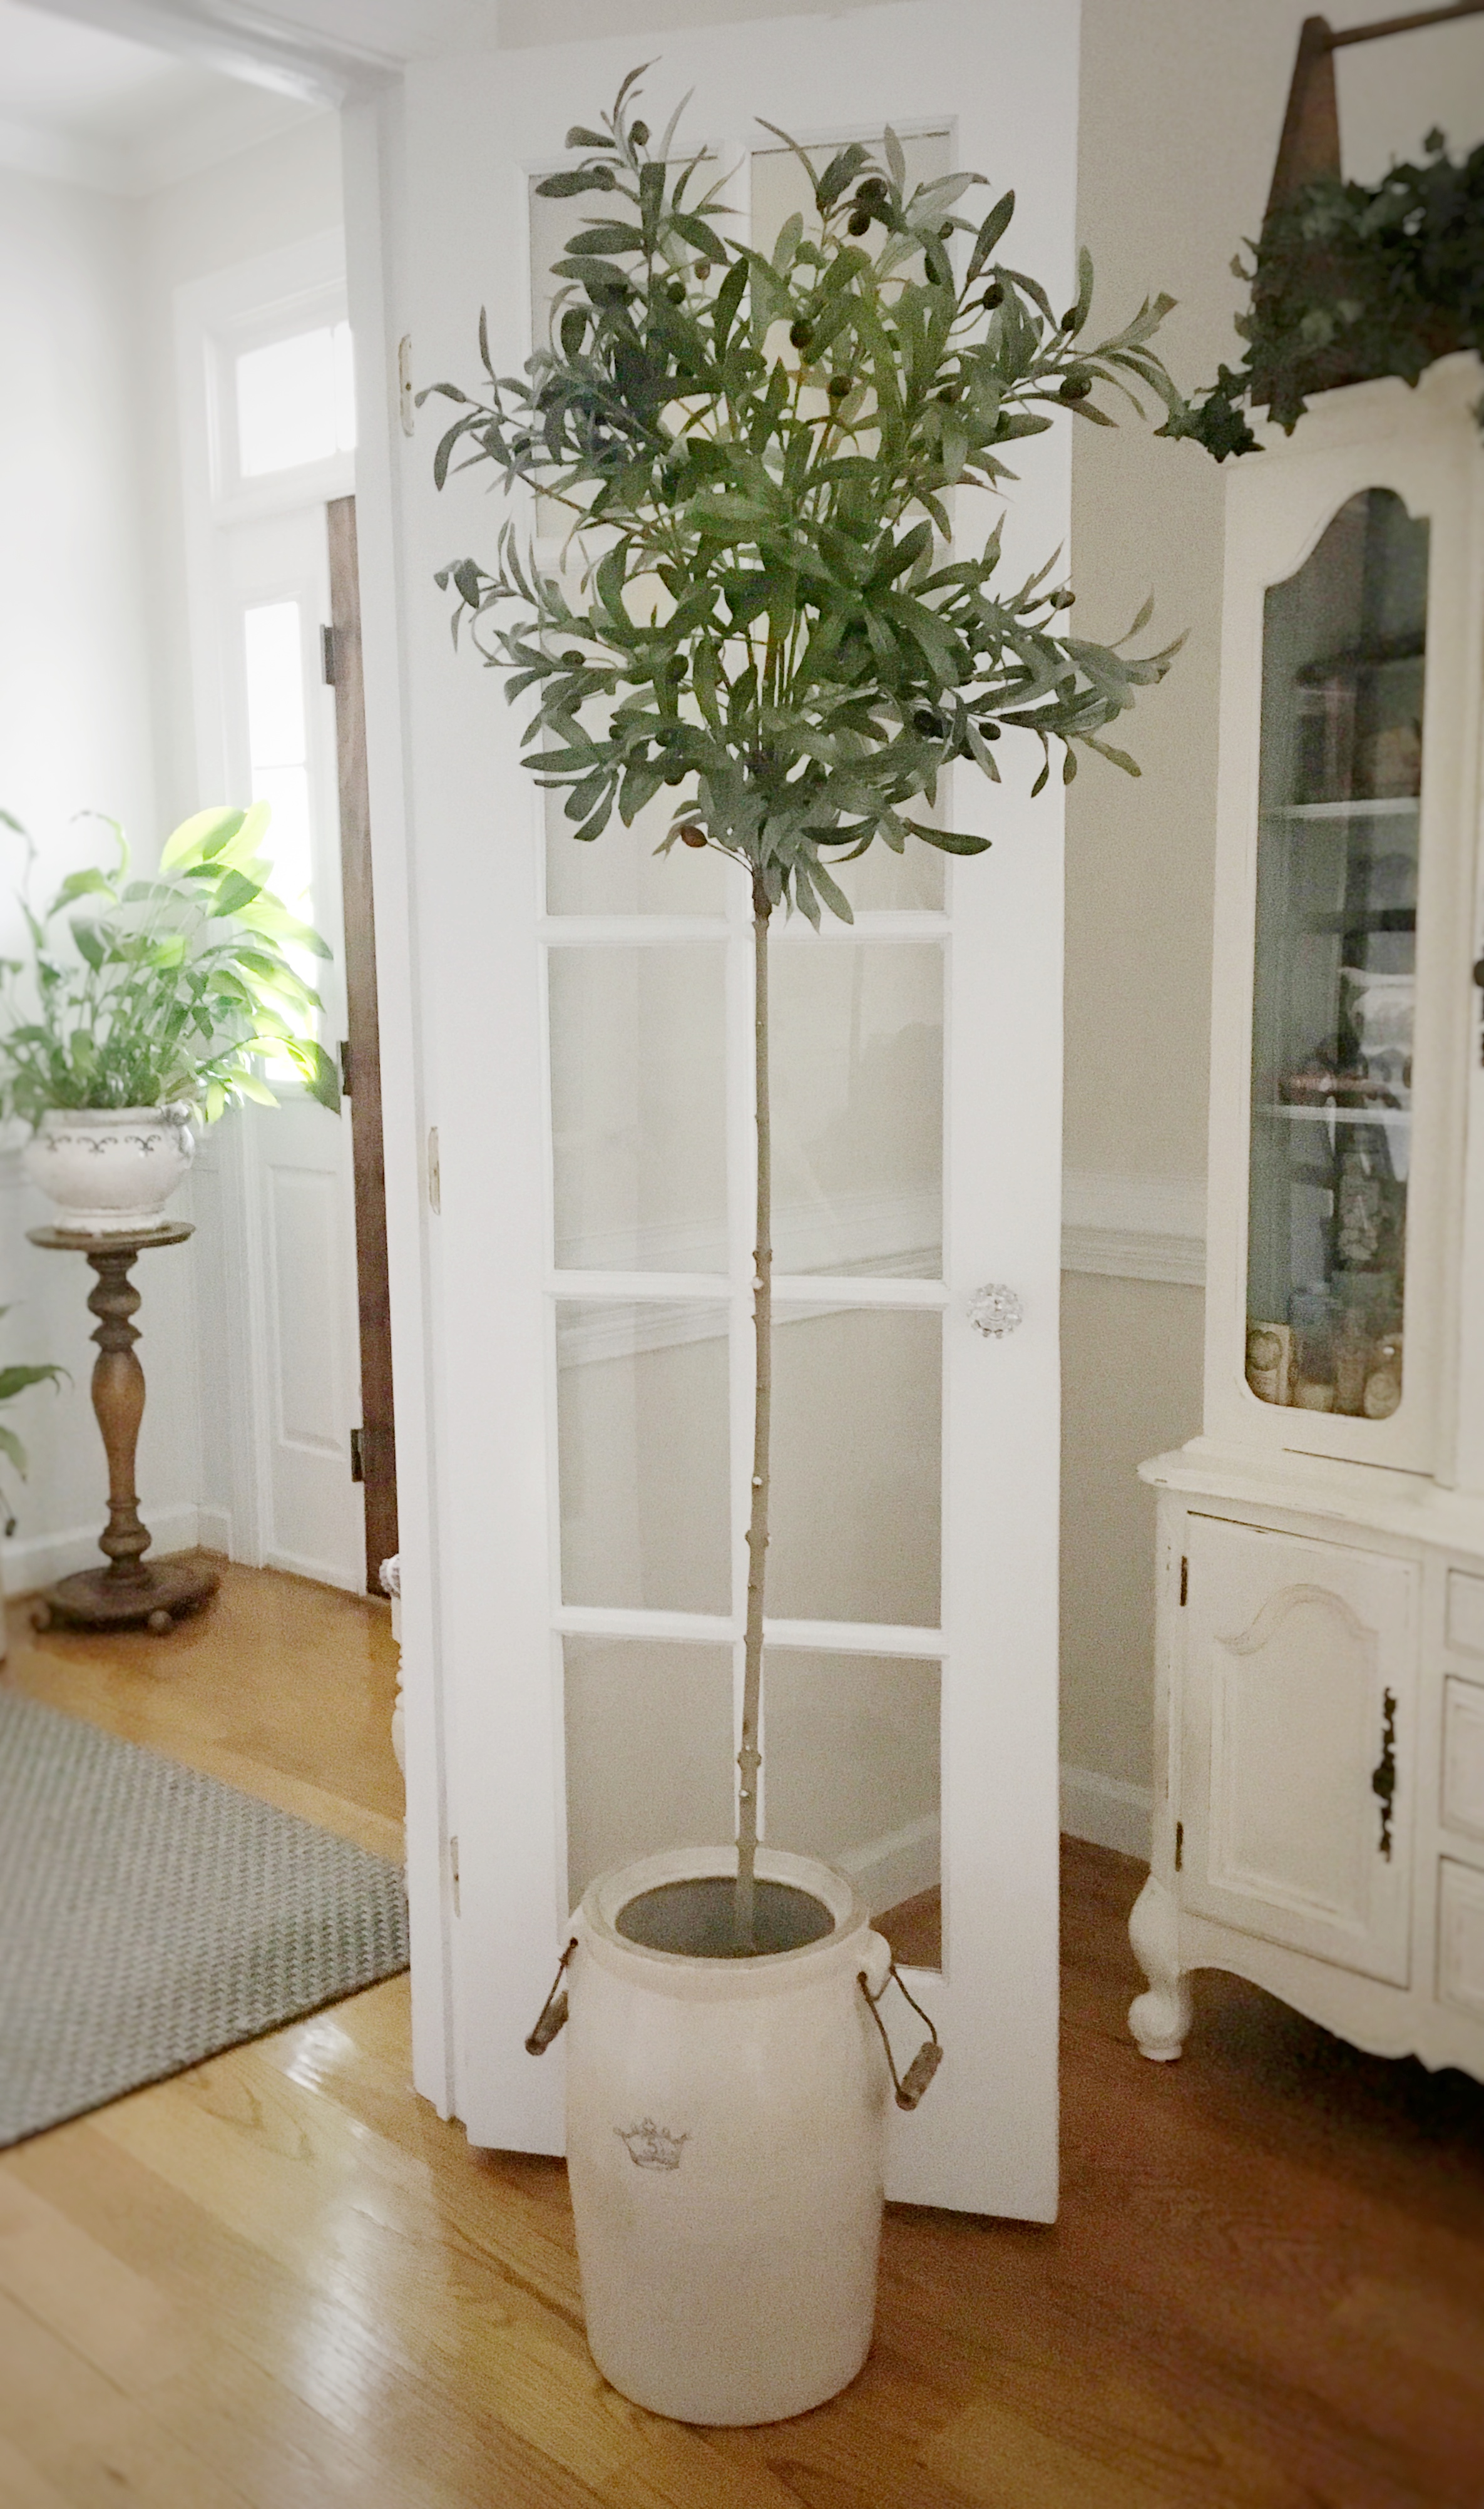
I put it in a tall jar filled with sand to hold it up and placed it in a vintage crock.

I’m still playing around with the height of it. It will depend on where I end up keeping it. It will be easy to cut it to size with a pair of pruners but I’m kind of liking the tall version for now. I’m also thinking of making a couple more in different sizes.
The total project was less than $20 and I know I can’t kill this one which that in itself is a win!!!
Hope you all have a fabulous week and thanks for stopping by! It means the world to me!!!
![]()