
The Coffee Table Reveal
Hello Friends! I’m back today with the big coffee table reveal. Last week I shared how we turned a thrift store coffee table into a coffee table with farmhouse flair. If you missed it, you can read it here.
Today I’m sharing how we, and when I say we, I mean I, put the finishing touches on our table. The building of our projects are usually a group effort but when it comes to finishing it, that’s usually my cup of tea.
Now that the new top was put on, it was time to make it look old. That sounds a little counterproductive that I would take an old top off to put a new top on and make it look old. That’s how we roll around here.
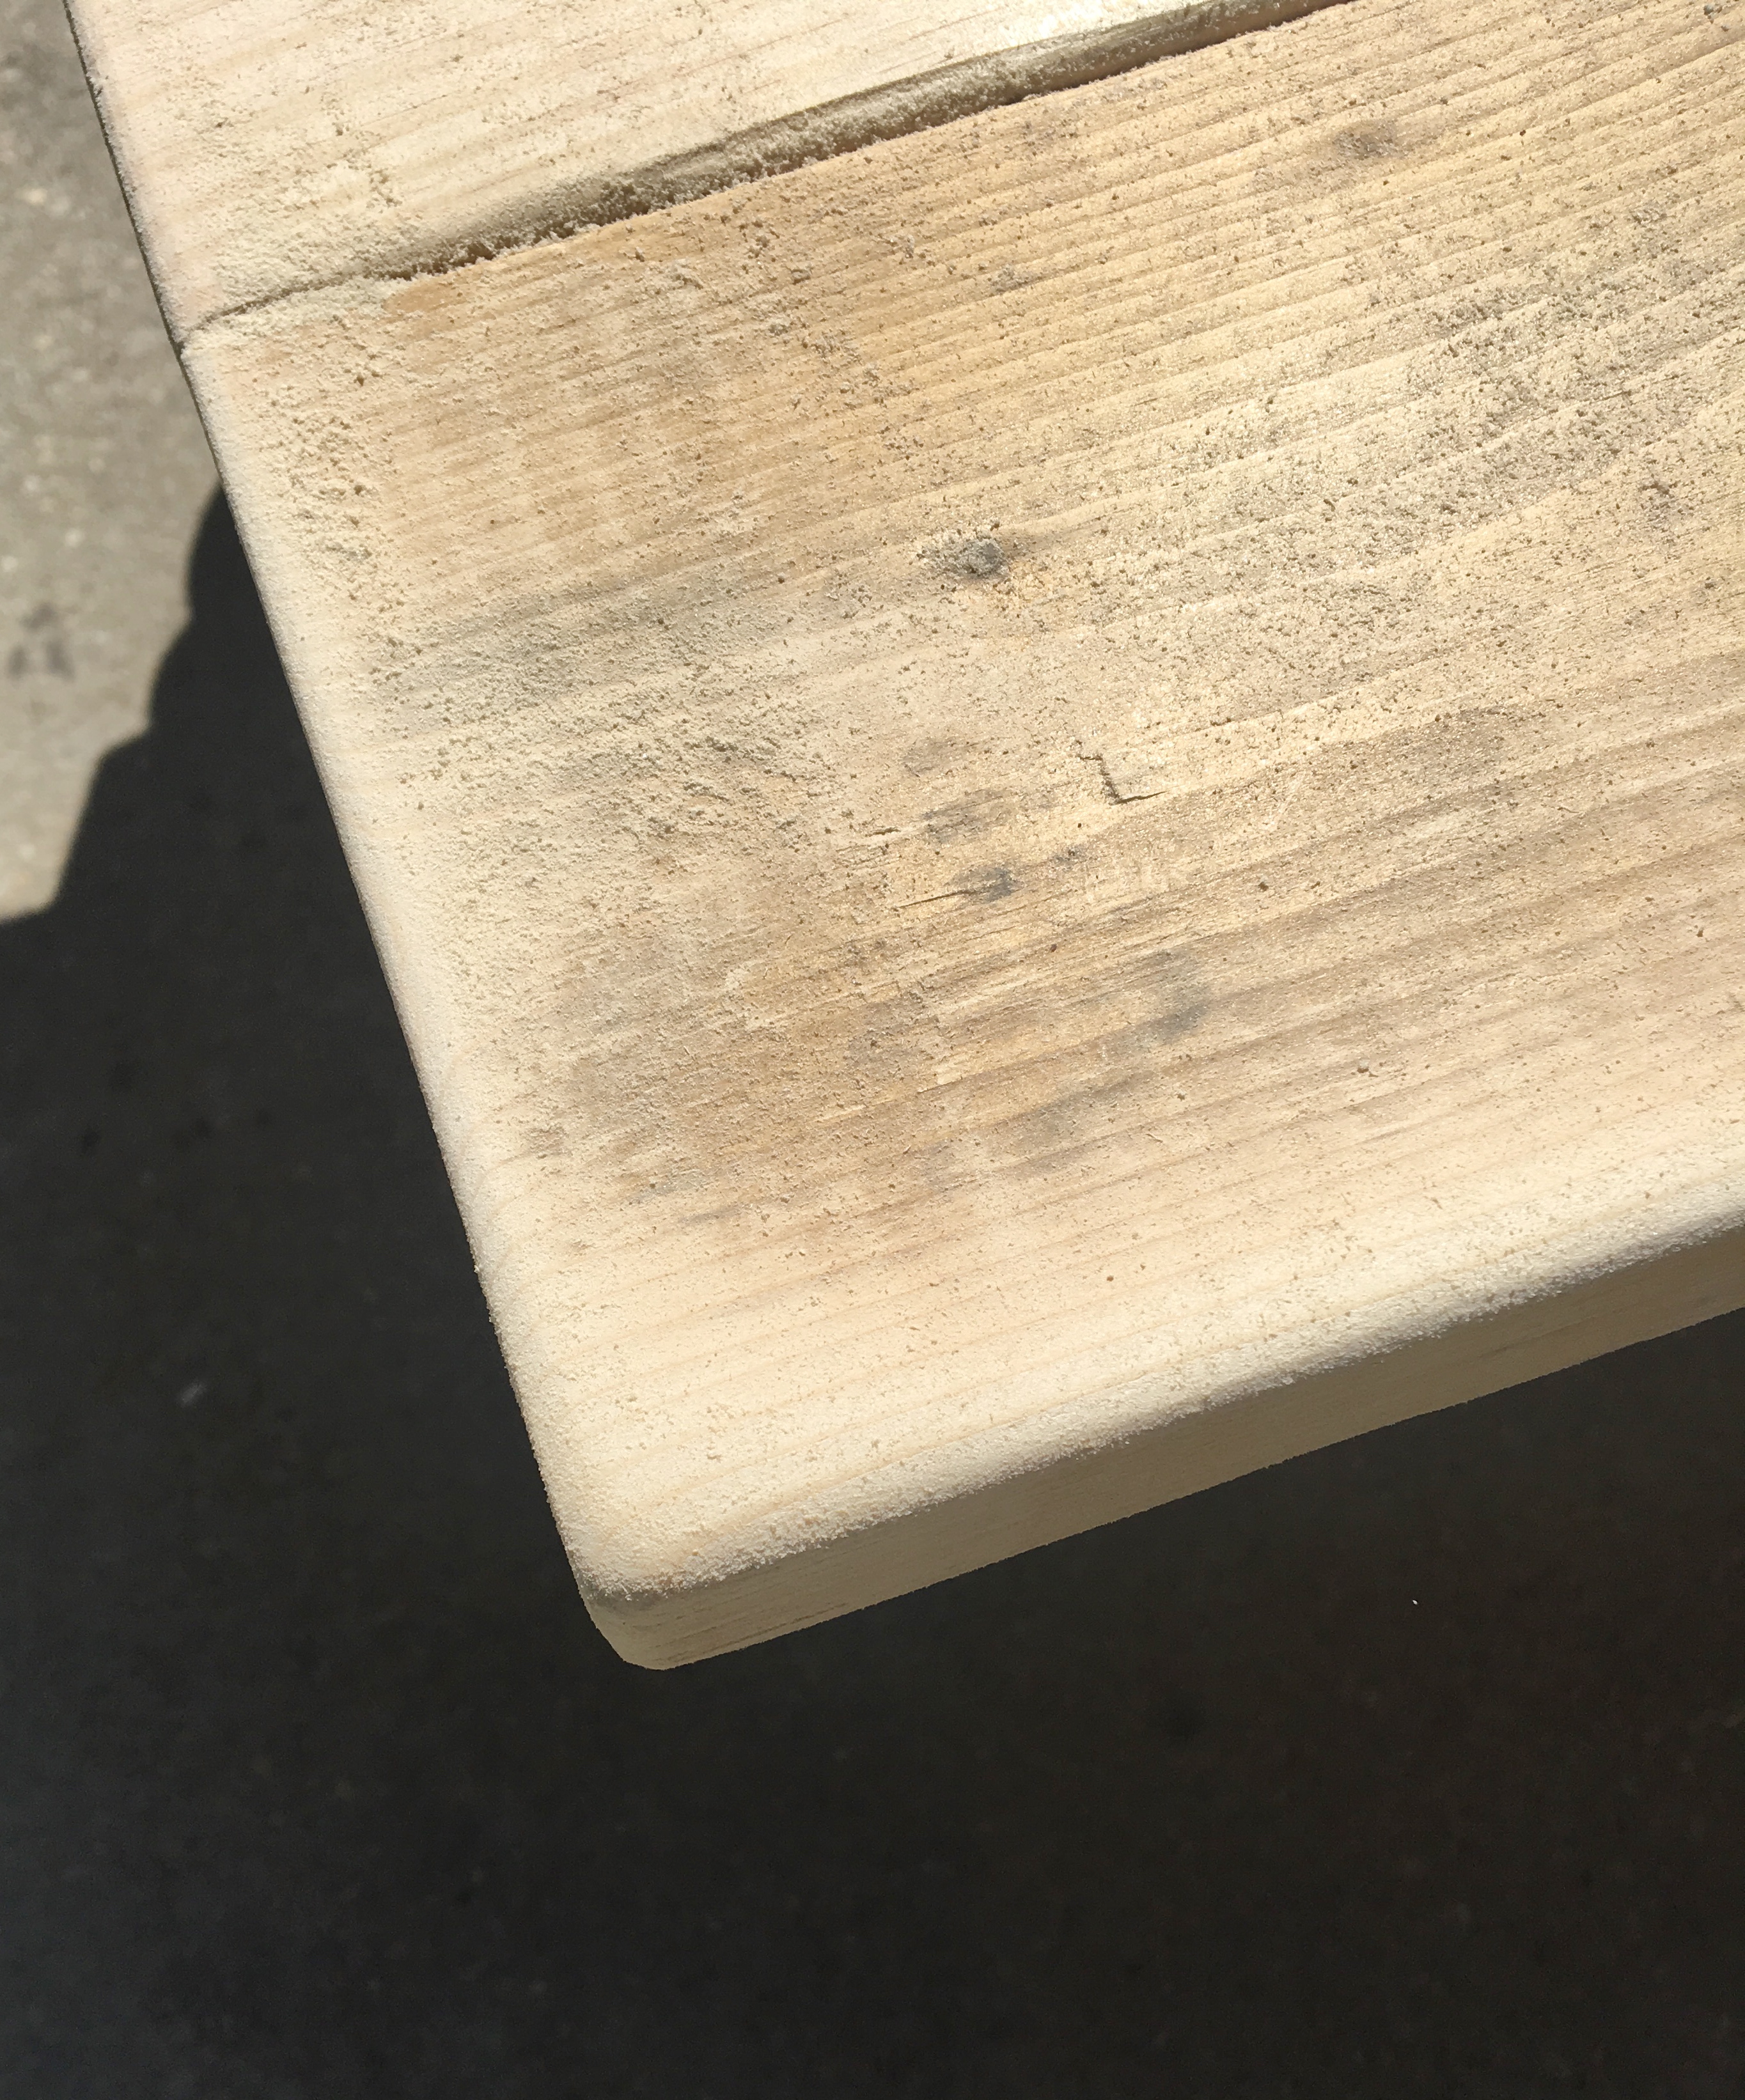
I started out by sanding all the edges of the table top to make it look like it was worn over time. I also gave the whole top and the underside of the edges a light sanding to get rid of any splinters.
Now for the fun part which usually makes my husband and dad cringe…I beat the heck out of it! I use various tools such as hammers and different sized flat head screw drivers to add dinks and divots to the wood.This gives it a look like it has been well used over the years.

I use an awl to poke holes in it to resemble worm holes. I even used old weights from barbells to drop on it to create marks.
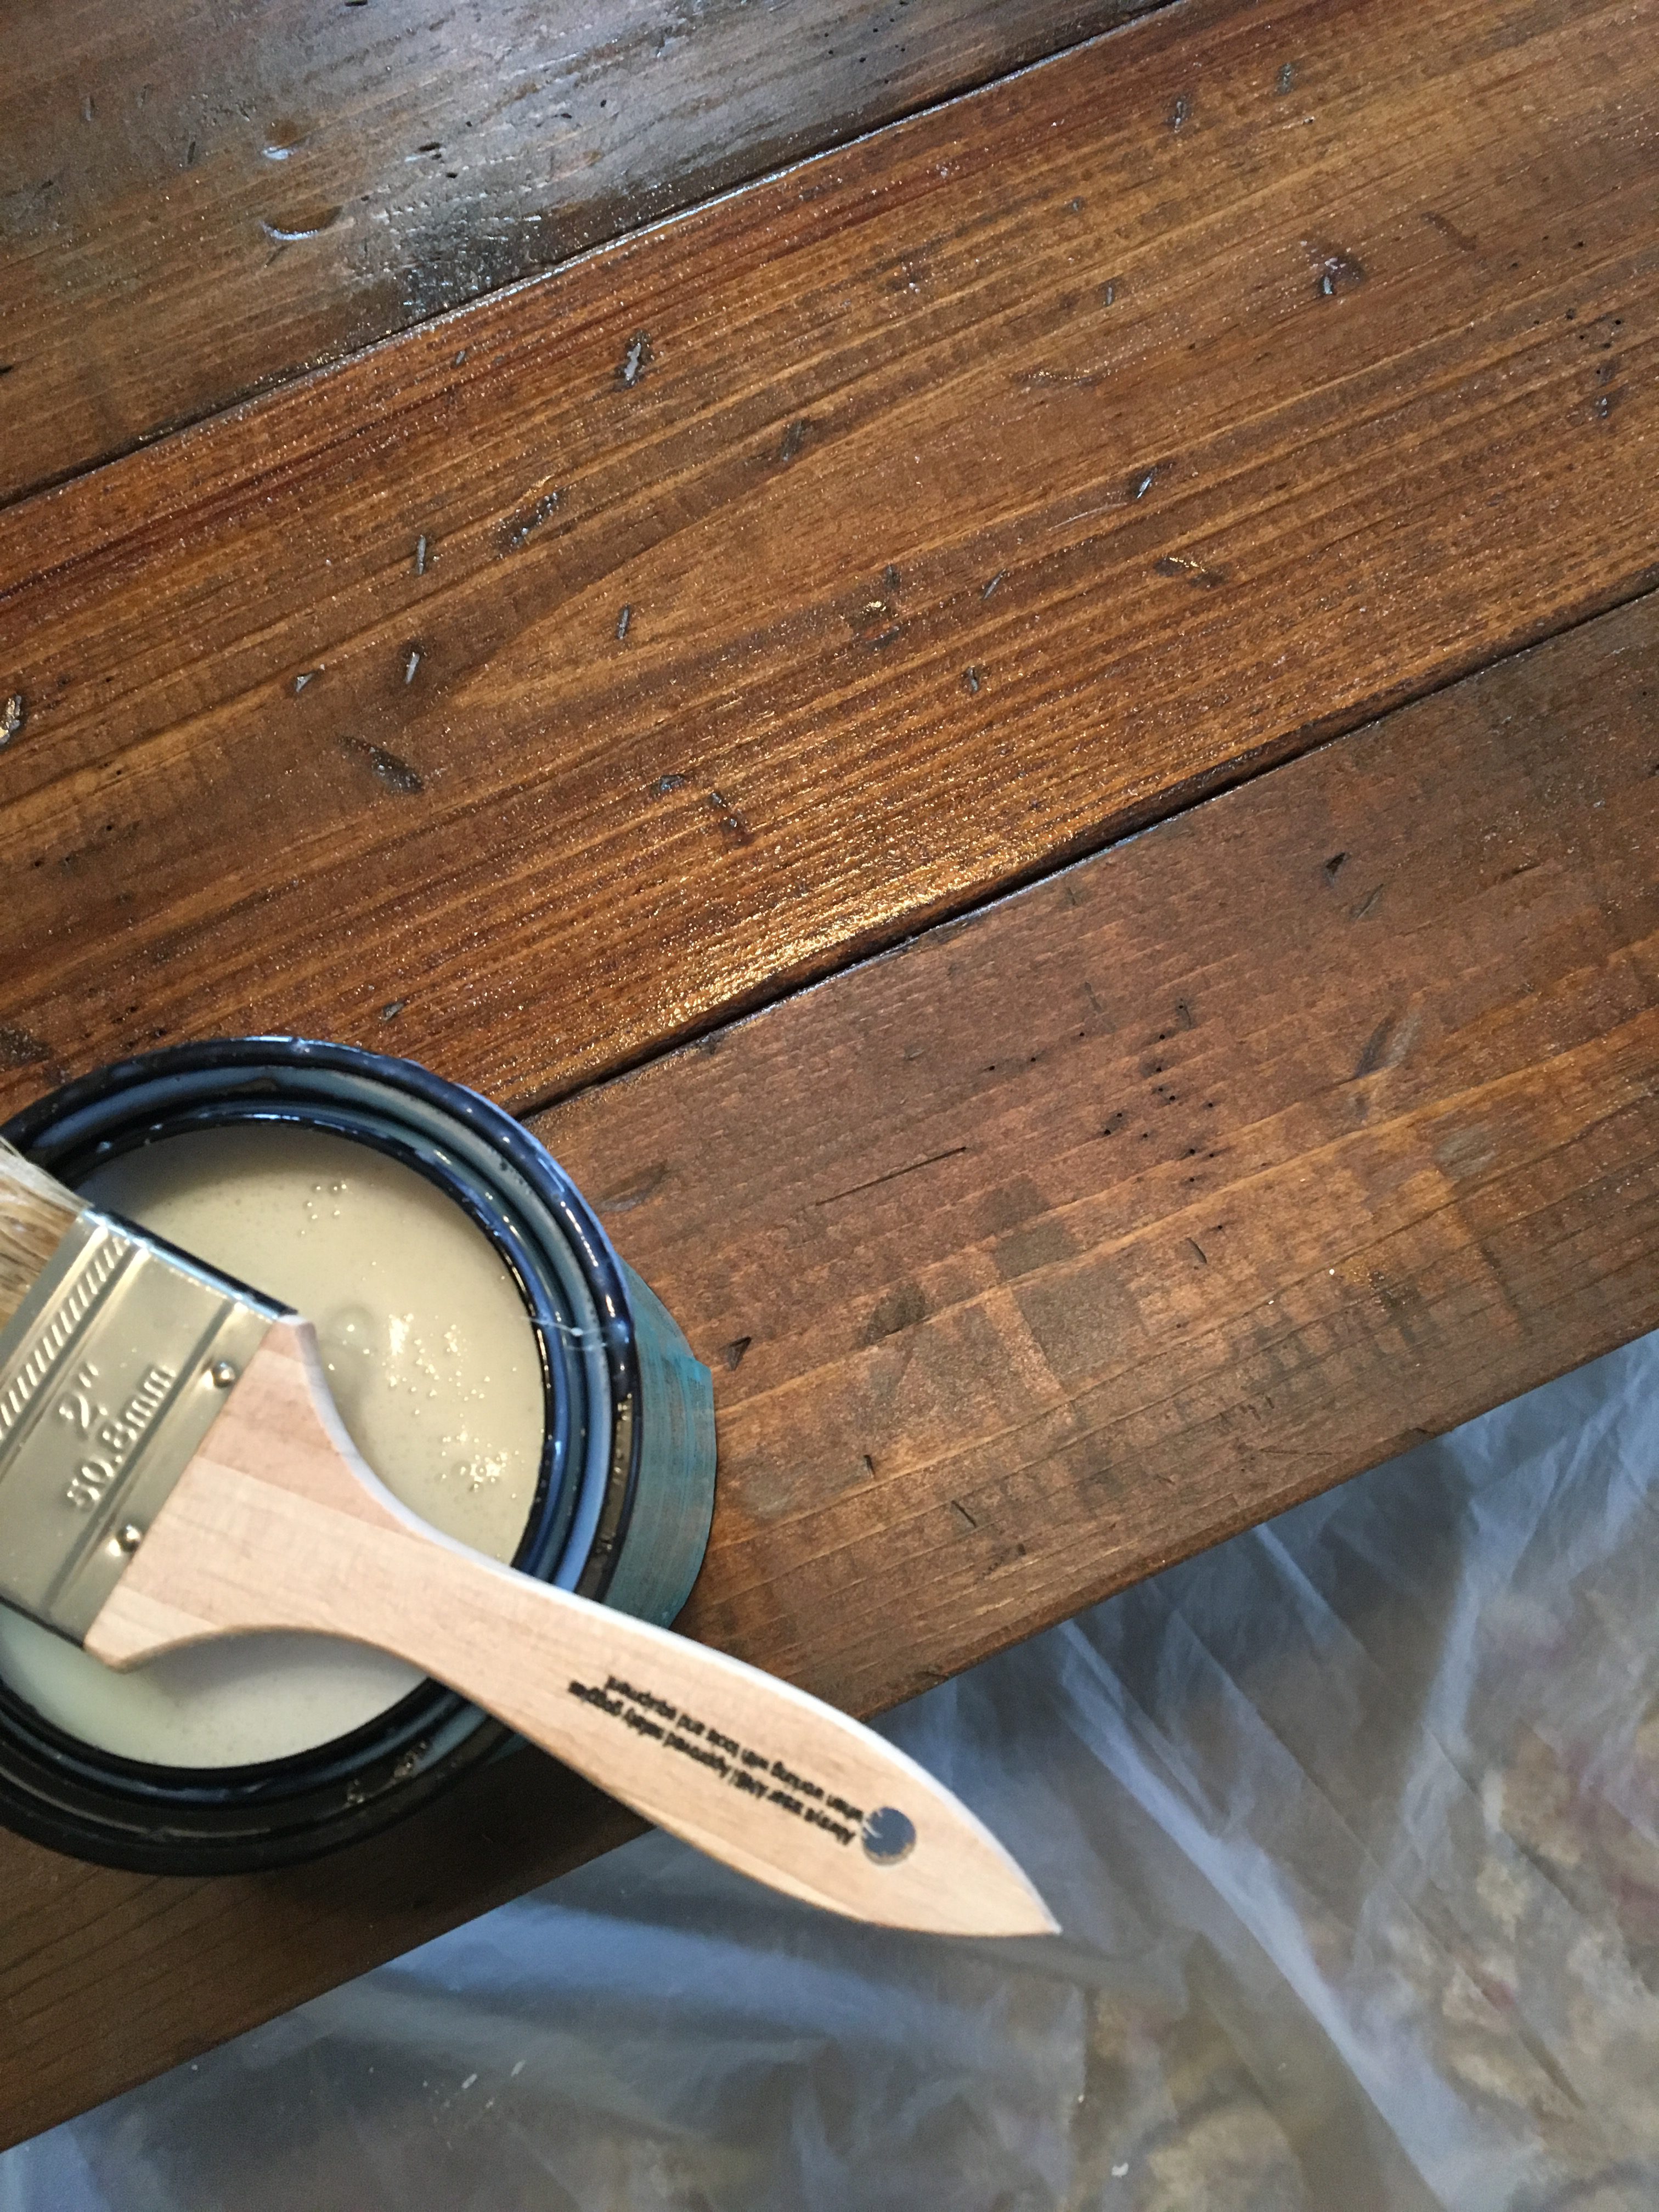
Once I’m happy with the distressed look, I brush on some stain making sure that it gets into all the crevices that I created.
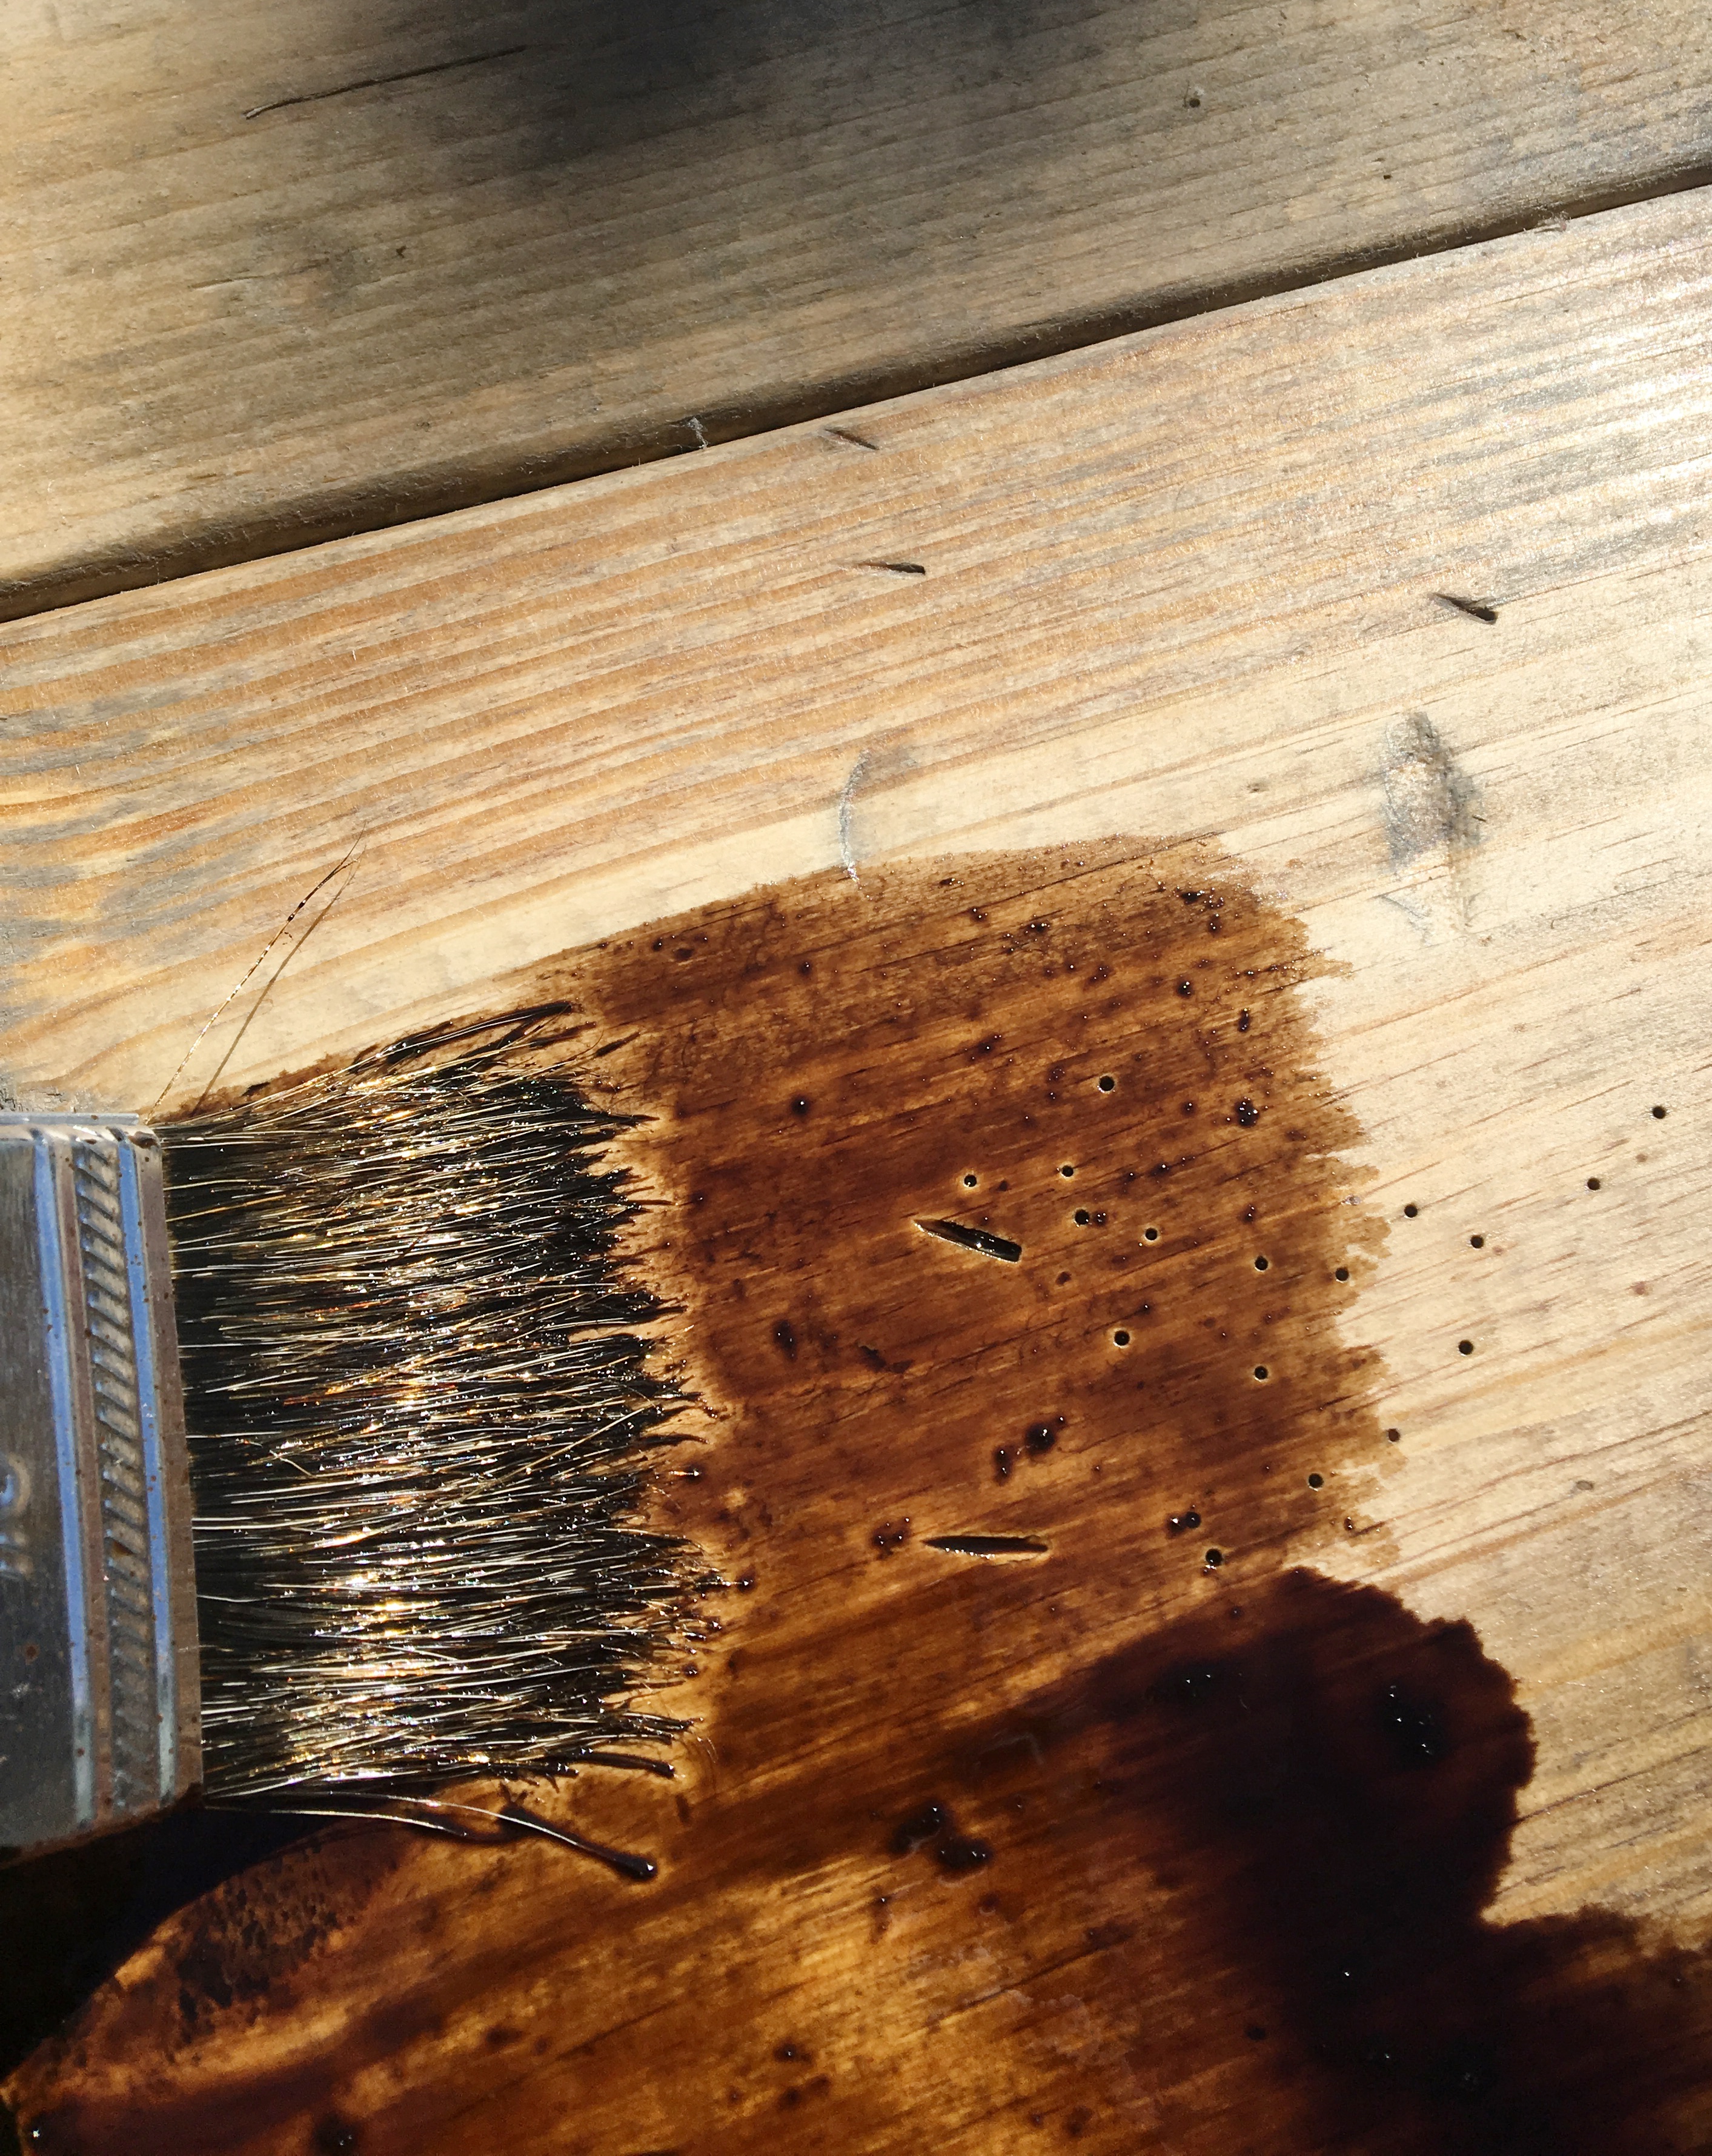
I let it set for just a few seconds and wipe it off with a clean towel.
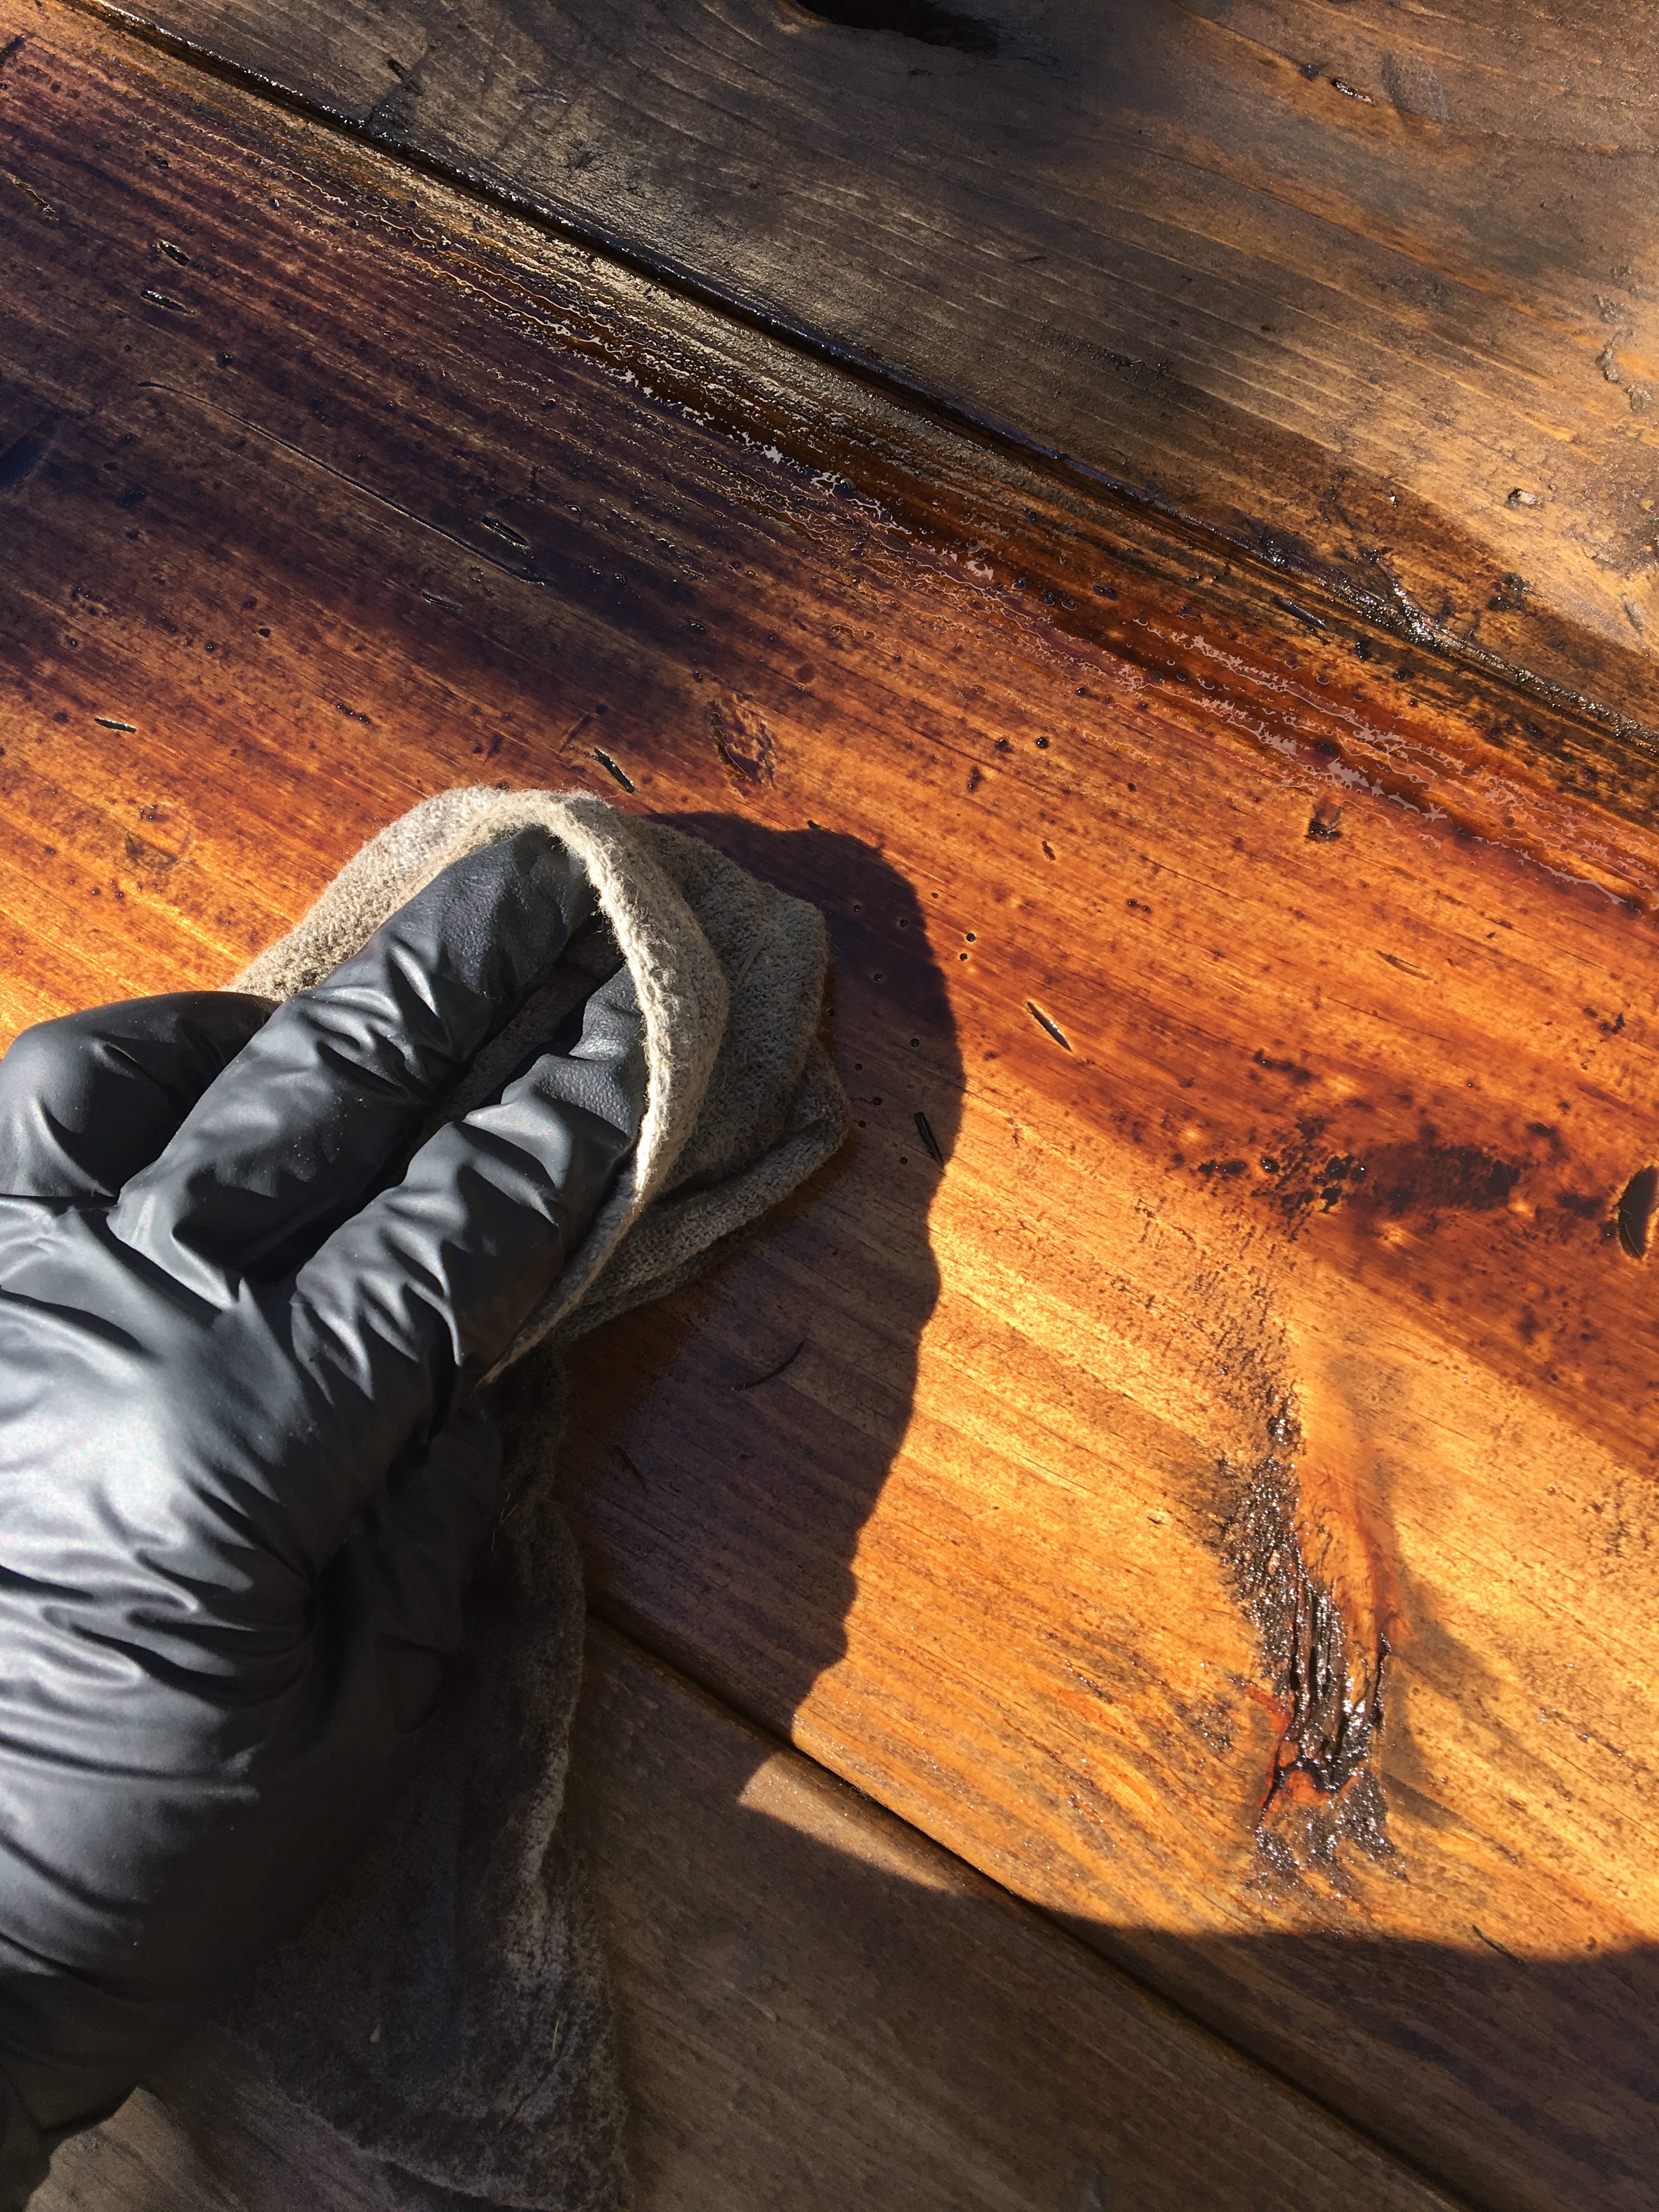
All the stain that settles into the divots make it stand out. I used Minwax stain in Provincial.
Now it’s time to paint the bottom of the table. I wanted to try something that I had never tried before on a big piece of furniture. I chose Miss Mustard Seed milk paint in the color farmhouse white. There are other brands out there but this is the one that I found locally and I also wanted to support Marian, Miss Mustard Seed herself. She’s pretty awesome. If you don’t follow her, you should. She’s crazy talented and full of inspiration. You can check her out here. I also chose this brand because my sweet cousin surprised me with a package full of sample size packets of MMS milk paint that I had used on smaller projects and was hooked!
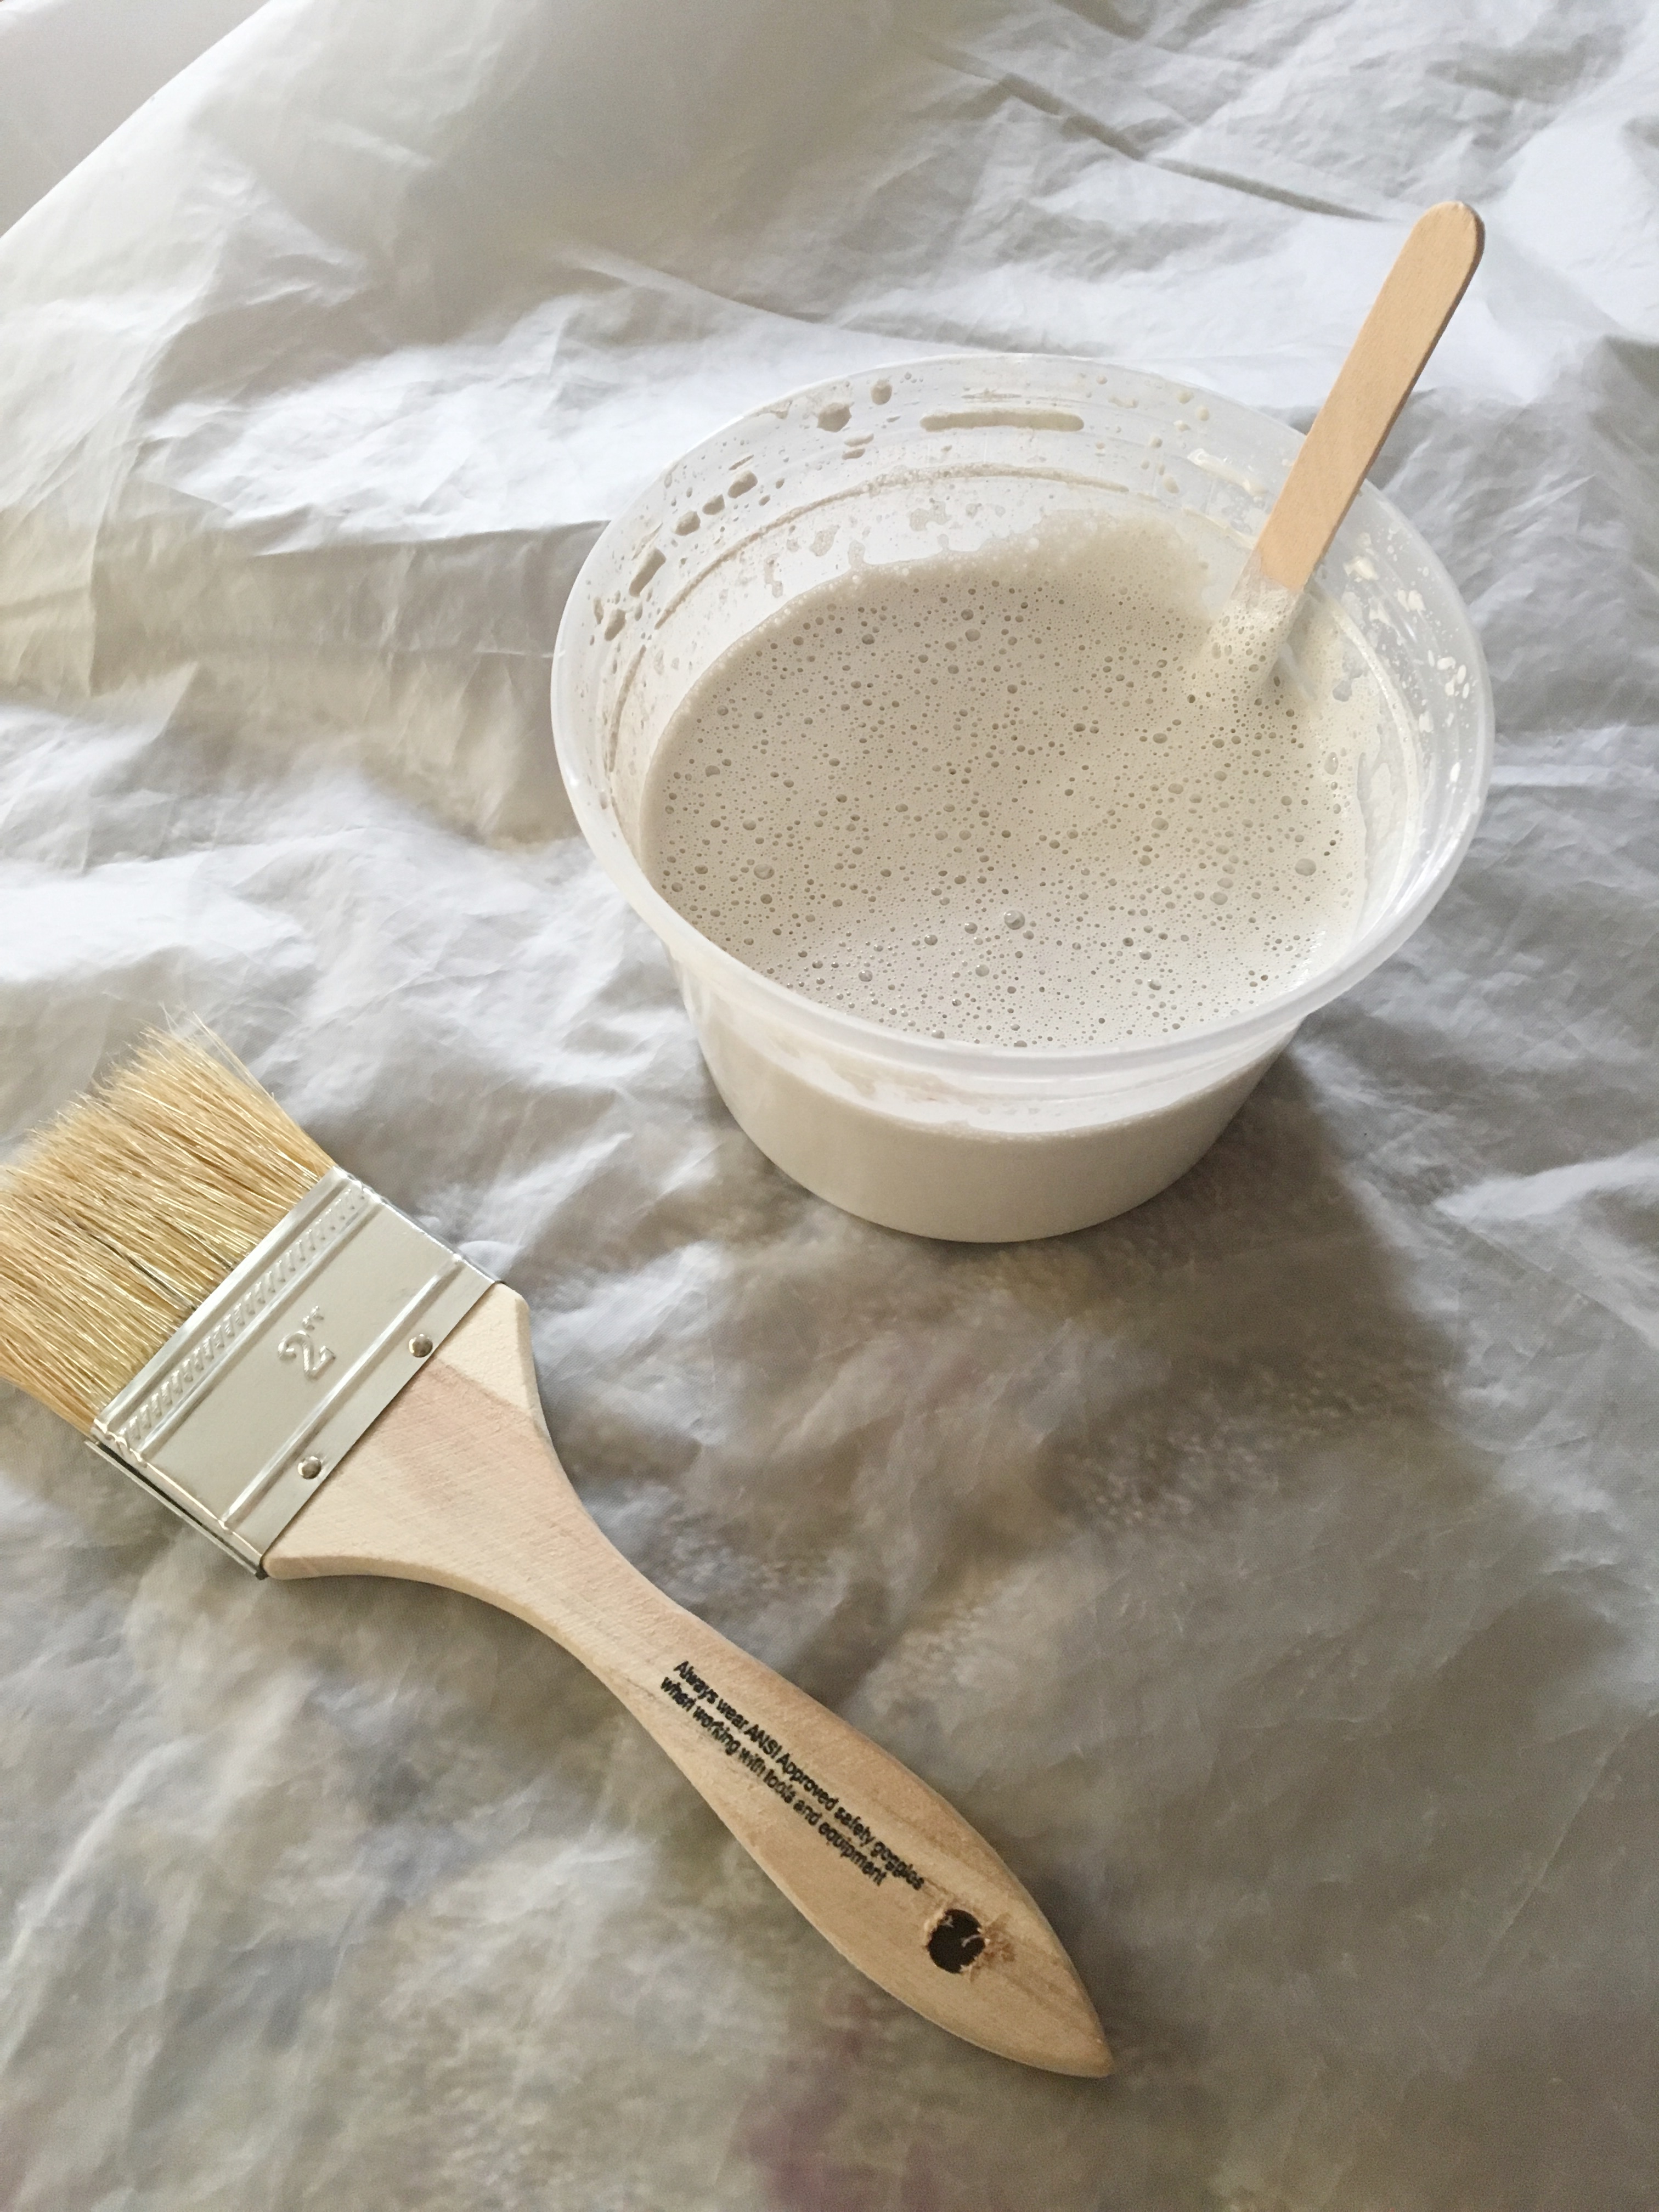
To mix the paint, you just add equal parts of water to the paint which is in powder form. For tips on how to mix it you can find it here.
I brushed the paint on which dries really fast. Since I was using a light color over a darker wood, it took about 3 – 4 coats of paint but went on surprisingly fast. Not all colors will take that many coats.
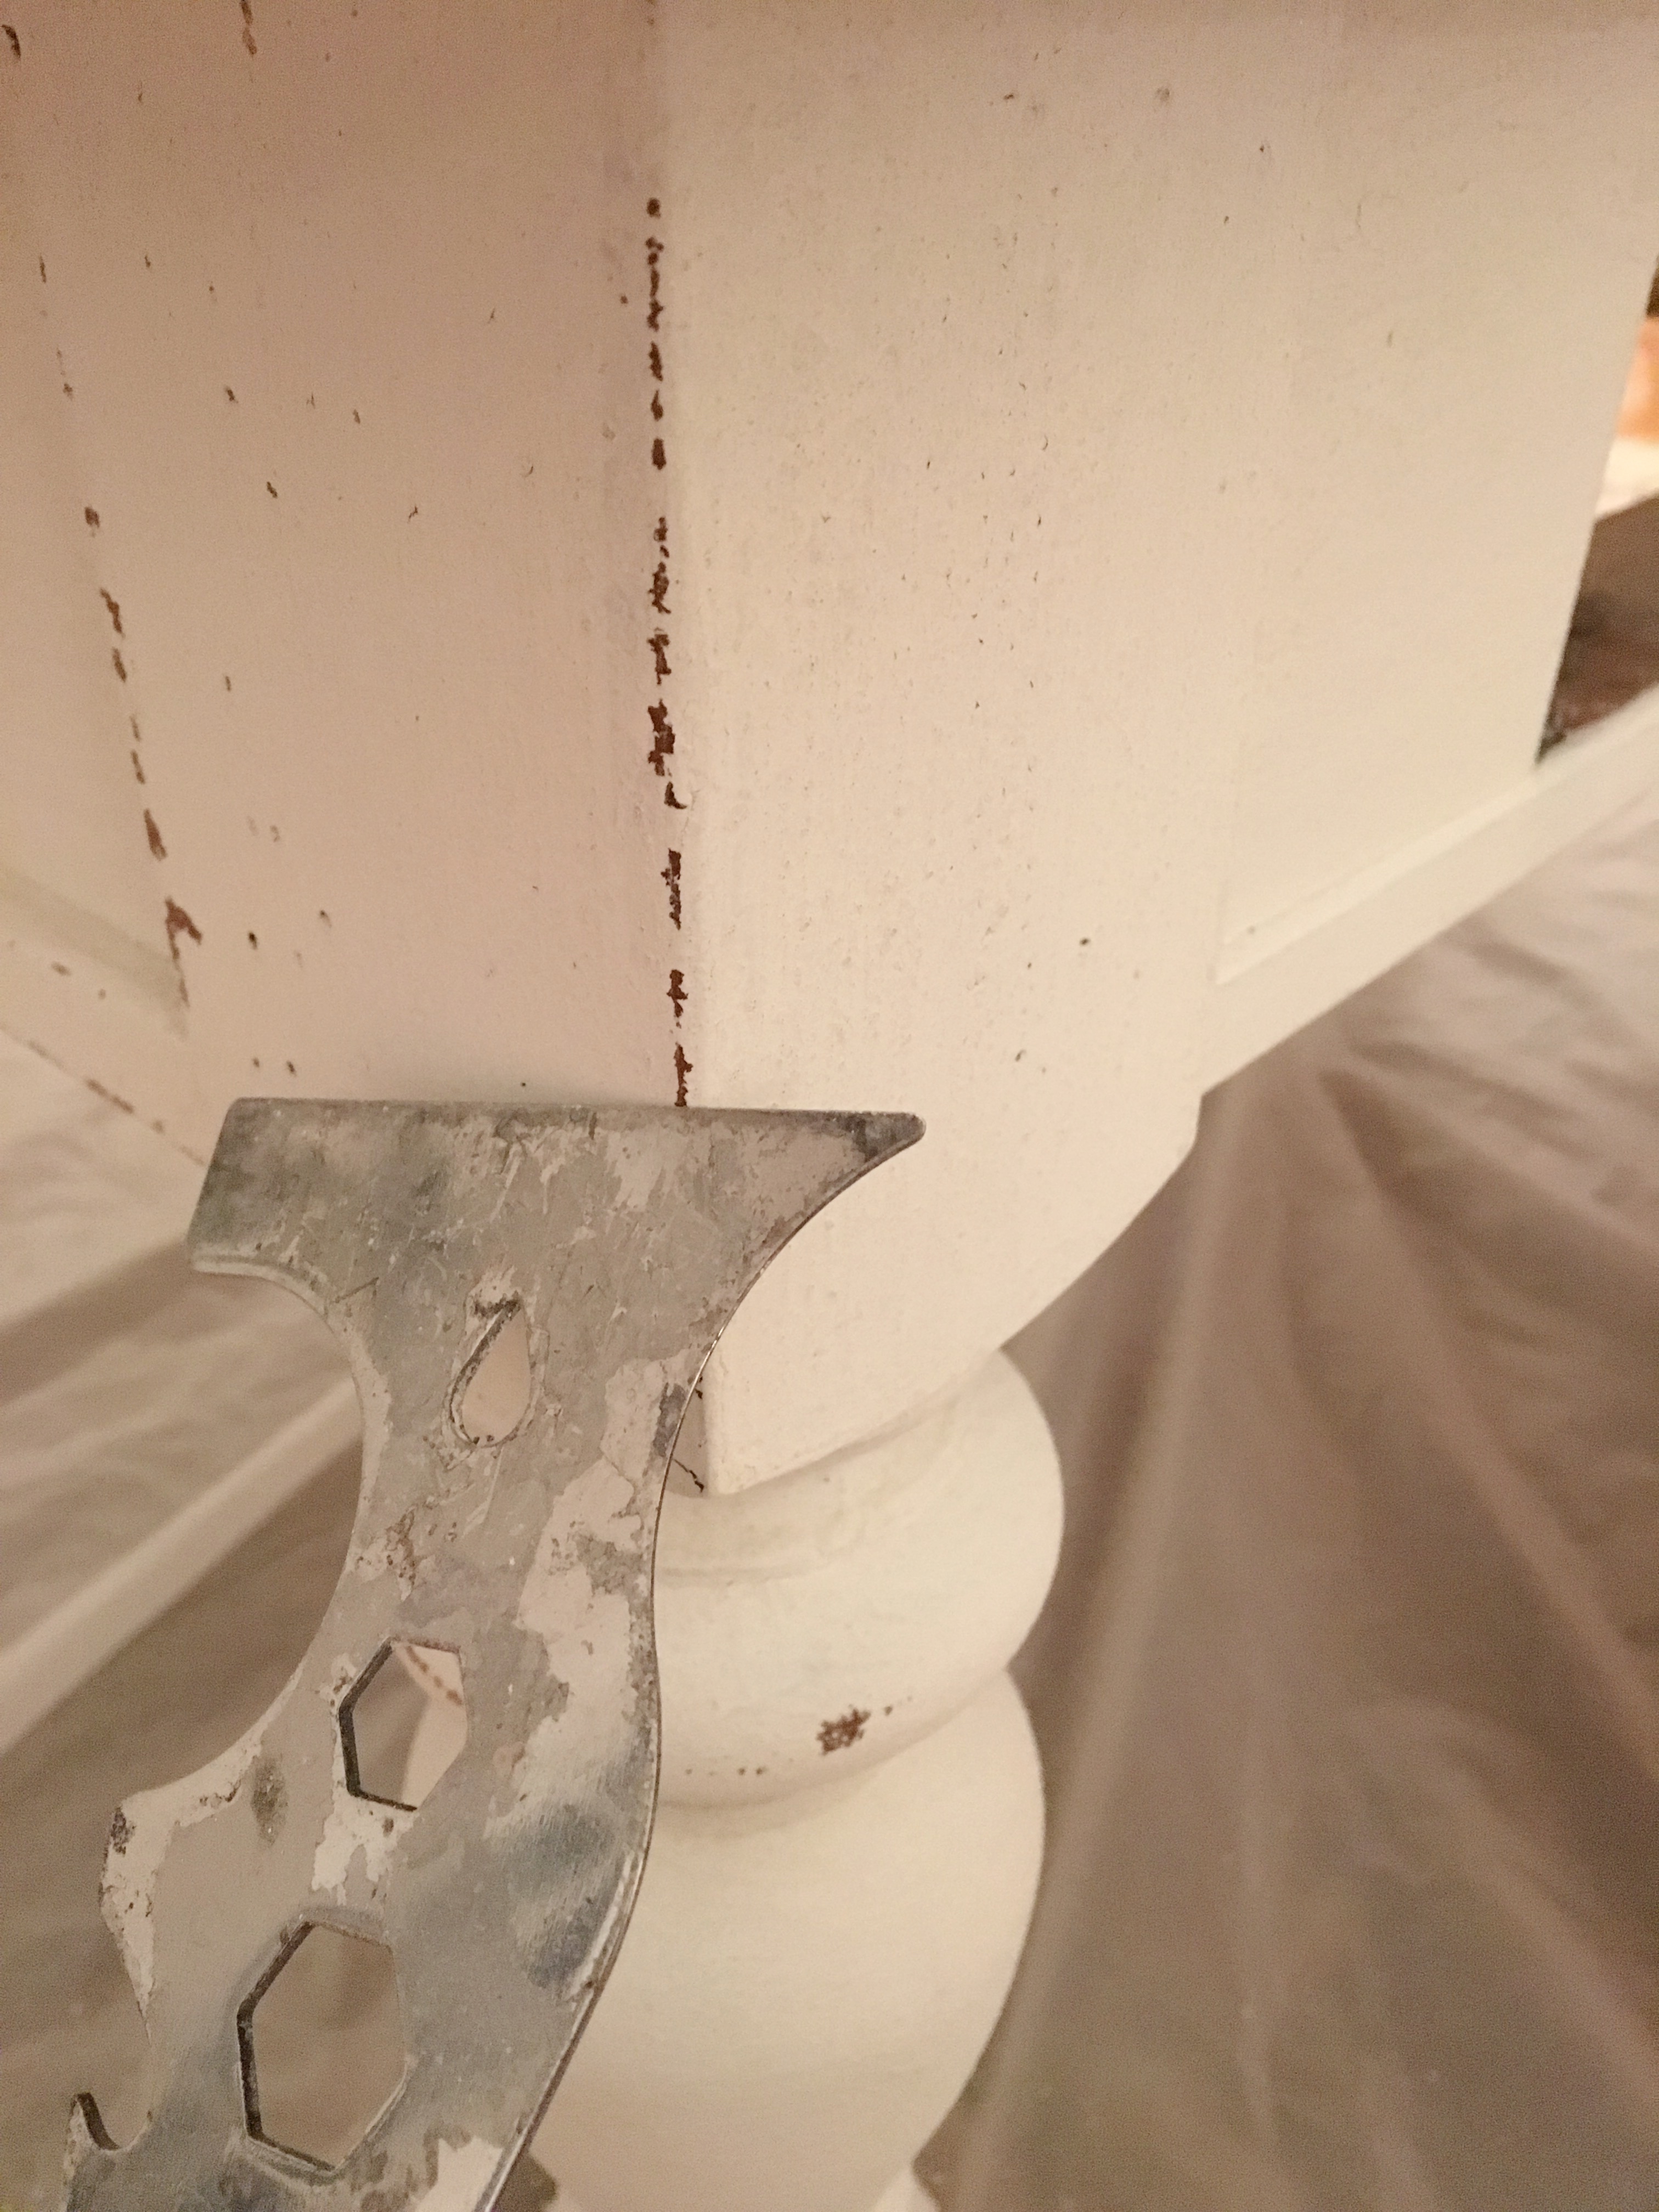
Once the paint dries, it begins to flake off and chip in various places just like an old farm table would after many years of use.
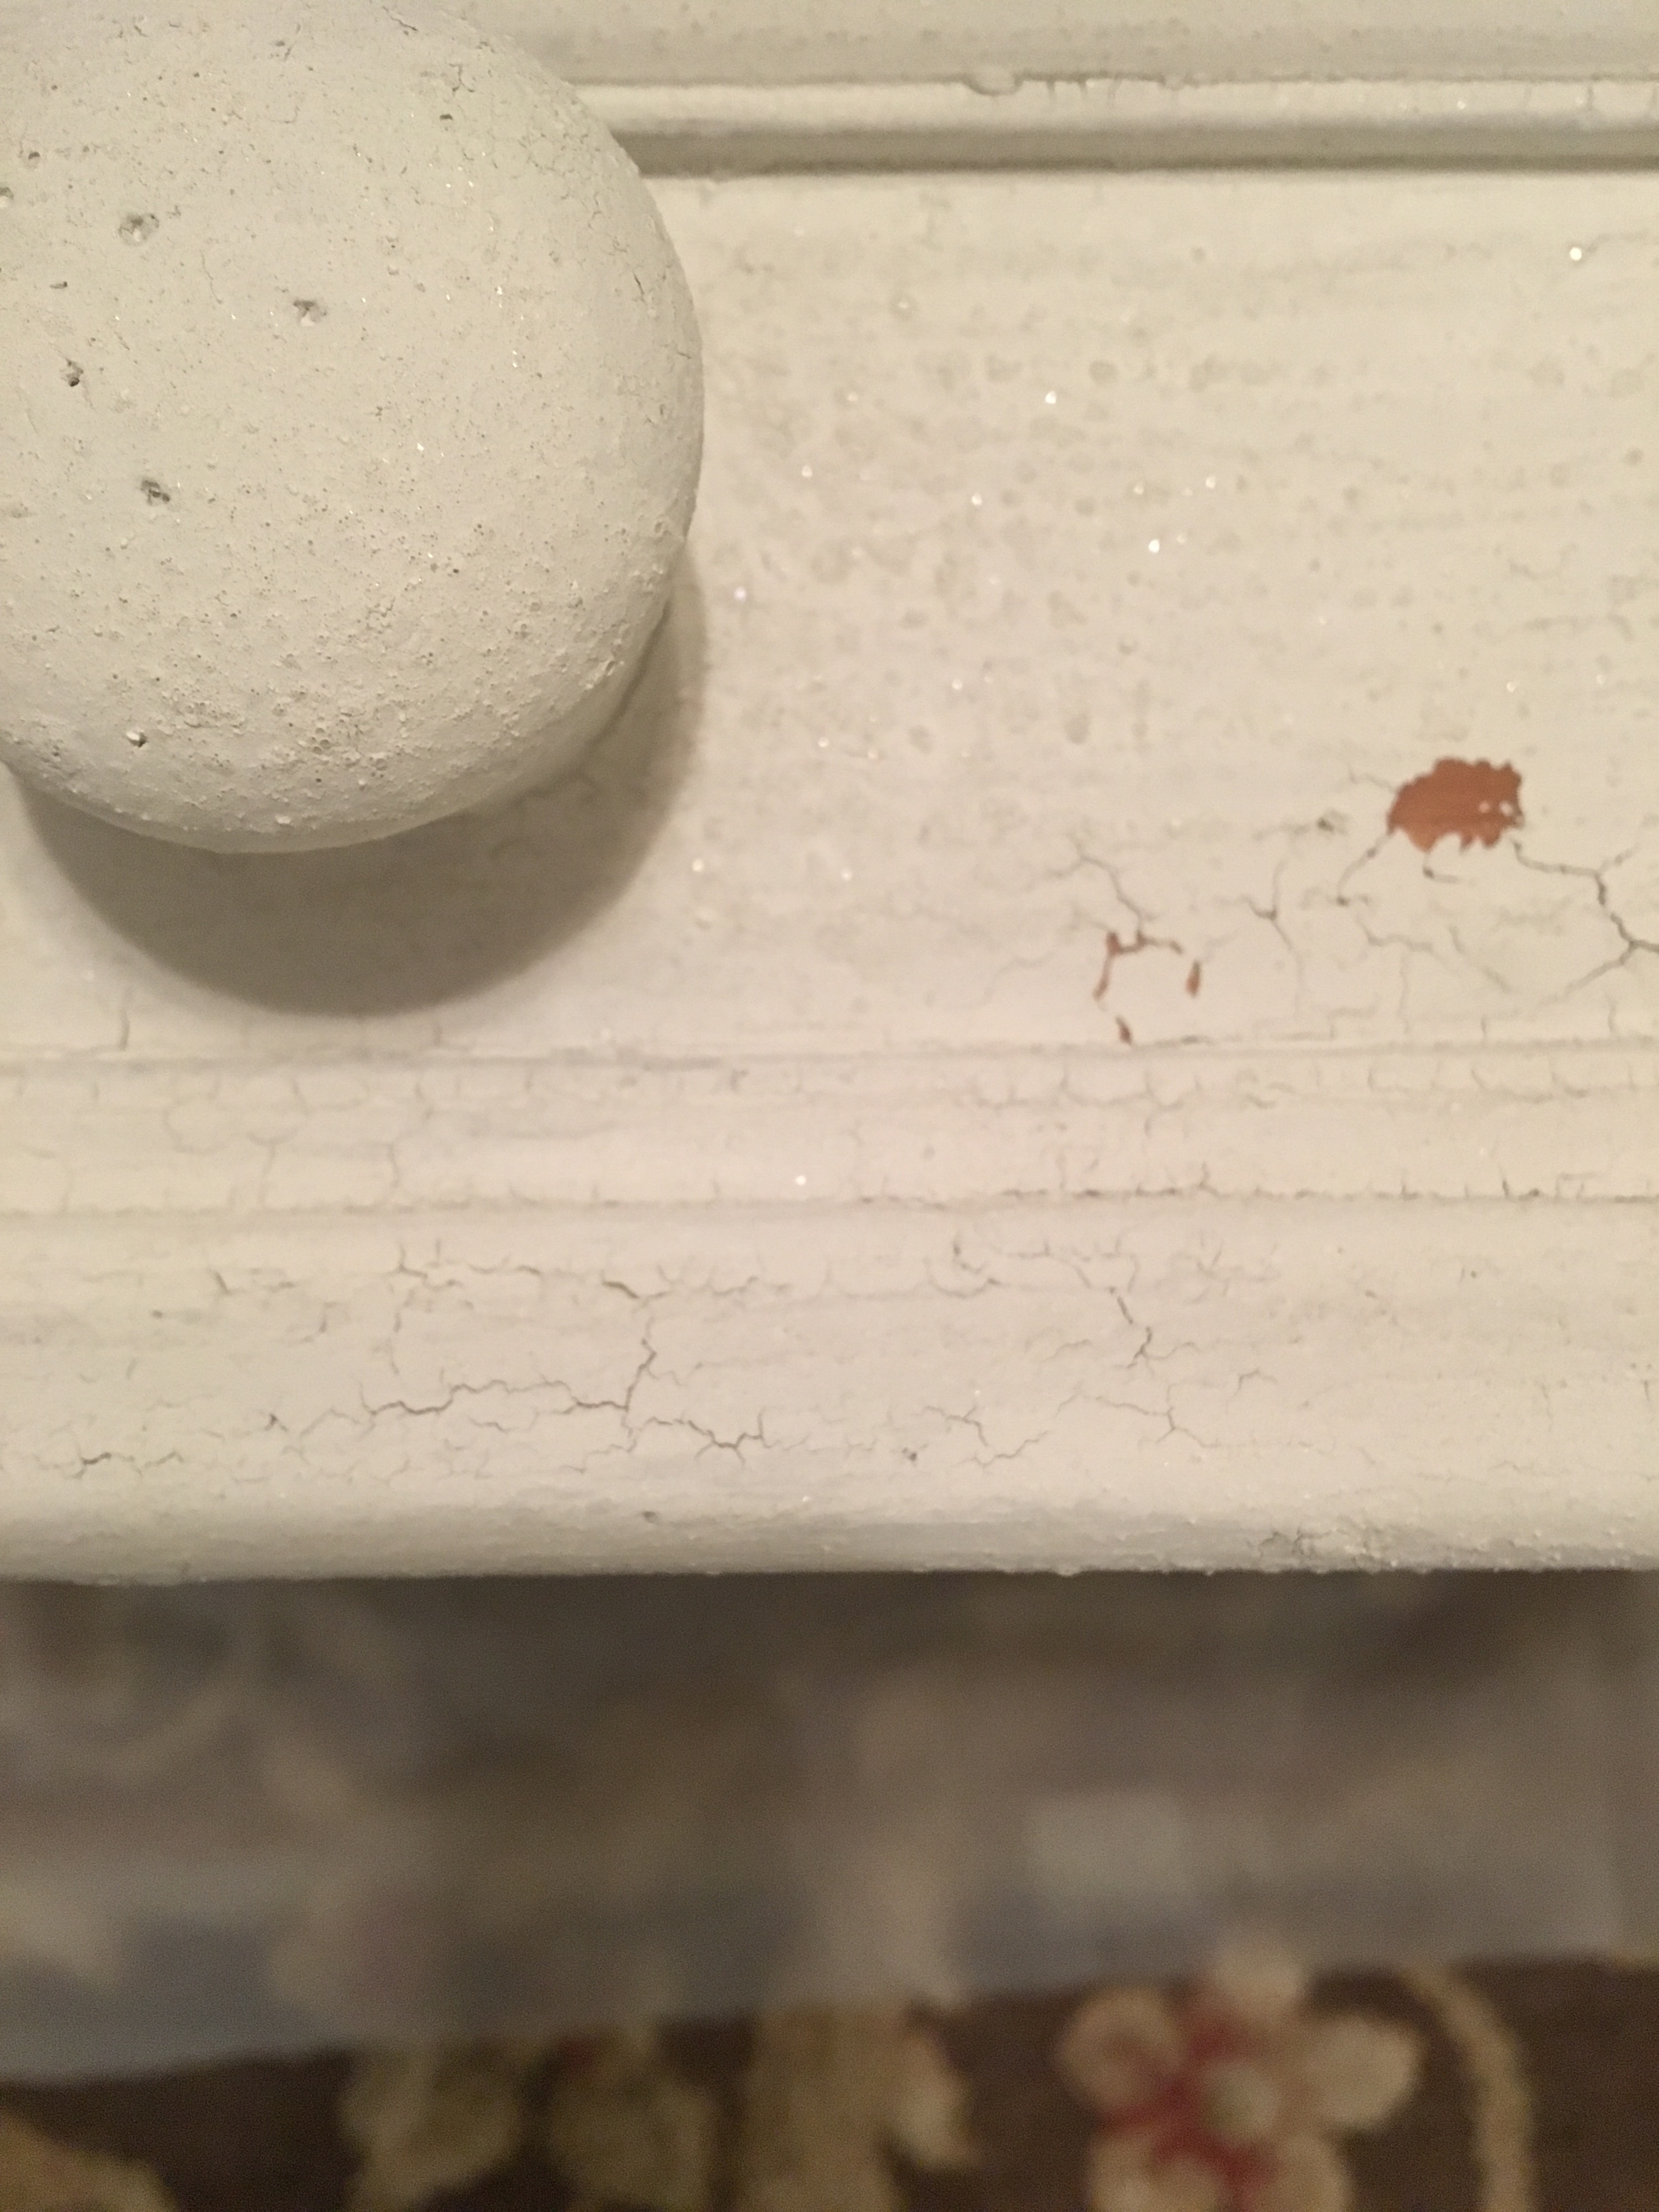
I helped it along to distress the edges by using a putty knife to lightly scrape the table.
The next day once everything was dry, I brushed on Minwax Polycrylic Sealer in a matte finish to the entire table to prevent any further chipping of the paint and to give the top a richer look and prevent water marks from drinks that may be set on there.
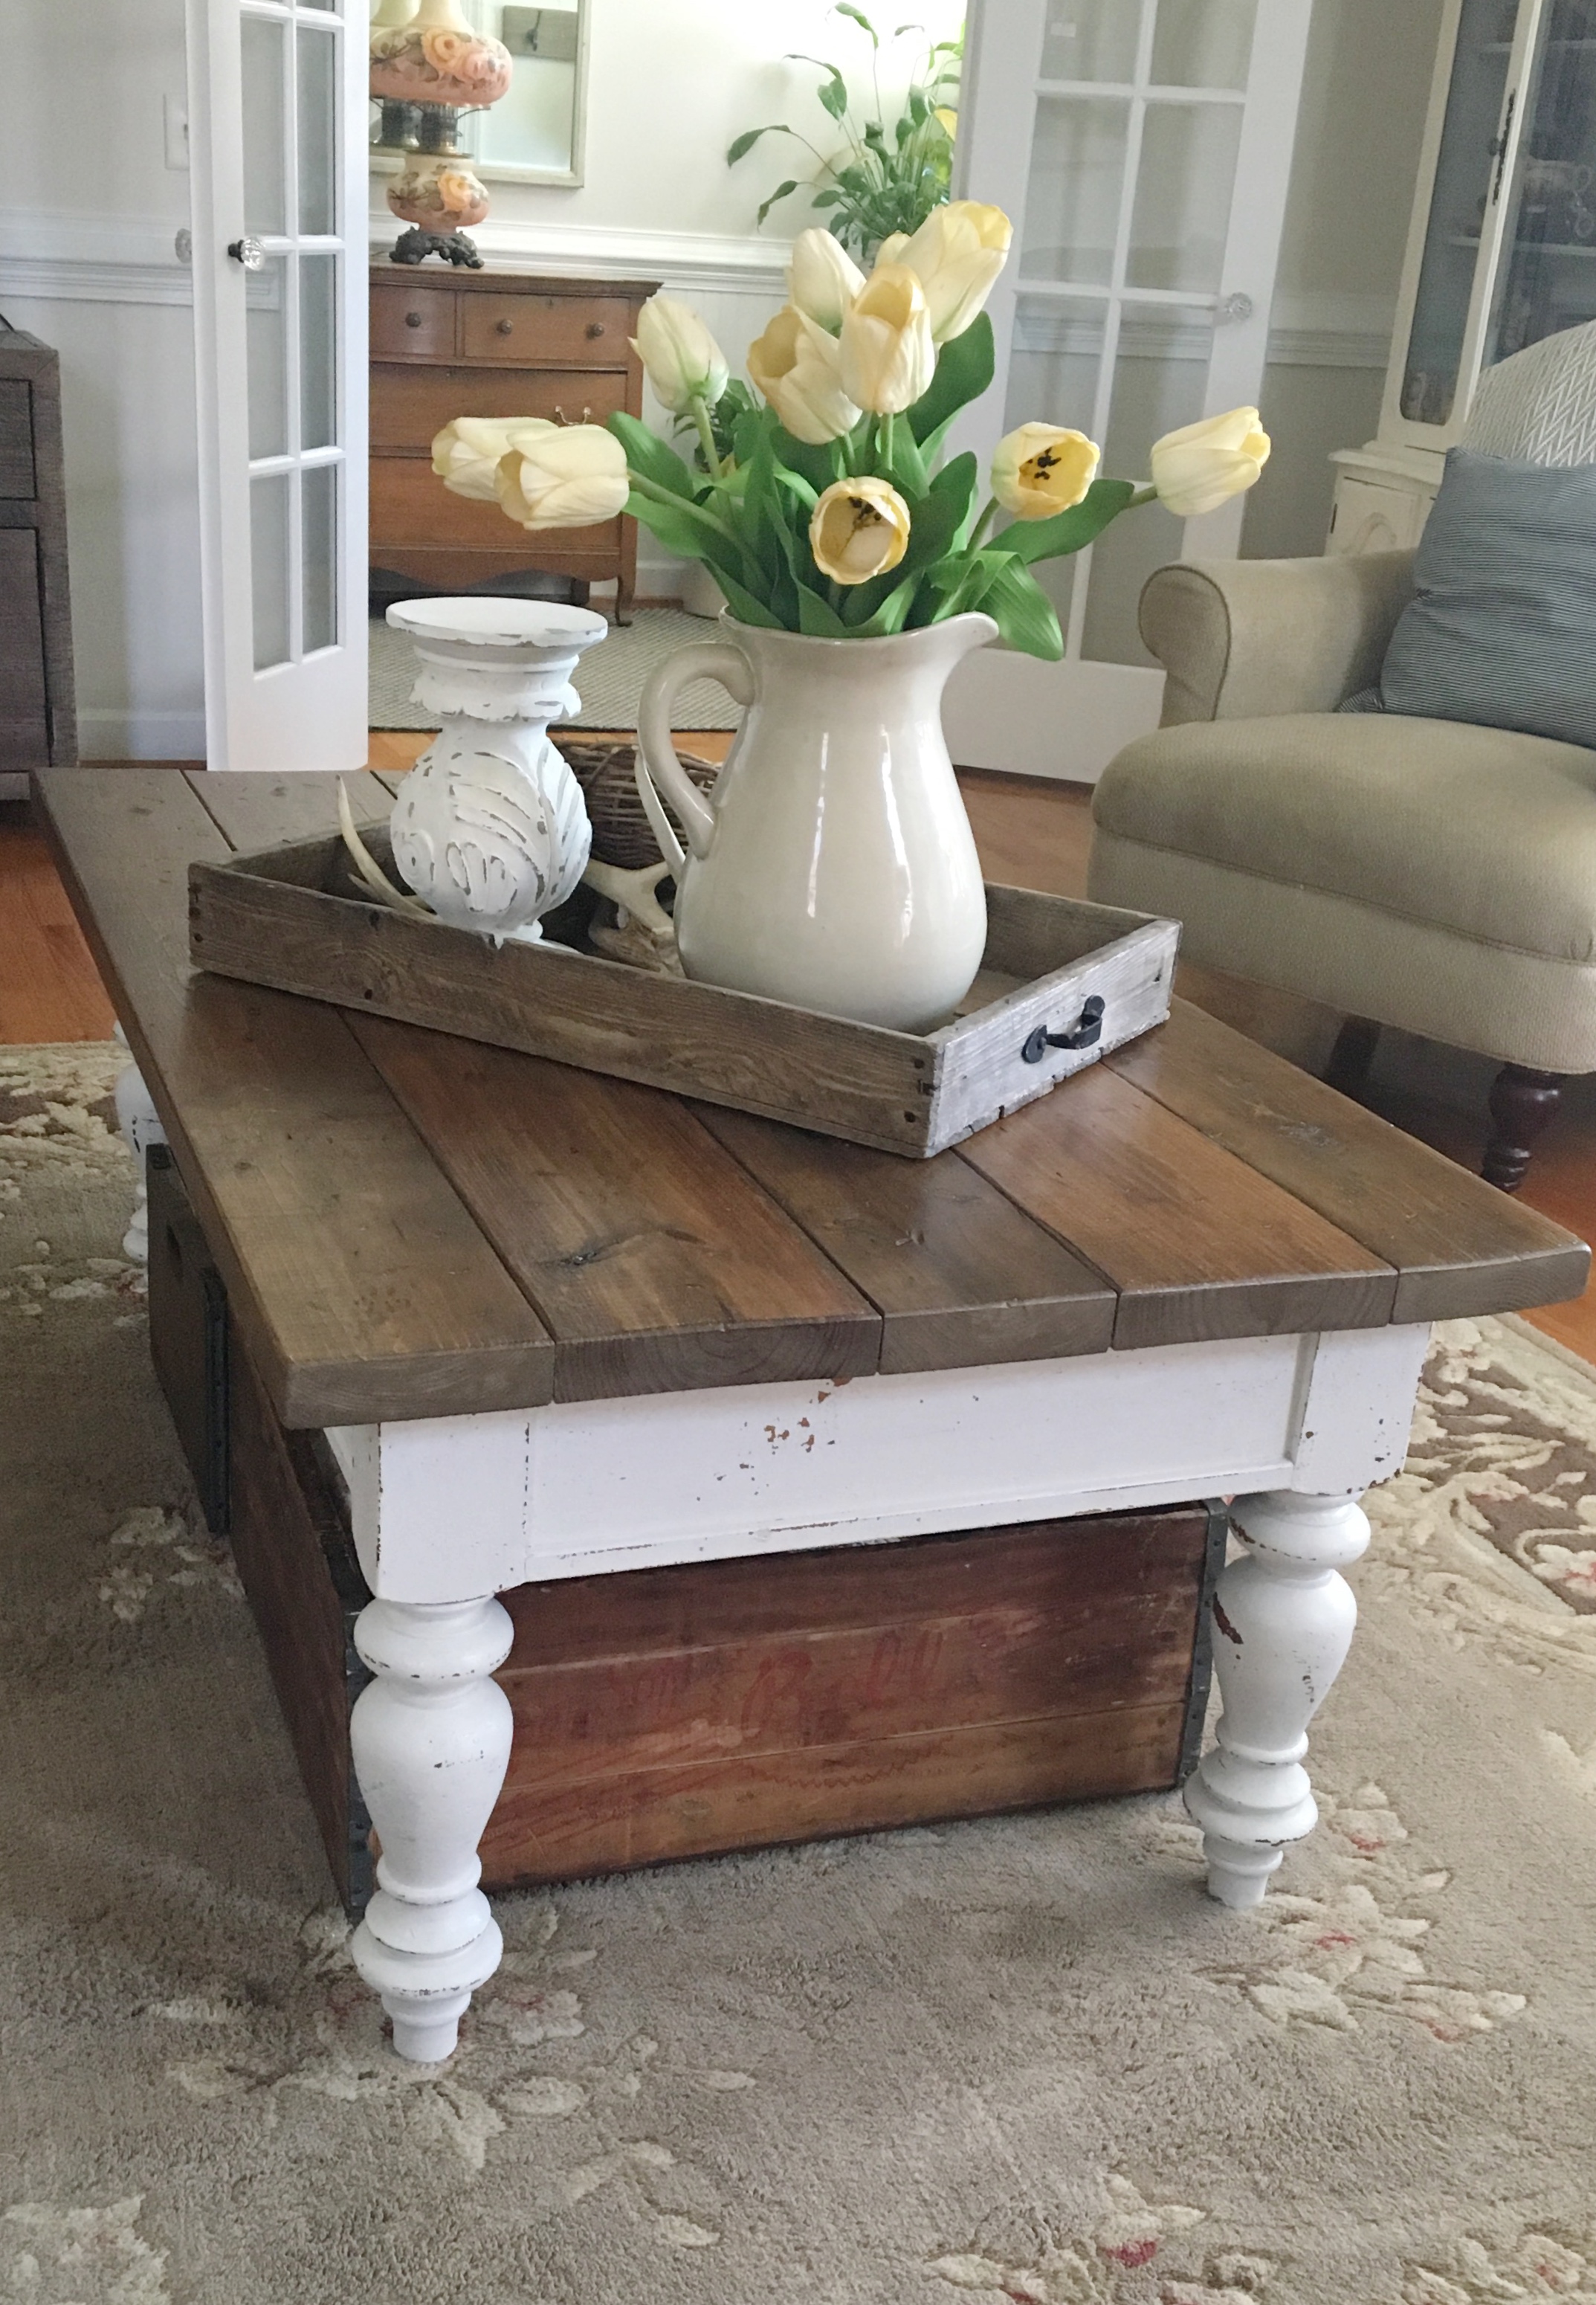
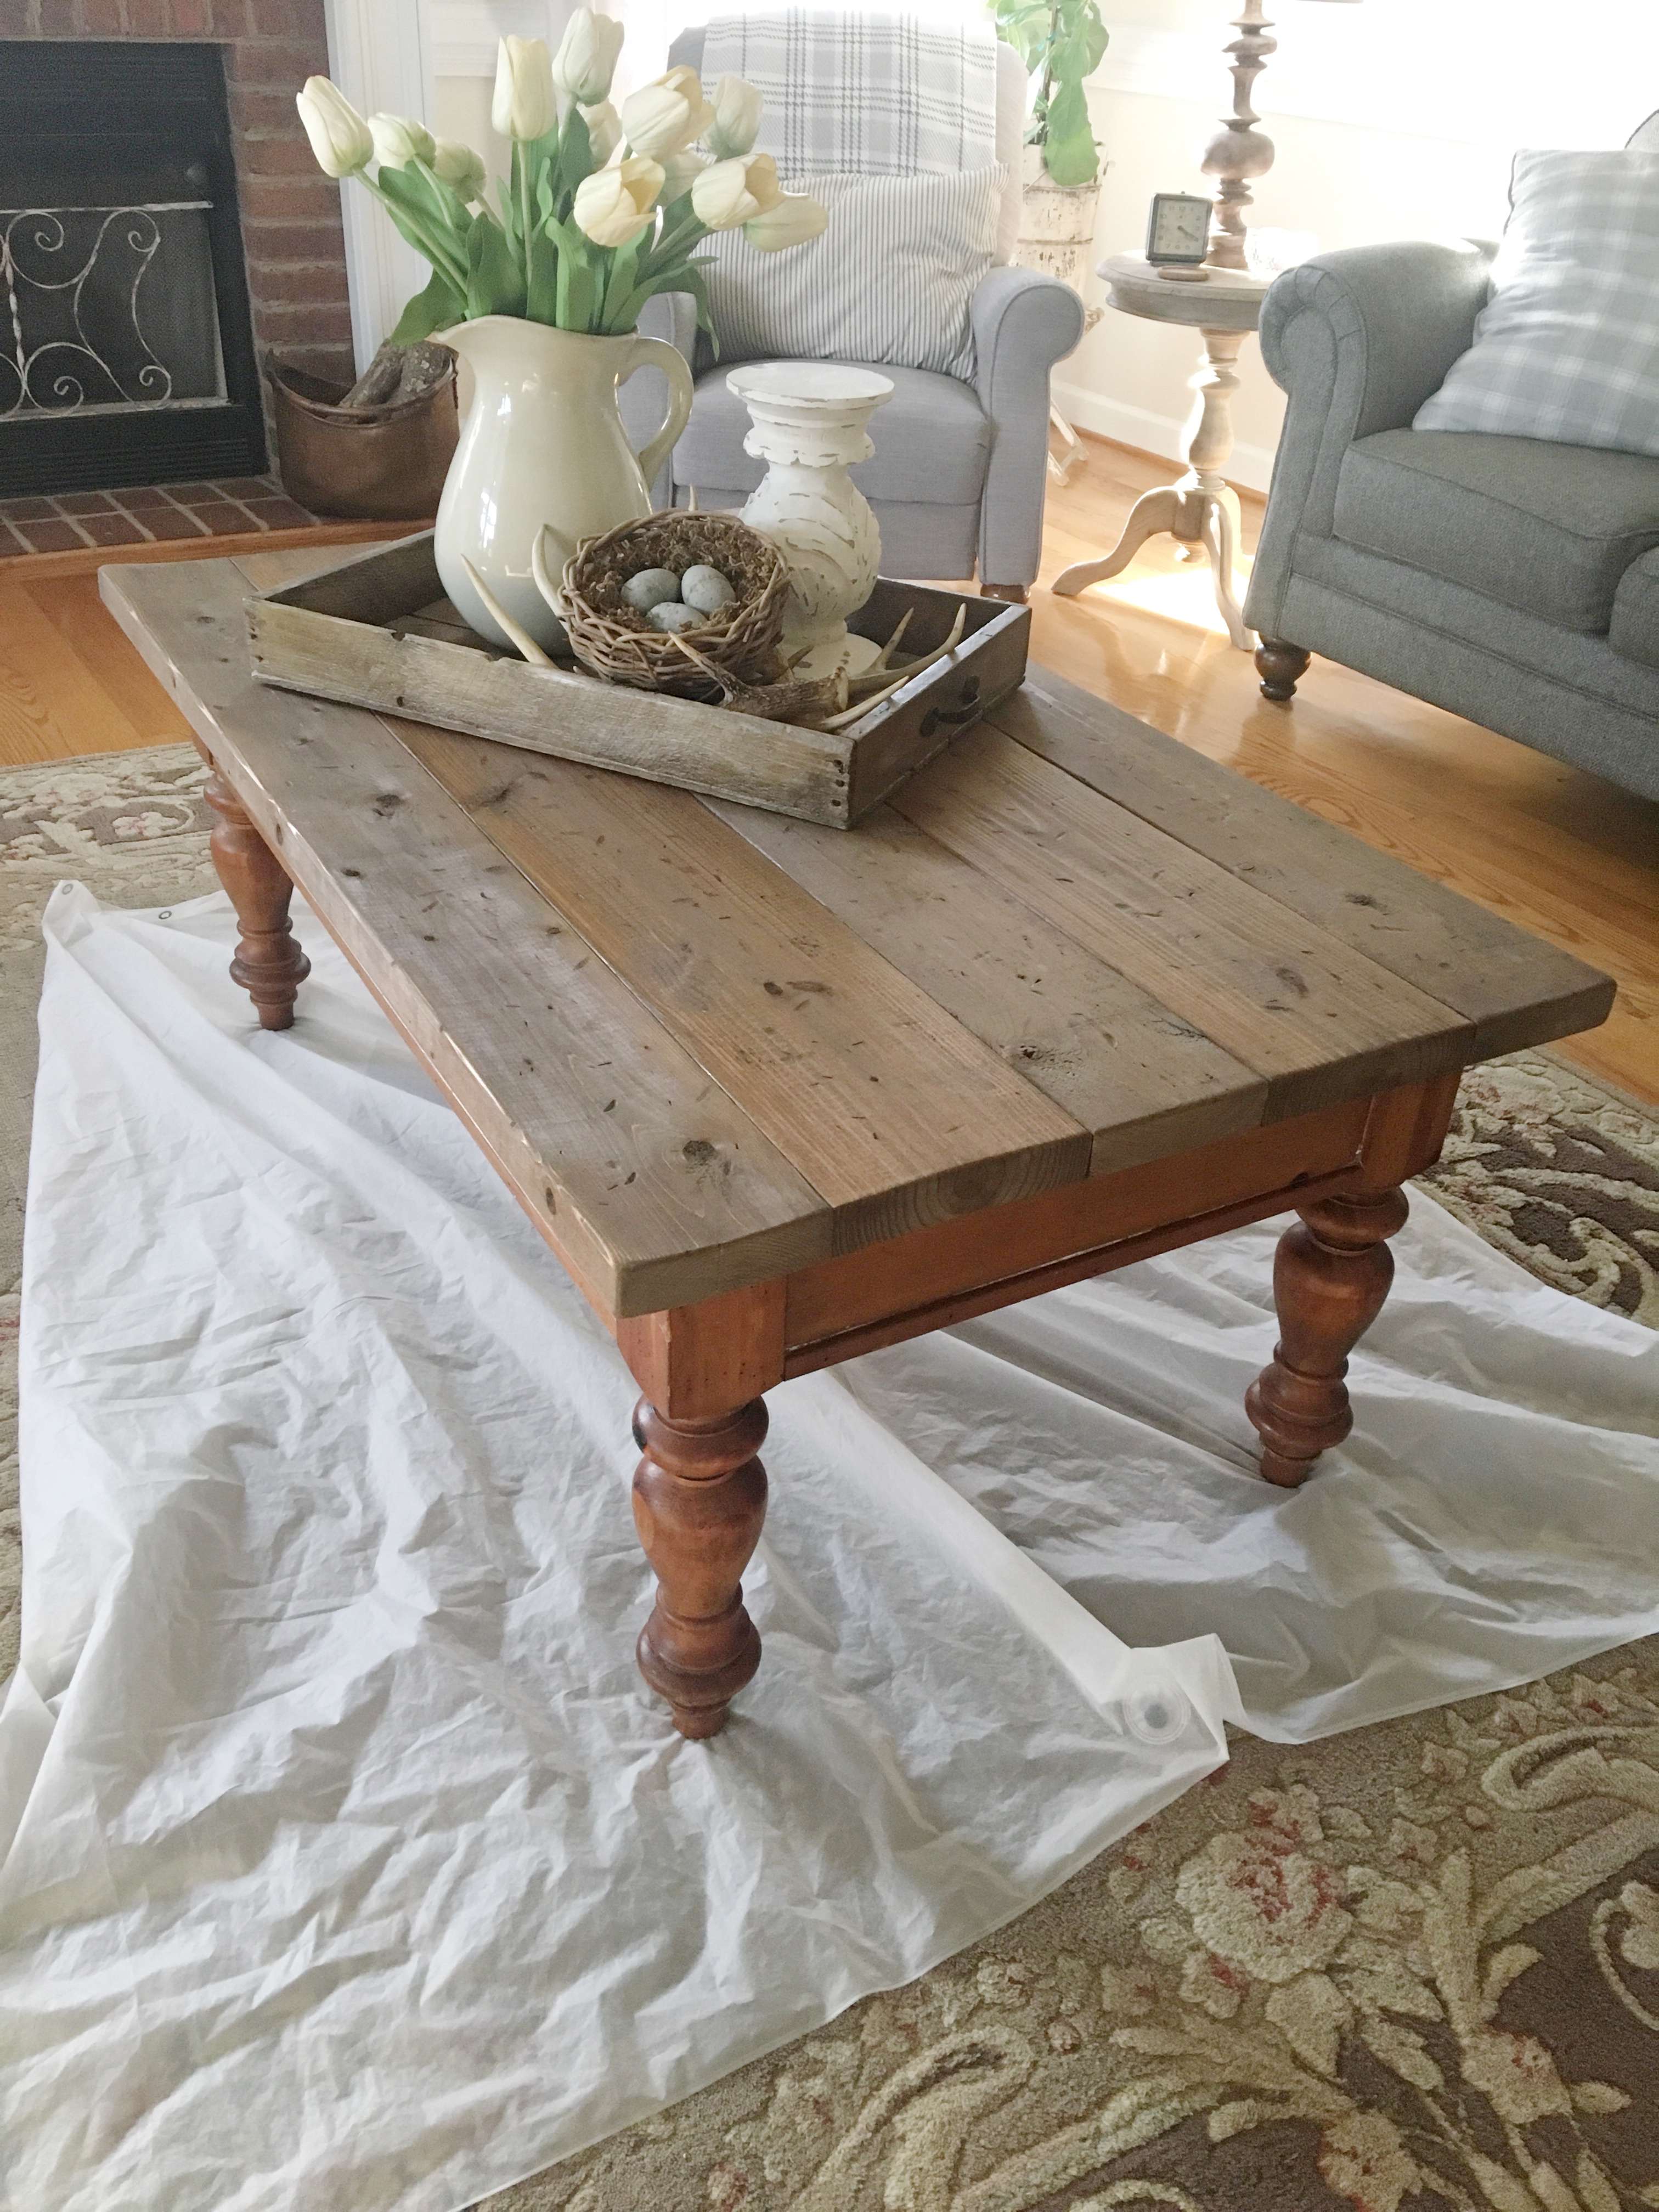
Here is the final result……

I am so pleased with how it turned out. The table was originally $25 from the thrift store. We had the lumber sitting around except for the 2 X 8 board which we had to purchase along with the milk paint. We had the stain and sealer from previous projects so the table cost us a little over $50 and the table building party was priceless!

(Before)
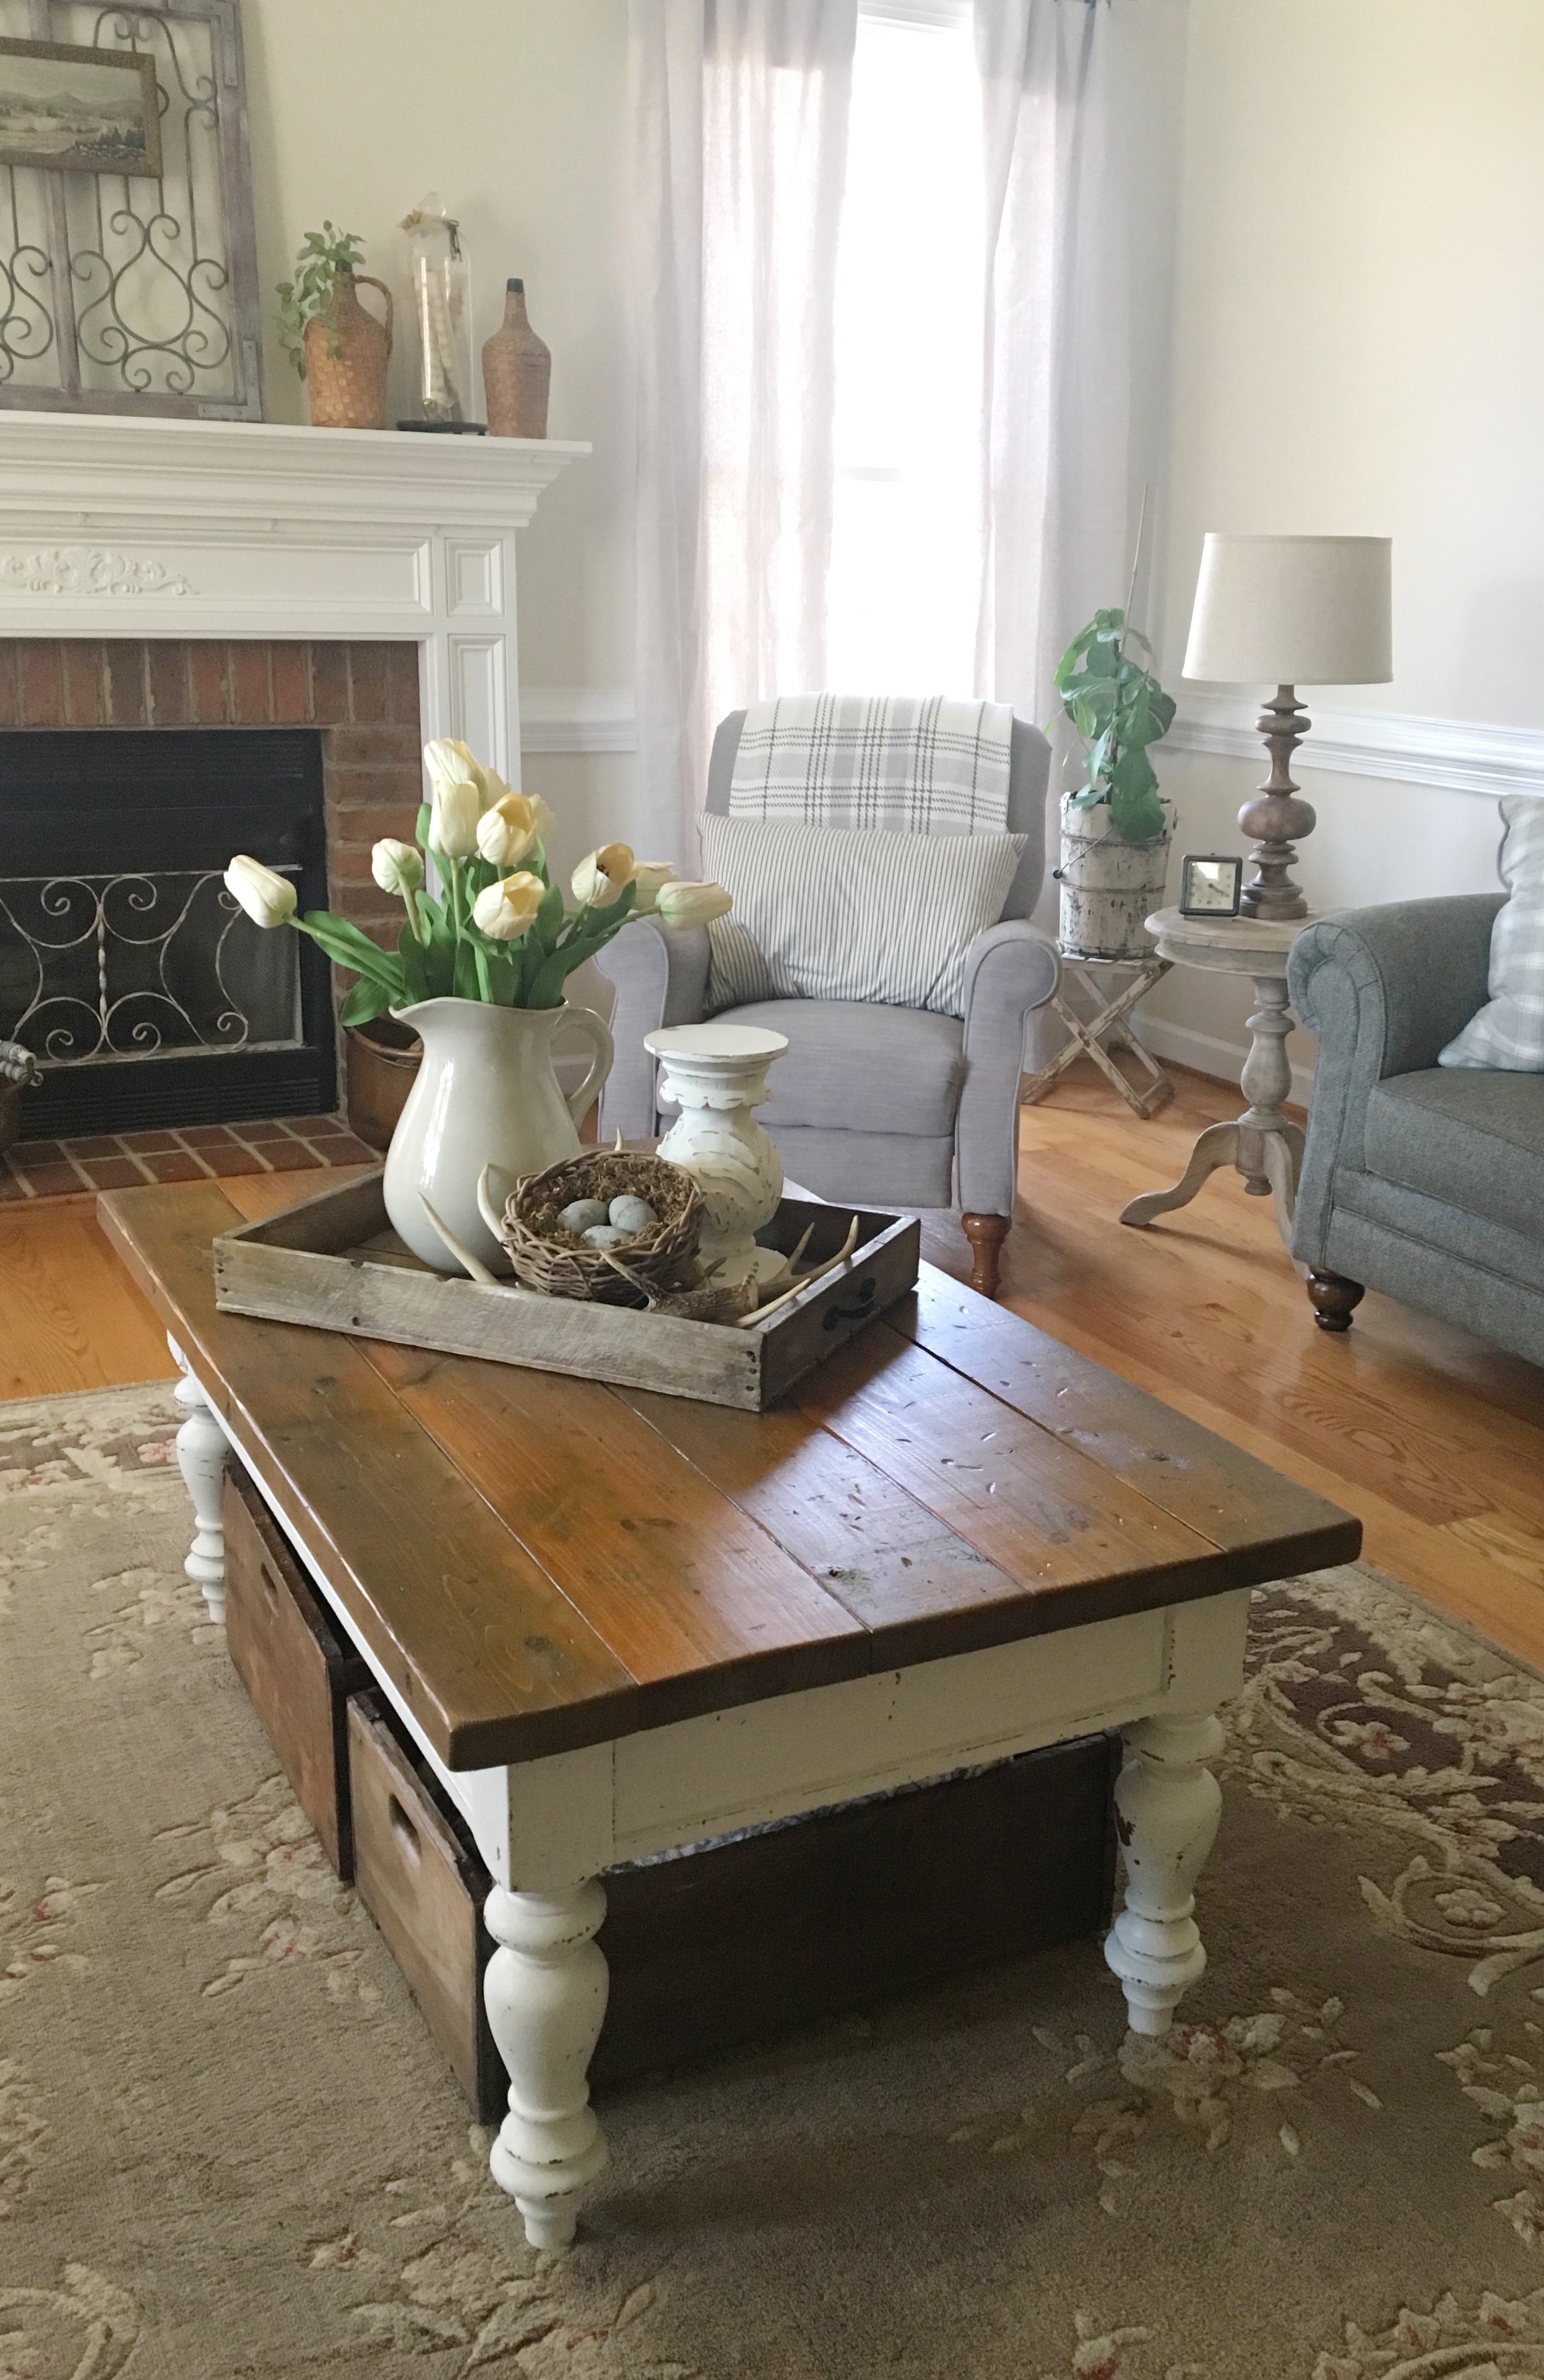
(After)
Thanks for coming along on our journey from thrift to farmhouse charm! If you have any questions about our project, feel free to leave a comment below. Let me know what you think!
Sending you all big hugs,
![]()